How to Draw an Anime Hand
In this lesson, I want to show you how to draw an anime hand. Undoubtedly, this instruction will be very useful for you.
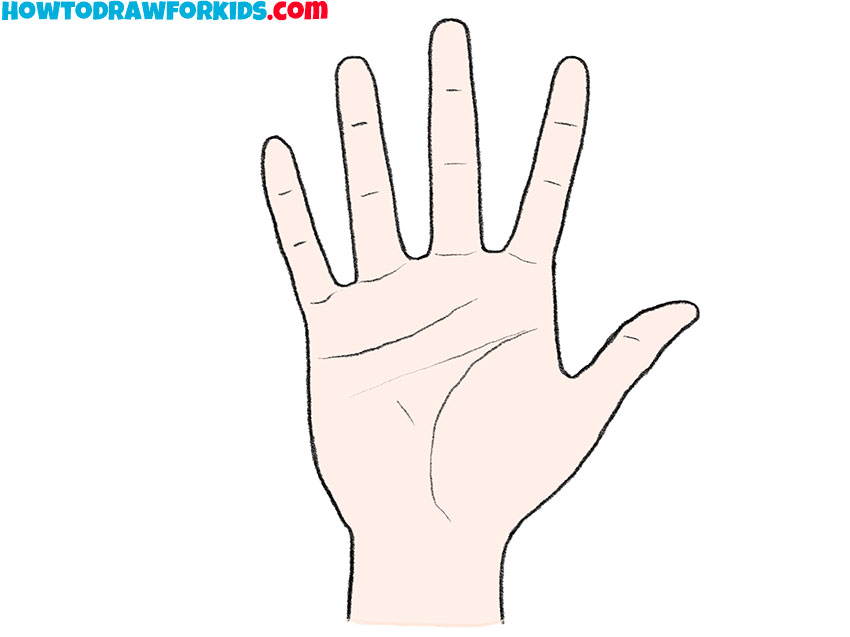
In this tutorial, I suggest you draw an anime hand. Almost all anime characters are quite detailed, the same applies to individual parts of the body.
You can see that the anime hand looks very realistic, has a natural anatomical shape and skin folds. During the lesson, keep proportions and make sure that the size of the fingers is the same as in the example.
Remember the drawing steps so that in the future you can draw the same hand if necessary. Take your time and follow each step carefully.
Materials
- Pencil
- Paper
- Eraser
- Coloring supplies
Time needed: 30 minutes
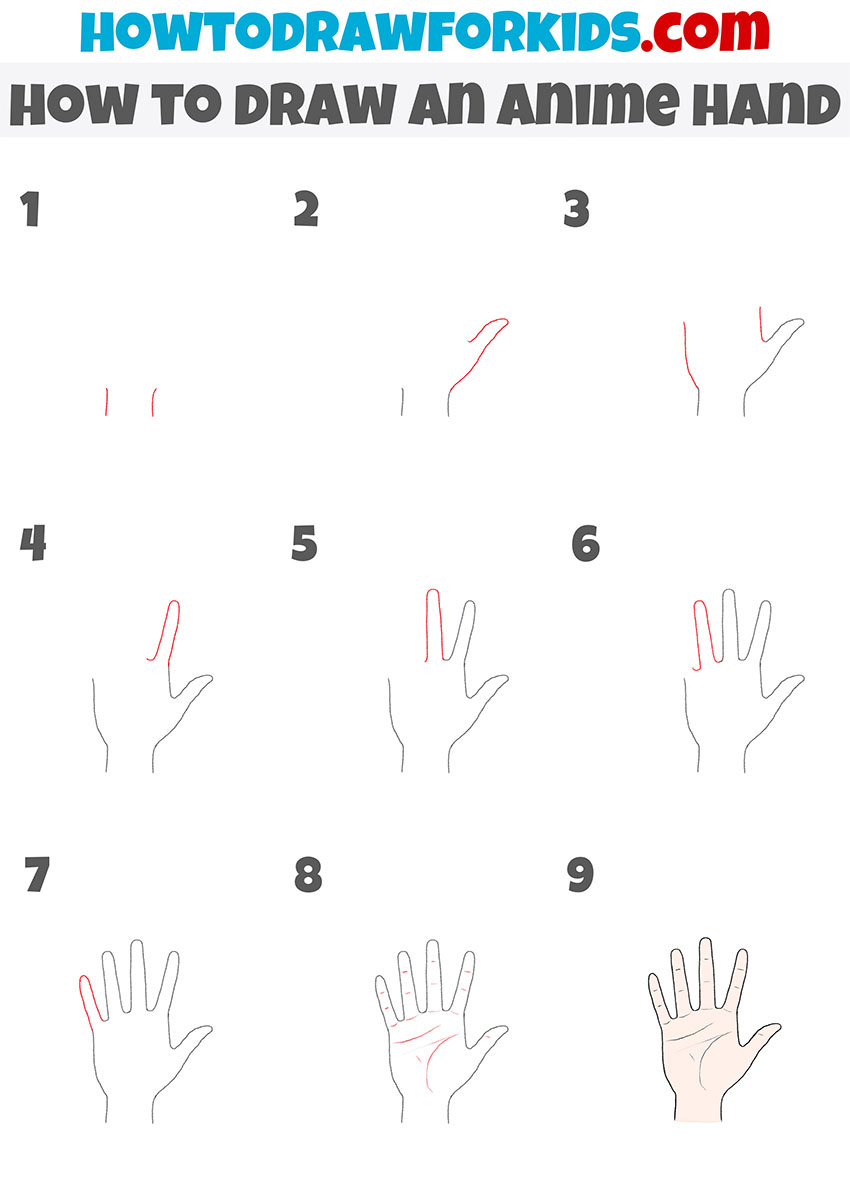
How to Draw an Anime Hand
- Draw the wrist.
Depict two small lines at some distance from each other.

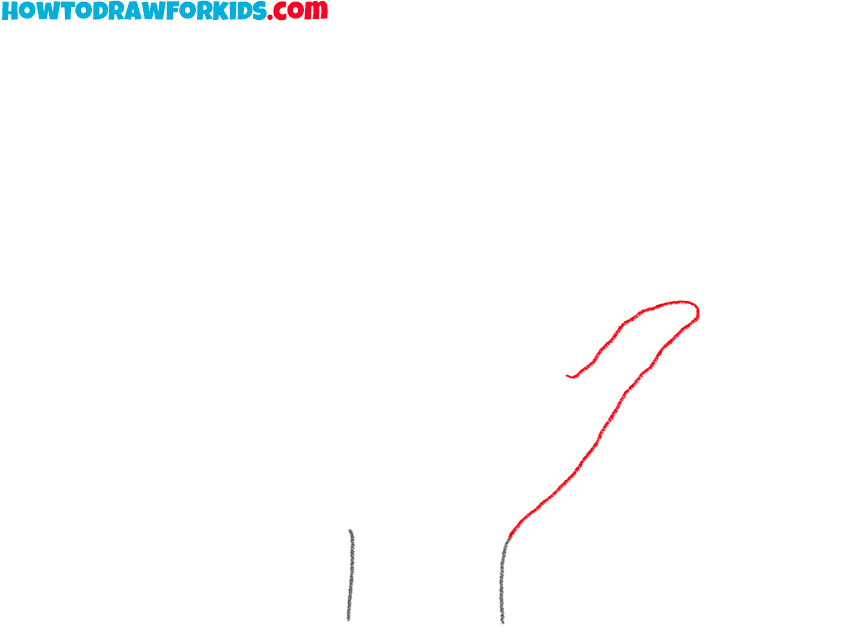
- Depict the thumb.
On the right side, continue the line and add the thumb.
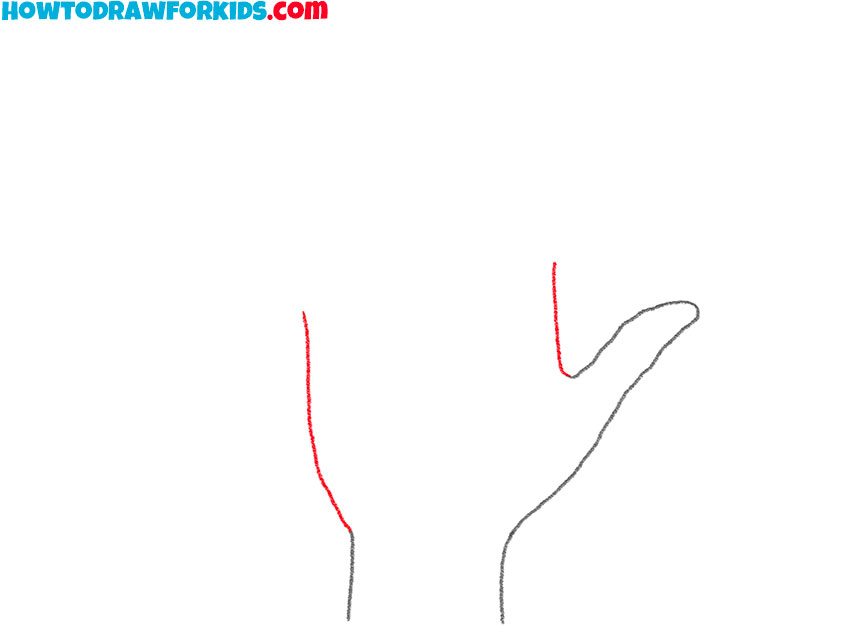
- Add the sides of the palm.
Sketch out smooth lines on the sides.
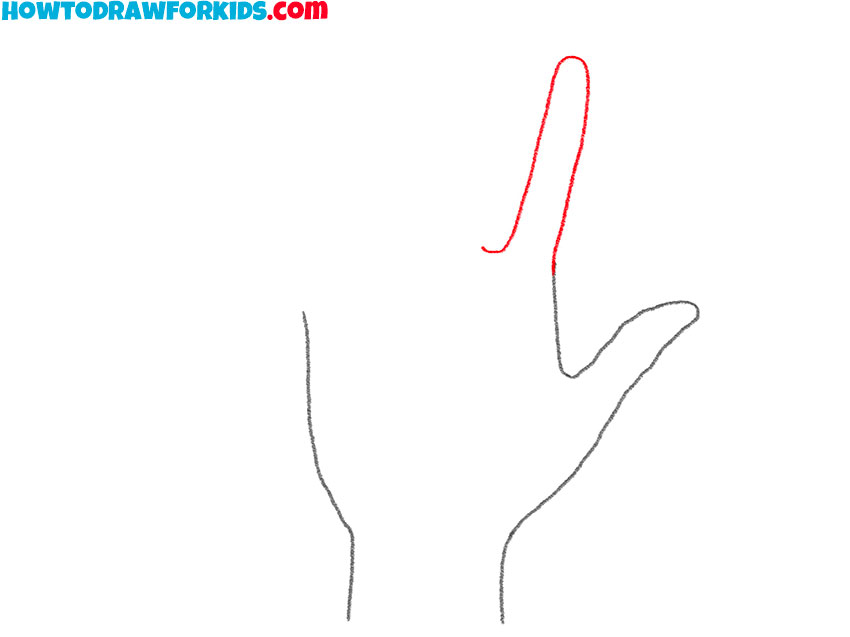
- Start drawing fingers.
At this stage, draw the index finger.
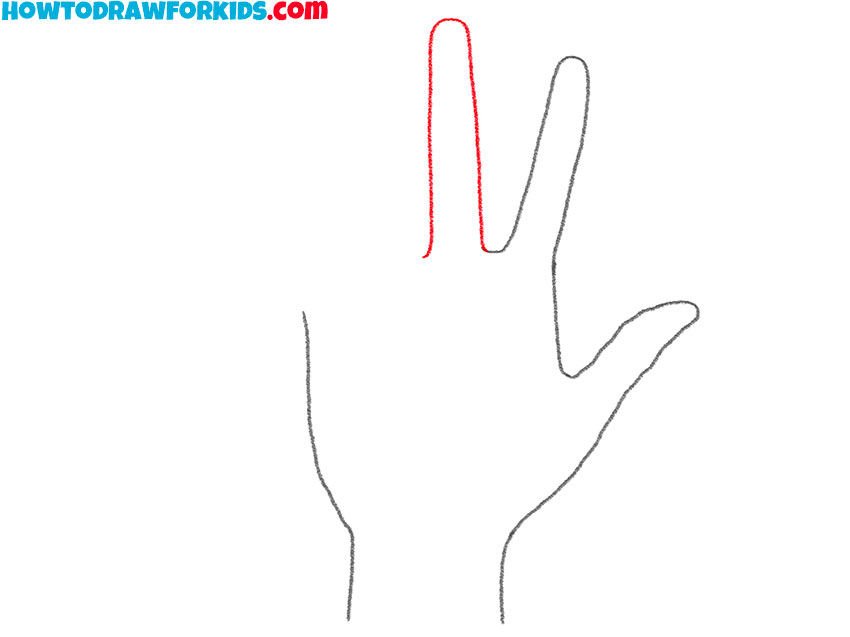
- Add the middle finger.
Next, add the middle finger, which will be the longest.
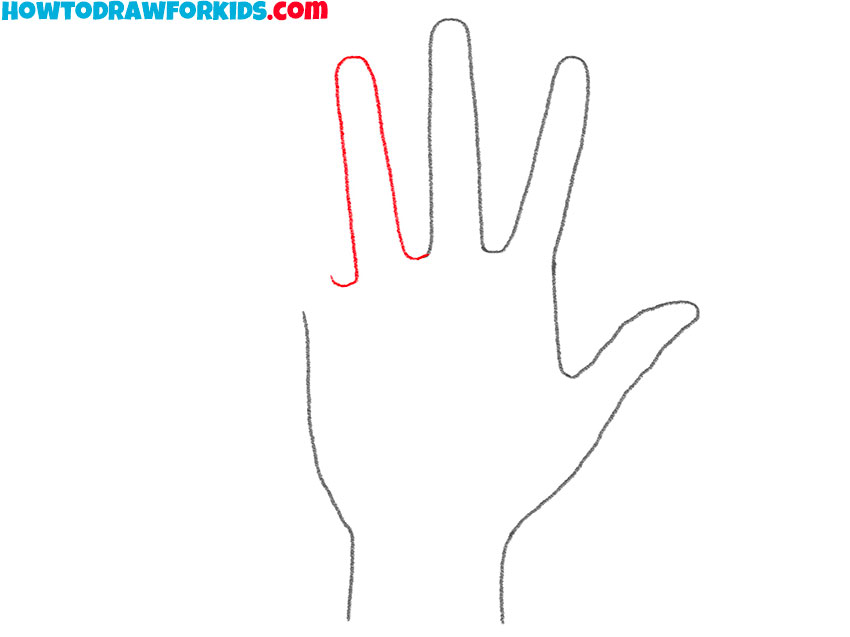
- Draw the ring finger.
The ring finger is almost the same size as the index finger.
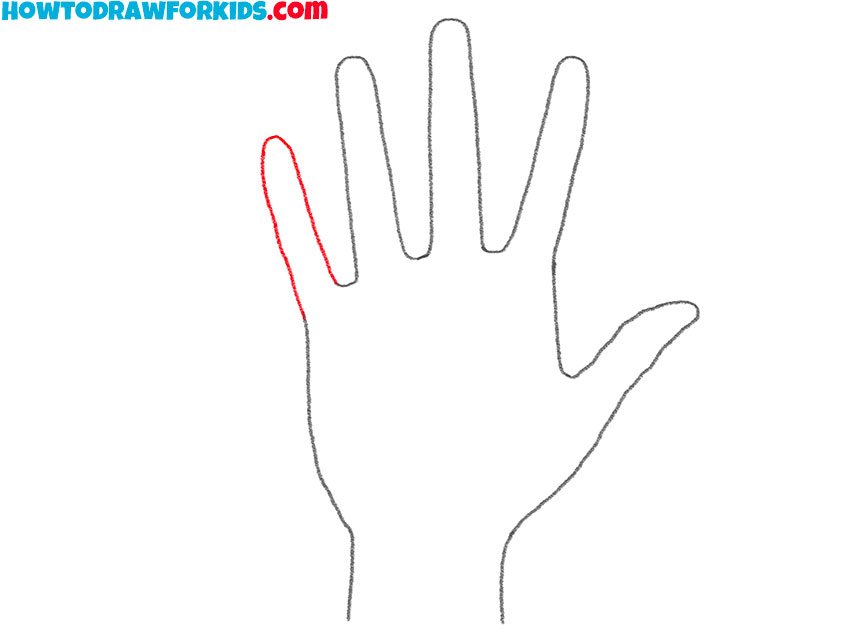
- Sketch out the little finger.
Depict the last finger, which is lower and thinner than all the other fingers.
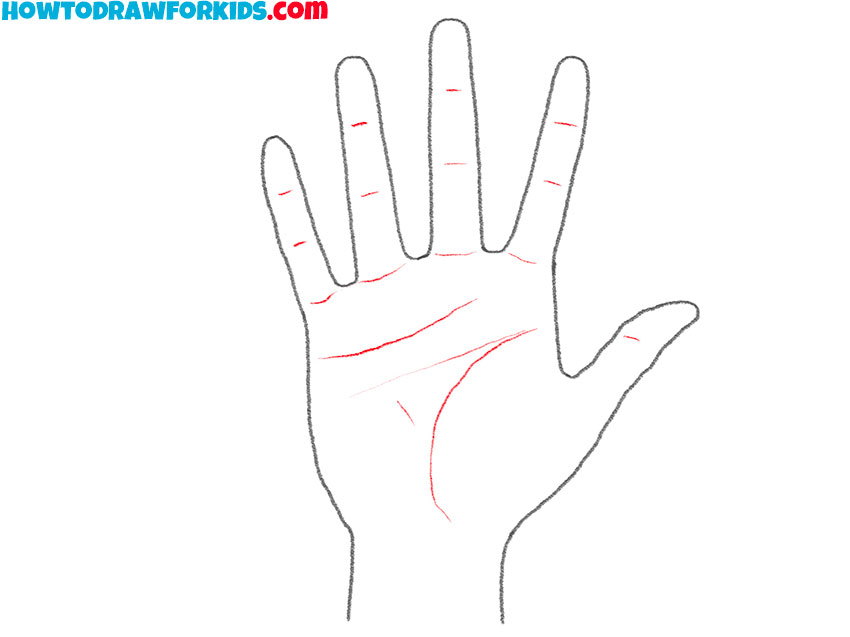
- Add the folds.
Draw some thin lines across the palm of the hand and add the short creases on each finger.
- Color the anime hand.
At this stage, you can use any colors.

I remind you that at the end of the lesson, a link is available for you, where you can download a brief instruction in the form of a PDF file for free. If you save this file, you can return to the lesson whenever you want, even if you don’t have Internet access.

