How to Draw a Wasp
In this lesson, I want to show you how to draw a wasp. I am sure you will enjoy this step-by-step guide and have fun.
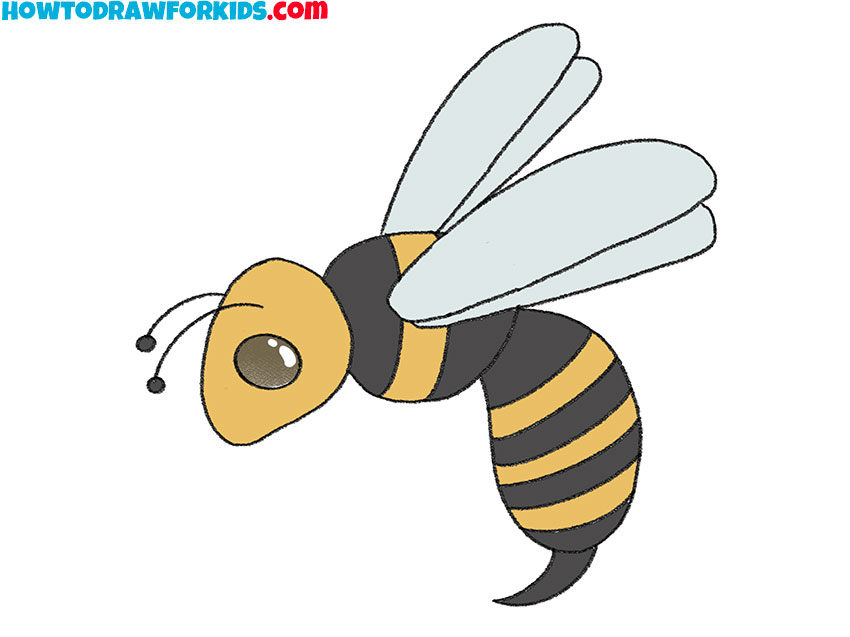
So, with the help of this simple instruction, you will learn how to draw a wasp step by step. You are familiar with this insect. Wasps are distributed throughout the world, they live on all continents except Antarctica. Wasps can live in large colonies, but some species are solitary. The body of the wasp has stripes of black and yellow, the wings are thin, and there is a sting at the end of the belly.
Despite their small size, wasps sting very painfully. The wasp does not attack purposefully, but can sting hard if it is carelessly disturbed. Wasps are especially aggressive in hot weather.
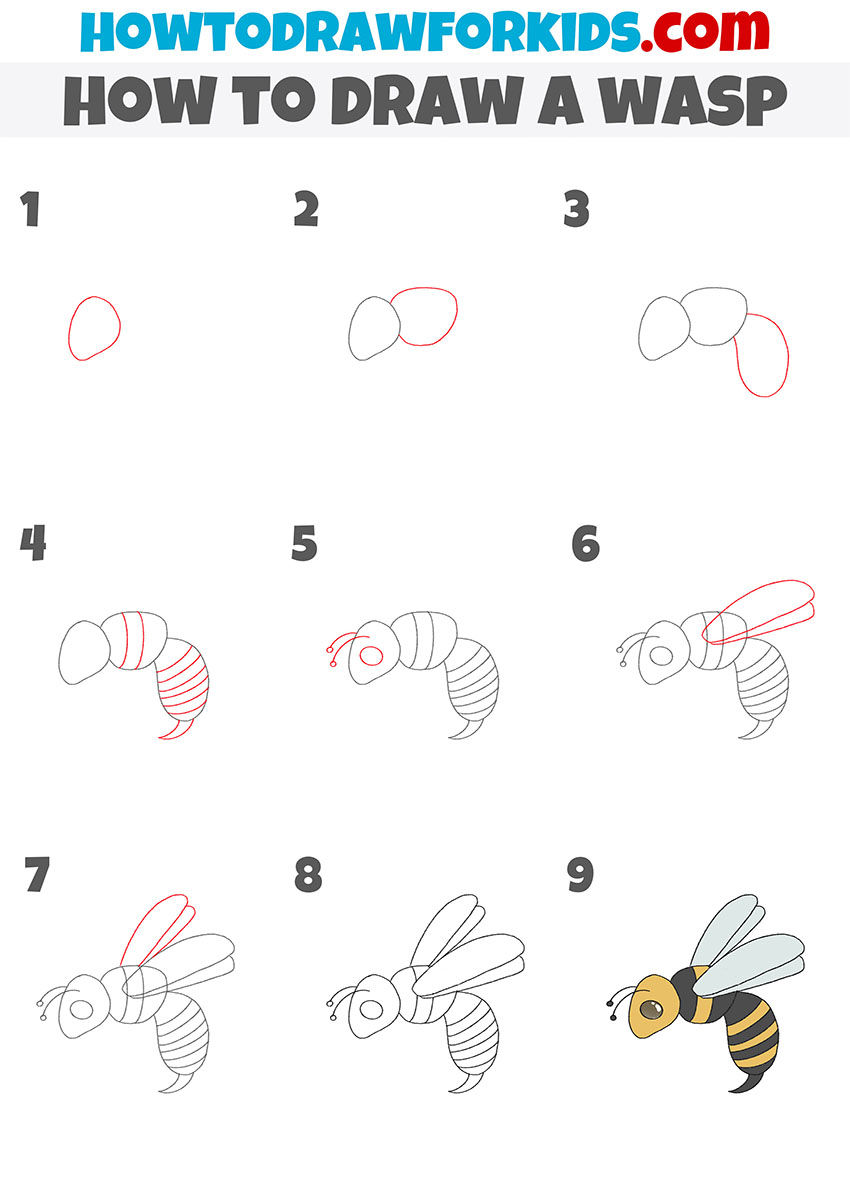
This guide includes nine steps. Each step is one simple action. As you work, carefully draw all the lines and use small tips to achieve the best result.
Materials
- Pencil
- Paper
- Eraser
- Coloring supplies
Time needed: 30 minutes
How to Draw a Wasp
- Draw the head.
Determine the size of the drawing and draw a figure of the same shape as in the example.

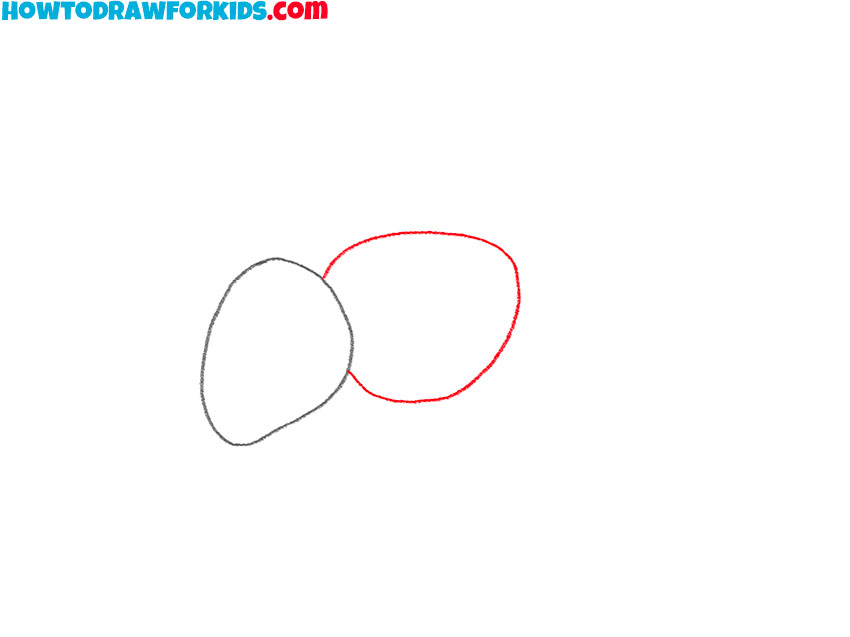
- Depict the thoracic region.
Near the head, add another rounded shape.
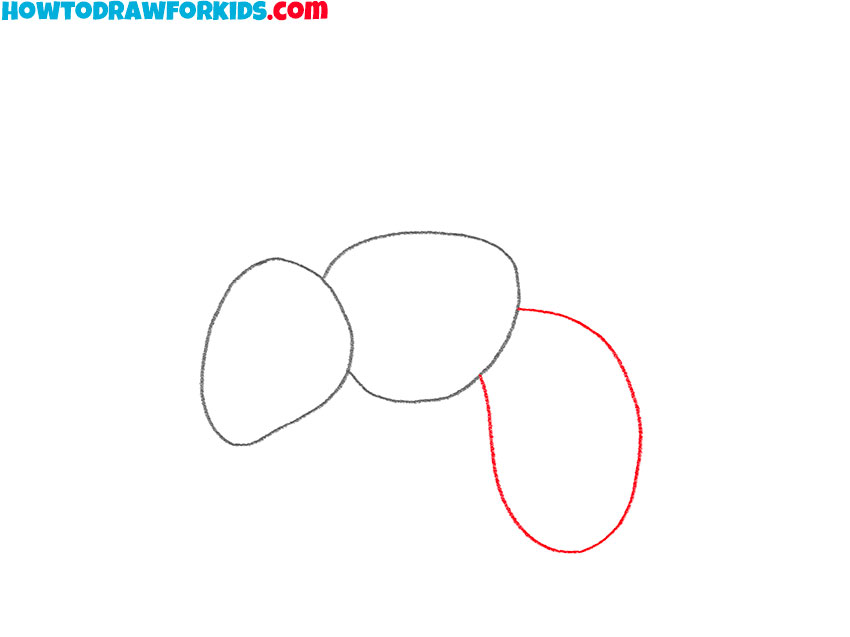
- Add the belly.
At the bottom, add an oval shape.
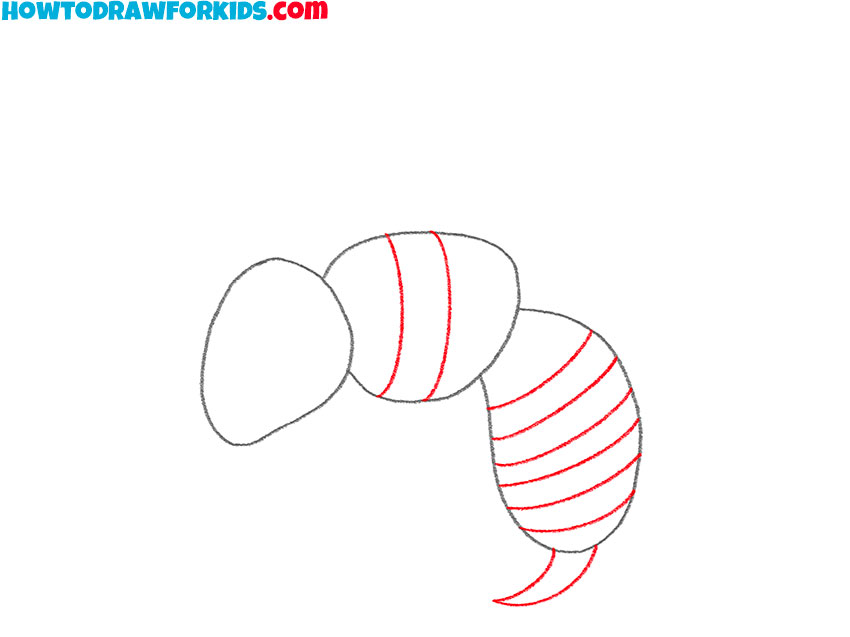
- Sketch out the stripes and sting.
On the chest and belly, draw transverse lines in sequence, add a pointed sting at the bottom.
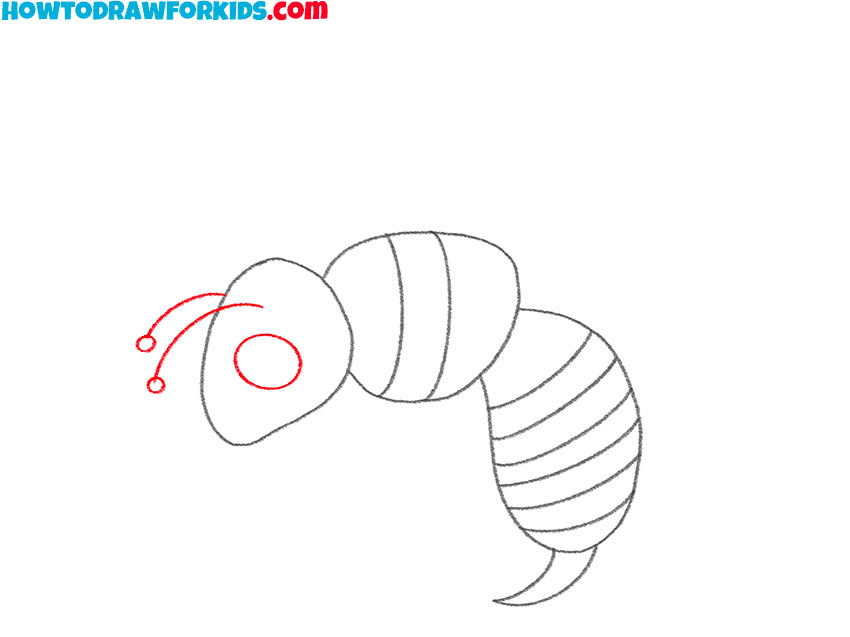
- Draw the mustache and eyes.
Depict one big oval on the head and add two antennae.
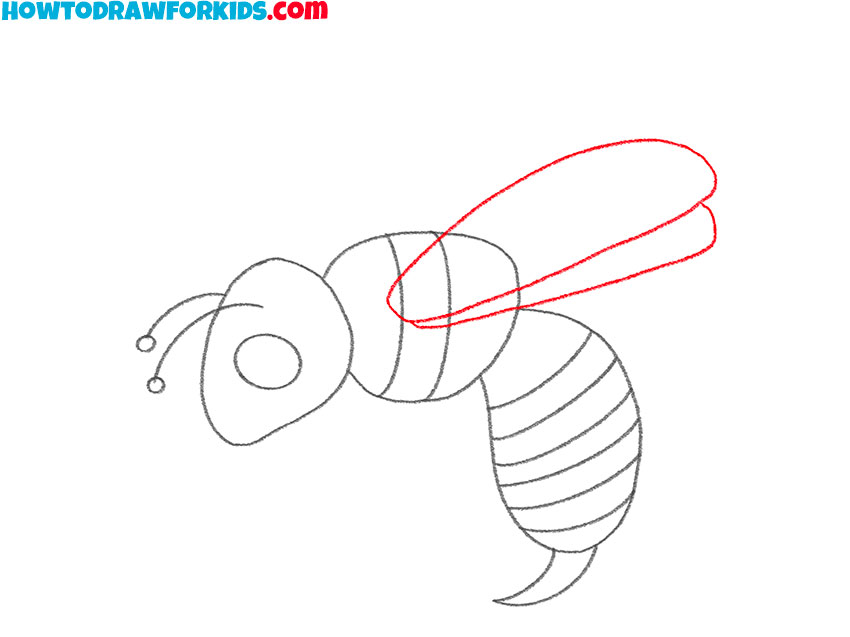
- Depict one pair of the wings.
On the thoracic region, draw the elongated wings that are located together.
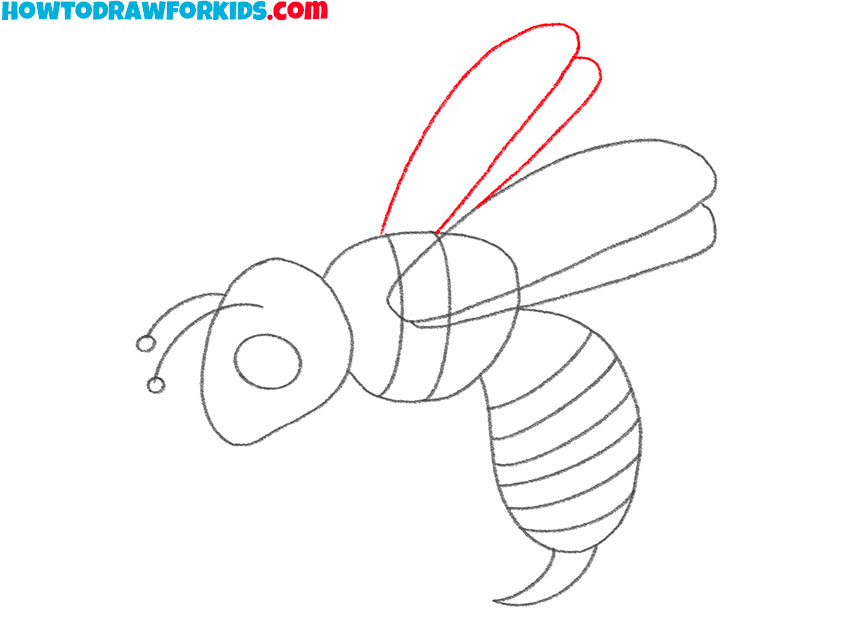
- Add the second pair of the wings.
A little higher, add a couple more wings of approximately the same shape.
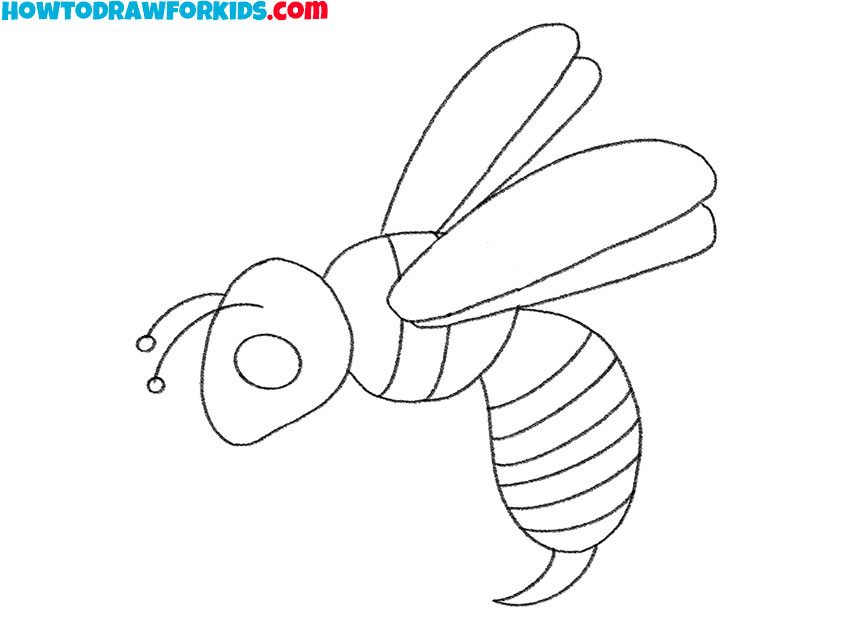
- Correct inaccuracies.
With the eraser, carefully remove the extra lines.
- Color the wasp.
For coloring, you will need black, yellow, and blue.

As usual, at the end of the lesson, I have prepared a PDF file for you, which contains a brief instruction and additional training materials. Download the file and enjoy drawing at any time.

