How to Draw a Spider Web
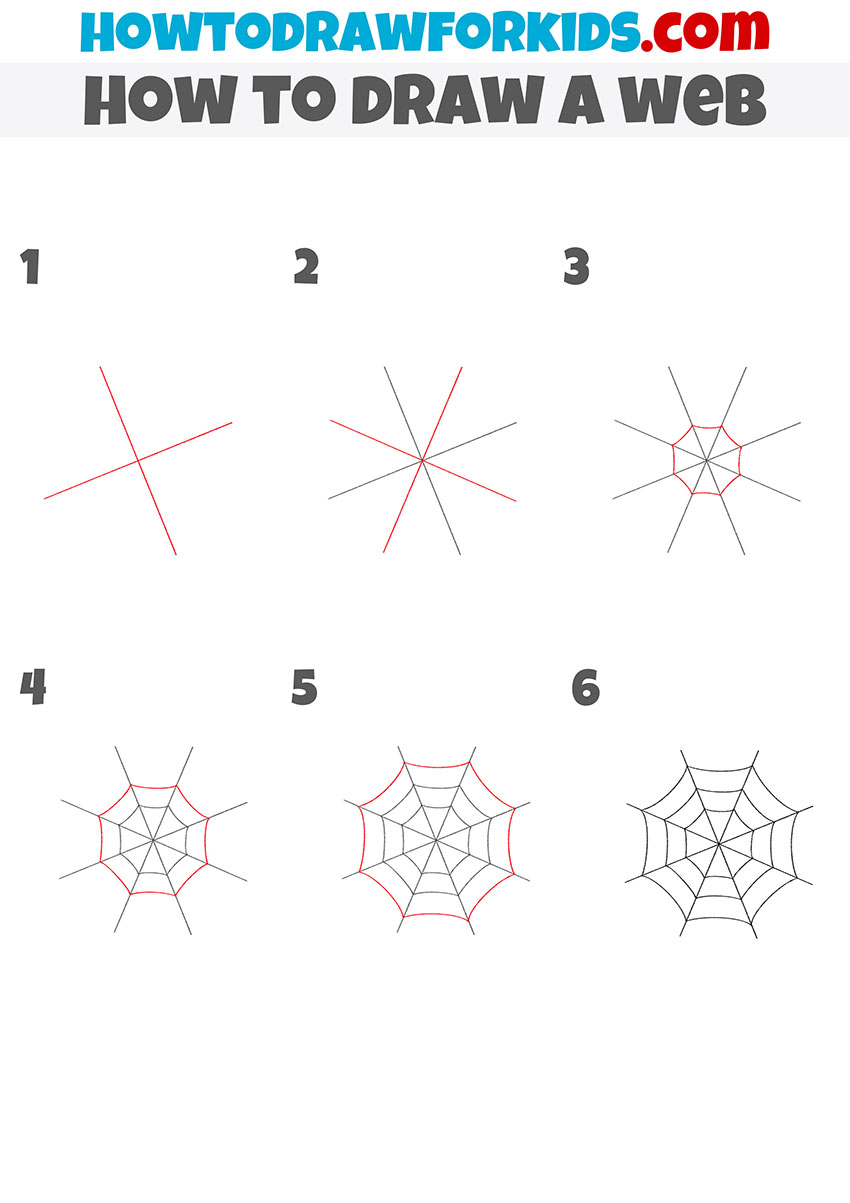
I suggest you complete a lesson in which you will learn how to draw a spider web. This simple lesson consists of five steps.
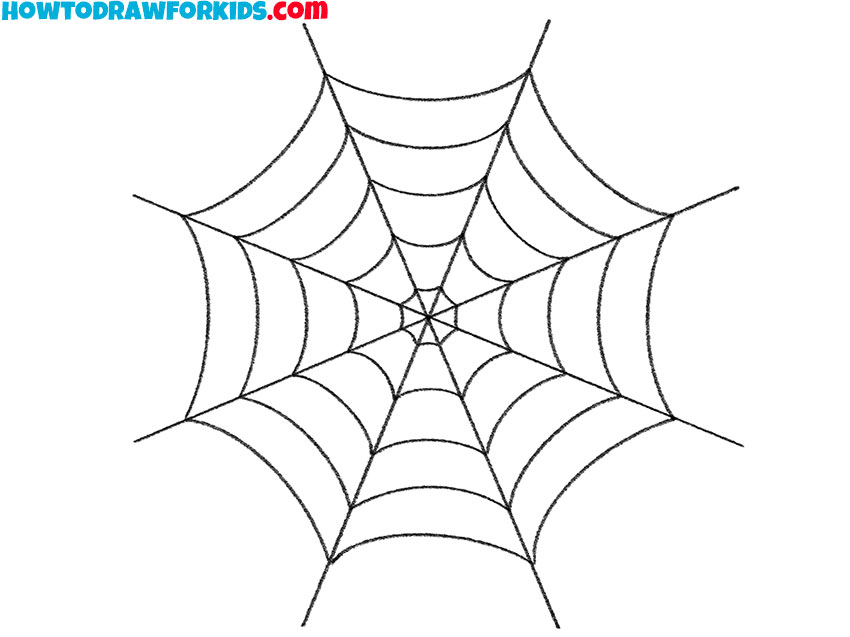
So, I am happy to offer you this very useful and easy drawing lesson in which I will tell and show you how to draw a spider web step by step. Any novice artist or a child who does not have much experience in drawing can easily cope with the implementation of this lesson.
By learning how to draw a spider web step by step with the help of this instruction, you can easily depict it as the main object of your drawing, as well as complement this image with any painted natural landscape, insect or any other objects.
When drawing a spider web, you will practice drawing geometric shapes such as straight lines and arcs. Now you probably want to get started on this wonderful drawing lesson as soon as possible. If you want your drawing to look neater and more beautiful, you can use a ruler when necessary.
Materials
- Pencil
- Paper
- Eraser
- Coloring supplies
Time needed: 15 minutes
How to Draw a Spider Web
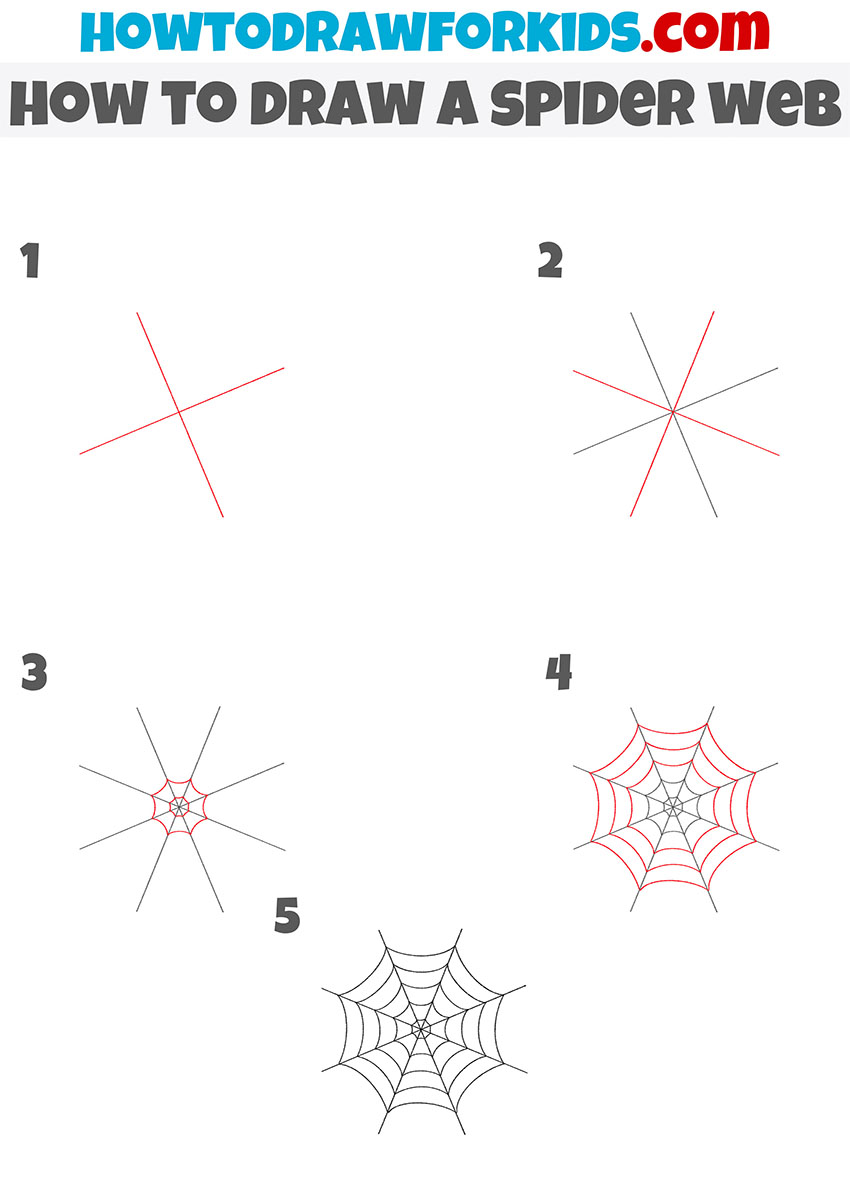
- Start drawing the main lines of the spider web.
To complete this step, you need to draw two straight lines that intersect.

- Add two more lines for the main part.
Now you need to draw two more straight intersecting lines of the same length as drawn.

- Start drawing the inside of the spider web.
Between the previously drawn straight lines, add symmetrical arcs of large and small sizes.
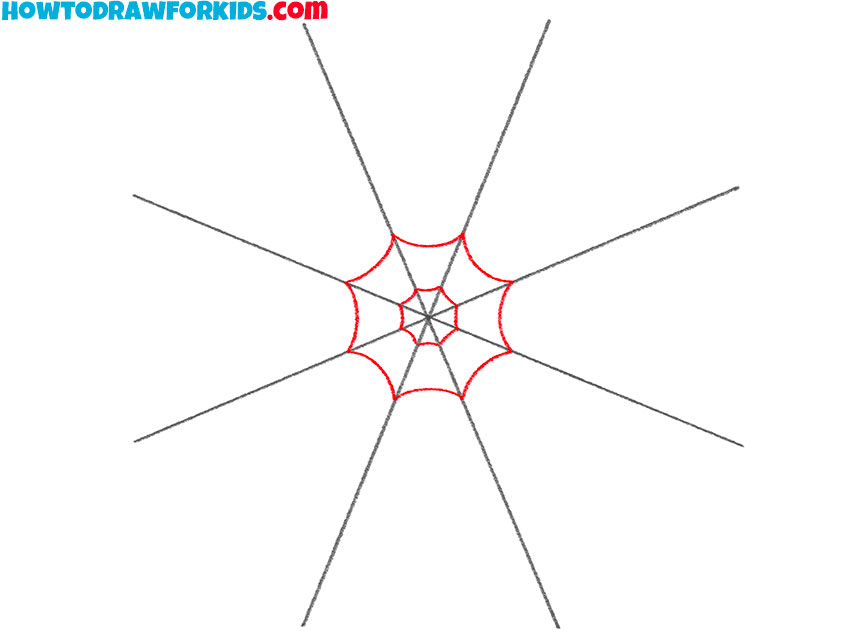
- Finish drawing the structure of the spider web.
Now you need to add many symmetrical arcs of different sizes as shown in the picture.
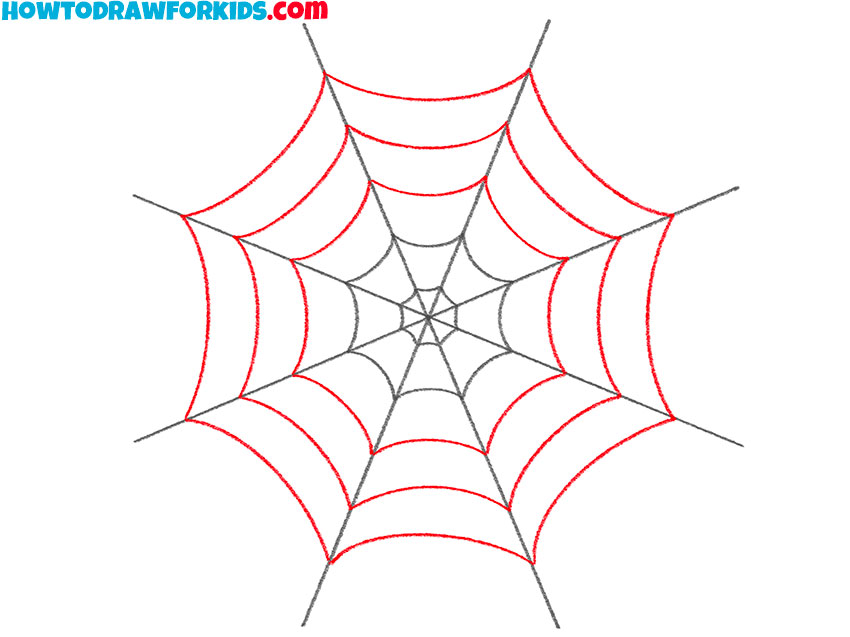
- Finish drawing.
Now you can look at your drawing, evaluate its quality and make the lines bolder.

Don’t forget to download the PDF file which contains a short version of this lesson and additional practice materials.
How to Draw a Web: Additional Tutorial
Now let’s try to draw a web in a slightly different way. Here you can see a web with fewer threads. Also, here you can see a different set of steps.
