How to Draw Claws
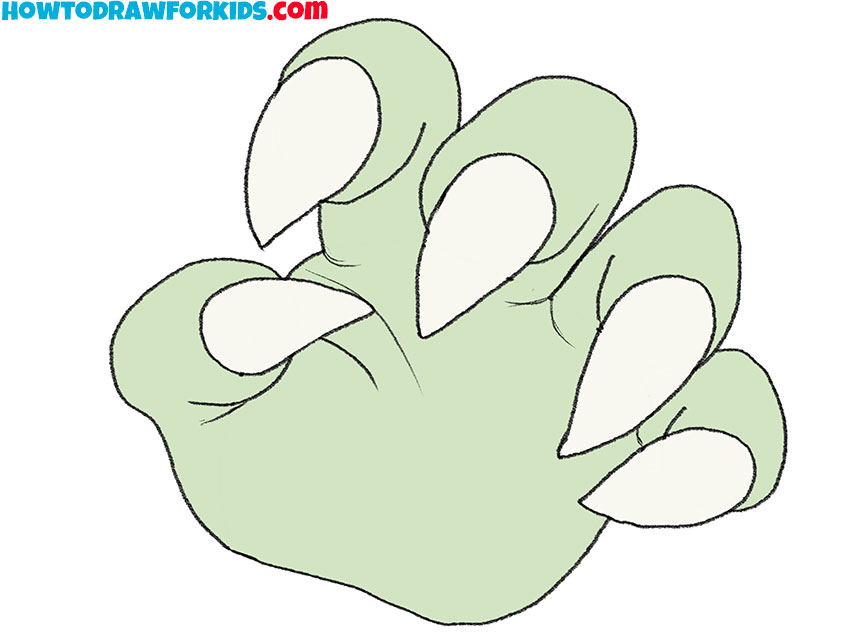
In this tutorial, I’ll show you how to draw claws in a simple way that’s suitable for beginners and young artists. We’ll draw the palm first, then add the fingers and pointed tips.

How to Draw Claws: Basic Information
Claws are an important detail for drawing many different animals, dinosaurs, dragons, and other creatures. Once you’ve learned this tutorial, you’ll be able to add more realistic details to many of your future drawings.
Although claws may look complicated at first, they are made up of a few really simple forms. By the end of this guide, you’ll know how to draw them and use the same technique in many other drawings.
I colored the claws and the hand in yellow-green shades, but you can choose any color palette you like when you finish your drawing.
Claws Drawing Tutorial
Materials
- Pencil
- Paper
- Eraser
- Coloring supplies
Time needed: 30 minutes
How to Draw Claws
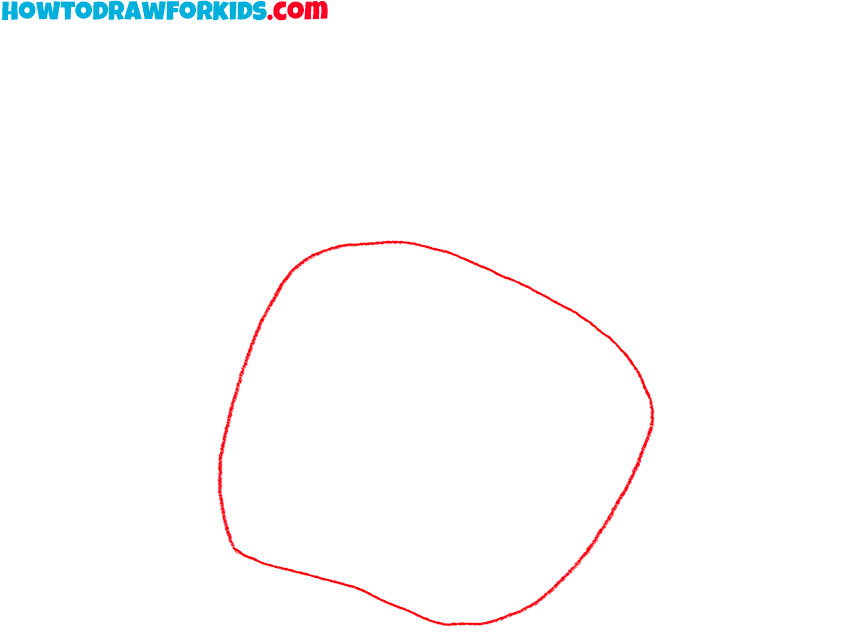
- Draw the palm.
Start by drawing the base of the palm, imagining a trapezoid with gently rounded corners to draw a natural, organic shape that will serve as the foundation.
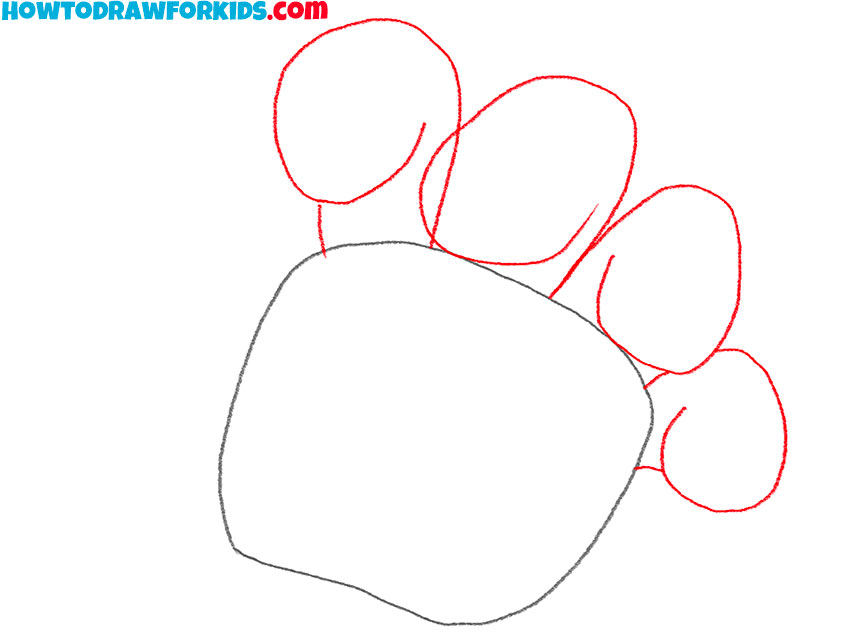
- Depict four fingers.
Using fluid, smooth lines, depict four oval shapes at the top of the trapezoid to represent each finger, curved as if they are gently bending inward toward the palm.
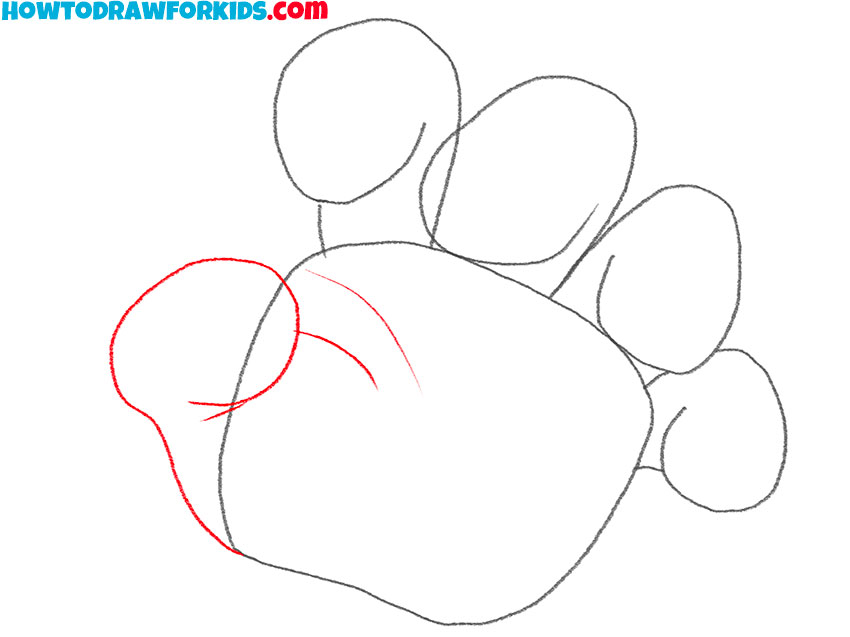
- Sketch out the thumb.
On the left side of the palm outline, craft the thumb with a curved line, mirroring the gentle bend of the fingers. Additionally, sketch a line inside the palm to indicate a fold.
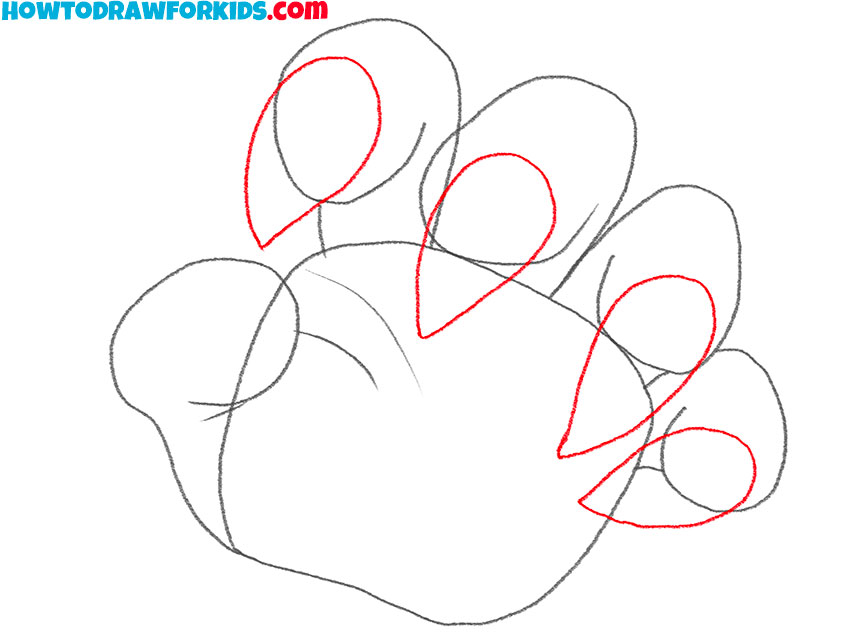
- Add the claws on the fingers.
At the tip of each finger, carefully draw the teardrop-shaped claw, ensuring the pointed end faces outward to mimic the sharpness and curvature of the natural claws.
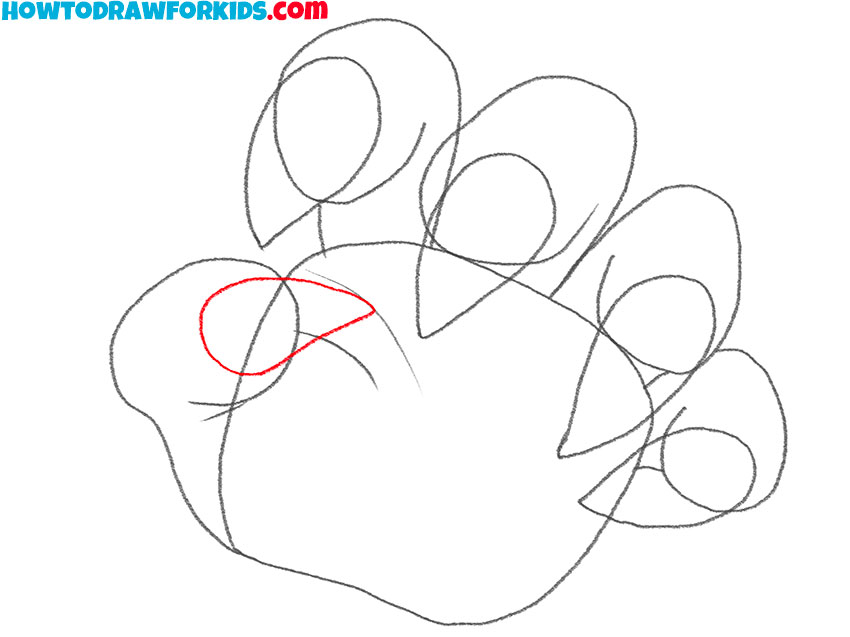
- Draw the claw on the thumb.
Following the method used for the fingers, replicate the process for the thumb by drawing a similar teardrop-shaped claw, ensuring it reflects the thumb’s unique angle and position.
- Correct inaccuracies.
Now, meticulously erase any superfluous lines to refine your claws drawing, enhancing the definition of each claw and the palm for a clean and precise final depiction.

- Color the claws drawing.
For a vivid finish, fill the palm area with a vibrant green shade. Then, apply a soft beige to color each claw, creating a natural and contrasting appearance to your creature’s claws.
Additional Content
I have put together a comprehensive PDF guide, offering a succinct version of this drawing lesson which you can download for free.
It’s designed for easy use so that you can practice drawing claws anywhere you go, even when you’re offline.
Technical Nuances When Drawing Claws
When drawing claws, pay close attention to their shape. The base of each claw is usually wider, while the tip gradually becomes thinner and sharper. Try to keep the curves smooth instead of making them look like straight triangles.
If the claws are attached to a paw or hand, make sure they all point in the same general direction and follow the position of the fingers.
You can also use light shading near the base of each claw to give it a more three-dimensional appearance.
After finishing this tutorial, try drawing claws with different lengths and curves. This is a simple way to practice drawing the claws of birds, dinosaurs, dragons, and many other animals.
What’s Next?
Now you know how to draw claws and can use the same techniques in many other drawings. If you’d like to put these new skills into practice, try my dragon drawing tutorial, where claws are an important part of the character.
You can also follow the dinosaur drawing guide to practice drawing different types of claws and feet.
Follow me on social media to stay updated whenever I publish new drawing tutorials. If there’s another animal or creature you’d like to learn how to draw, leave a comment below.
I always enjoy reading your suggestions and often use them when planning future lessons.