How to Draw an Earring
I bring to your attention an interesting and useful lesson on how to draw an earring. This lesson will not leave you indifferent.
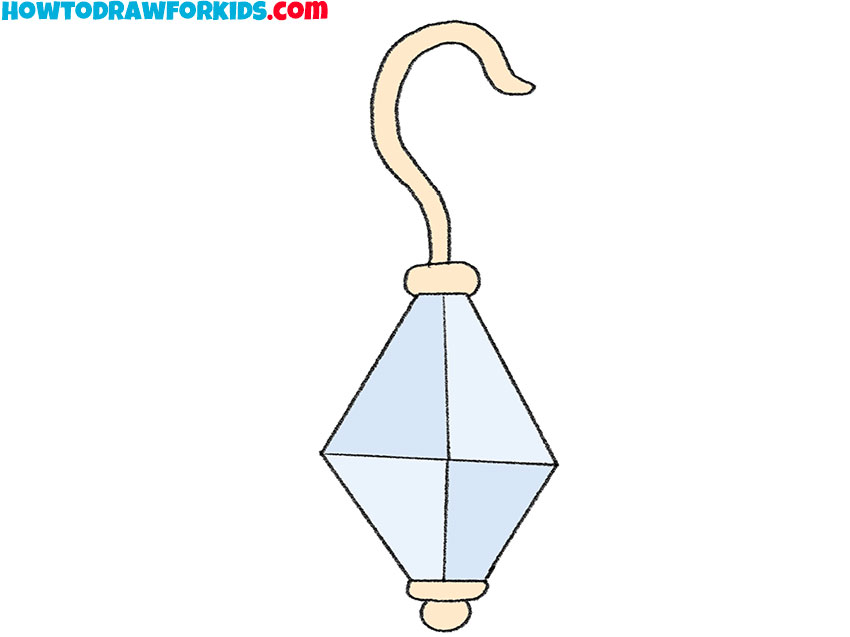
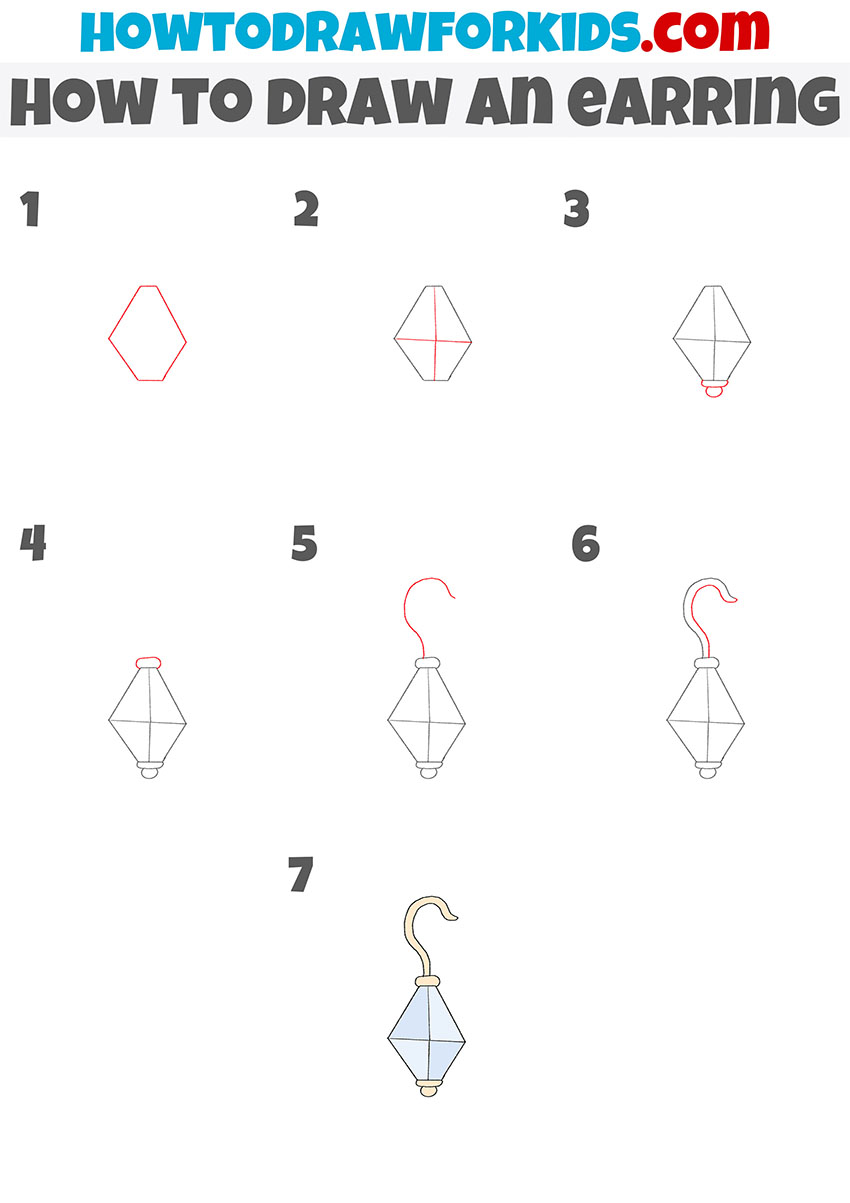
Drawing jewelry is always interesting, and now you have the opportunity to learn how to draw an earring step by step. This lesson is designed specifically for beginners, so simple lines and a minimum of elements is used here.
The earrings are very popular pieces of jewelry worn on the ears. Earrings are made from a variety of materials and earrings come in a variety of designs. Earrings may be entirely metal or may contain elements made from stones, wood, plastic, ceramic or other materials.
The clasp on the earrings can also have a different shape, in this case the clasp is made in the form of a loop. The main part of the earring is a gemstone with several facets. The stone is connected to the clasp with a metal pin.
Materials
- Pencil
- Paper
- Eraser
- Coloring supplies
Time needed: 30 minutes
How to Draw an Earring
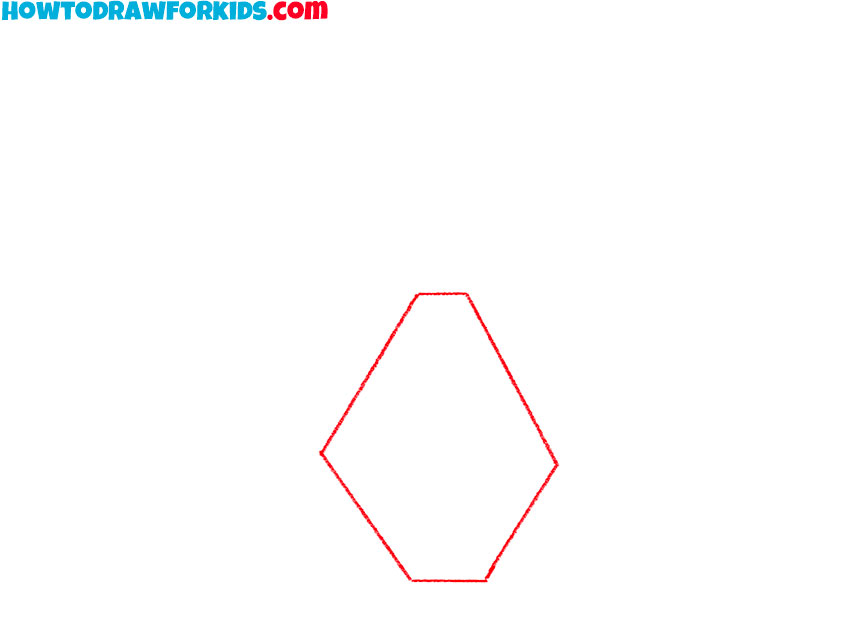
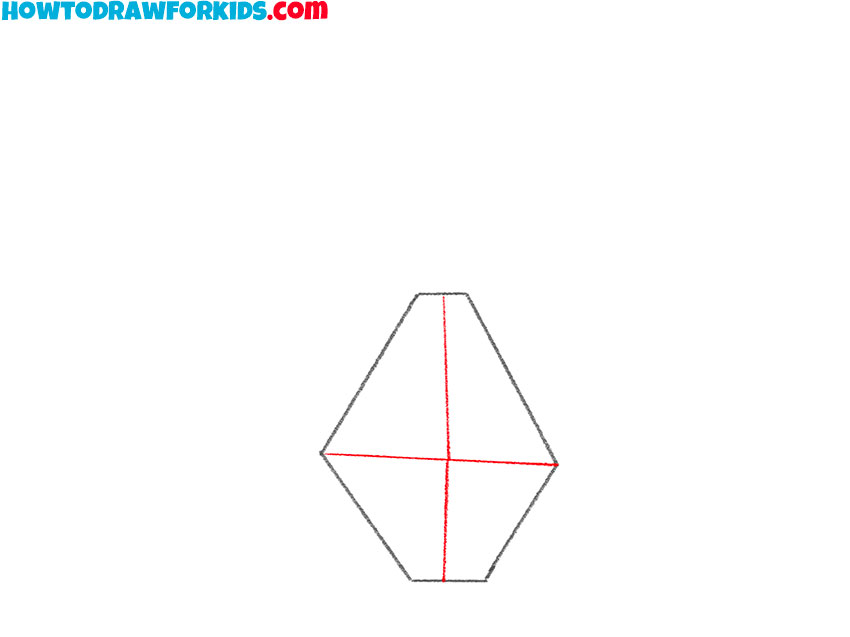
- Draw the outline of the stone.
With the help of even straight lines draw a hexagon of the same shape as in the figure.
- Add the edges to the stone.
In the middle of the stone, draw straight lines arranged crosswise.
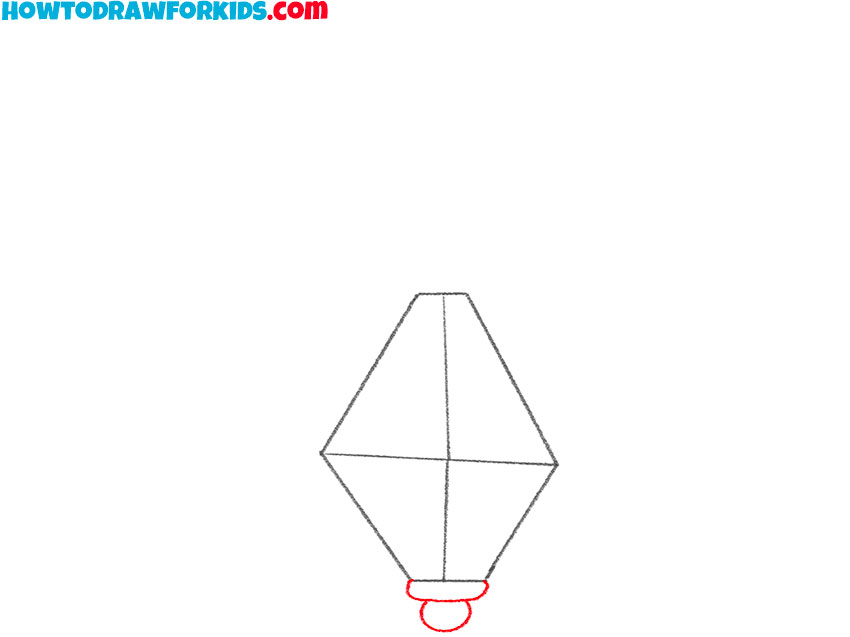
- Depict the bottom of the earring.
At the very bottom, add two small rounded elements.
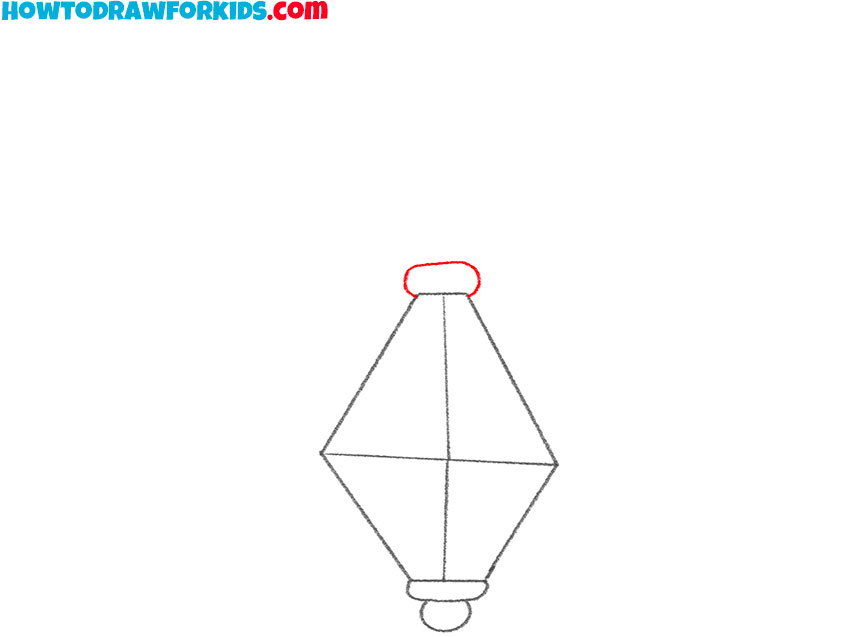
- Sketch out the top mount.
At the top of the stone, add an oval shape.
- Add the outer outline of the loop.
Sketch out a smooth curved line at the top.
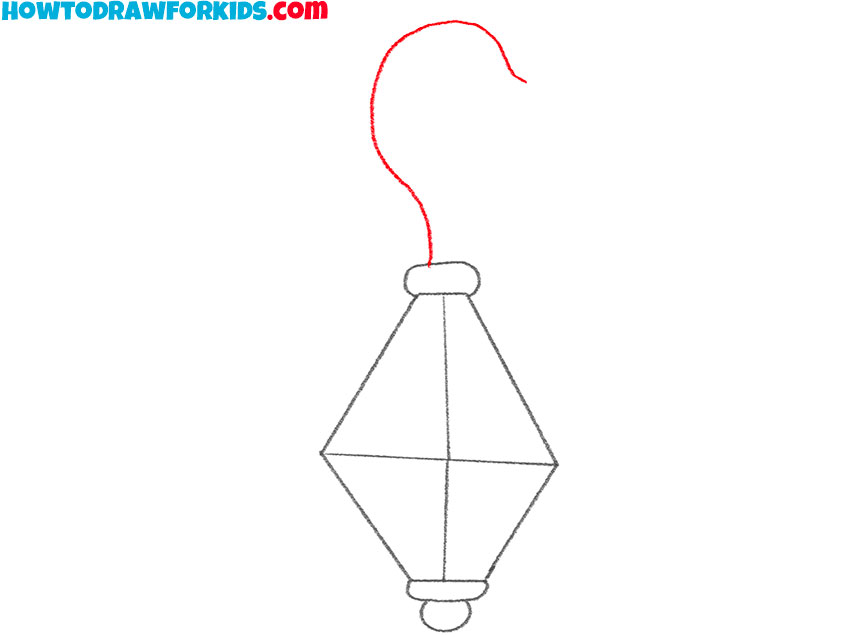
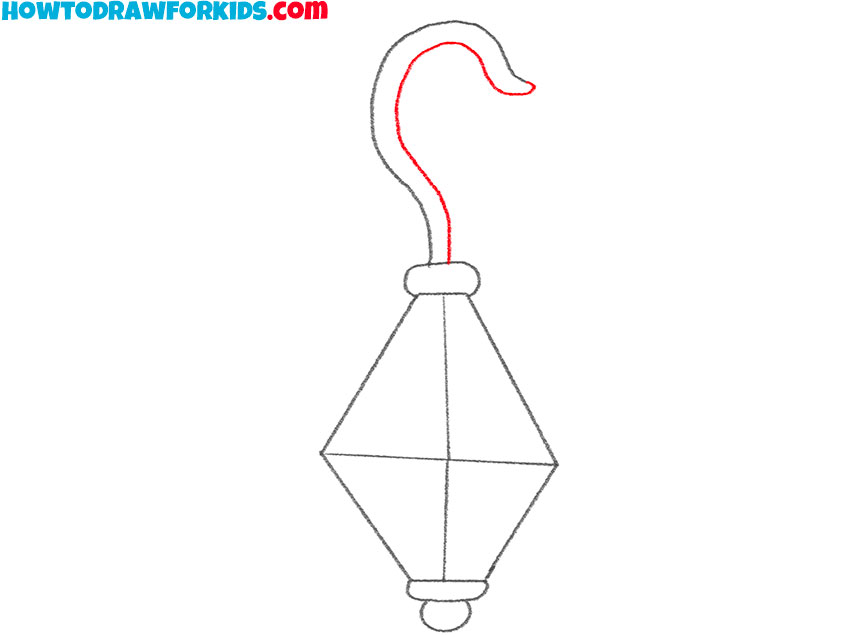
- Draw the rest of the loop.
Add another curved line to end up with a closed path.
- Color the drawing.
For coloring, use the lightest shades of beige and blue.

Especially for your convenience, I have prepared a PDF file that contains all the useful information about this lesson. Download the file and draw at any convenient time.

