How to Draw a Bottle
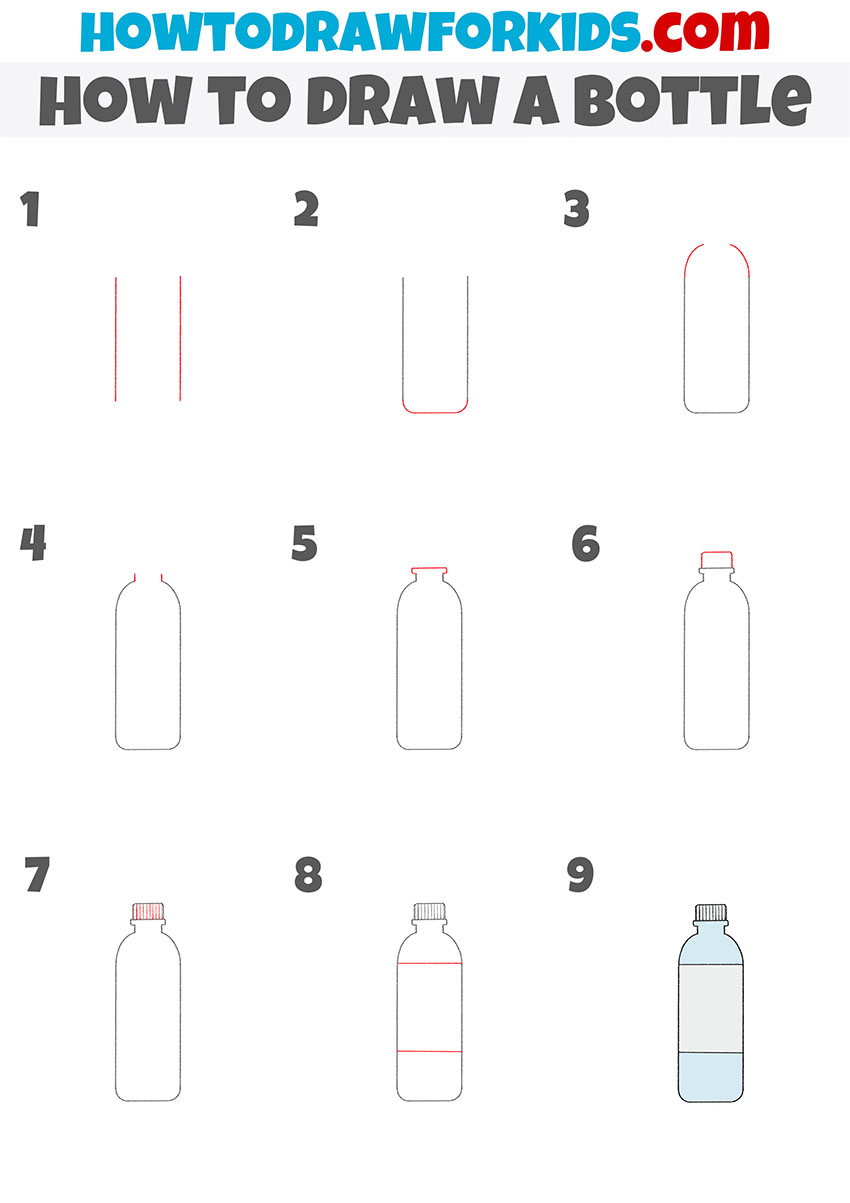
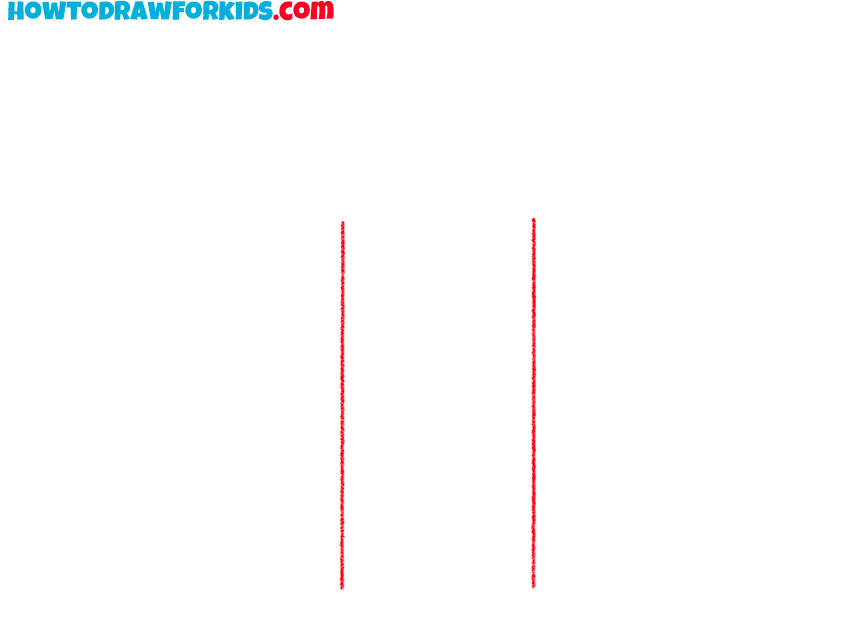
Once you start drawing, you can turn simple lines on the page into realistic objects. In my tutorial on how to draw a bottle, I break down this everyday object into basic shapes that anyone can replicate. Starting with two vertical lines defines the height and width of the bottle, creating a strong frame.

How to Draw a Bottle: Basic Information
Crafting a bottle on paper is a skill that seems simple, yet it holds intricate details that can truly make your artwork stand out. Through my lesson on how to draw a bottle, I’ve stripped the process down to the most basic steps. The key is to start with two parallel lines to define the height and a curved base to ensure stability in the drawing.
As we move to sketching the body of the bottle, gentle curves and careful proportions come into play. This lesson is designed to instill confidence as you draw, with each step building upon the previous one. By step three, the distinct bottle shape is recognizable, paving the way for the fine details that give character to your bottle.
Final touches like the cap’s threads and the label’s boundaries bring life to your creation, turning a simple sketch into a tangible object. It’s about understanding the subtle art of turning flat lines into a vessel that could almost hold water. This practice refines your skill, allowing the simple bottle to become a testament to your growing prowess as an artist.
Bottle Drawing Tutorial
Materials
- Pencil
- Paper
- Eraser
- Coloring supplies
Time needed: 30 minutes
How to Draw a Bottle
- Draw the sides.
Depict two straight vertical lines.
- Sketch out the bottom of the bottle.
Draw a smooth line at the bottom to depict a rounded bottom outline.

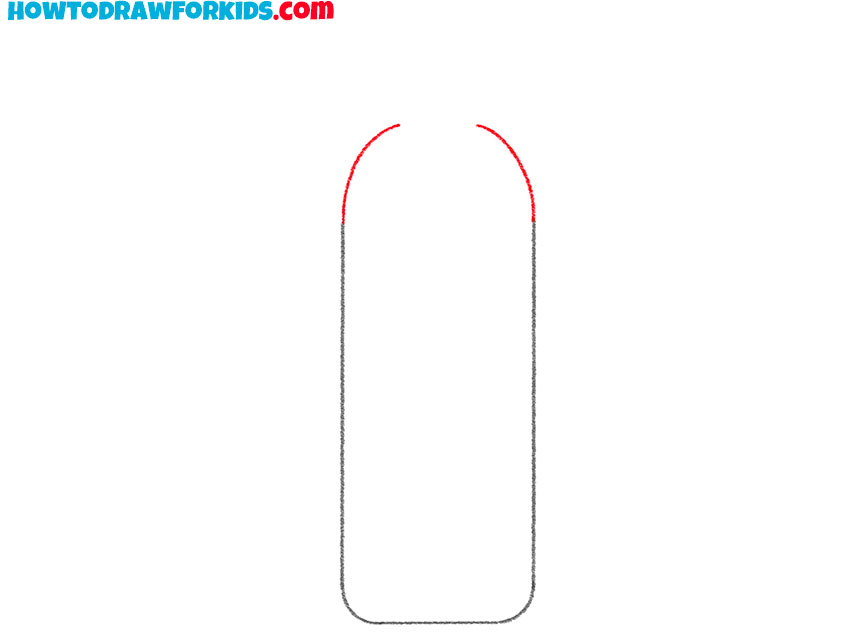
- Add the top of the bottle.
At the top, draw smooth rounded lines on each side.
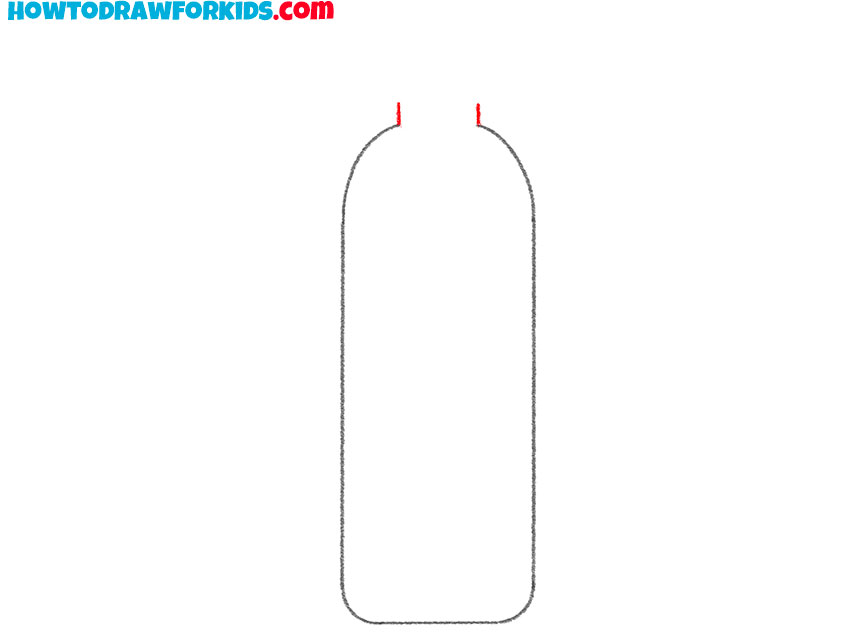
- Depict the narrow part of the neck.
Sketch out two vertical short lines on each side.
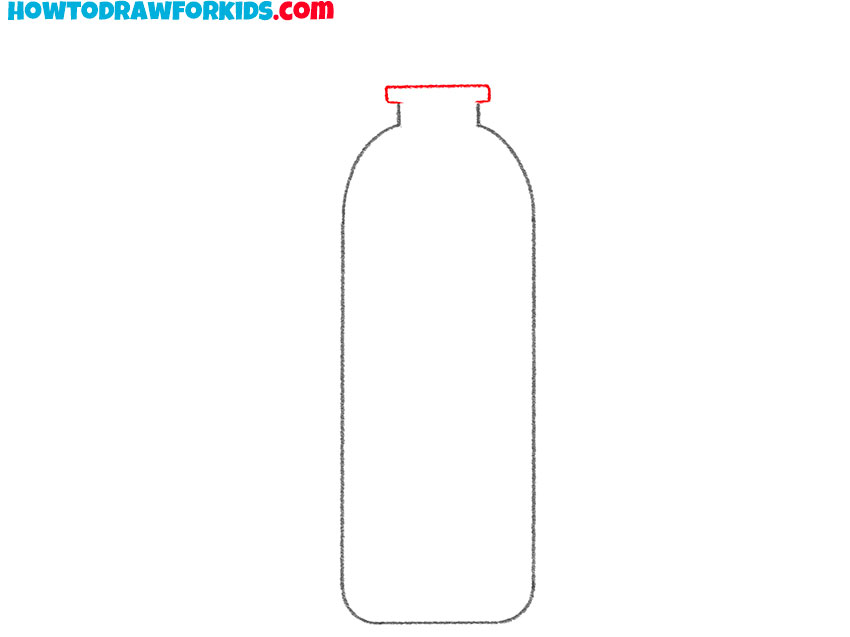
- Draw the top of the neck.
Use some even, straight lines to depict the top of the neck.
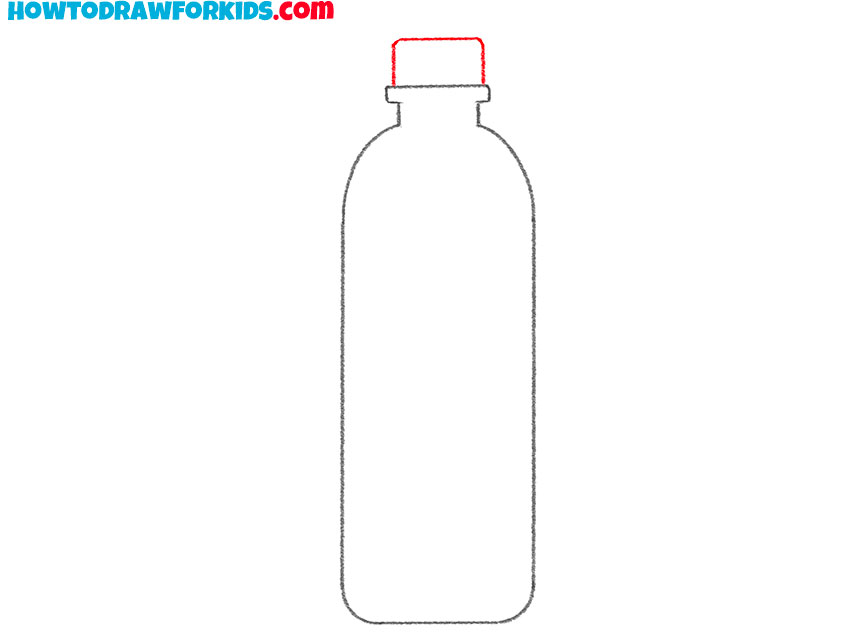
- Draw the bottle cap.
The bottle cap is rectangular in shape with rounded corners.
- Add relief to the cap of the bottle.
Sequentially draw thin vertical lines on the cap.
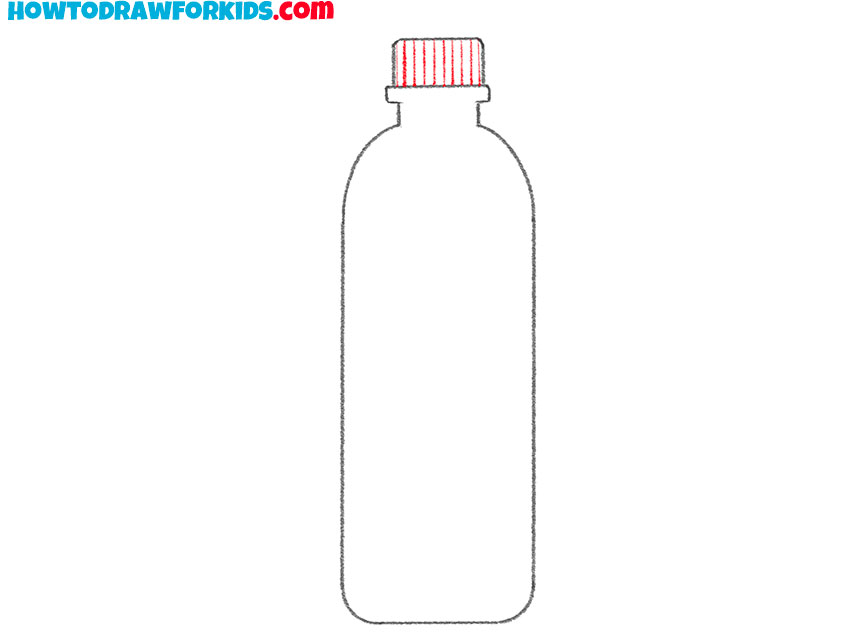
- Draw the outline of the label.
Depict two straight horizontal lines in the middle of the bottle.
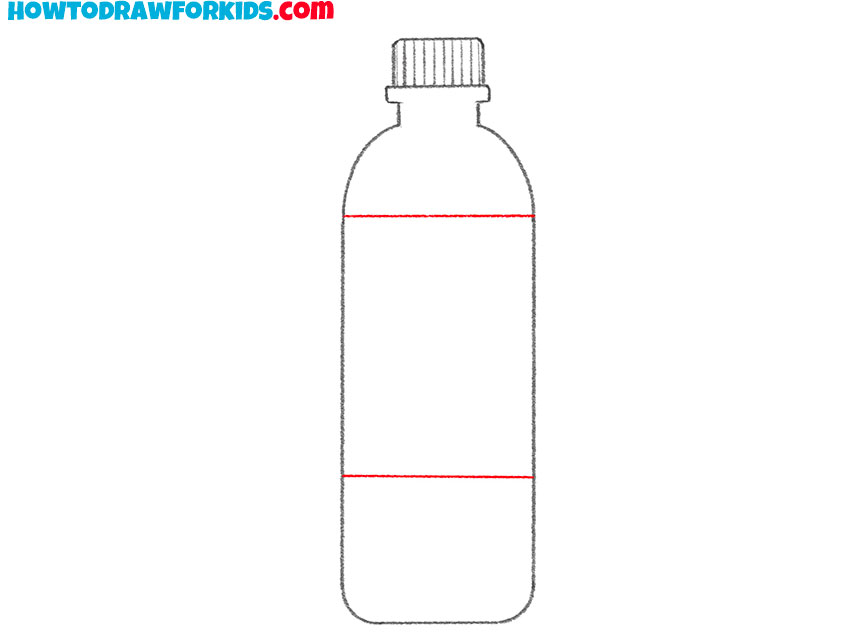
- Color the bottle.
You will need two shades of blue.
Additional Content
To enhance your learning experience beyond this tutorial, I’ve compiled a complimentary PDF file. This concise version of the lesson serves as a convenient reference you can access anytime, with or without an internet connection. It’s designed not to reiterate steps but to enrich your drawing practice after mastering the fundamentals.
Inside the PDF, you’ll discover supplementary materials crafted to refine your skills further. It’s packed with exercises aimed at sharpening your observational abilities, understanding of shapes, and rendering techniques. The focus is on practice that builds confidence and precision in your drawings.
Consider this PDF a personal toolkit, an aid to develop your craft in the art of drawing bottles and similar objects. It provides structured yet flexible exercises to enhance your dexterity and artistic intuition. With this resource at your disposal, you’re set to evolve your drawings from simple sketches to intricate illustrations.
Alternative Drawing Method
In addition to the core lesson, I’ve devised a simpler alternative drawing technique for a bottle that will further refine your artistic skills. This fresh approach is designed to be accessible and to streamline your practice, helping you progress with ease.
This new method distills the drawing process into even more manageable steps, allowing for quick repetition and mastery. It’s perfect for building confidence in your lines and shapes, gradually enhancing your understanding of the bottle’s form.
Adopting this technique will give you the advantage of varied practice, which is essential for developing versatility in your art. With each iteration, you’ll find your hand steadier and your recreations more accurate, swiftly moving you from novice to skilled artist.
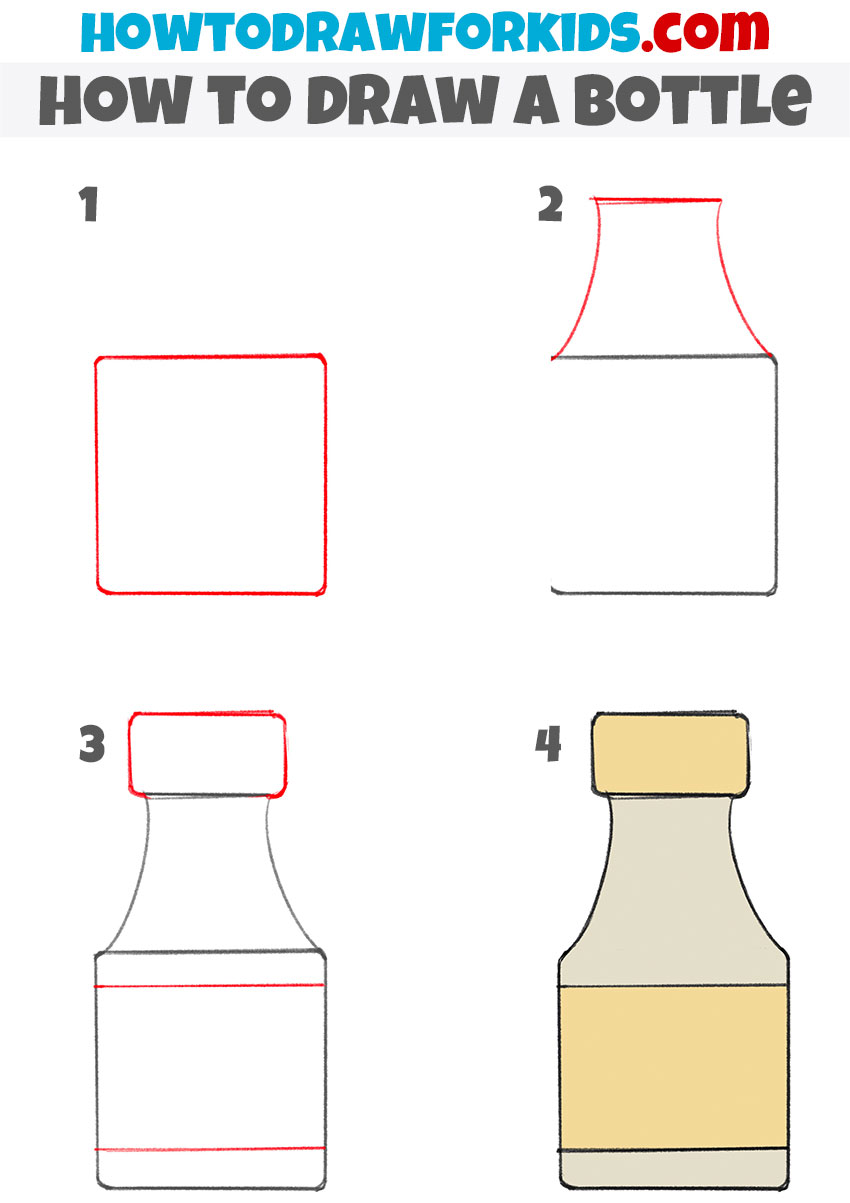
How to Draw a Bottle for Kindergarten
In the first step of this alternative method, we lay the groundwork for our bottle by drawing a simple square. This square will form the body of the bottle, giving young artists a solid and easy shape to start with. By focusing on straightforward geometric shapes, the method ensures that even the youngest learners can grasp the basic outline with confidence.
Moving on to step two, we begin to mold our square into the recognizable shape of a bottle. We add a rectangle on top for the neck and slightly curve the edges of the square to mimic the contour of a bottle’s body. It’s an enjoyable way for kindergarteners to see how combining simple shapes can create something more complex.
The final steps are about refining and bringing the drawing to life. Step three involves adding details like the cap and label outline, which encourages precision and attention to detail. In the fourth step, we infuse our creation with color, teaching children about color choices and giving them the freedom to personalize their artwork.
Transform Your Bottle Sketch into a Work of Art
To take your drawing of a bottle to the next level, consider these enhancements. They will refine your artwork, making it not just a drawing but a piece of art that stands out with its attention to detail and creativity.
- Detailing the Label: Adding a label can give character to your bottle. Consider designing a custom label, perhaps with intricate patterns or interesting typography that reflects the contents or origin of the bottle.
- Texture Application: Show the material of the bottle by adding texture. For a glass bottle, include light reflections and subtle color changes to represent the transparent effect.
- Background Setting: Place your bottle in a setting. A kitchen shelf or a rustic table can complement the bottle and provide context to your drawing.
- Adding Contents: Draw the liquid inside the bottle. Use shading techniques to illustrate the liquid’s surface and how it interacts with the bottle’s interior.
- Implementing Shadows and Highlights: Work on the shadows and highlights to give your bottle a three-dimensional appearance. Observe how light interacts with the object and mimic that in your shading.
- Introducing Additional Elements: Consider adding other objects to accompany your bottle, like glasses, fruit, or ice cubes, depending on what the bottle might contain.
By focusing on these suggestions, your skill in drawing bottles will grow. The depth, context, and realism you can add will elevate your bottle from a simple sketch to an expressive piece of art that tells a story. Remember, practice is key in art – every drawing is a step forward in your creative process.
Beginner’s FAQ on Bottle Drawing
In crafting this guide, I endeavored to address common curiosities and concerns that might arise during the learning process. Below, you will find a curated selection of frequently asked questions, each chosen to deepen your understanding and enhance your drawing practice.
- How do I ensure my bottle proportions are accurate? Begin by observing real bottles and practicing with basic shapes to build your understanding of proportions.
- Can I use a ruler for straight lines or should I practice freehand? Freehand drawing improves your skill, but a ruler is helpful for beginners to establish correct proportions.
- What’s the best way to add shadows and depth to a bottle drawing? Study light source and reflection on actual bottles to understand shadow placement.
- How can I make my bottle drawings look more realistic? Pay attention to reflections, highlights, and the way light passes through glass.
- I struggle with drawing the cap; any tips? Break down the cap into simpler geometric shapes and refine from there.
In summation, this list serves to bolster the skills imparted through our lesson, aiming to resolve common queries and equip you with the confidence to continue your artistic process. Keep these points close as they are stepping stones to your progress in the art of bottle drawing.
Conclusion
Completing our lesson is just the start of what you can achieve with a pencil and paper. My website offers an array of tutorials to expand your artistic repertoire. If you’re drawn to the rugged tranquility of mountain landscapes or the dynamic sleekness of planes, there are lessons tailored specifically for those subjects and many more.
I encourage you to follow my social media channels for the latest updates and engaging content that can inspire your next project. Your input and comments under each lesson are crucial – they help steer the direction of upcoming tutorials and ensure I’re covering the topics you’re most passionate about.