How to Draw an Easter Basket
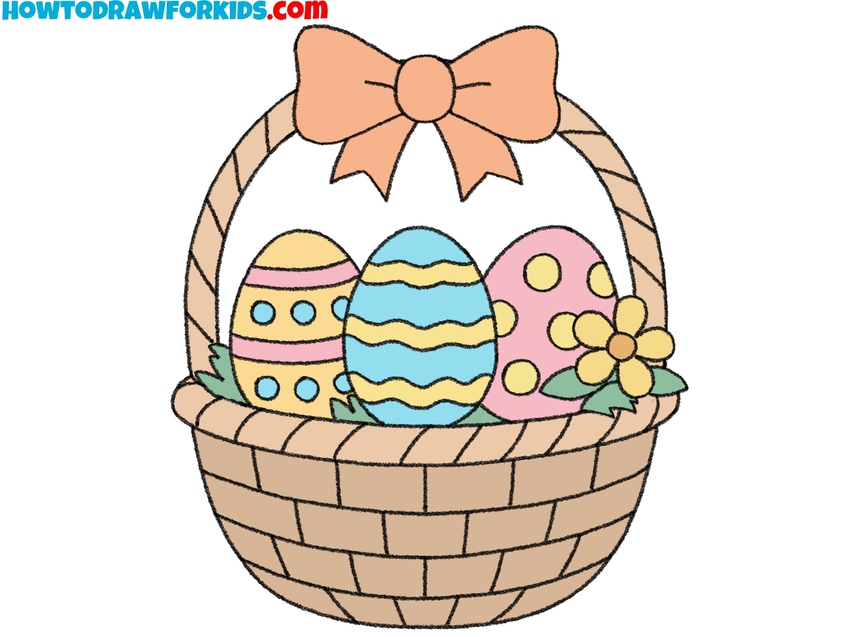
Let’s learn how to draw an Easter basket filled with patterned eggs and a decorative bow using simple shapes and clear steps.
How to Draw an Easter Basket: Introduction
In this easy tutorial, I’d like to show you how to draw an Easter basket step by step. You’ll learn to create a woven basket filled with beautifully decorated eggs and topped with a charming ribbon. As always, each step comes with clear illustrations and simple instructions.
While drawing your Easter basket, pay special attention to the shape and texture of the basket itself. Adjust the curvature of the woven lines to achieve a realistic look, and remember that the basket’s shape can be slightly wider or narrower depending on your personal preference.
When drawing and decorating the eggs inside the basket, feel free to be creative with patterns and designs. Try experimenting with dots, stripes, zigzags, or even floral patterns to make each egg unique. Also, keep in mind the arrangement of eggs – varying their sizes and angles will make your drawing more visually appealing.
Finally, consider personalizing your Easter basket by customizing the ribbon or adding extra elements, such as flowers or grass, around the base of the basket. Small adjustments like these will help your drawing reflect your personal style. Gather your supplies – a pencil, eraser, paper, and coloring tools – and let’s start to draw an Easter basket!
Easter Basket Drawing Tutorial
Materials
- Pencil
- Paper
- Eraser
- Coloring supplies
Time needed: 35 minutes
How to Draw an Easter Basket
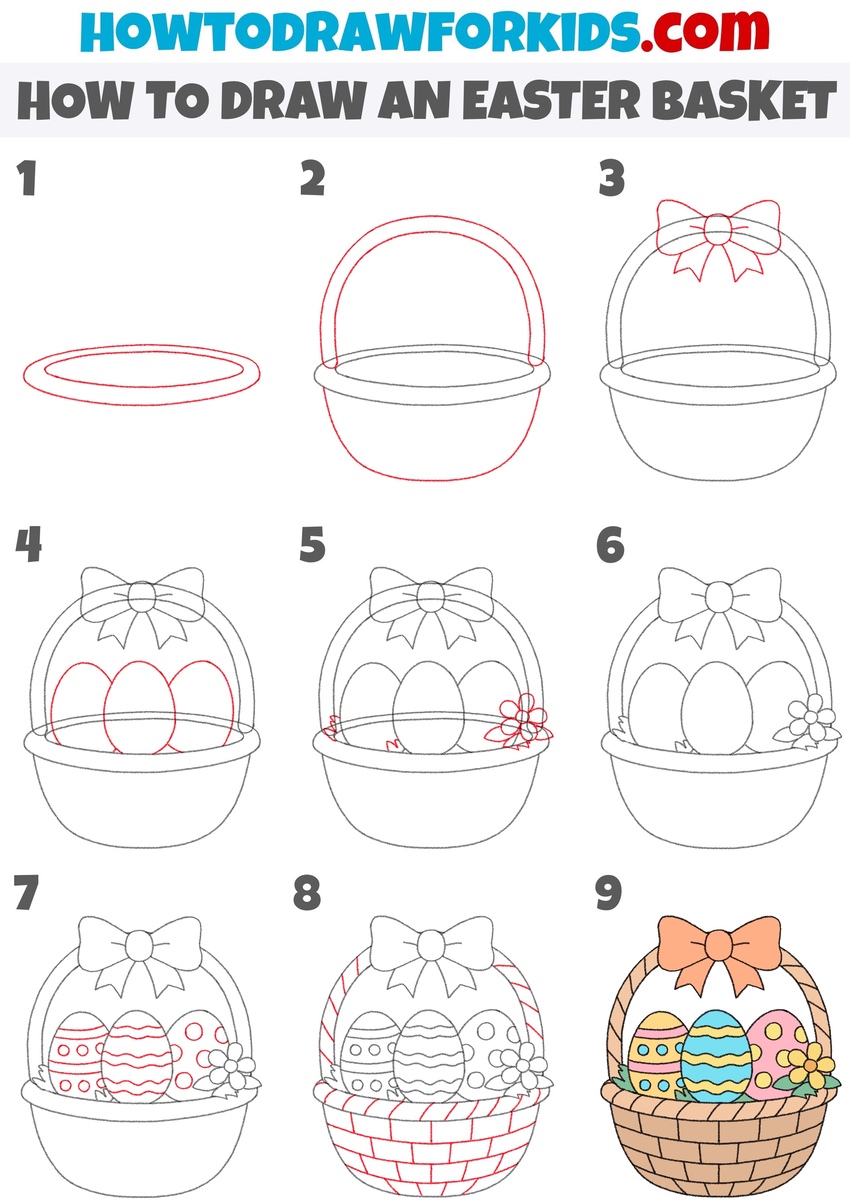
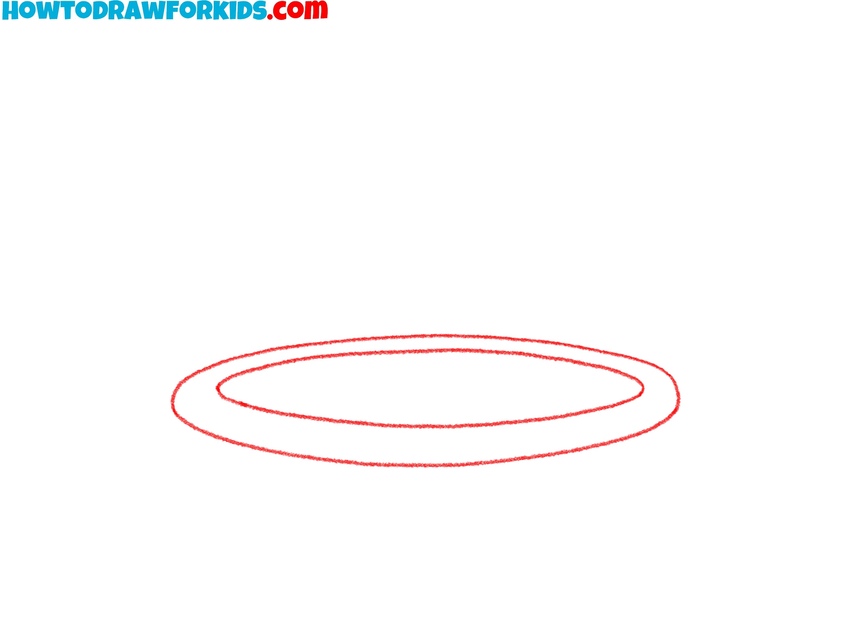
- Draw the Easter basket rim.
Begin to draw an Easter basket by sketching a simple oval shape to represent the rim. Consider how wide or narrow you want your basket to be. Pay attention to symmetry, checking occasionally if both sides match. You can slightly tilt the oval. Don’t worry if your oval isn’t perfectly symmetrical yet.
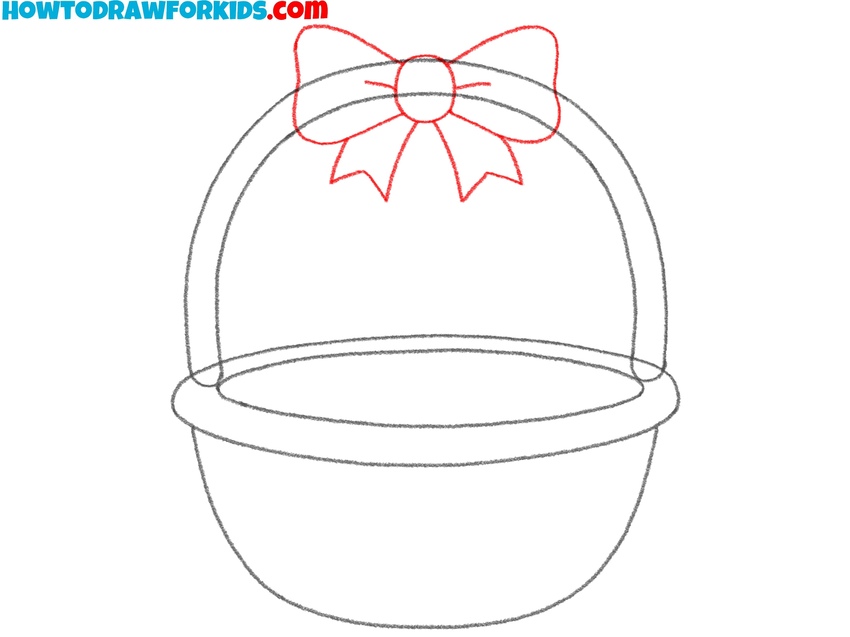
- Sketch the bottom and handle.
Beneath your original oval, draw a curved, bowl-like shape to form the Easter basket’s base. Above the rim, draw the Easter basket’s handle by sketching two parallel, curved lines. Keep the handle smooth and symmetrical, adjusting its thickness according to your personal preference.

- Add the decorative bow.
To draw the bow, sketch a circle in the center of the handle. This circle will form the bow’s knot. On each side of the knot, draw two symmetrical loops, forming an appealing bow shape. Below these loops, add the bow ends by drawing two ribbon-like shapes. Feel free to adjust the size or shape of the bow.
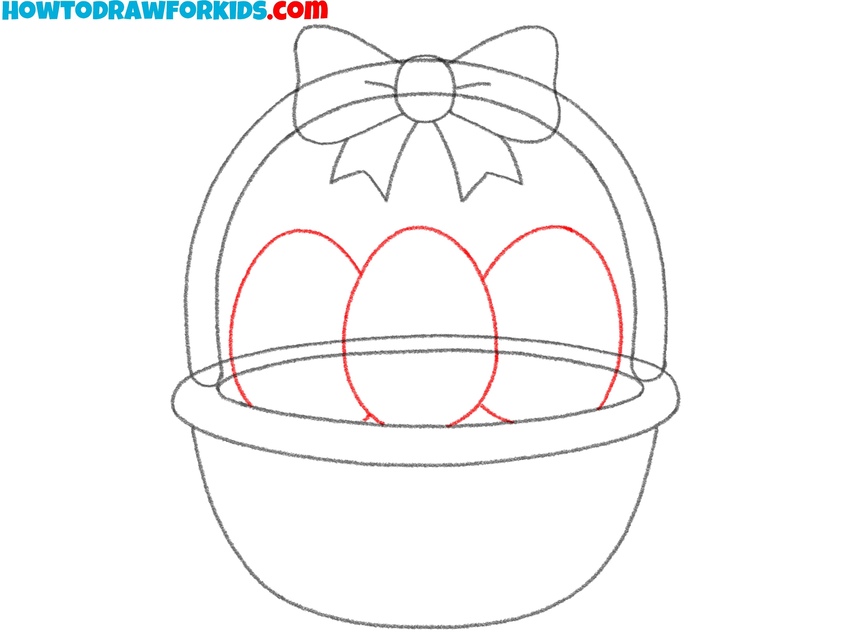
- Draw Easter eggs inside the basket.
In this step, you’ll draw decorative Easter eggs inside your basket. Begin by drawing three egg-shaped ovals positioned just behind the basket’s front rim. Start with the middle egg. Draw the remaining two eggs slightly tilted, partially overlapped by the middle egg.
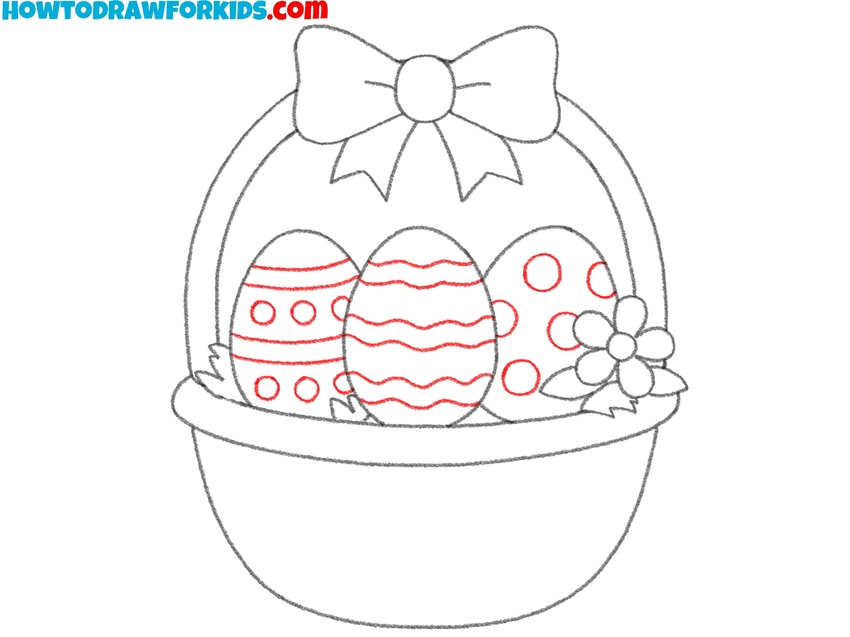
- Sketch decorative flowers and leaves.
Next, detail your Easter basket drawing by adding decorative flowers and leaves near the front rim. Begin by drawing the flower, using simple small ovals and circles. Adjust the number of flowers and leaves according to your preference, creating a unique Easter basket sketch.

- Erase the guidelines.
Carefully outline the basket, eggs, and flower. If necessary, erase any unnecessary sketch lines that might clutter the appearance of your Easter basket drawing, keeping the overall look clean and neat. Consider adjusting the placement of leaves or petals slightly. You may also add tiny details.

- Decorate the Easter eggs.
Sketch simple yet visually interesting patterns such as zigzags, stripes, dots, or even small flowers on the eggs’ surfaces. Experiment with different patterns on each egg. Remember to follow the curvature of the egg shapes when adding patterns to maintain a realistic look. Vary pattern sizes and complexity.
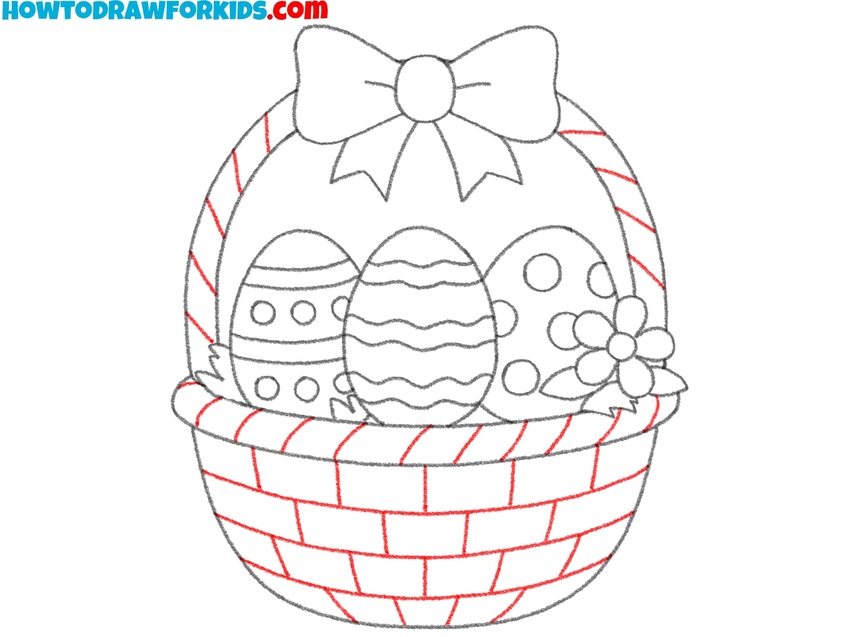
- Detail the basket texture.
Sketch horizontal lines across the basket’s base, following its gentle curve. Then, add short vertical lines between the horizontal ones, creating a simple basket weave pattern. Repeat the woven texture on the basket handle, using slightly curved lines following its shape. Keep the weave pattern clear and simple.
- Color your Easter basket.
Select cheerful colors for the basket itself – soft browns or light tans. Next, color each egg brightly, using combinations of pastels or vibrant shades. For flowers and leaves, use complementary colors that accentuate the eggs without. Color the bow in a vibrant shade like pink, purple, or pastel blue.

Conclusion
The tutorial on how to draw an Easter basket has come to an end! I hope you enjoyed the drawing process and that you’re happy with your artwork. Now, you can show your drawing to family and friends or use it as a lovely decoration for Easter. Feel free to explore other easy and fun drawing lessons available on my website – I have plenty more cool ideas waiting for you.
If you’re interested in a more detailed version, be sure to visit my main tutorial on how to draw a basket – there you’ll find additional tips on drawing various basket styles and textures. You might also want to try drawing an Easter bunny with an Easter basket.
Also, don’t forget to check out my collection of Easter coloring pages, where you’ll find many Easter basket illustrations and fill them with your favorite colors.
Feel free to leave a comment below to share your results or ask questions. Also, don’t forget to subscribe to my social media channels to stay updated on new drawing tutorials and creative ideas – I’d love to see you there!