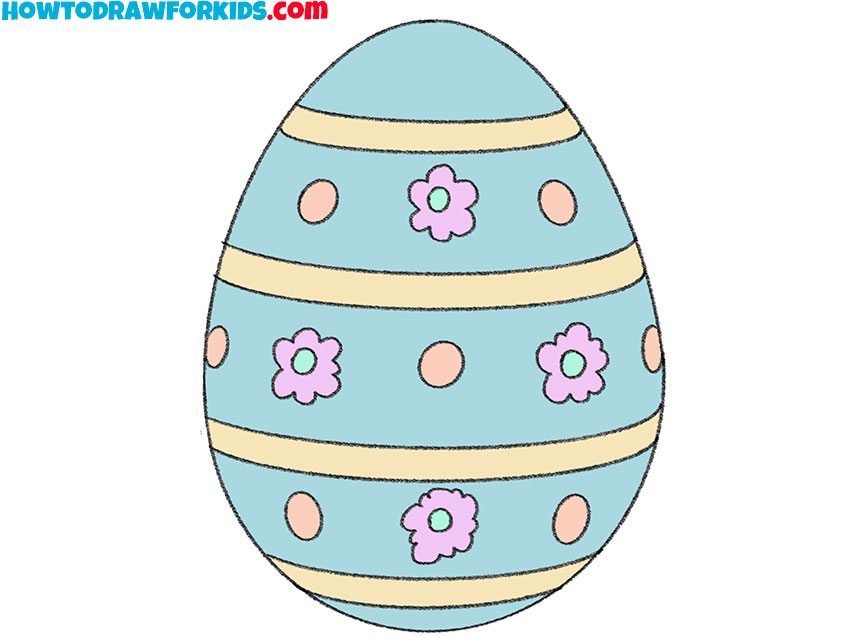
How to Draw an Easter Egg
Welcome to a creative exploration where we’ll master how to draw an Easter egg, a festive emblem of spring’s renewal and joy. In this lesson, I aim to demystify the art of drawing, making it accessible and engaging for all. You’re not just drawing an object; you’re crafting a symbol of the season’s vibrancy and color.
How to Draw an Easter Egg: Basic Information
In this artistic journey, we’ll be exploring the festive tradition of how to draw an Easter egg, perfect for celebrating the spring season. I’ve designed this lesson with clear, easy-to-follow steps so that everyone, from young learners to adult beginners, can enjoy the process of creating their own Easter masterpiece.
As we progress, you’ll see how simple lines and shapes come together to form intricate patterns on our egg, bringing it to life with each step. The method I use is all about breaking down complex designs into easy segments, ensuring that anyone can follow along and create something beautiful.
By the end of our lesson, you’ll have the skills to draw an Easter egg that’s both eye-catching and personal. Whether you’re creating a card, a decoration, or just enjoying the art, this technique will add a touch of spring to your drawings and maybe even start a new tradition in your creative repertoire.
Easter Egg Drawing Tutorial
Materials
- Pencil
- Paper
- Eraser
- Coloring supplies
Time needed: 30 minutes
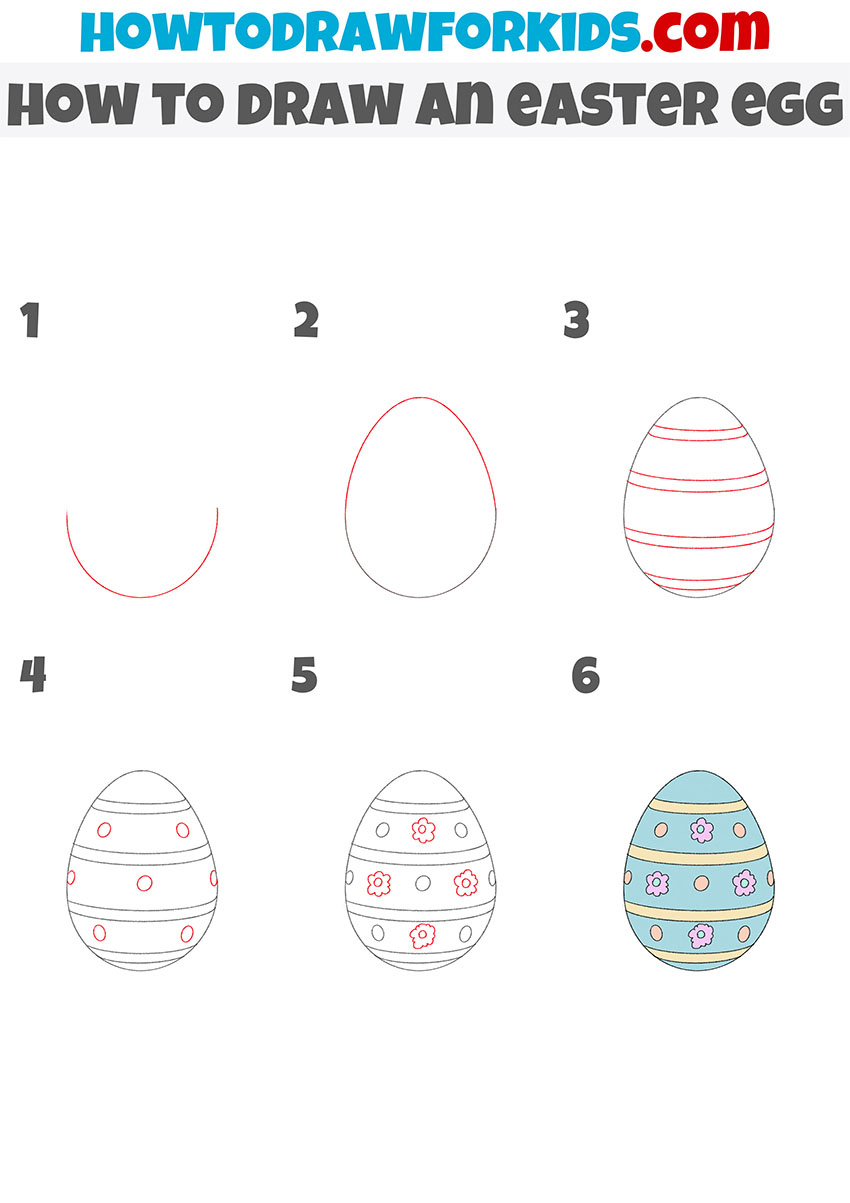
How to Draw an Easter Egg
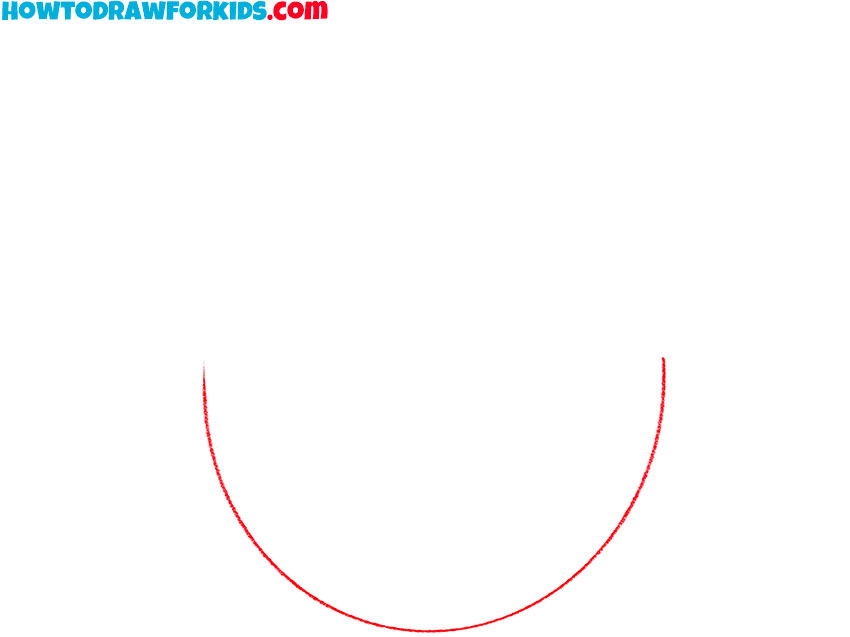
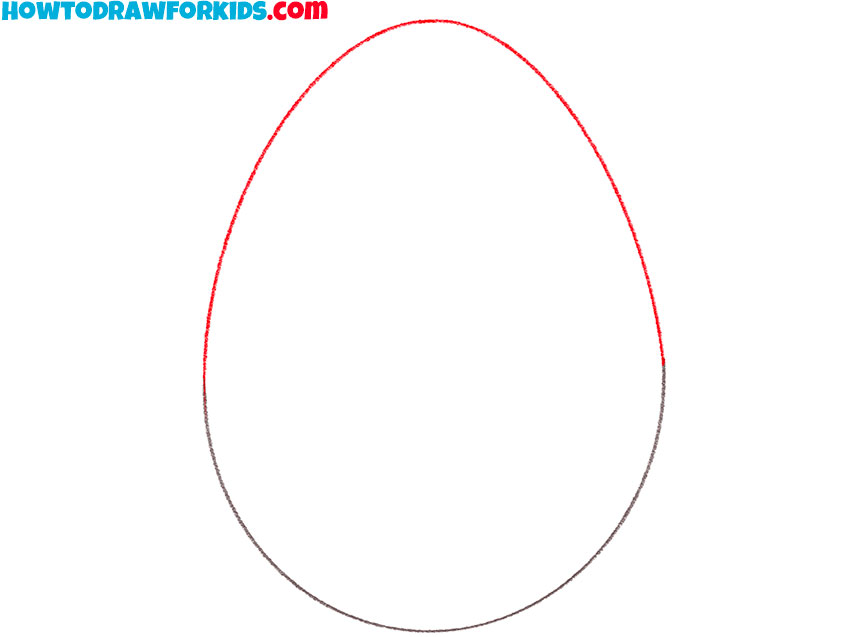
- Draw the bottom of the egg.
Sketch out a smooth, rounded line.
- Depict the top of the egg.
Draw another rounded line at the top to make a closed outline.
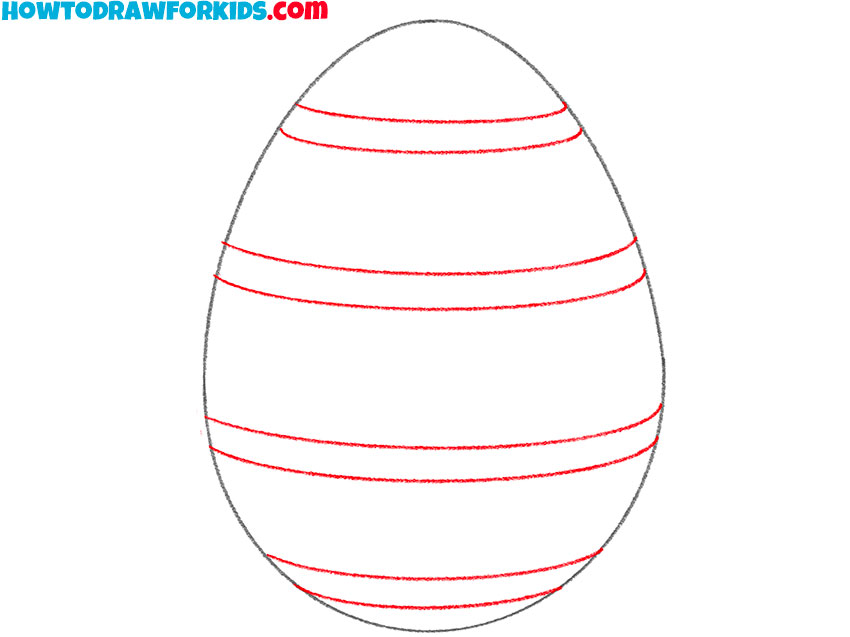
- Sketch out the stripes.
Sequentially draw transverse lines on the entire surface of the egg.
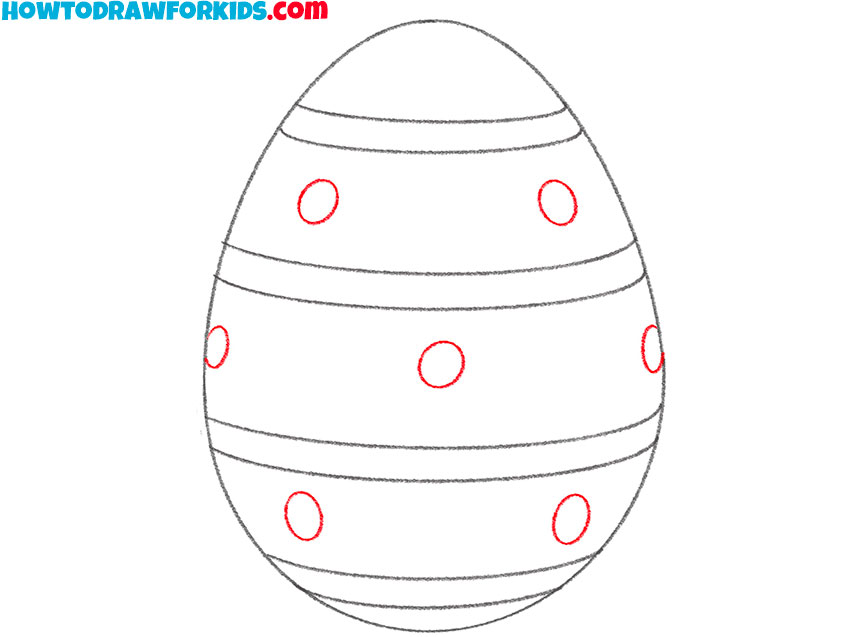
- Add details.
Depict some small circles.
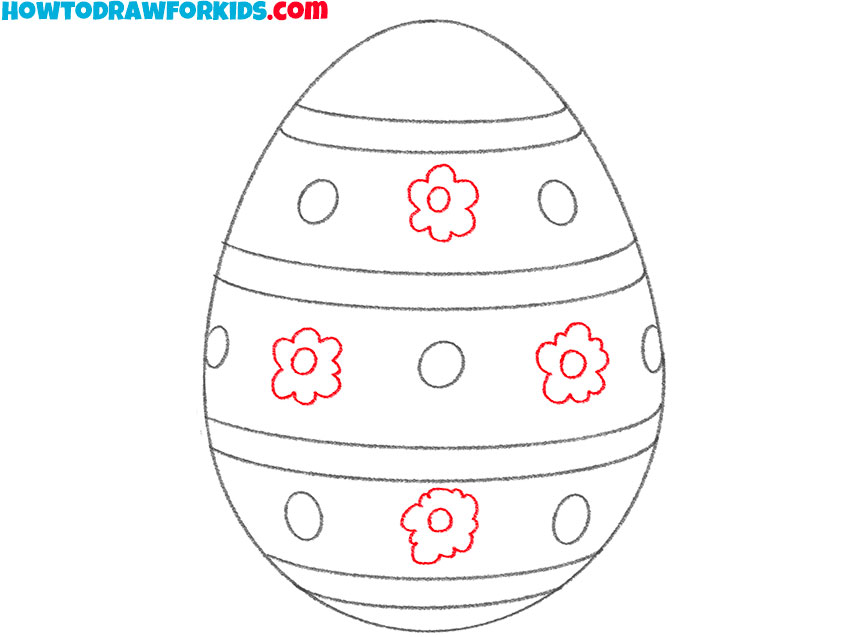
- Depict the flowers.
Draw four small flowers between the stripes.
- Color the Easter egg.
Use some pretty bright colors.
Additional Content
I’ve also taken the initiative to craft a free PDF file to accompany the Easter egg drawing lesson, ensuring that you have access to this creative activity even when you’re offline. This abridged lesson encapsulates the full drawing experience into a convenient format that can be easily downloaded.
Ideal for all ages, it’s a resource you can rely on when you’re away from the web, making art accessible at all times. Whether it’s during a quiet afternoon in the park or a cozy evening at home, this PDF will be your go-to guide for drawing the perfect Easter egg.
Learn to Draw the Perfect Easter Egg
As we finish our festive foray into drawing an Easter egg, it’s worth considering the breadth of growth still available to us. Art is an ever-evolving journey, and each piece we create is a step towards greater mastery. Here are some thoughtful considerations for enhancing your artwork beyond this lesson:
- Study Realism: Observe real eggs and their textures. Incorporating these details can bring realism to your Easter eggs, making them stand out.
- Color Theory: Experiment with different color combinations and learn how certain hues complement each other, adding depth and vibrancy to your work.
- Embrace Variations: Try drawing Easter eggs in different sizes and from various angles. This will develop your spatial awareness and adaptability.
- Perfect Your Curves: The oval shape of an Easter egg is deceptively simple. Practice drawing smooth, symmetrical ovals to give your eggs a balanced, harmonious look.
- Explore Patterns and Textures: Don’t shy away from experimenting with intricate patterns or textures. Each new design enhances your precision and attention to detail.
- Incorporate Background Elements: Set your egg against a backdrop of Easter grass or place it in a basket. Contextual elements add depth to your composition and tell a story.
- Experiment with Mediums: Whether it’s watercolors, colored pencils, or pastels, each medium can offer a different expression to your Easter egg drawings.
With these techniques in your artistic basket, your drawings are bound to hatch into something extraordinary. Remember, the goal is not just to replicate, but to innovate and express. Take these tips as seeds of inspiration and watch as your abilities bloom with each new drawing.
Conclusion
Don’t forget to visit my other Easter themed drawing tutorials. For example, you can learn how to draw an Easter bunny with very simple techniques. Or you can try my collection of Easter coloring pages, where you’ll find a lot of very cute illustration of Easter eggs, bunnies, and other holiday subjects.
Be sure to join the vibrant community on my social media, where I unveil new content designed to inspire and educate. And because your input is as vital as the strokes on a canvas, leave a comment with your desires for future lessons.
It’s your insights and wishes that shape our artistic journey, fueling the creation of tutorials that resonate with your creative spirit. Together, we will continue to sketch the outlines of our dreams and fill them with the vivid colors of imagination.