How to Draw an Eye from the Side
In this lesson you will learn how to draw an eye from the side. This manual contains only seven simple and useful steps.
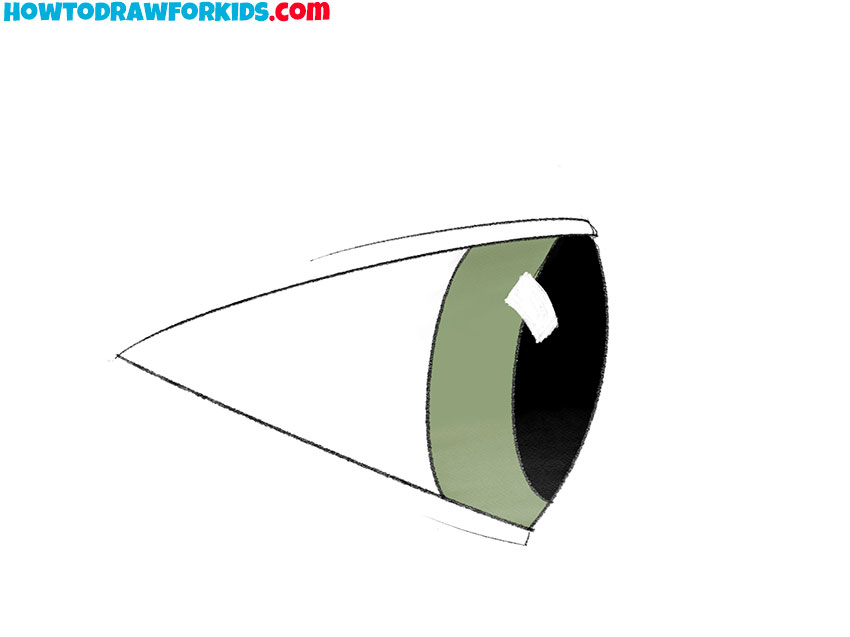
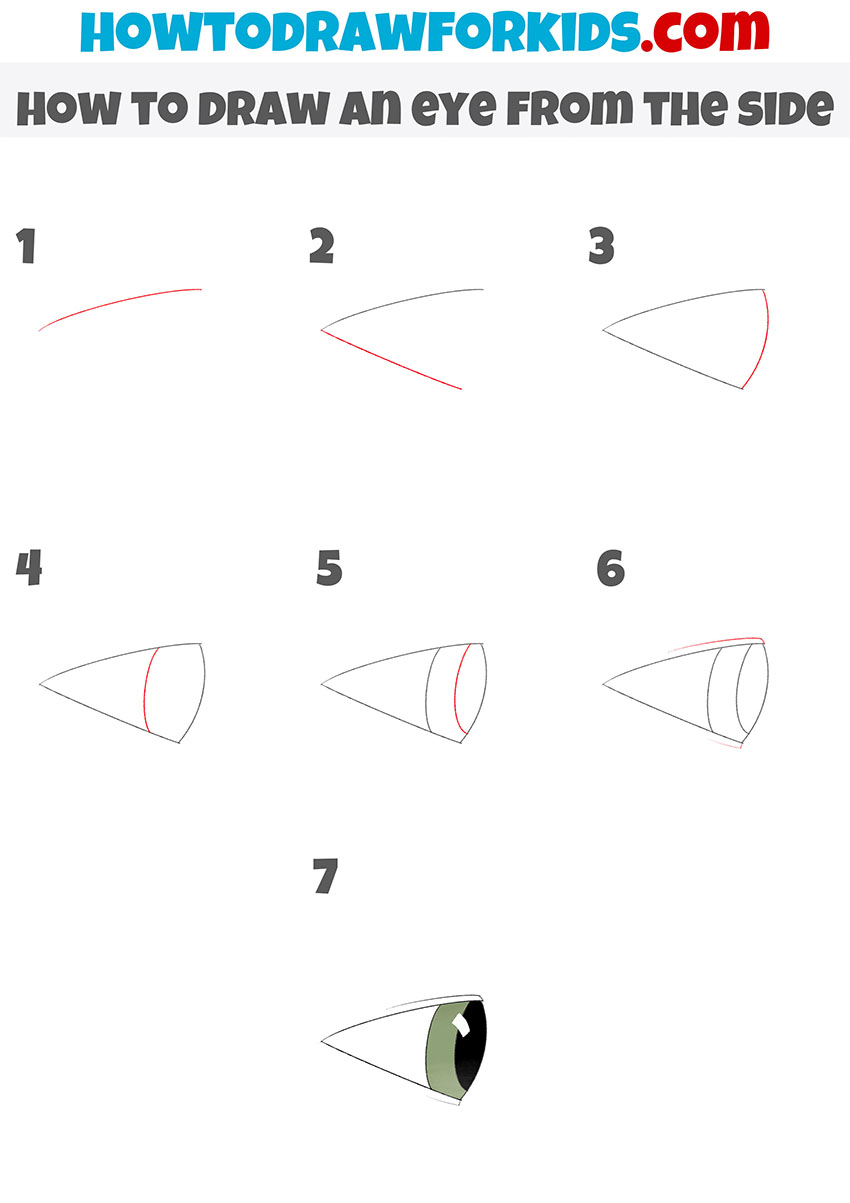
In this lesson, you will learn how to draw an eye from the side step by step. This lesson will be very useful for you, and you will definitely use the acquired skills in the future.
The eye on the side is a very simple object, but at the same time very important. This is what the eye will look like when you want to draw a character or a real person in a profile.
The half-turned position of the head from the viewer is often found in paintings or any other images in print or electronic form. In this case, it is very important to correctly depict the position of the eyes so that the drawing looks realistic.
Be careful at every step and remember all the drawing steps in order to correctly draw a portrait of a person in your next works.
Materials
- Pencil
- Paper
- Eraser
- Coloring supplies
Time needed: 20 minutes
How to Draw an Eye from the Side
- Draw the outline of the upper eyelid.
Depict a smooth line in the same position as in the example.

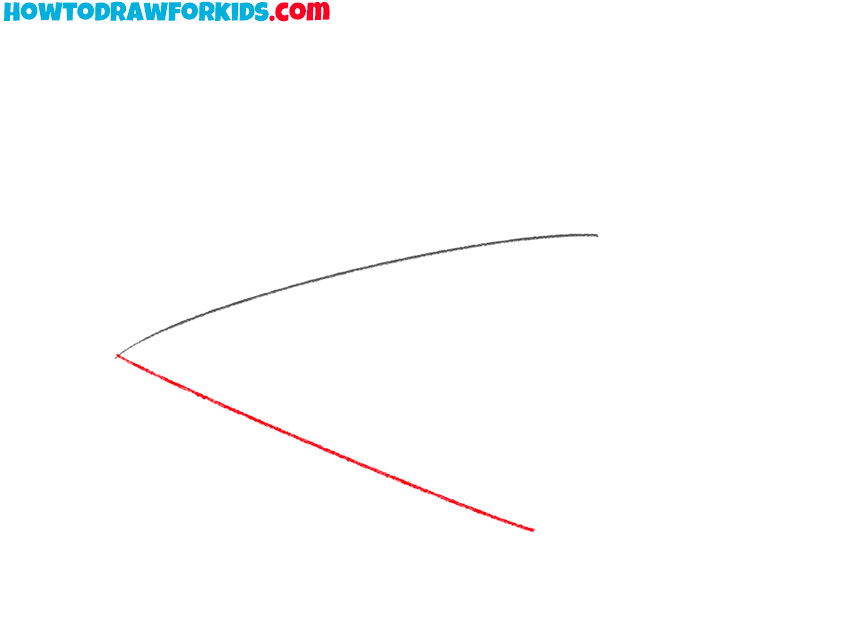
- Add the outline of the lower eyelid.
Draw a straight line to make a sharp corner on the left side.
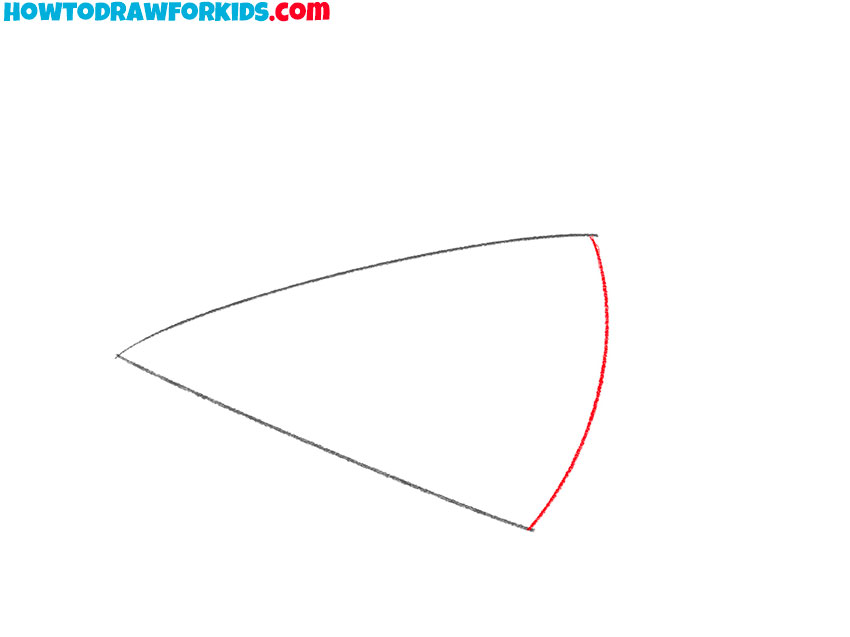
- Depict the outer shell of the eye.
Connect the upper and lower eyelids with a smooth rounded line.
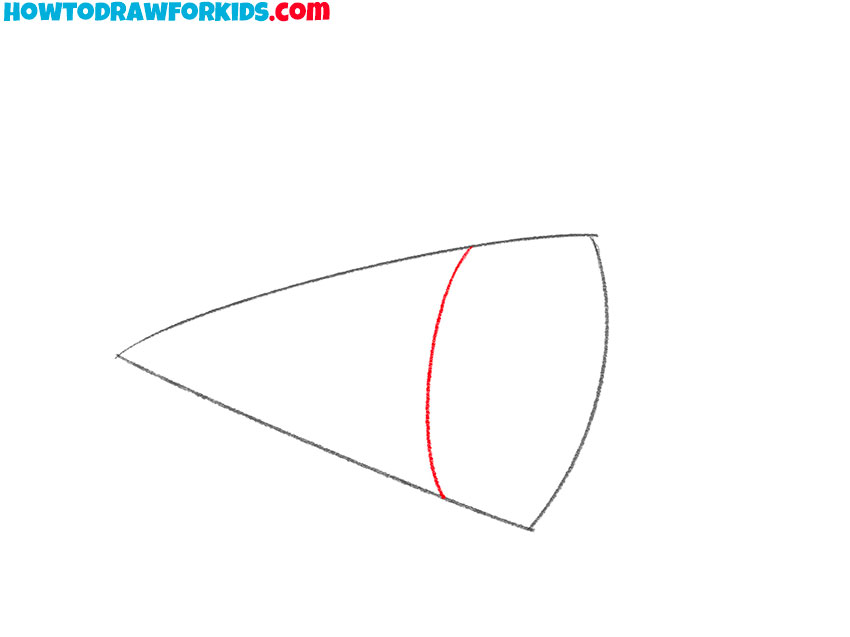
- Draw the outline of the iris.
Sketch out a vertical rounded line.
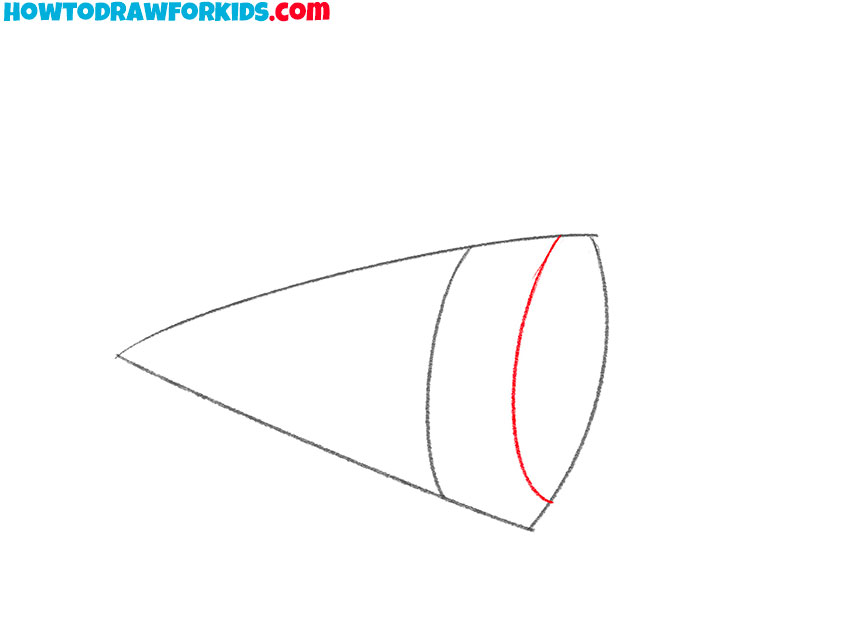
- Depict the outline of the pupil.
Draw another small rounded line.
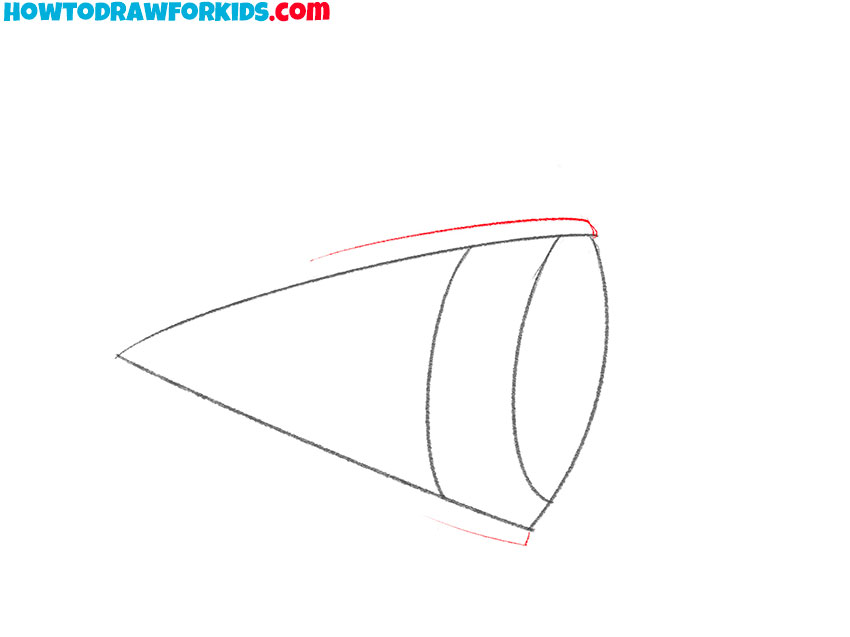
- Add the thickness of the upper eyelid.
At this stage, sketch out a thin line at the top.
- Color the drawing.
Color the pupil with black and add the highlight. Color the iris in gray or any other color.

At the end of this tutorial, I suggest you download the PDF file that I have prepared specifically for your convenience. In this file, you will find a short version of the manual and additional useful tools. This will help you return to the lesson at any time, even if there is no Internet access.

