How to Draw Anime Boy Hair
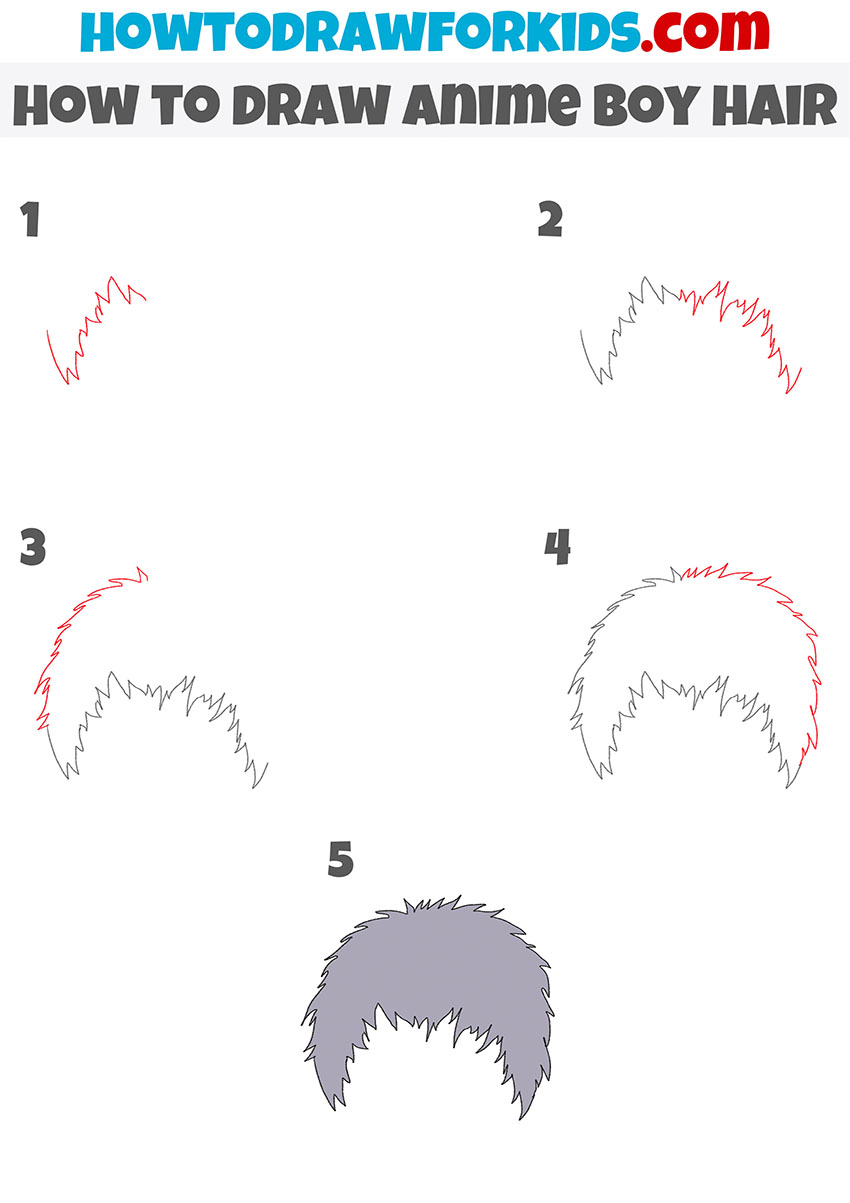
In this tutorial, I will show you in detail how to draw anime boy hair. The lesson is very simple and consists of five steps.
This tutorial is sure to please any aspiring artist and anime lover. Here, you will learn how to draw anime boy hair step by step.
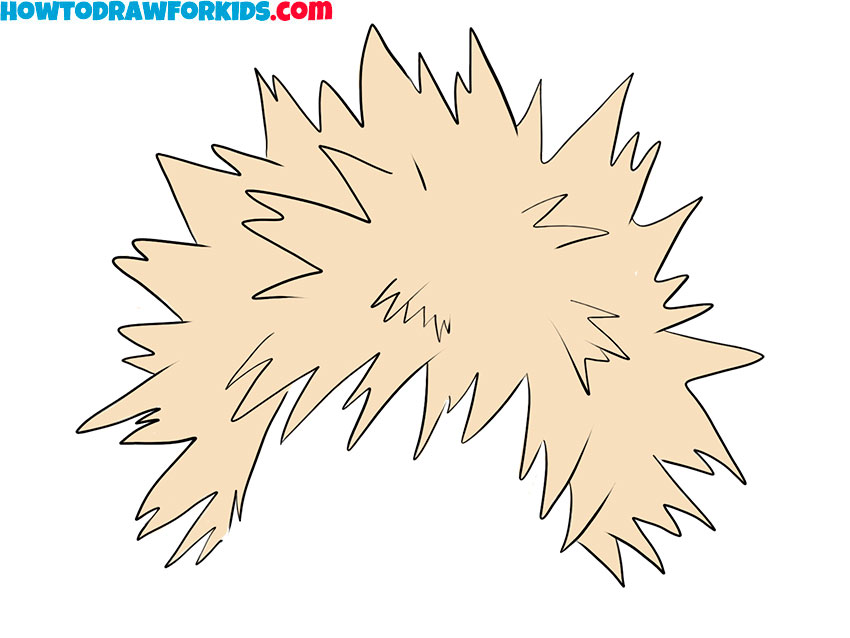
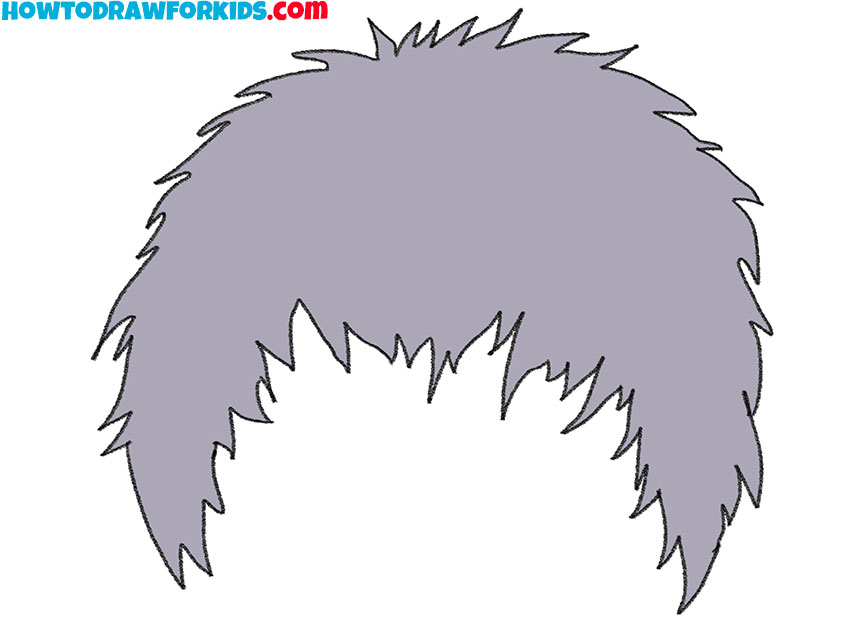
Anime characters have their own characteristics, and one of the distinguishing qualities is tousled hair that has spiky strands. This is the hairstyle shown in the picture. You can see that the boy has short hair and all the strands are spiky.
In this lesson, arbitrary lines are allowed, so you do not have to draw the same lines as in the example, you can draw individual strands of different lengths and thicknesses.
Remember the sequence of steps and try to give your hair a similar shape. The acquired skills will be useful to you in the future when you want to draw any other anime character.
Materials
- Pencil
- Paper
- Eraser
- Coloring supplies
Time needed: 30 minutes
How to Draw Anime Boy Hair
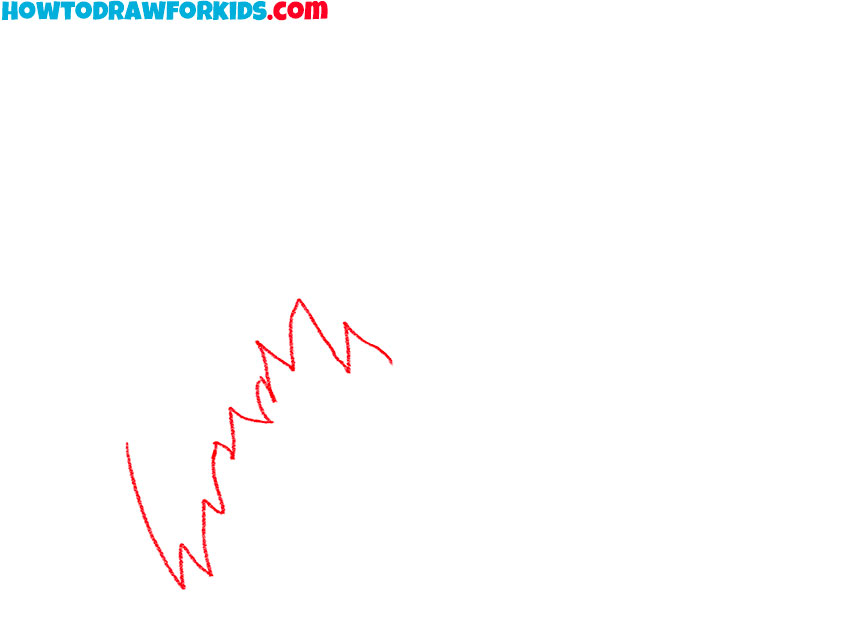
- Start drawing the front strands.
Draw part of the hair that is located on the temple and above the forehead.
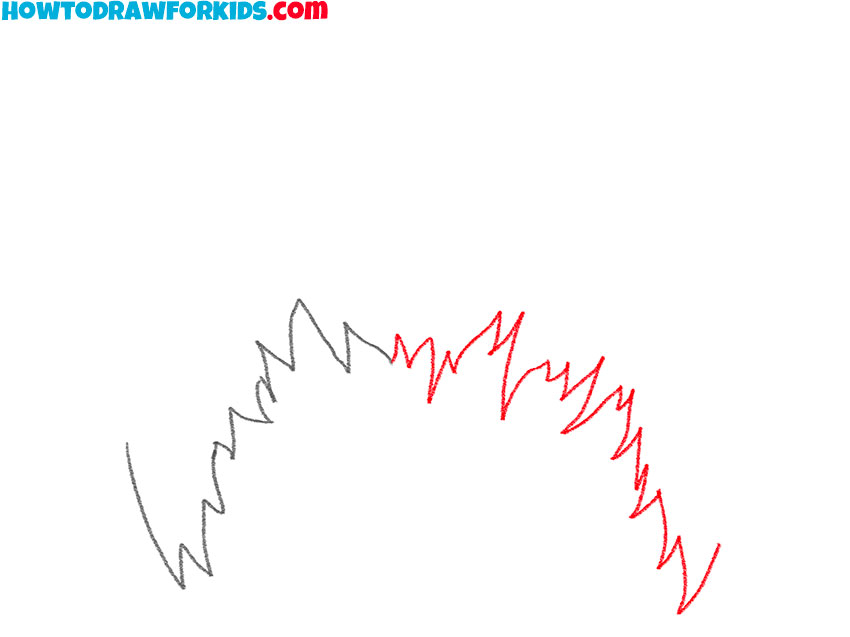
- Add the other part of the front strands.
Use a zigzag line to draw the rest of the strands above the forehead.
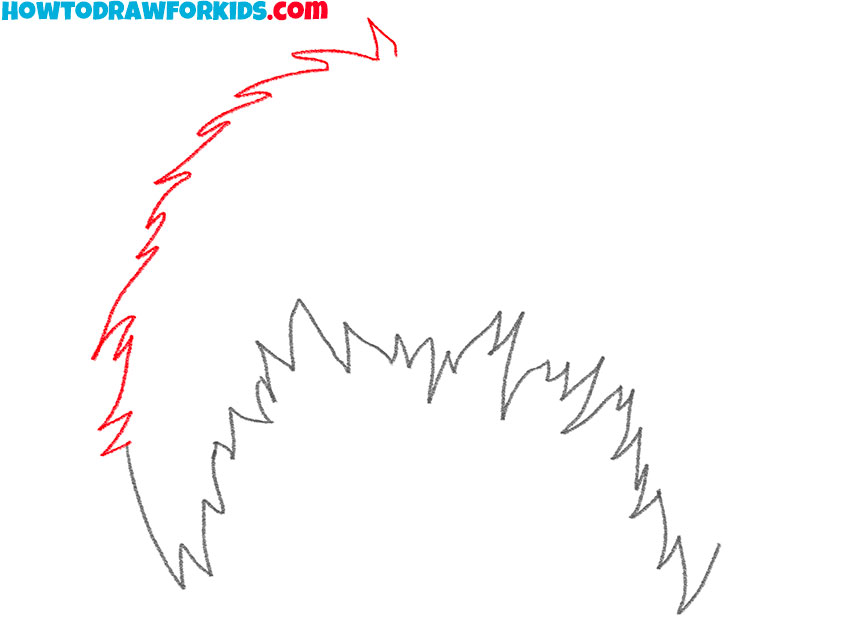
- Depict the top part of the hair.
On the left side, sketch out the spiky strands of hair at the top.
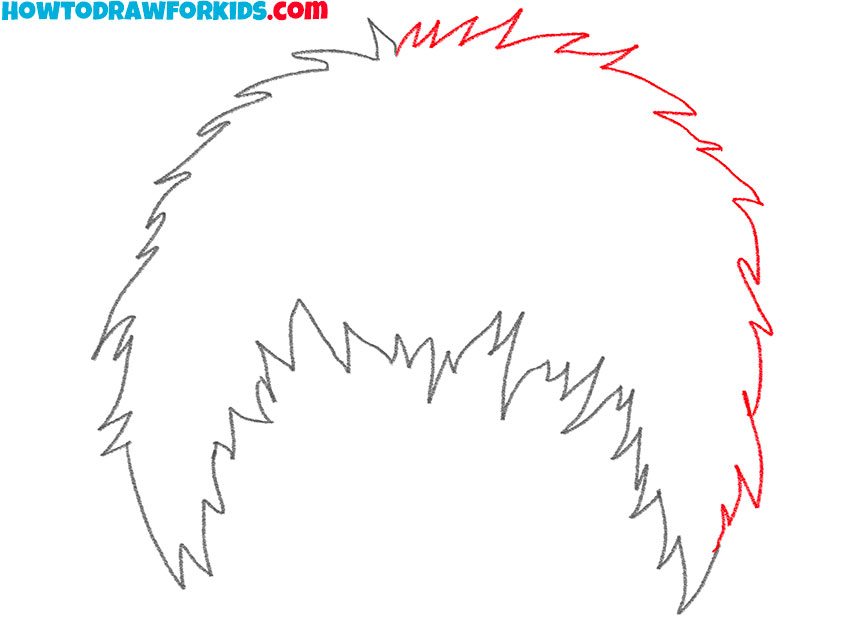
- Depict the rest of the hair.
Add the rest of the hair on the right side to end up with the closed path.
- Color the anime boy hair.
Use gray or any other color.

You can now download the short version of the lesson as a free PDF file. Use this file whenever you want to come back to this lesson.

