How to Draw a Jet
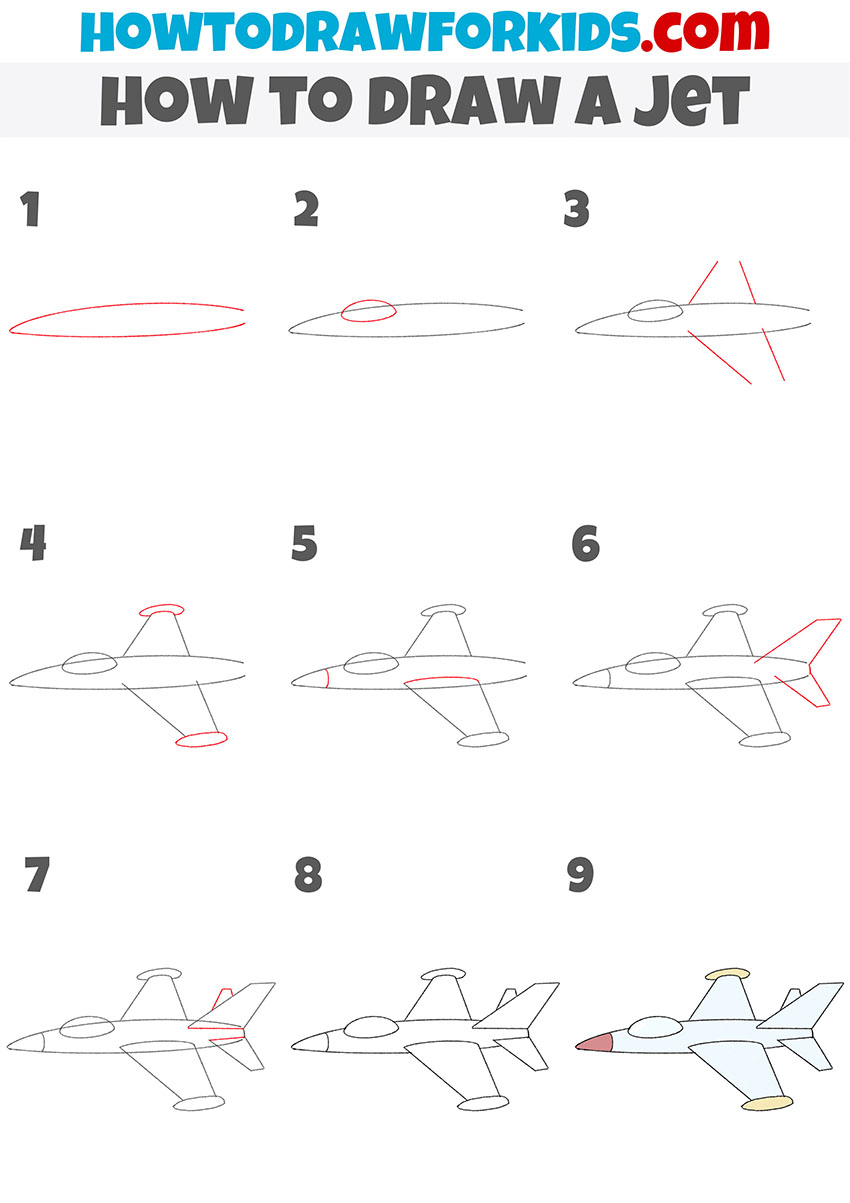
In this drawing lesson, you will learn how to draw a jet step by step. This simple lesson consists of nine steps.
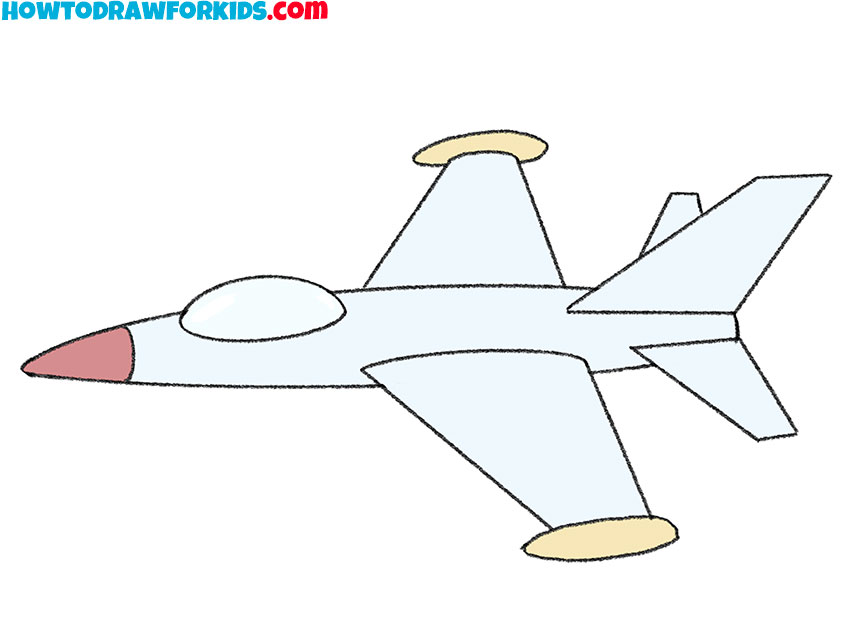
I suggest you complete a very interesting drawing lesson in which you will learn how to draw a jet step by step. This drawing lesson is designed to be done by children or beginner artists, so all the elements used in it are quite simple.
The jet is designed to carry small groups of people. Jets can also be adapted for other purposes, such as casualty evacuation or express delivery of packages, and some are used by government agencies, government officials or the military.
By learning how to draw a jet with the help of this instruction, you will be able to depict this type of transport against the sky and create a full-fledged drawing.
Jet Drawing Tutorial
Materials
- Pencil
- Paper
- Eraser
- Coloring supplies
Time needed: 30 minutes
How to Draw a Jet
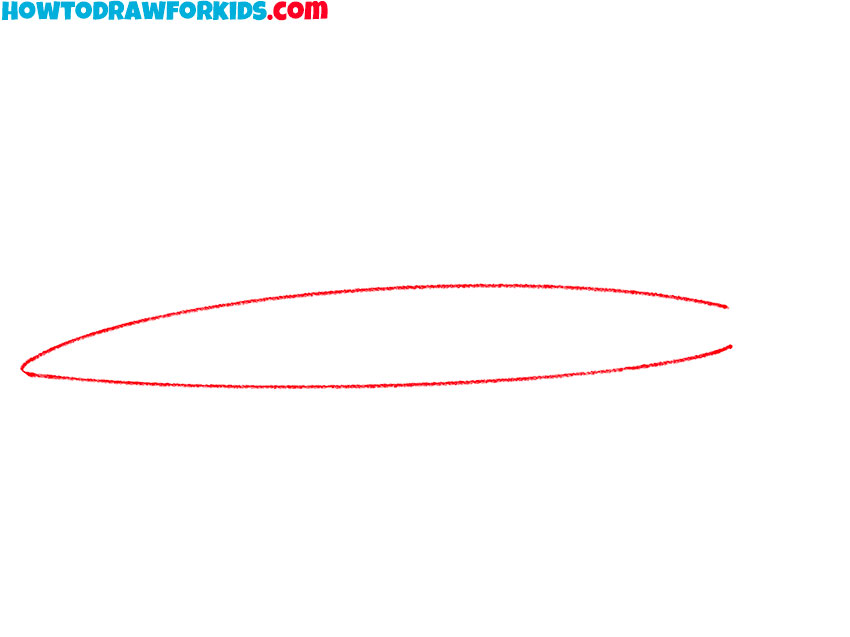
- Draw the main body of the jet.
To complete this step, depict the figure using two curved lines.
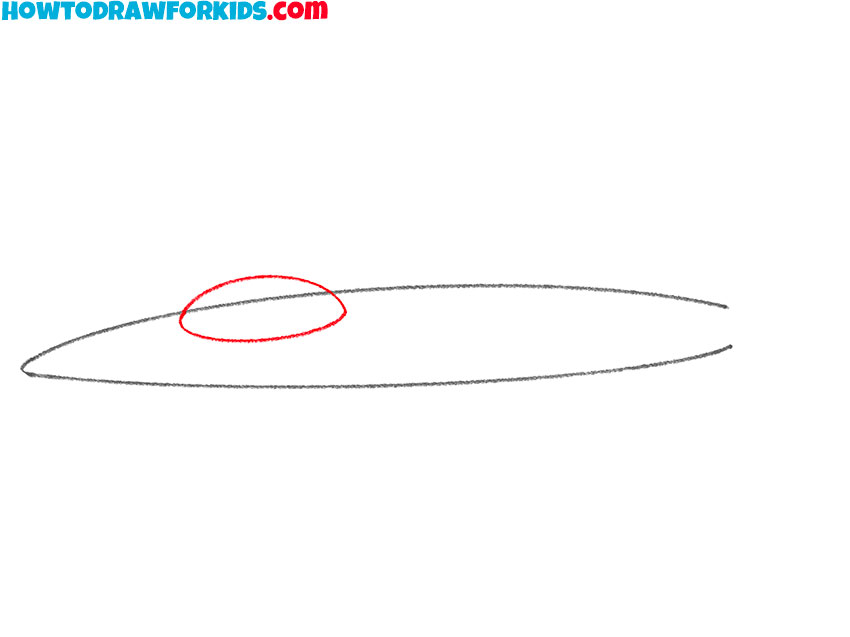
- Depict the cockpit.
In front of the jet, draw a figure that looks like a slightly deformed oval.
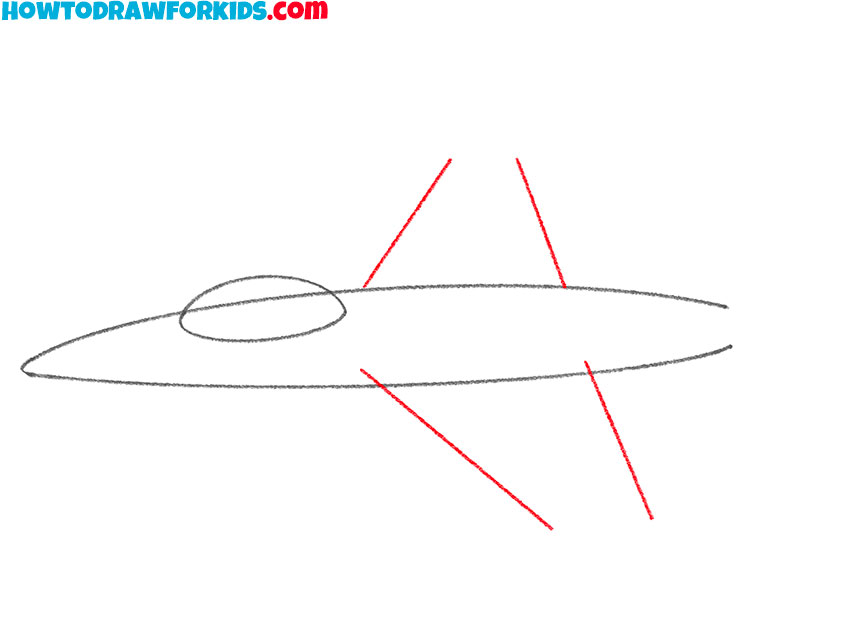
- Add the wings of the jet.
Depict the two wings of the aircraft using straight lines of different lengths.
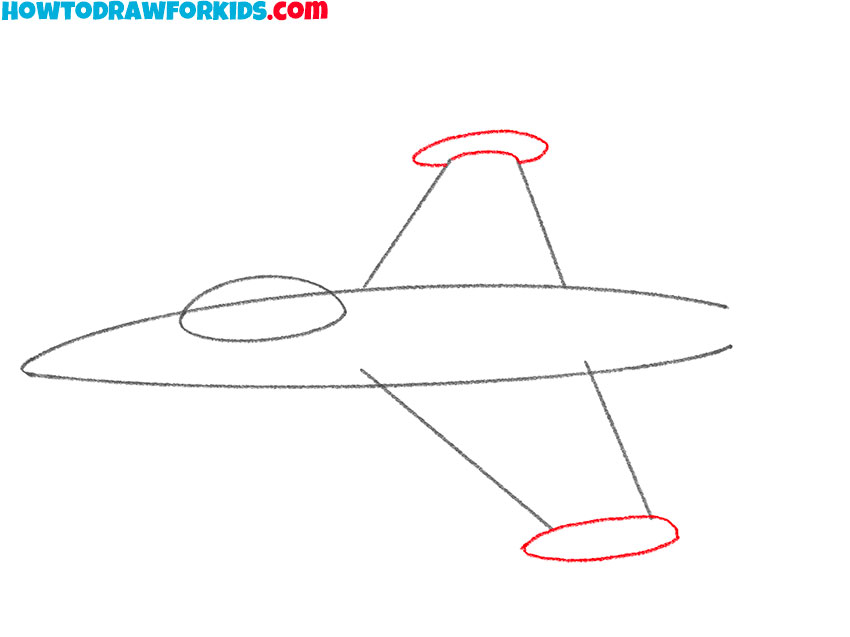
- Sketch out the turbines.
Along the edges of the drawn lines, add curved lines and arcs.
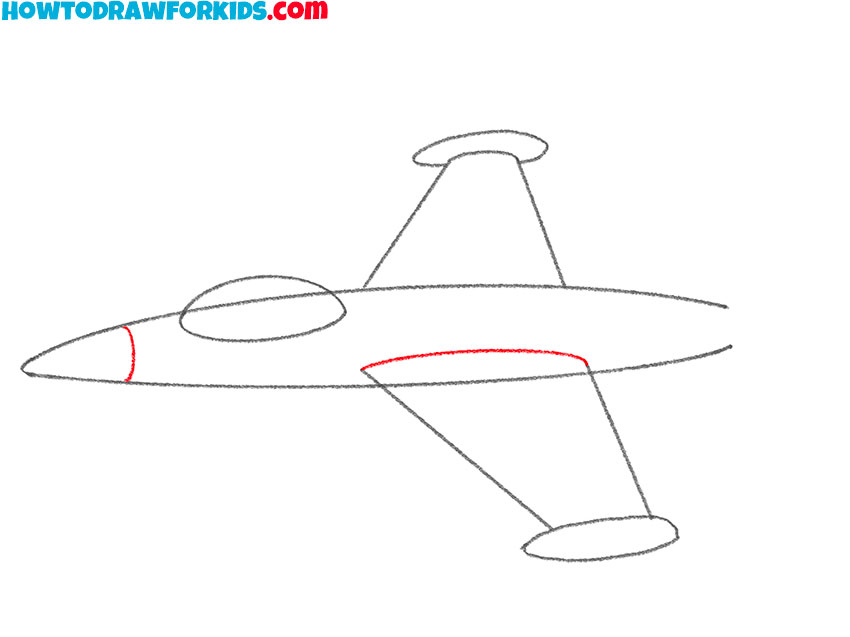
- Add details.
Draw two arcs. One of them on the nose of the jet, and the second at the beginning of the wing.
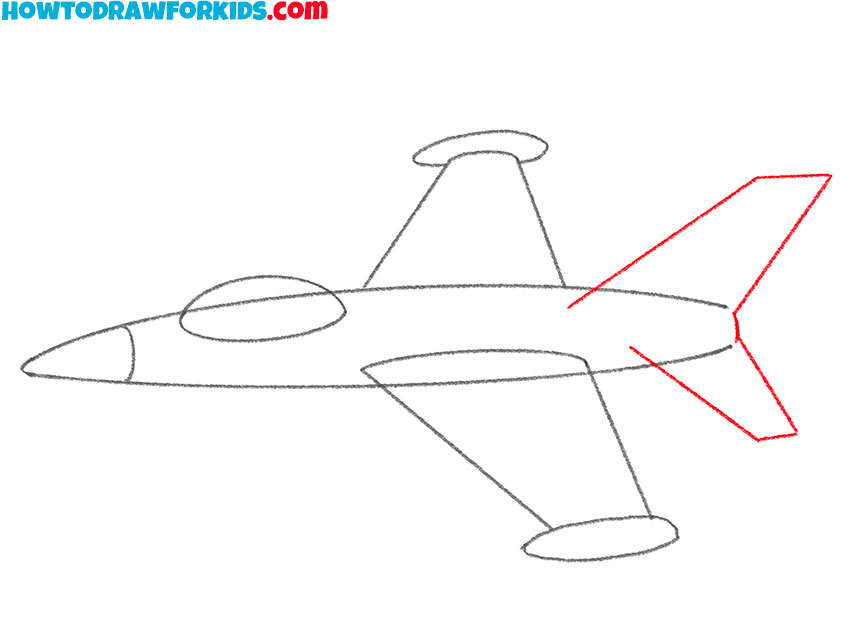
- Draw the tail of the jet.
On the right side, depict some straight lines of different lengths, as shown in the picture.
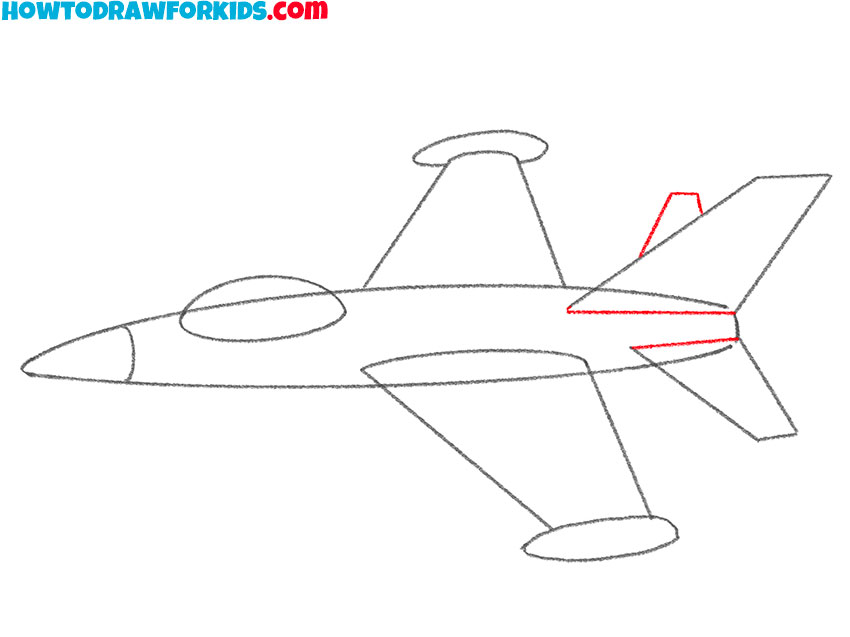
- Finish drawing the elements of the jet.
At the back of the jet, add a few more straight lines of varying lengths.
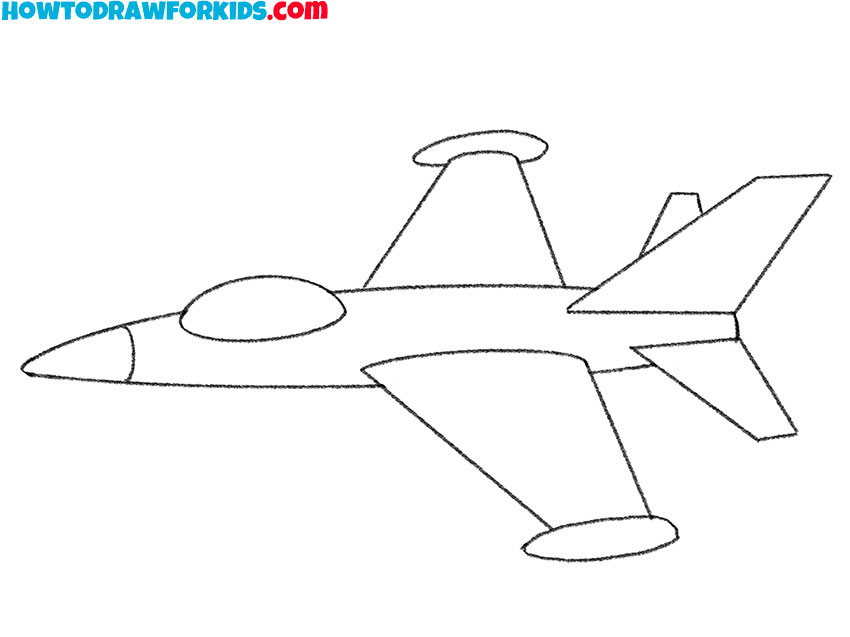
- Correct inaccuracies.
Use the eraser to remove all unnecessary lines.
- Color the drawing.
To color the jet, use beige, burgundy, and shades of blue.
For your convenience, I have prepared a PDF file that contains all the important information from this lesson, as well as additional training materials that will make it easier for you to complete it. You can download this file right now, so you don’t lose this lesson in the future.