How to Draw Grapes
With a few curved lines and short strokes, this lesson will show you how to draw grapes in a simplified but recognizable form.


How to Draw Grapes: Introduction
I have developed a new drawing tutorial for you in which you can learn how to draw grapes step by step. This guide includes detailed step-by-step drawing examples with instructions.
In this lesson, you will begin drawing a leaf on a bunch of grapes and then move on to drawing the grape berry itself. Grapes are versatile fruits used in a wide range of popular foods, from raisins to jelly or wine.
If you like grapes, you will definitely enjoy this exciting drawing lesson!
Grapes Drawing Tutorial
Materials
- Pencil
- Paper
- Eraser
- Coloring supplies
Time needed: 25 minutes
How to Draw Grapes
- Sketch the stem outline.
To draw grapes, you should starry with a simple stem. To create this part, sketch a short curved geometrical shape at the top. From this shape, sketch a simple slightly curved line, curved to one side, to indicate the middle vein of the leaf.

- Add the top part of the leaf.
Next, draw the beginning of the grape leaf below the stem. Grapevine leaves have jagged, irregular edges, so don’t worry about making it perfectly smooth. First, sketch one section of the leaf, almost like a curved line with short zigzags along the edge. A grape leaf drawing looks more natural if it isn’t too neat.
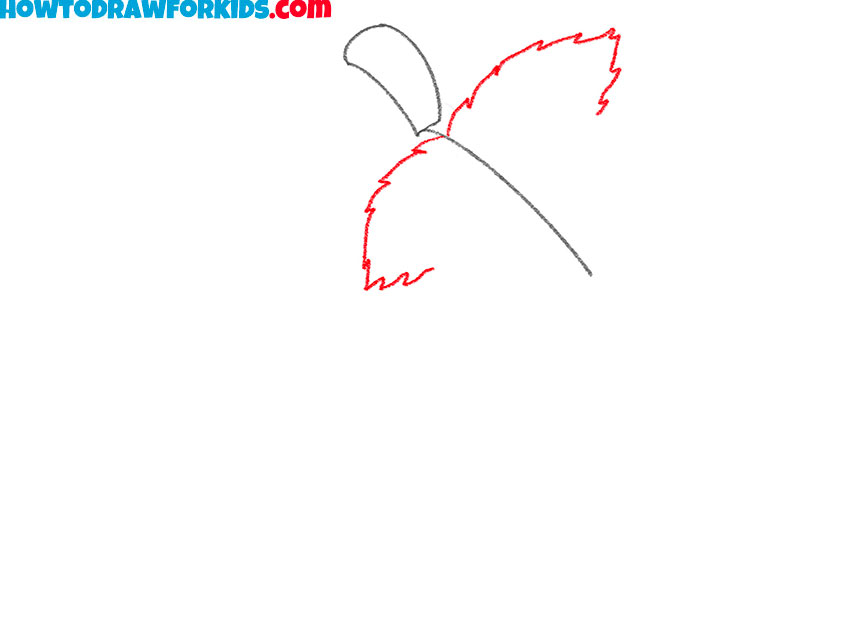
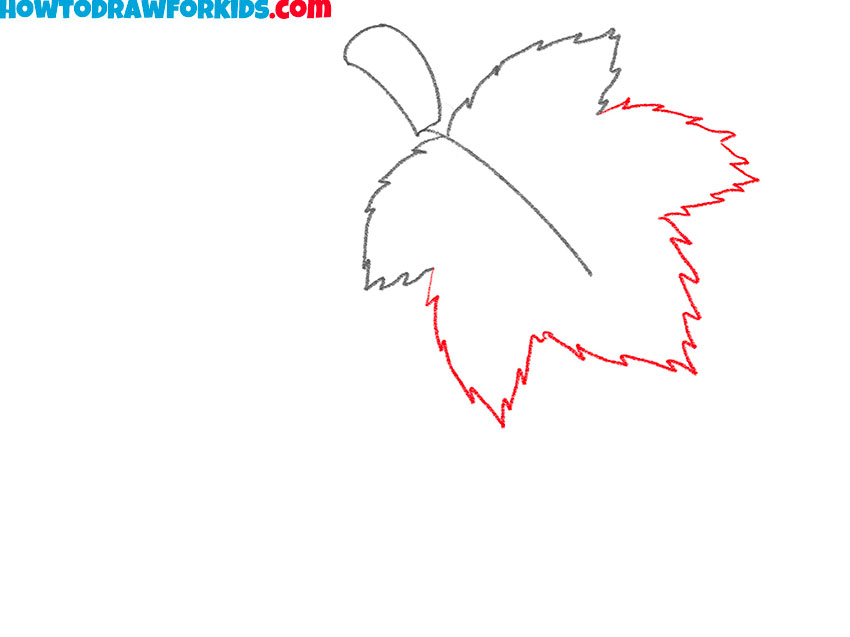
- Draw the rest of the leaf.
Now sketch the rest of the leaf around the stem. Grapevine leaves are broad and spread out into several pointed sections. Use jagged strokes again to form the outline, giving it that recognizable grape leaf texture. Think about symmetry, but not too strictly. The left and right parts of the leaf don’t have to match perfectly.
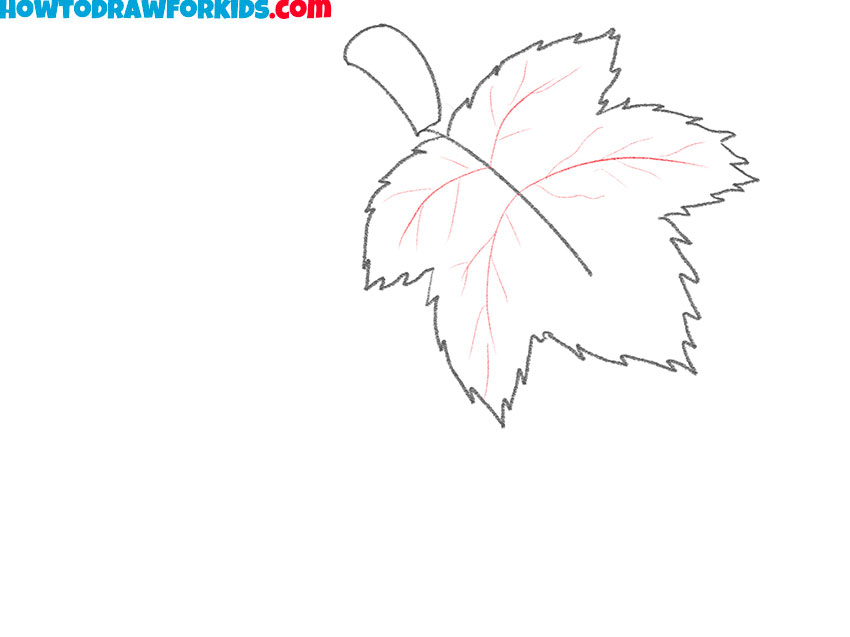
- Show the vein pattern.
Inside the grape leaf, draw several lines to show the veins. Sketch one main vein running down from the stem through the center of the leaf. Then add smaller branching veins. Keep the lines irregular and curved so they follow the natural shape of the leaf surface.
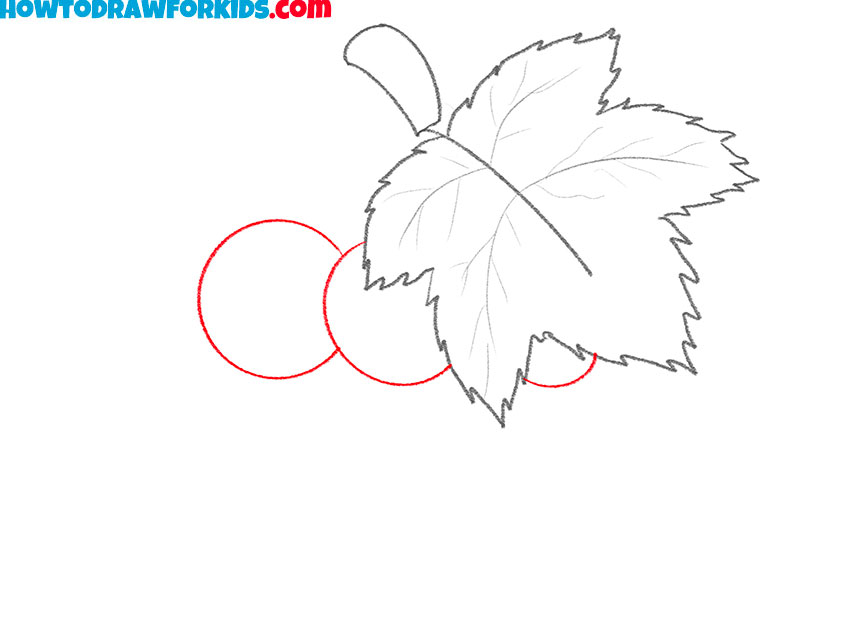
- Draw the first grapes.
With the leaf completed, it’s time to sketch the grapes themselves. Start at the lower part of the leaf, drawing two or three overlapping circles. These circles should be medium-sized and touch each other to form the beginning of the grape cluster. Don’t forget, that overlap is important.
- Sketch more grape shapes.
Continue by sketching more circles to the side and slightly above the first ones. Each new circle should connect or overlap with at least one of the existing grapes. This method gives your drawing of grapes more realistic and natural look.

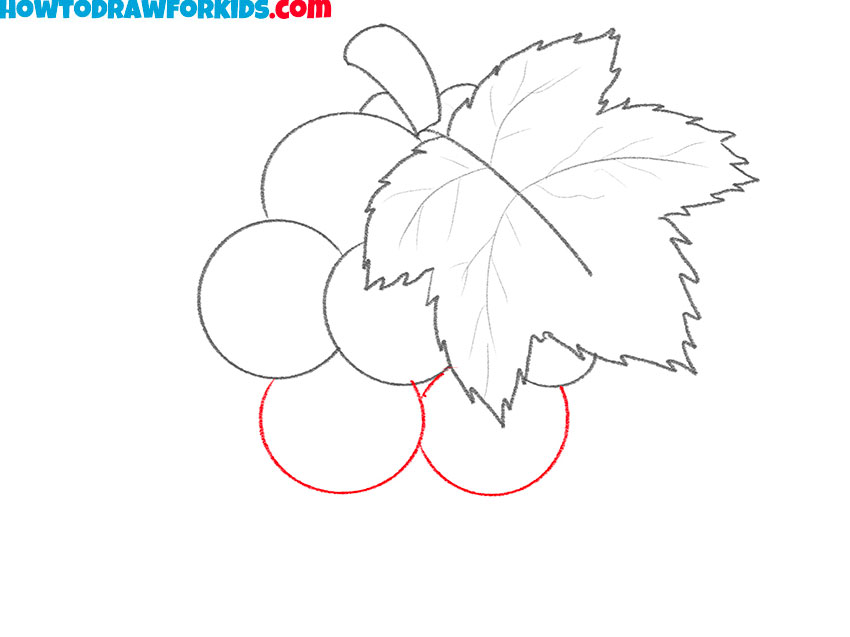
- Sketch the middle part of the bunch.
Now draw more grapes below the ones you already have. These new circles should form the lower part of the bunch, gradually tapering toward a point at the bottom. This tapering is important because most grape clusters are wider at the top and narrower at the base. Imagine the shape of a triangle.
- Finish the bunch of grapes.
Finish the bunch by adding the last few grapes at the bottom. These should be slightly smaller and tucked in between the larger ones. Check the overall shape now, does it look balanced and natural? If you see any big empty gaps, lightly sketch another grape there.

- Color the grapes and leaf.
Shade the grapes with a deep purple or violet color. The leaf should be a fresh green. You can also darken some grapes that appear behind others to add volume. You can also add shadows to the bottom of each grape and small highlights to the top to add even more volume.

Additional Content
I’m sure you’ve done a great job and are now happy with the drawing that you have made. If you want to repeat this lesson, then download the PDF file below. If you download this file, you can return to the drawing lesson on grapes even without the internet.


