How to Draw Kirishima
Once again, we’re exploring the topic of anime drawing to learn how to draw Kirishima from the anime My Hero Academia in nine simple steps.
How to Draw Kirishima: Introduction
In the past, we’ve frequently learned how to draw anime characters, and today, once again, we’ll go over the most important aspects of creating a truly interesting character. In this lesson, we will learn how to draw Kirishima from one of the most famous anime universes, using traditional techniques while also practicing all the methods of creating interesting anime characters. These techniques will help you create various characters from different anime and manga universes.
We will start by learning the basic drawing techniques for Kirishima. Once we’ve covered the fundamentals, we’ll explore a completely different style and approach for drawing him. This second lesson will offer a unique take on the character and demonstrate a different execution style and final result.
Both lessons vary significantly in terms of style and technique, but they both ultimately help create a recognizable and distinctive version of Kirishima. Each approach offers something valuable, whether you’re aiming for a traditional style or experimenting with a more creative interpretation.
By the end of these lessons on how to draw Kirishima, you’ll have a deeper understanding of how to develop anime characters and will be ready to apply these methods to create your own unique characters for various anime and manga projects.
Kirishima Drawing Tutorial
Materials
- Pencil
- Paper
- Eraser
- Coloring supplies
Simple Kirishima Drawing Tutorial
Time needed: 45 minutes
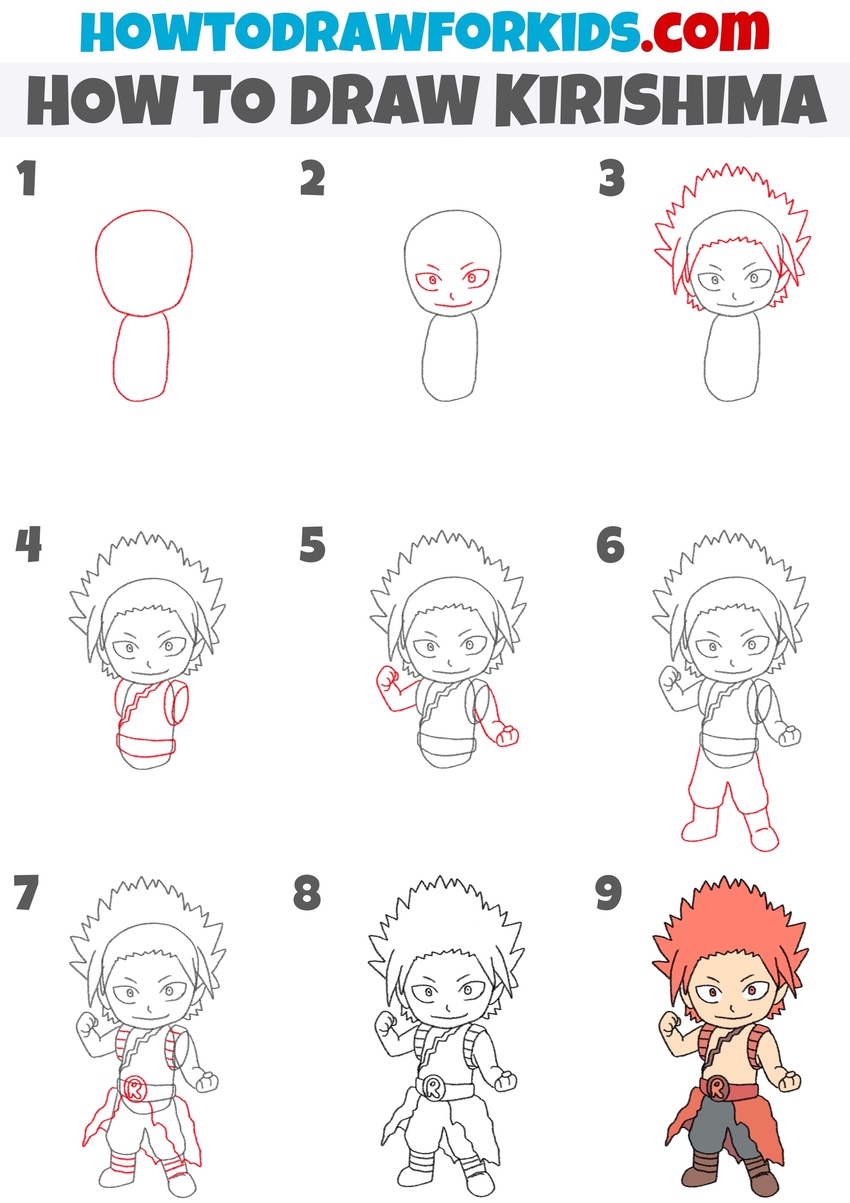
How to Draw Kirishima
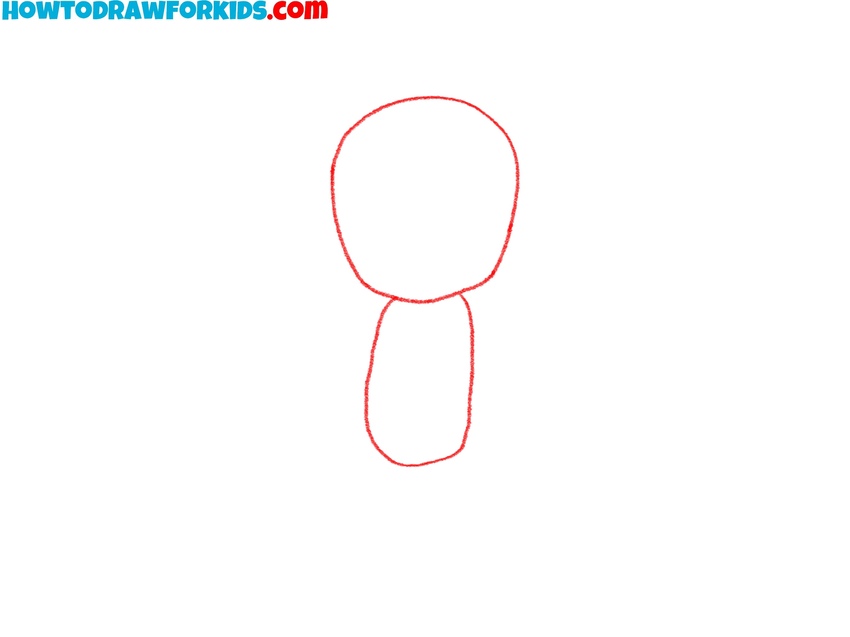
- Sketch the head and body.
Use a simple oval shape for the head and a small oval for the body. The head should be shorter and wider than the body, and both shapes should have very simple form. Don’t worry about too much detail yet, as this is just the foundation of the drawing.
- Draw Kirishima’s facial features.
Next, draw the anime eyes, using two angular shapes near the center of the face. Add the curved eyebrows just above the eyes. After that, draw the pupils inside the eyes using simple oval shapes. Then, sketch a small nose and a wide, confident smile.

- Add the hair of the anime character.
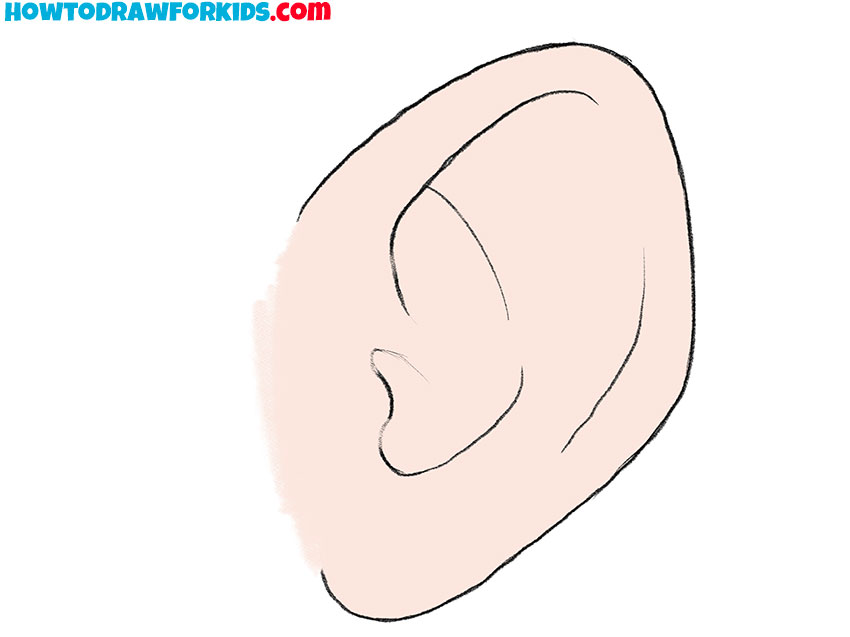
Now, move on to drawing Kirishima’s iconic spiky hair, and add jagged lines extending from the top and sides of the head. These lines should be sharp and irregular, resembling Kirishima’s wild, spiky hair. His hair should look messy and the spikes should have a different size. Add the ears with a couple of curved lines.

- Detail the upper body.
Almost every anime character has distinctive features and details. For example, Kirishima has very memorable attire. To begin drawing it, sketch simple curved lines around the shoulders to indicate the shoulder straps. Then, draw the belt at the waist area and add details to the torso.

- Add the arms and fists.
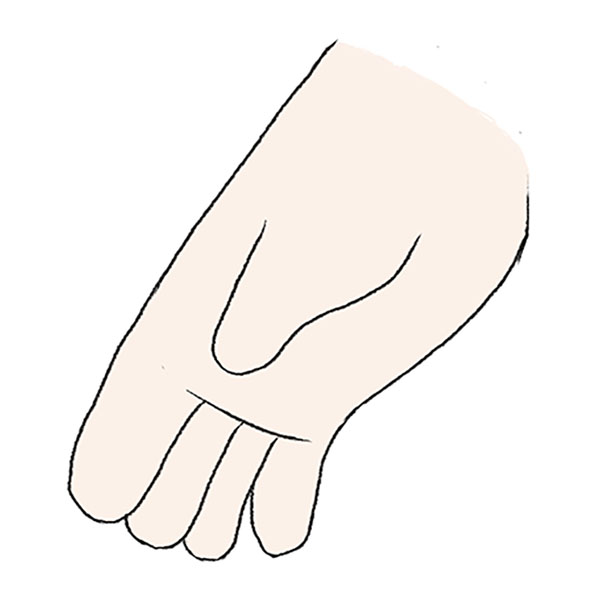
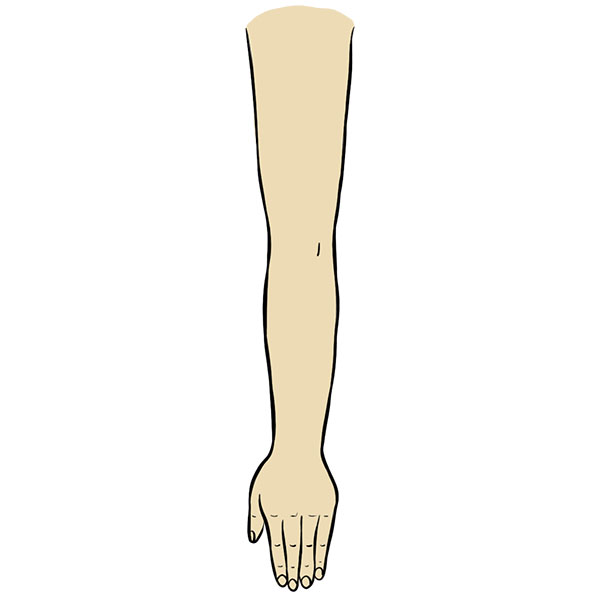
First, draw the arms of the anime character using angular lines to show the bend at the elbows. Next, add the hands with clenched fists using simple, short lines. Don’t worry about making the shape of the fists too complicated – just focus on defining the overall structure of the hands and fingers.

- Draw Kirishima’s legs.
Begin with the outline of the pants, drawing them wide and baggy. Then, sketch the boots at the bottom, clearly defining the feet. Additionally, you can add small details to the pants and boots, such as seams and folds, to enhance realism and authenticity.

- Detail the lower body.
First, draw the “R” symbol on his belt to give your Kirishima drawing more recognizable look. Then, draw the waistband of his pants, sketching jagged lines. After that, draw the segments on his shoulder straps. To make the boots look more detailed, add horizontal texture lines.

- Erase extra lines.
In this step, tidy up your Kirishima drawing by erasing any extra lines or guidelines used earlier to build the structure. Remove overlapping lines from previous steps that aren’t needed anymore. Make sure not to accidentally erase essential details like hair, clothing, or facial features.

- Color the drawing of Kirishima.
Use a bright red shade for his distinctive hair. Color the clothing and pants in darker tones, such as deep reds and grays. His belt, fists, and boots should also be colored, using slightly darker shades. You can finish by adding shadows to the body, hair, and clothes for extra dimension.

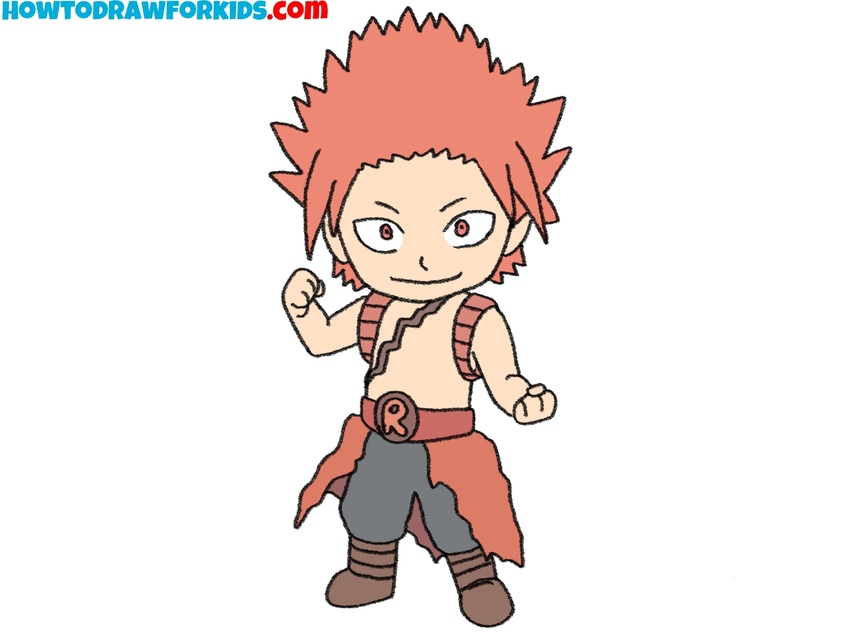
Simple Kirishima Drawing Tutorial
The most noticeable features of this method include a highly simplified style, emphasizing a chibi aesthetic, characterized by exaggerated proportions and minimalistic details. Unlike the first tutorial, this drawing of Kirishima features a significantly larger head relative to the body, simplified facial features, and fewer intricate costume elements.
To learn how to draw in this technique, begin by sketching the basic shape of his head, adding rounded cheeks and a slightly pointed chin. Next, add Kirishima’s distinctive spiky hair, drawing large angular spikes extending outward in different directions. Define the inner details of the hairstyle with additional, shorter spikes to maintain the character’s recognizable appearance. After this, draw the small ears positioned below the hairline. Proceed by sketching Kirishima’s upper body using simple lines to represent his arms, torso, and costume elements.
Add fists and costume details, including his belt and pants, using minimalistic shapes. Complete the drawing by carefully illustrating Kirishima’s facial features – large anime eyes, thin eyebrows, and his characteristic sharp-toothed smile. Finalize your Kirishima drawing by erasing unnecessary guidelines and adding colors that match the original character, using red for the hair and subdued shades for the clothing.

Conclusion
So, dear young artists, how can you make this tutorial on how to draw Kirishima even more interesting and exciting? You’ve already gained the basic knowledge required to draw this character, so now try illustrating him in an exciting scenario, such as fighting against his fierce enemies. You could also create an unexpected crossover by drawing Kirishima alongside a character from an entirely different anime universe. For instance, you might draw Vegeta from the anime series Dragon Ball.
Additionally, you can further improve your character-drawing skills by visiting other sections on my website. Through my genuinely simple, even elementary, drawing instructions, you’ll learn how to draw characters from comics, anime, cartoons, movies, games, and just about anything you desire.
Finally, to stay updated and never miss any new drawing lessons from these categories, be sure to follow me on social media. And of course, don’t forget to share this tutorial on how to draw Kirishima with your friends.