How to Draw Mothra
Now you will learn how to draw Mothra. I hope you find this step-by-step guide very interesting and useful.
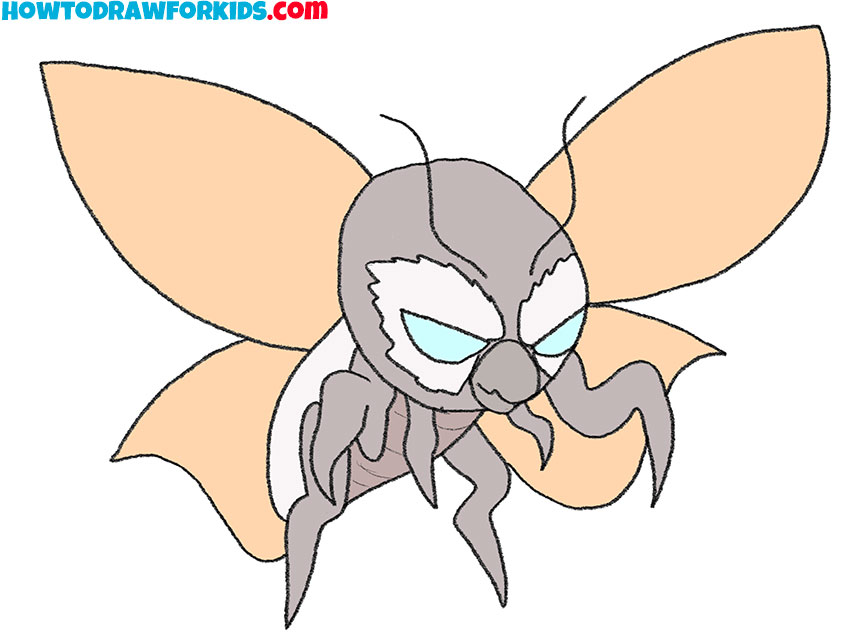
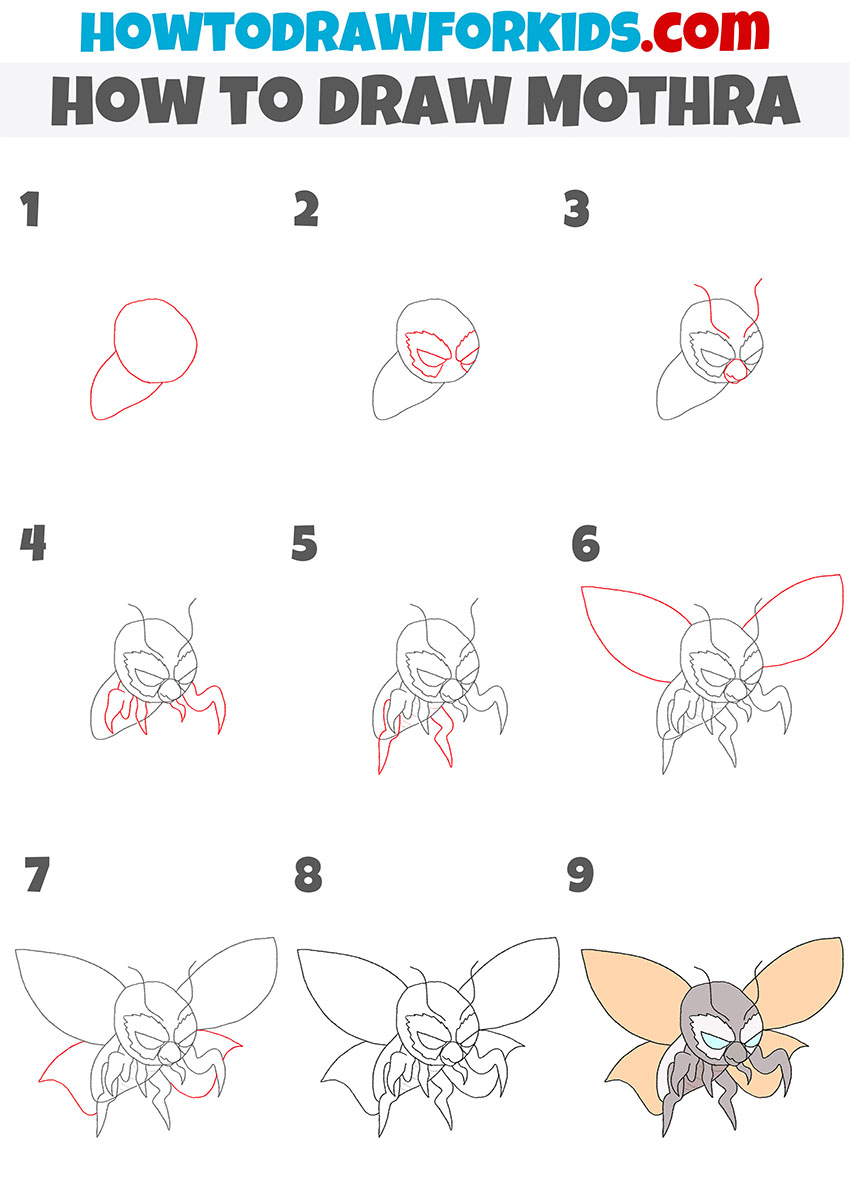
I suggest you complete a fascinating lesson on the topic of fictional Japanese characters, and now I will show you how to draw Mothra.
In the picture you see Mothra, which is in a state of flight. The wings are wide open, the legs are slightly bent. Here, this unusual insect looks very menacing. In the process of work, try to achieve the maximum similarity with my example.
In this lesson, you will gain useful skills that you can use when creating new drawings that will depict any other insects. So, prepare all the necessary art supplies and get to work.
Materials
- Pencil
- Paper
- Eraser
- Coloring supplies
Time needed: 30 minutes
How to Draw Mothra
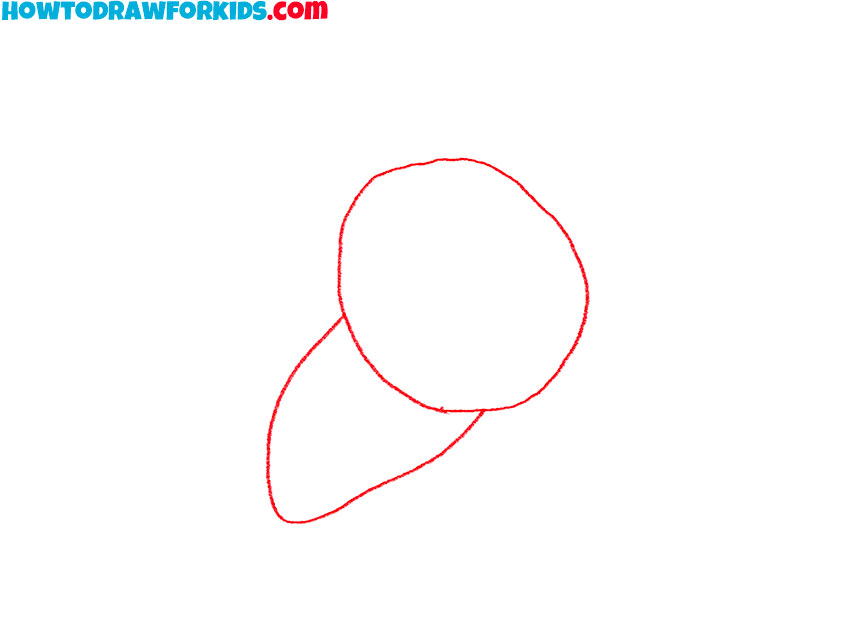
- Draw the head and belly.
First draw an oval and then add the small belly with a smooth curved line.
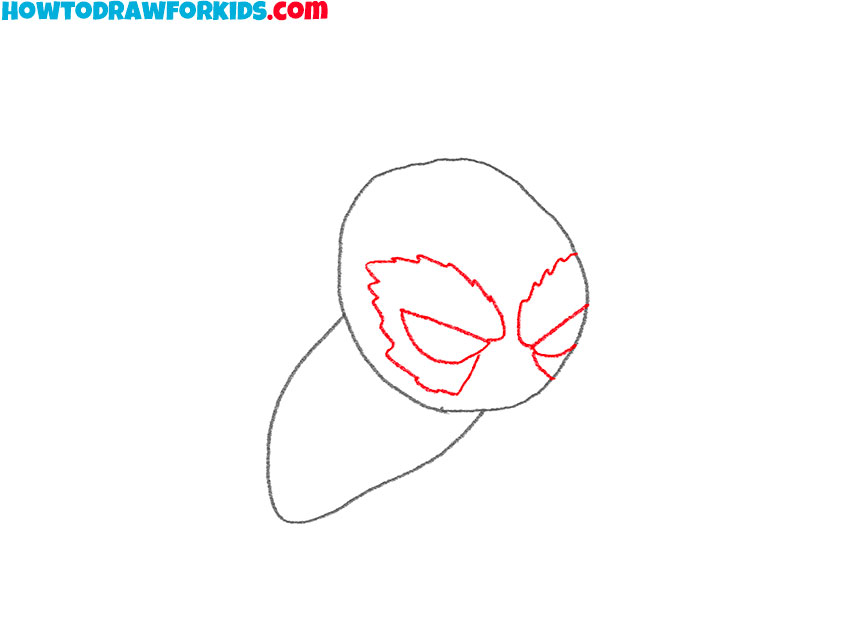
- Depict the eyes.
Draw two eyes in the shape of a semicircle and add an outer outline with a jagged line.
- Add the rest of the muzzle.
Depict the front of the muzzle where the mouth is located and add two thin antennae at the top.
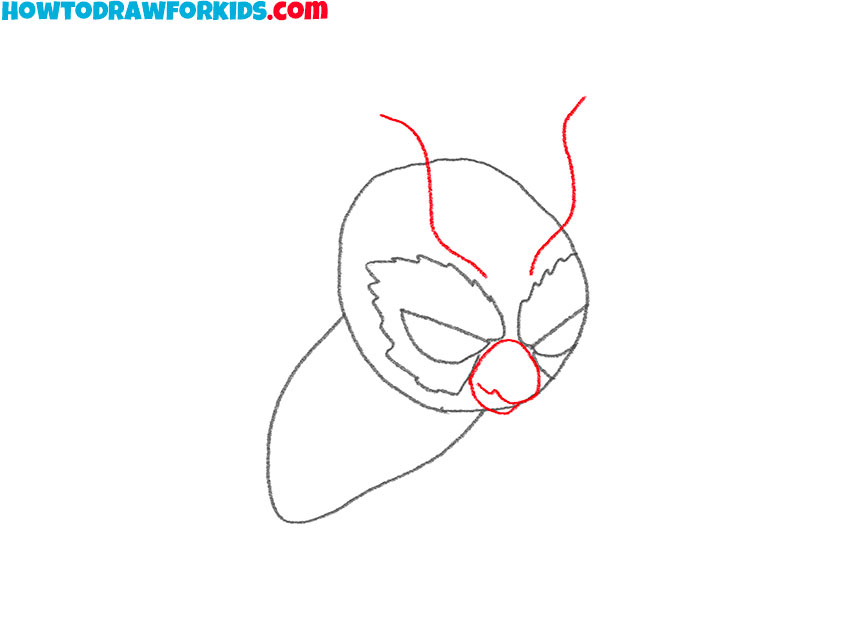
- Sketch out the paws.
Below the head draw some pointed paws that look like tentacles.
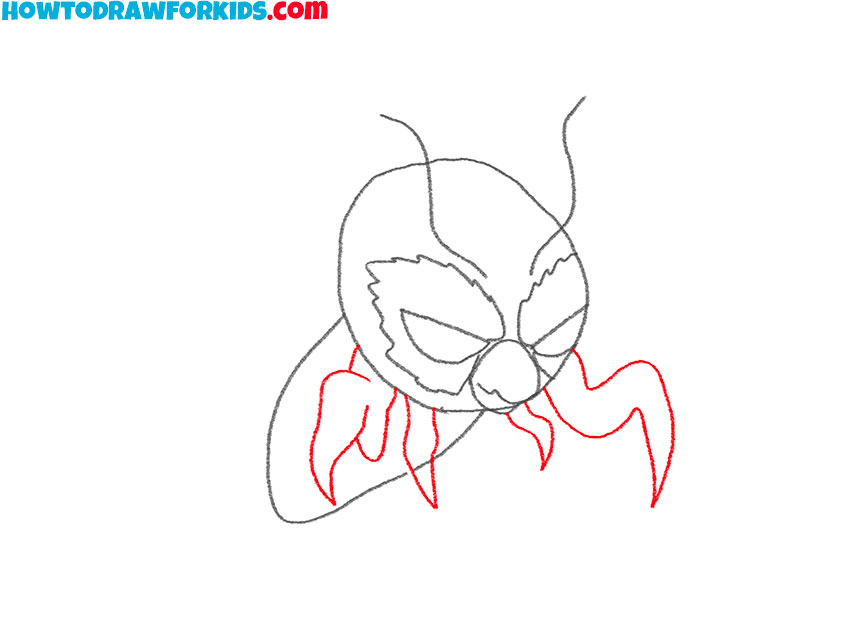
- Draw the rest of the paws.
At this stage, on the belly, add two long paws.
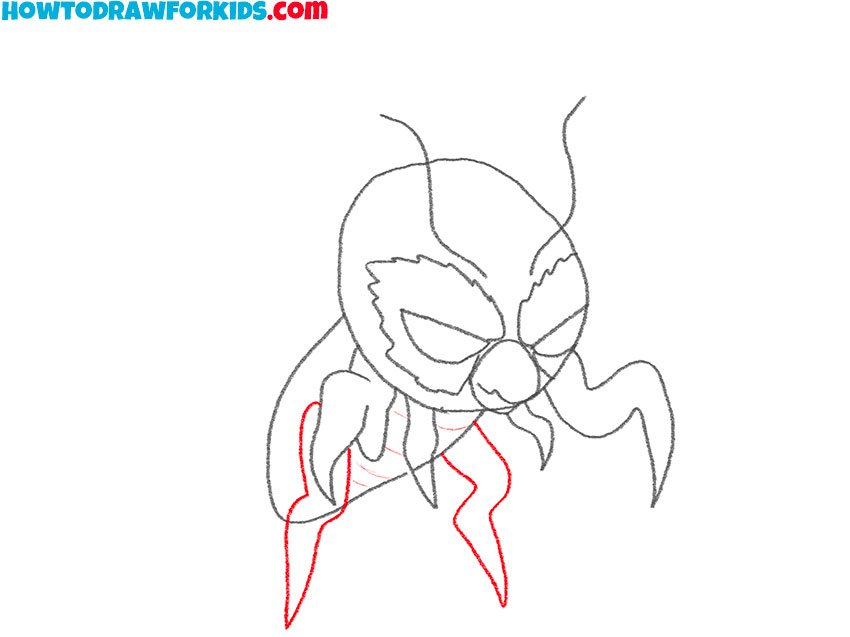
- Depict two wings.
Draw two large wings with smooth lines, while maintaining symmetry.
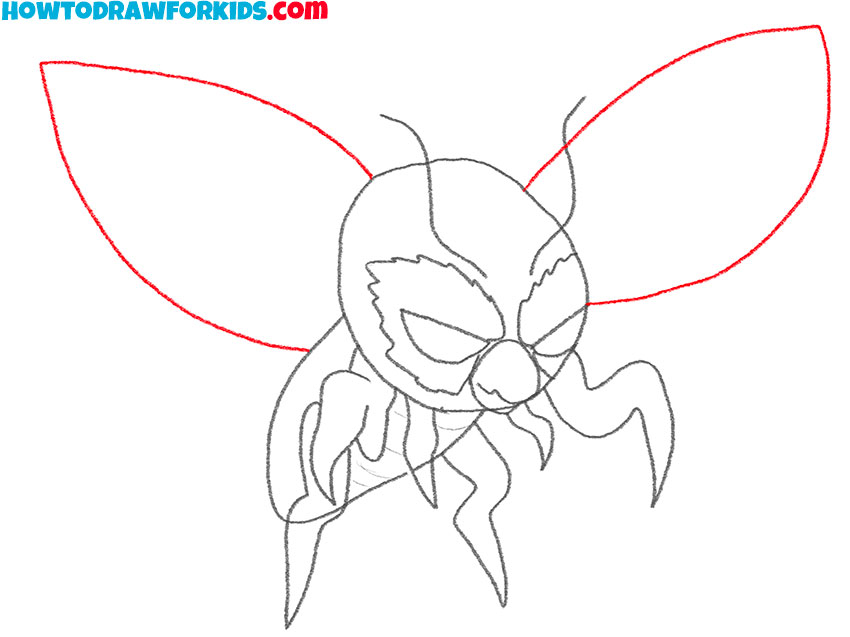
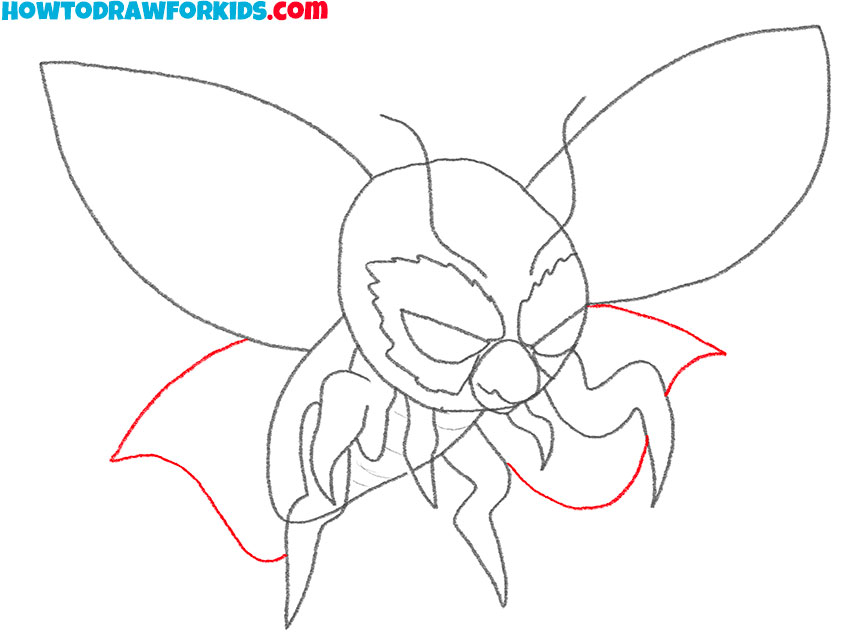
- Add the rest of the wings.
At the bottom, add two more small wings that have a curved shape.
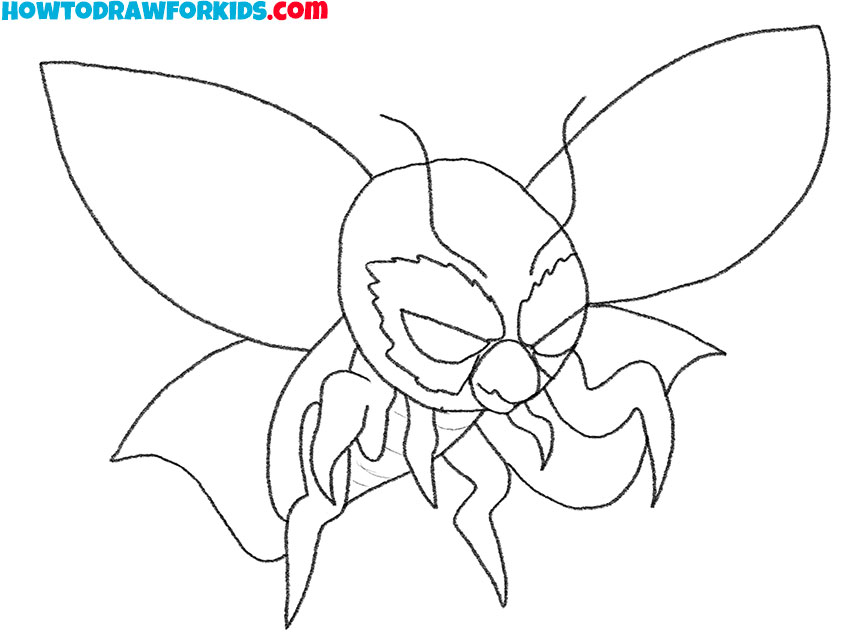
- Correct inaccuracies.
Take the eraser and carefully erase all the extra lines in your drawing.
- Color the drawing.
You will need beige, purple, green, and pink.

Especially for your convenience, I have prepared a PDF file that contains a brief instruction and additional useful content. Save the file and enjoy drawing at any convenient time.



it was good