Vegetables Coloring Pages
Get your coloring tools ready for my collection of vegetable coloring pages, featuring vegetables that are commonly found on our tables.
Vegetables Coloring Pages: Introduction
This collection of vegetable coloring pages offers a variety of vegetables commonly found on your table. Designed to be both educational and enjoyable, these pages provide an opportunity to improve your coloring skills.
While vegetables often have specific colors, there’s room for you to experiment with different shades and combinations. By paying attention to the natural patterns and textures, you can create more realistic colorings.
For example, carrots are typically orange, but there are also purple and yellow varieties. Tomatoes are usually red when fully ripe, but don’t forget that unripe tomatoes are green.
Pumpkins, another common vegetable, are traditionally orange, but using a mix of orange shades can help highlight the surface ridges and shadows, giving them a more textured and realistic appearance.
Lettuce, with its varying greens, can range from light to deep green tones. Adding a touch of yellow can give the leaves a more vibrant and interesting look, mimicking the natural color shifts found in real lettuce leaves.
Vegetables Coloring Pages
How to Color Vegetables
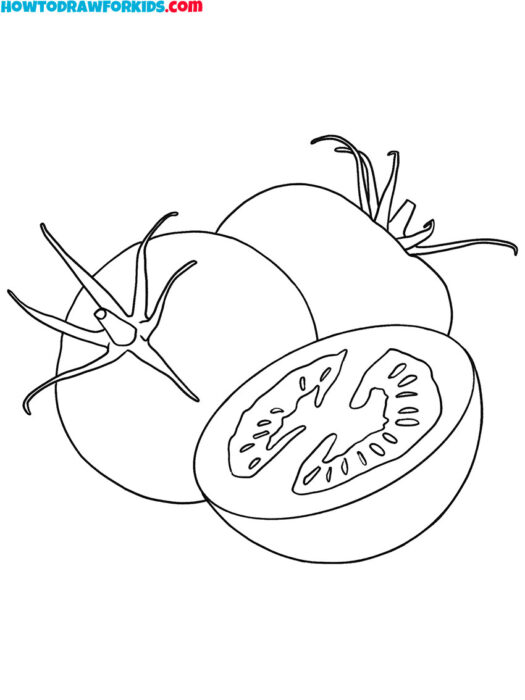
When coloring the tomato, it’s important to note that tomatoes come in various shades, ranging from light pink to dark red. Begin by using a darker red for the outer parts of the tomato, then gradually blend into a lighter red or pink as you approach the center. To draw a tomato, visit my step-by-step tutorial.
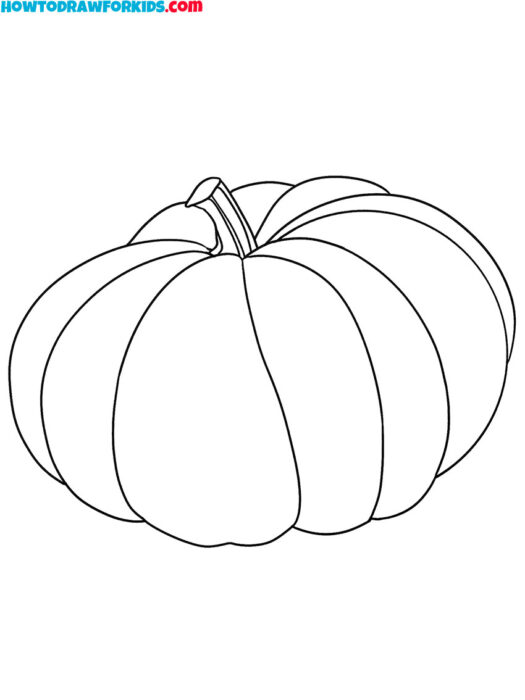
For the pumpkin, you can start with shades of orange or yellow. A rich, dark orange works well for the outer edges, gradually transitioning to a lighter orange towards the center. For a more detailed look, add subtle shading to illustrate the grooves that are common on the pumpkin’s surface.
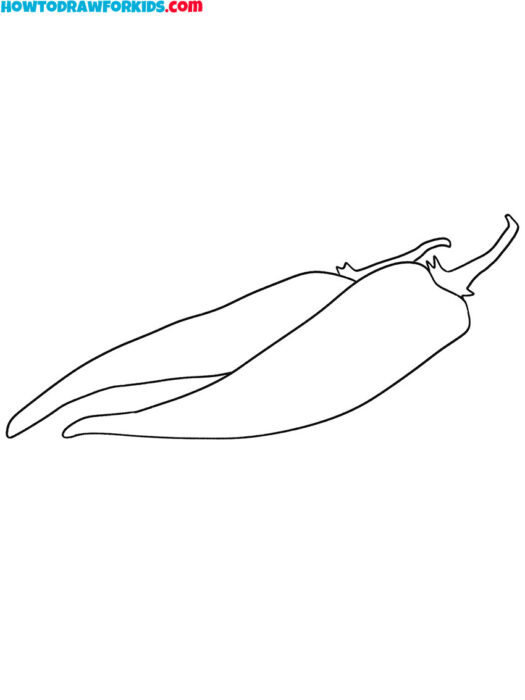
When working on the chili pepper, begin by selecting a color for the body, which could be green, red, or orange, depending on the variety. The pepper’s smooth, shiny surface can be highlighted by leaving small areas of white to represent light reflection. By the way, you can draw a chilli pepper with my simple tutorial.
For the standard bell pepper, use a similar approach as with the chili pepper. Start by coloring the body in green, red, yellow, or orange, depending on the variety. Add highlights and shadows to give the pepper a more rounded and realistic look.
For the onion, start with a light yellow or beige for the outer skin, gradually adding darker shades along the edges to create more realism. The layers inside the onion can be lighter, with a focus on creating a gradient from the outer edges to the inner part.
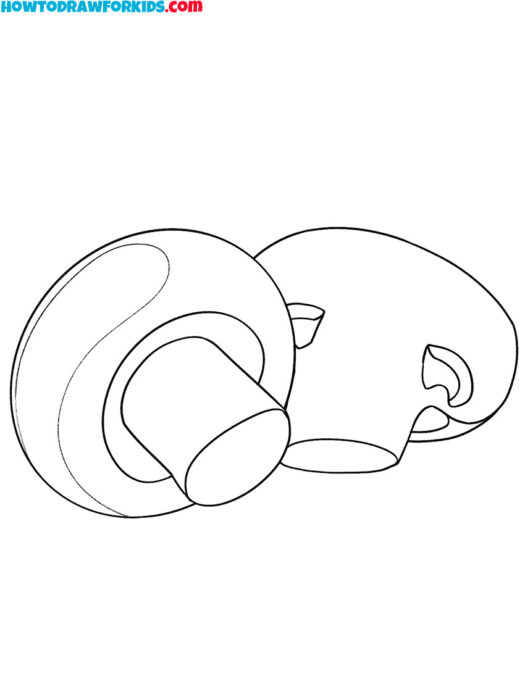
When coloring the mushroom, use a light beige or brown for the outer cap. For the inside of the mushroom, which is visible in the sliced half, use lighter shades to highlight its texture. A mix of light brown and white can help differentiate the inner and outer parts. The stem can be shaded in a light beige or white with subtle shading around the edges.
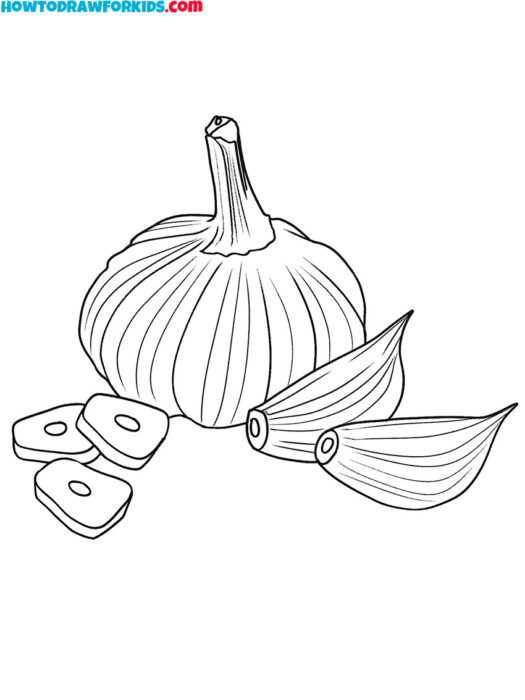
For garlic, start with pale yellows and light grays to color the skin. A hint of purple can also be added to represent the subtle hues often found in garlic. The cloves inside can remain lighter in color, with white or pale yellow, while the outer skin can have darker shading to show its layers.
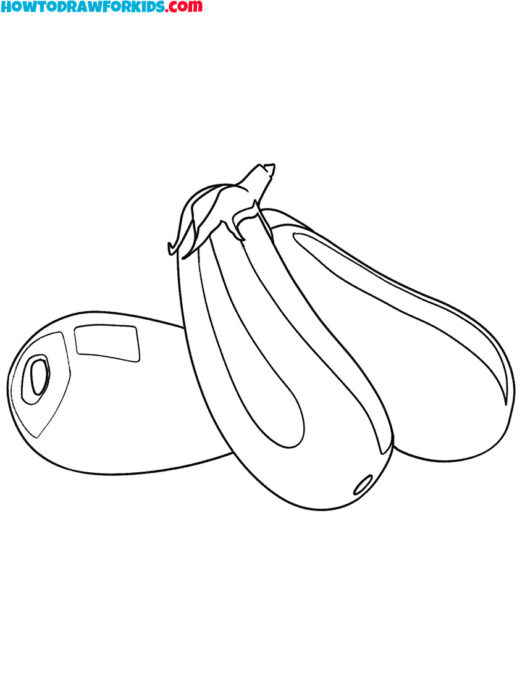
The eggplant can be colored using a deep purple base. To recreate the glossy surface of the eggplant, add lighter shades of purple or even a touch of blue along the edges to create highlights. The stem is usually green and can be shaded with a darker green around the base.
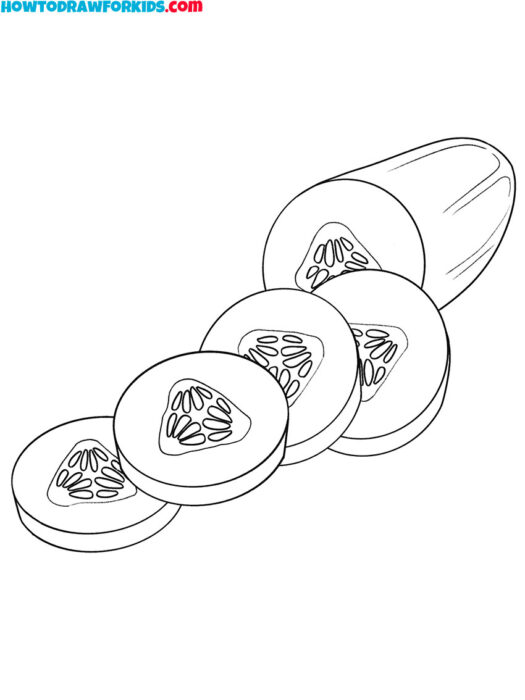
Cucumbers are generally colored in green. Use a darker green for the outer skin and a lighter green for the flesh inside. The seeds can be colored pale yellow or white to create contrast against the green flesh. Adding highlights to the skin can give the cucumber a fresh, wet appearance.
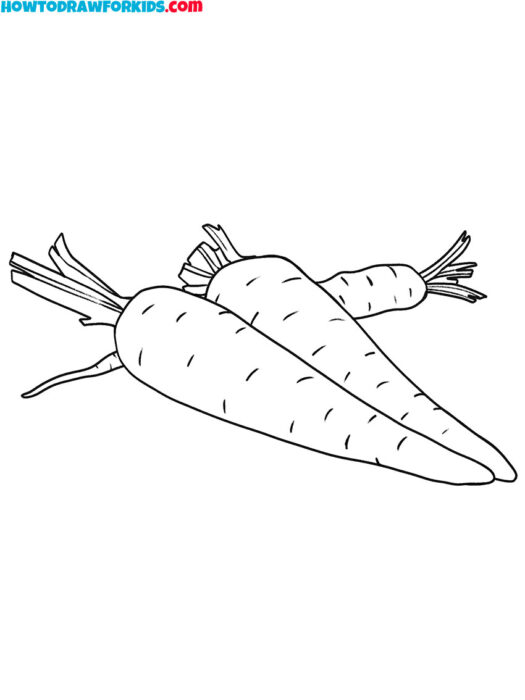
For the carrot, start with a light orange or yellow as the base color. Gradually add layers of darker orange to illustrate the texture and contours of the carrot. The tip and the area where the greens were removed can be shaded with a touch of brown or green to give it a more natural look.
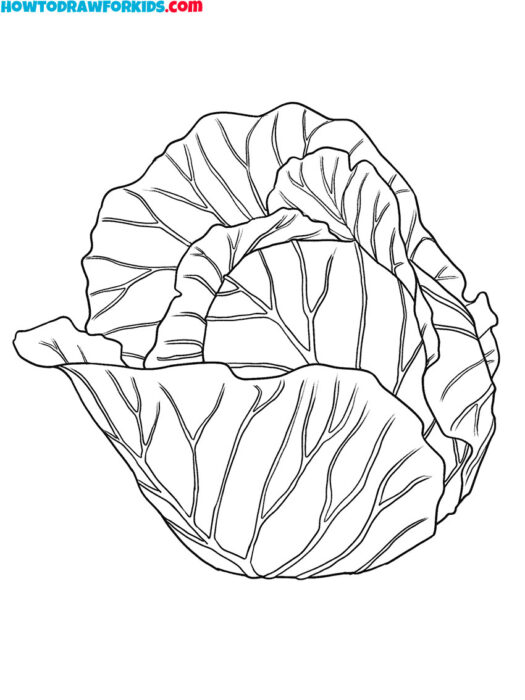
The cabbage can be colored with shades of green, starting with a pale green for the outer leaves and transitioning to a deeper green as you move inward. The lines between the leaves can be slightly darker.
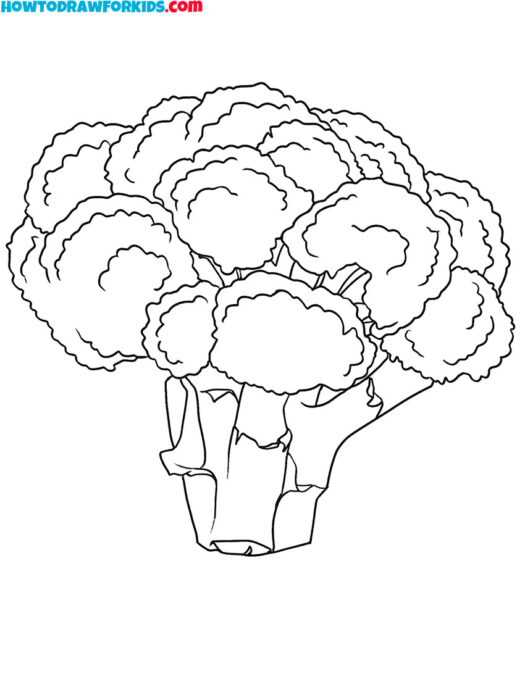
When coloring the broccoli, use varying shades of green. Start with a darker green for the dense parts of the florets, and gradually lighten the green as you move outward. Shading along the edges of the florets can add realism.
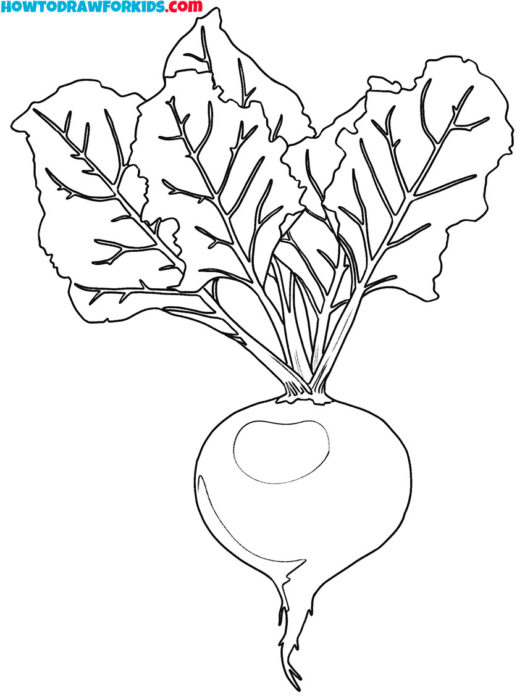
For the radish, start with a red or pink for the bulb, using a gradient effect to lighten the color towards the top where it meets the greens. The greens should be colored in varying shades of green, with lighter highlights on the edges to reflect light. The white parts of the radish can be left uncolored or lightly shaded to show the gradient.
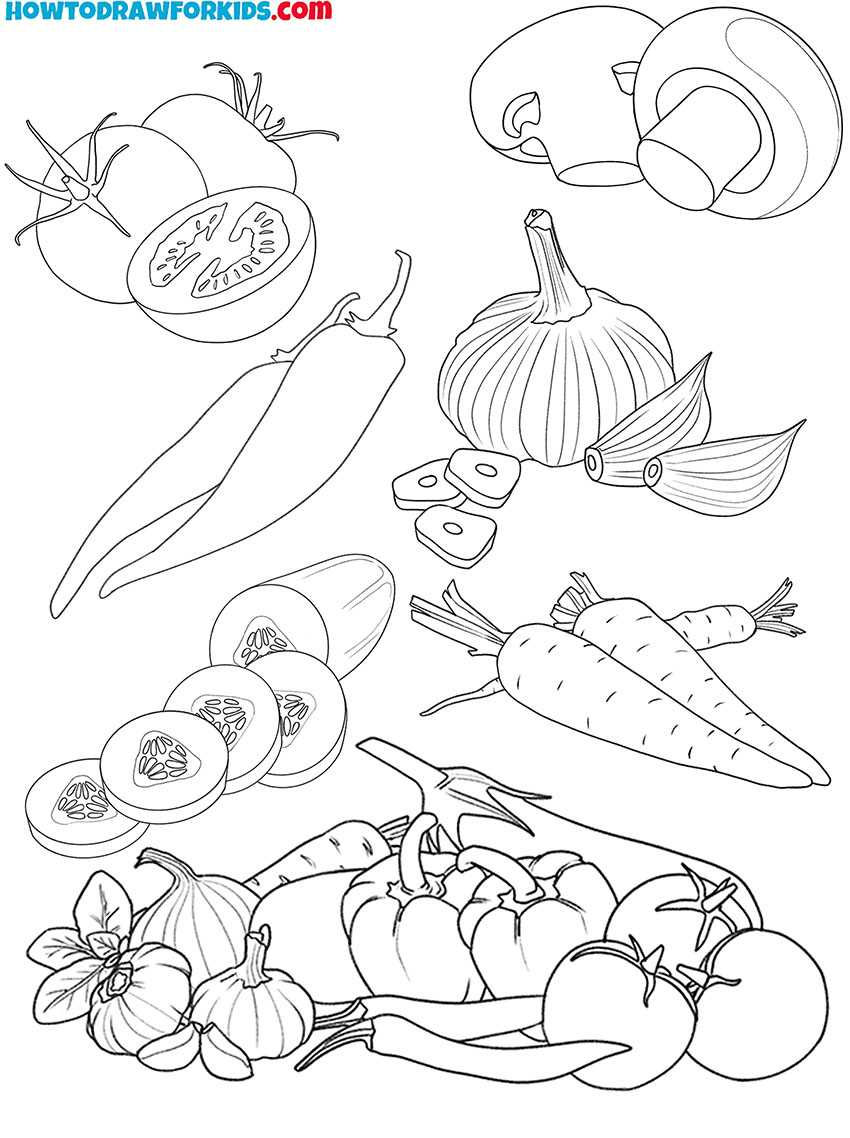
In the still-life composition, you can apply the same coloring techniques as described for each vegetable.
Conclusion
After completing the vegetable coloring pages, you can access a wide range of additional resources available on the website. These include various topics that may help you further develop your skills, such as drawing lessons that cover different styles, including, for example, an anime character drawing tutorial and different food coloring pages.
If you are interested in refining your understanding of human anatomy, there are articles that provide insights into body proportions for artists and other technical aspects of drawing. By browsing through these materials, you’ll find practical guidance and tips to improve your work. Stay updated on the latest content by following on social media for any new tutorials and resources.

