How to Draw a Lego Brick
Today I will show you how to draw a Lego brick. I am sure that this lesson will be useful for any aspiring artist.
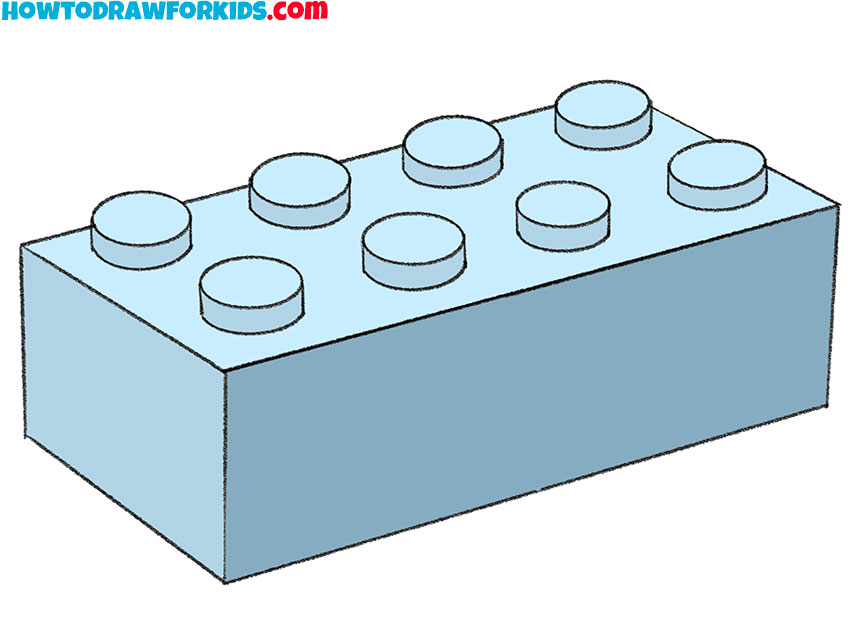
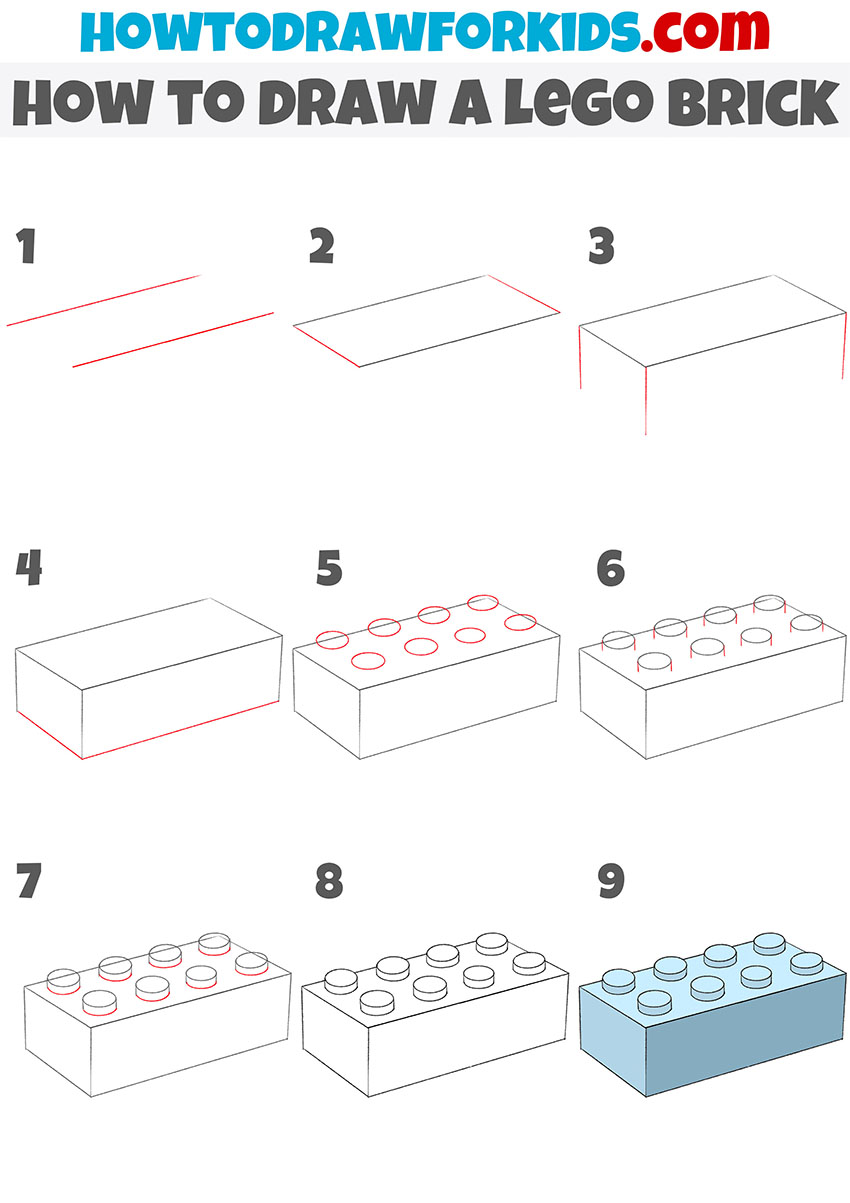
In this drawing lesson I want to show you how to draw a Lego brick. This is a great drawing object and if you complete this lesson, you will acquire useful skills that will definitely come in handy in the future.
Lego is an exciting game that is loved by children all over the world. In this tutorial you will draw a small rectangular Lego brick with eight spikes.
In the process, you can use improvised tools or draw all the lines yourself. Be careful when coloring. Please note that all faces are painted in different shades. Thus, Lego brick has a more realistic look.
Lego Brick Drawing Tutorial
Materials
- Pencil
- Paper
- Eraser
- Coloring supplies
Time needed: 20 minutes
How to Draw a Lego Brick
- Start painting the top surface of the brick.
At this stage, you need to draw two even, straight lines that are parallel.

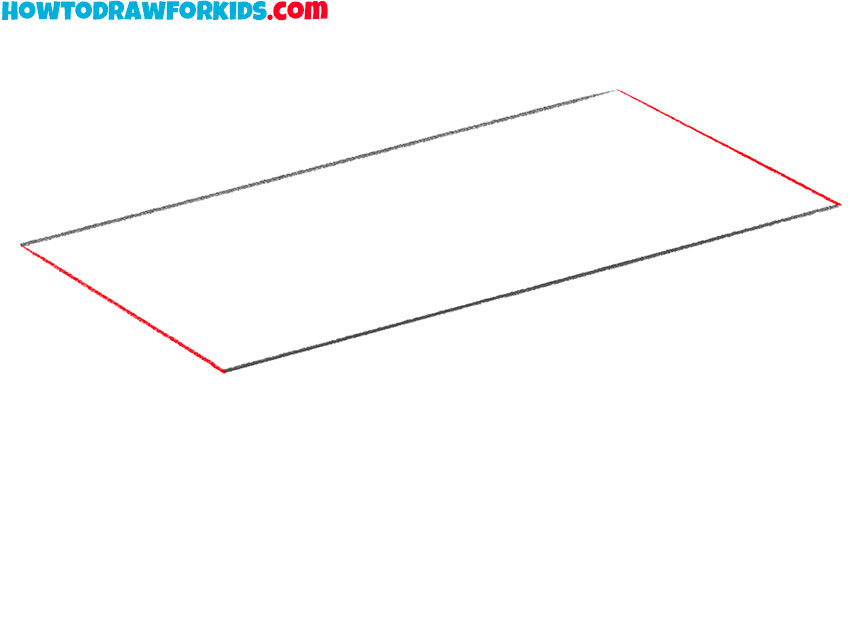
- Add the rest of the top surface.
On the sides, draw even connecting lines to end up with a closed loop.
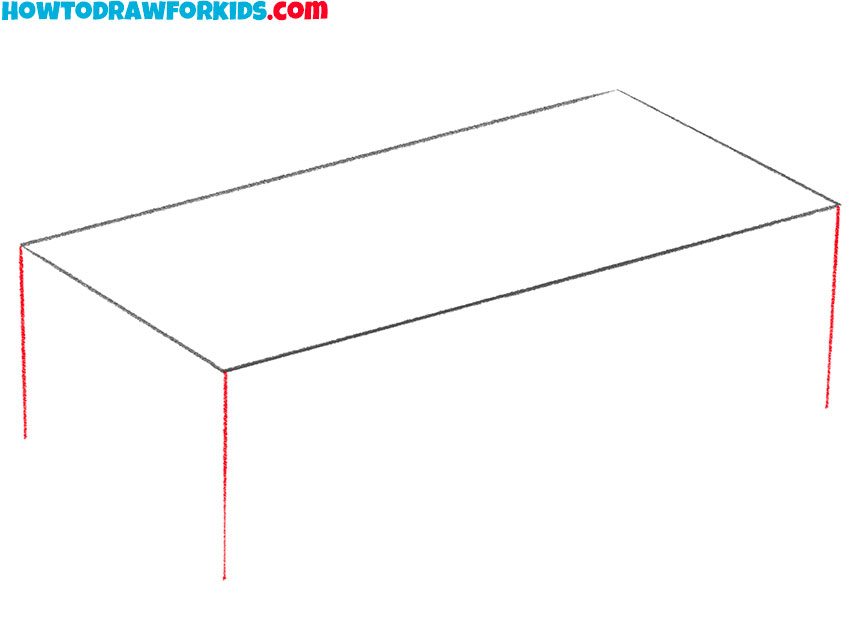
- Depict the side edges.
Draw straight vertical lines down from the corners.
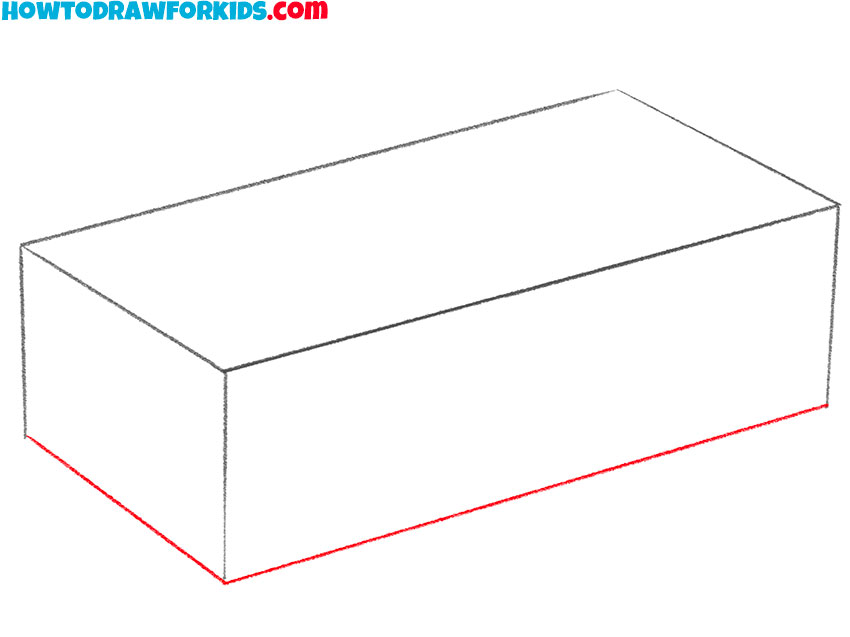
- Draw the bottom outline of the brick.
Depict two straight lines at the bottom, as shown in the example.
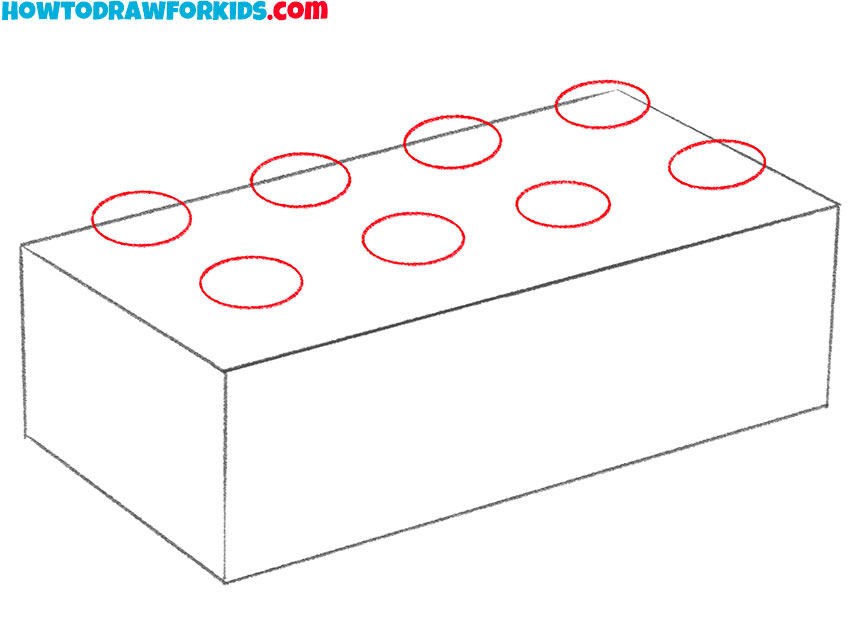
- Add the top surface of the spikes.
Draw eight identical ovals located at the same distance from each other.
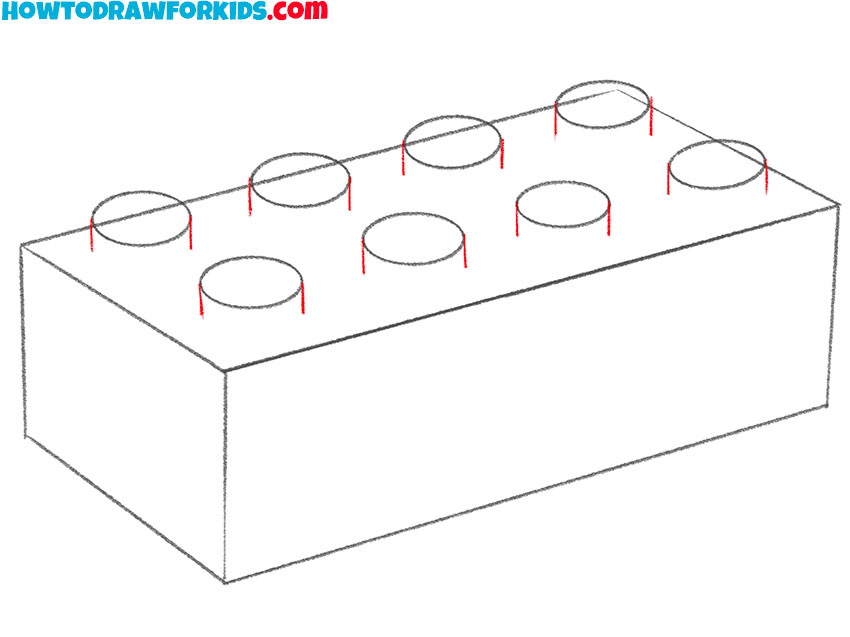
- Depict the side edges of the spikes.
From each spike, sketch out down short vertical lines.
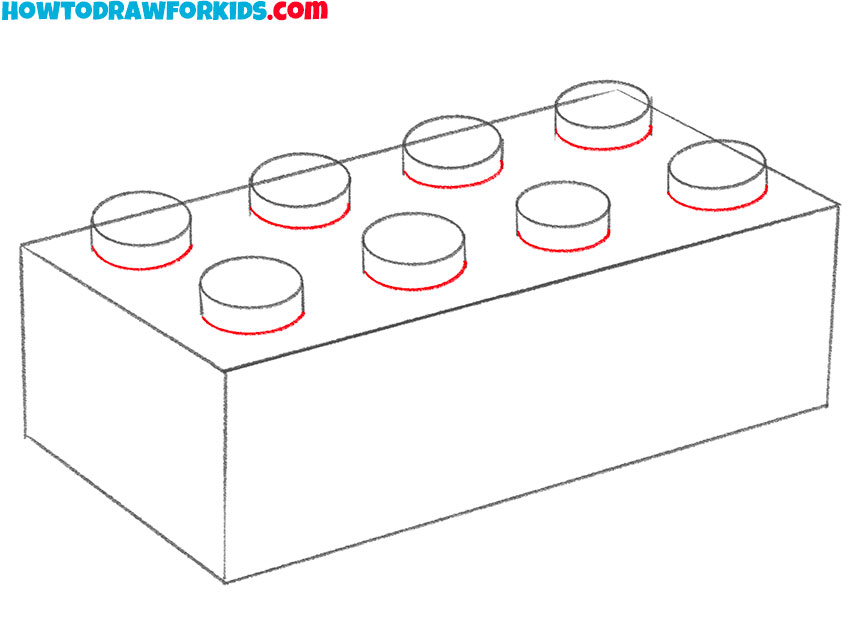
- Draw the bottom contours of the spikes.
Sketch out a smooth rounded line at the bottom of each spike.
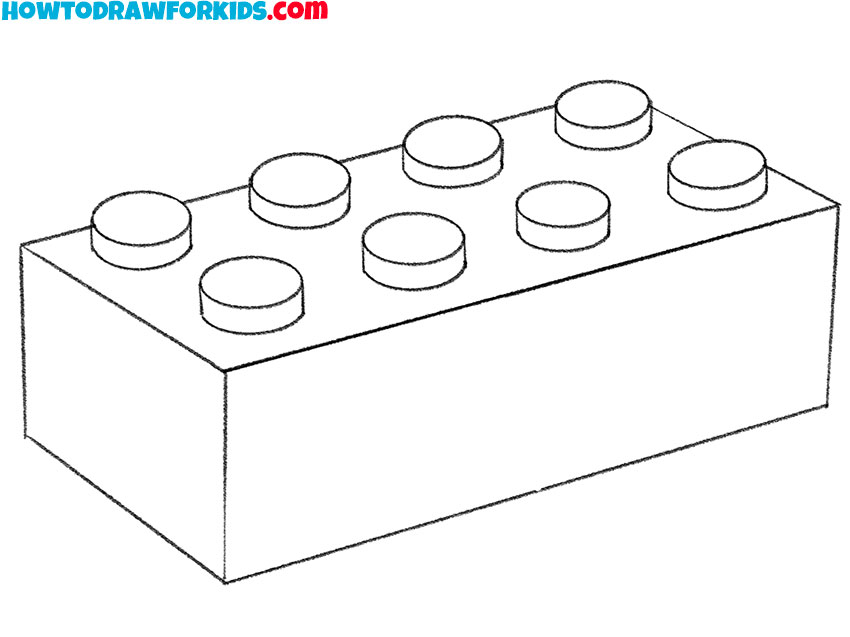
- Correct inaccuracies.
Use the eraser to remove all extra lines in the drawing.
- Color the drawing.
For coloring, use several shades of blue.
At the end of the lesson, I have prepared a PDF file for you, which contains a brief instruction and additional training materials. Rather, download the file and draw at any convenient time.