How to Draw a 3D Building
In this lesson, you will learn how to draw a 3D building. With simple instructions, you will gain useful skills.
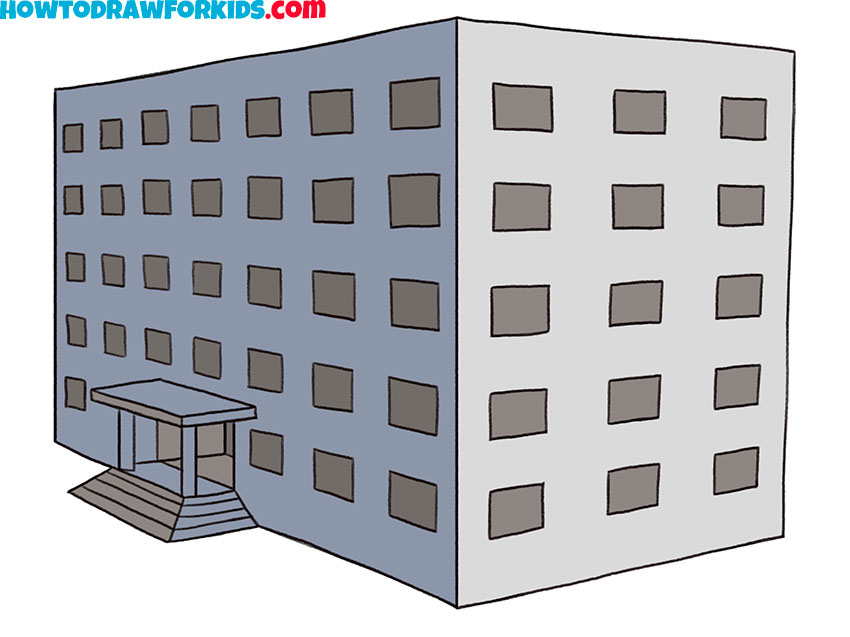
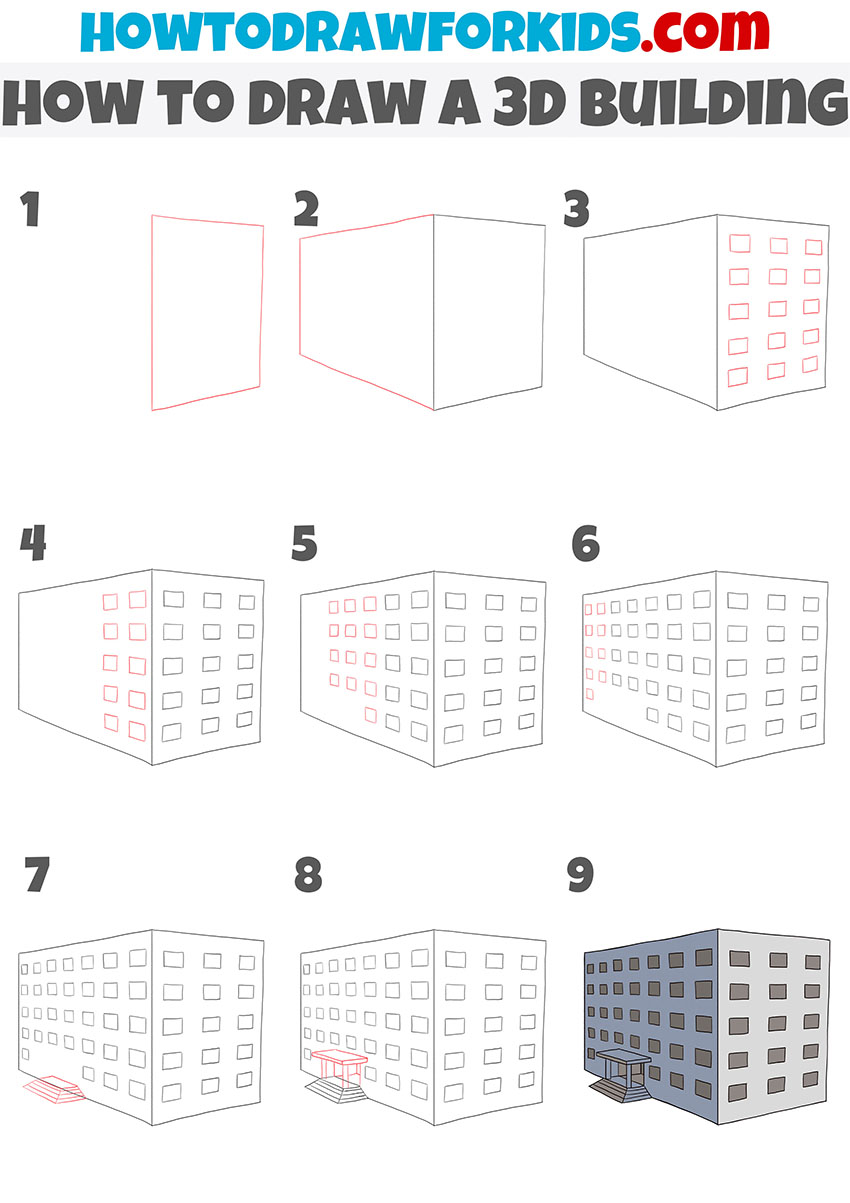
I am glad to offer you an interesting and useful drawing lesson in which you will learn how to draw a 3D building. Now you will once again train your spatial imagination and the ability to draw straight lines. You can use the acquired skills in the future when you want to draw a city landscape.
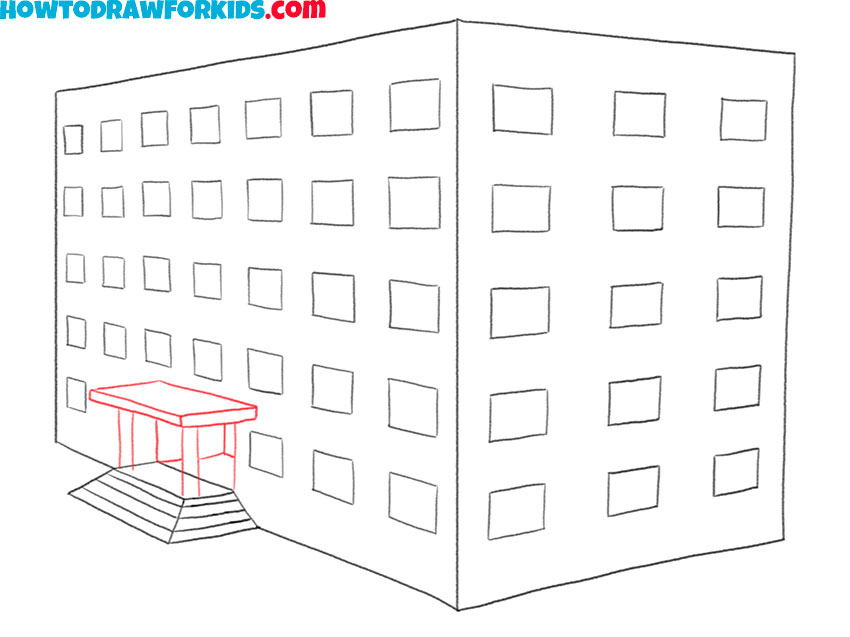
The figure shows an administrative five-story building. Before entering the building, there are several steps and a small canopy. Please note that the windows have different sizes and shapes, do not forget that those objects that are closer to the viewer appear larger and as they move away, the objects become smaller.
Try to correctly depict the perspective in your drawing. Memorize all the drawing steps so that you can easily draw any other building if necessary. Carefully follow my instructions and carefully draw all the lines.
3D Building Drawing Tutorial
Materials
- Pencil
- Paper
- Eraser
- Coloring supplies
Time needed: 35 minutes
How to Draw a 3D Building
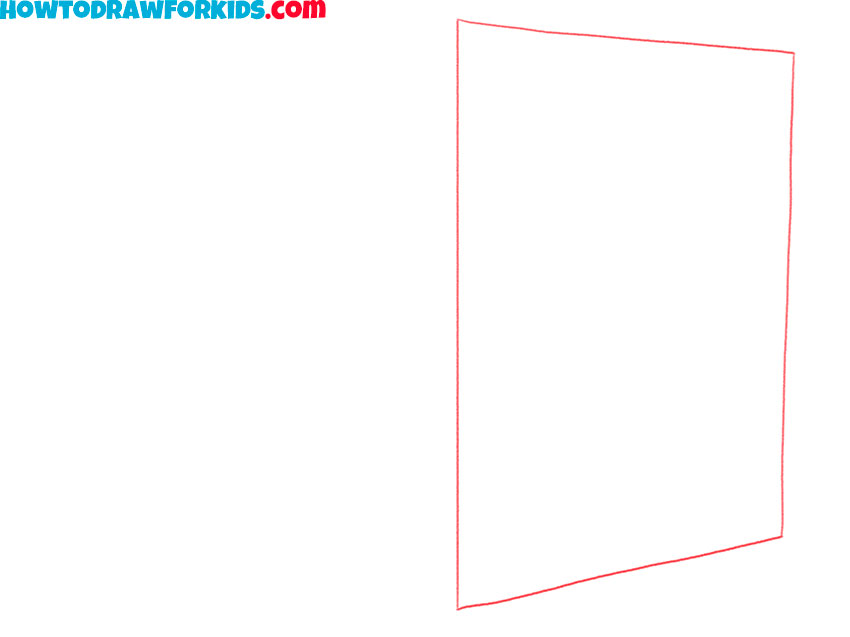
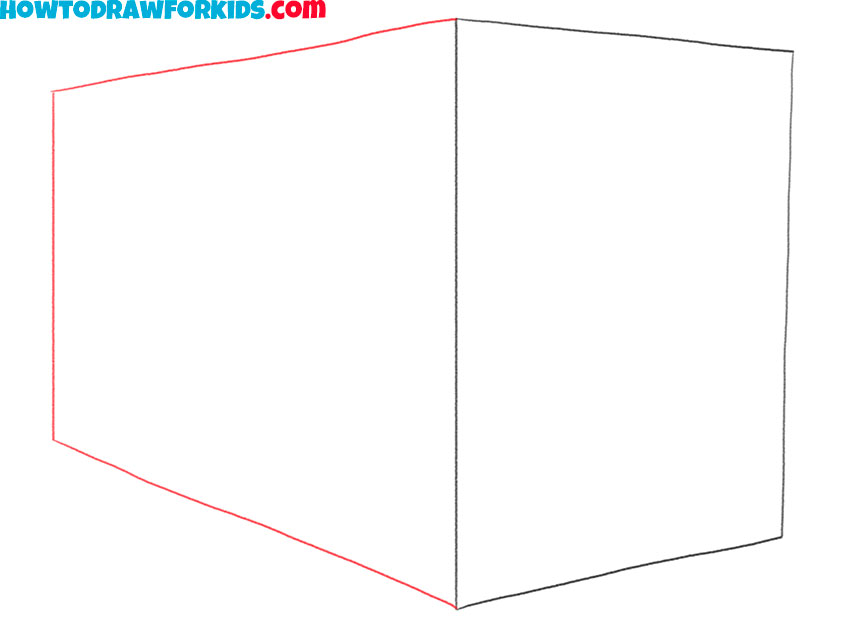
- Draw one side of the building.
Depict a quadrilateral of the same shape as in the example.
- Add the second side of the building.
On the left side, add straight lines to depict the second side.
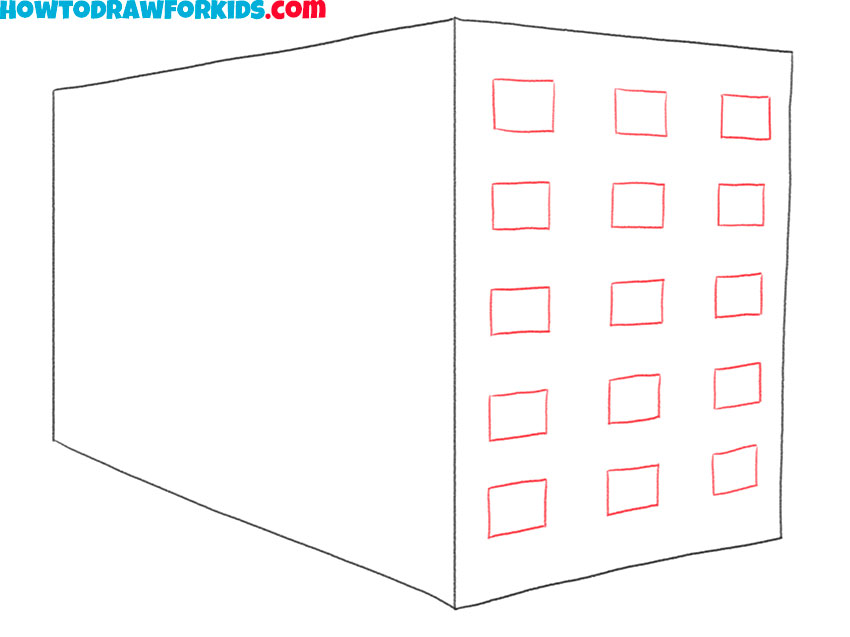
- Sketch out the windows on one side.
Add three rows of windows vertically and five rows horizontally on the side of the building.
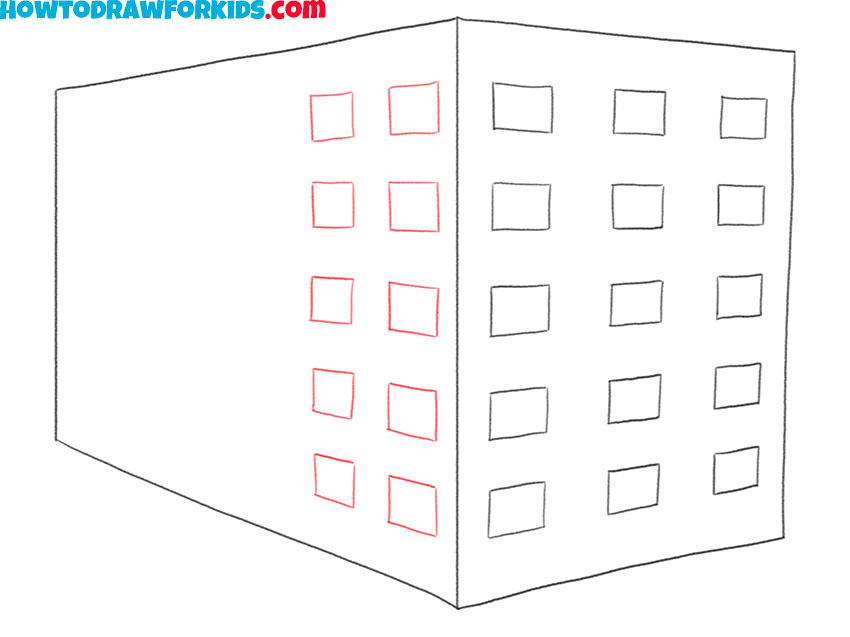
- Depict part of the windows on the other side.
Add two rows of windows vertically and five rows horizontally on the other side of the building.
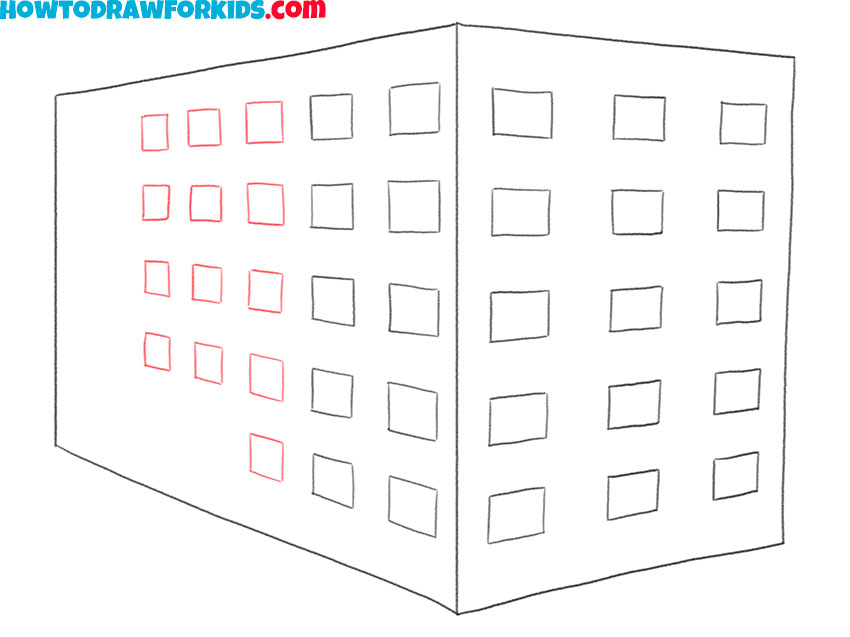
- Draw some more windows.
Add the few more rows of the windows, keeping the windows smaller.
- Add the rest of the windows.
Depict some more windows that are further away from us.
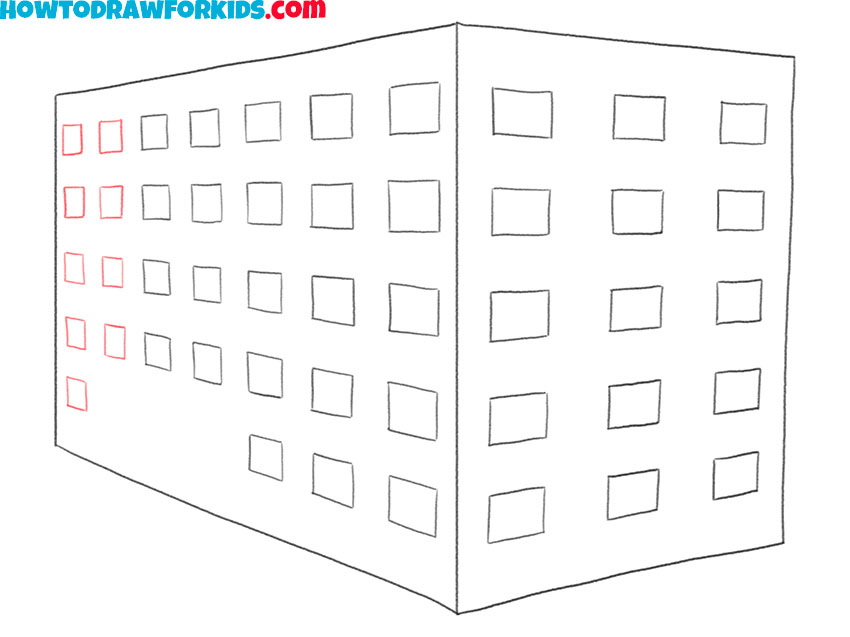
- Sketch out the porch.
With the help of straight lines, depict the porch and several steps.
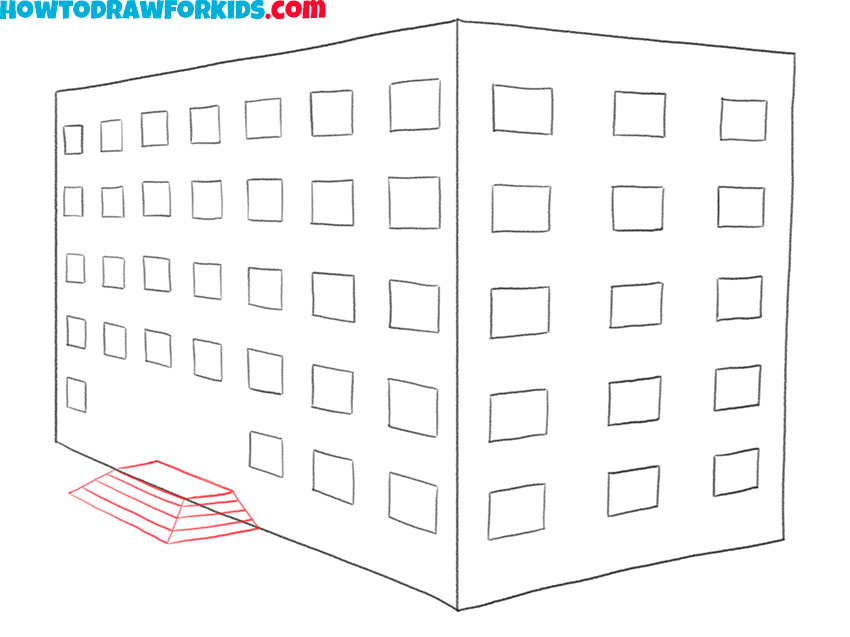
- Depict the canopy.
Draw two columns and the canopy in front of the entrance to the building.
- Color the building.
For coloring, use several shades of gray.
Download a PDF file with a short version of the lesson and complete the lesson at any convenient time.