How to Draw a 3D Letter
In this tutorial, I want to show you how to draw a 3D letter. Undoubtedly, this lesson will be useful and interesting for you.
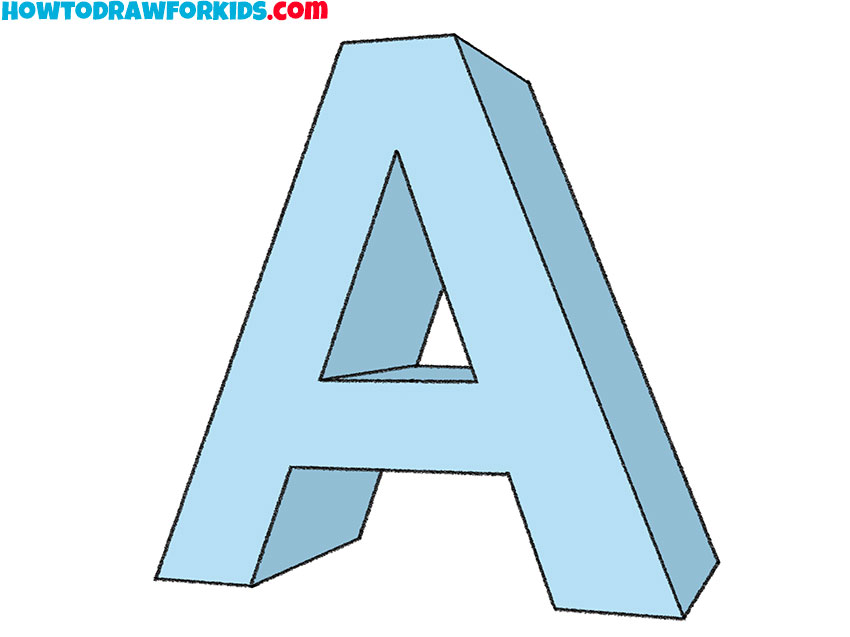
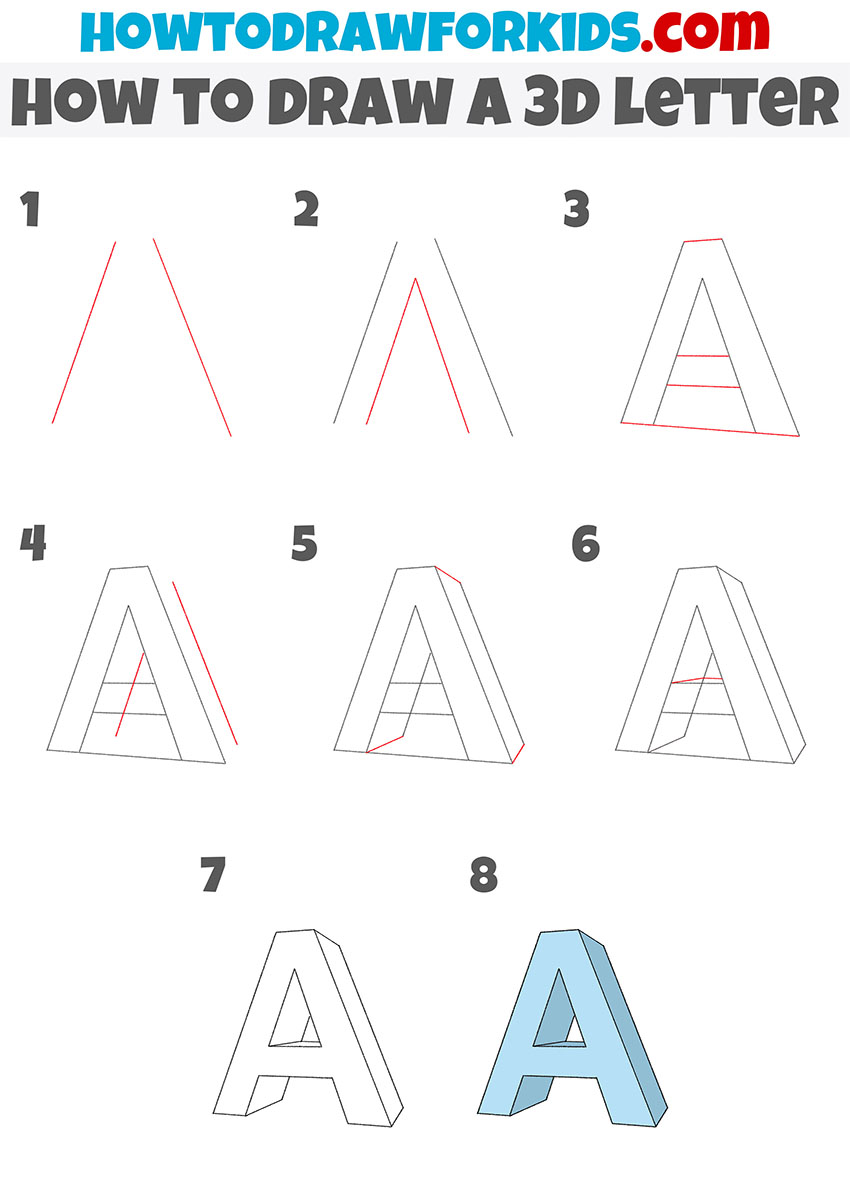
Now you will learn how to draw a 3D letter. This step-by-step guide will train your spatial imagination and the ability to draw straight lines. You only need to be careful and careful when performing each step.
Sometimes it becomes necessary to write beautiful letters in an unusual way. For example, if you want to draw a poster or a greeting card. In this case, you can write volumetric letters. It will be original and unusual!
The acquired skills can be used repeatedly in the future. Now I will show in detail how to draw the letter “A”, in the same way you can depict any other letter. The main thing is to remember the sequence of steps and correctly draw all the lines, as shown in the instructions.
Materials
- Pencil
- Paper
- Eraser
- Coloring supplies
Time needed: 30 minutes
How to Draw a 3D Letter
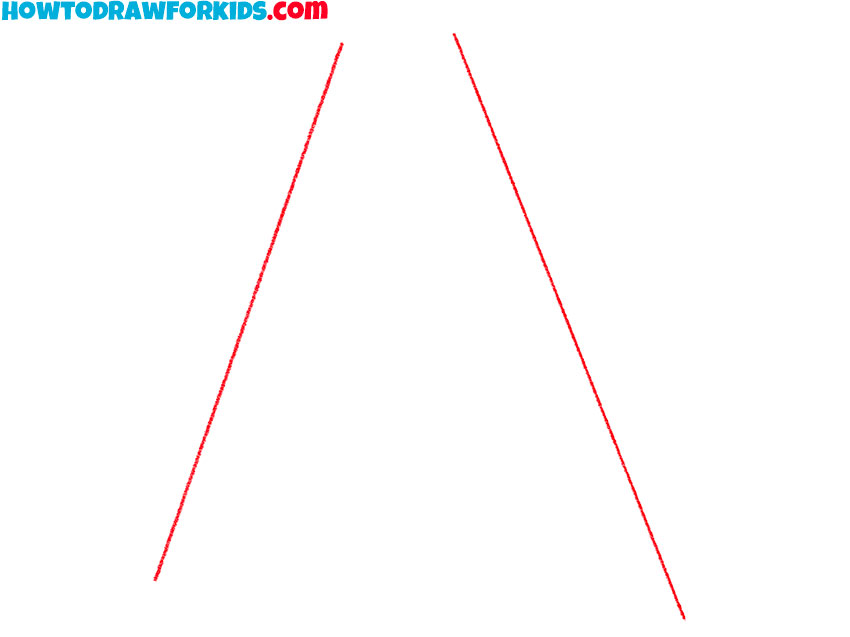
- Start drawing the front of the letter.
Determine the size of the drawing and draw two even, straight lines.
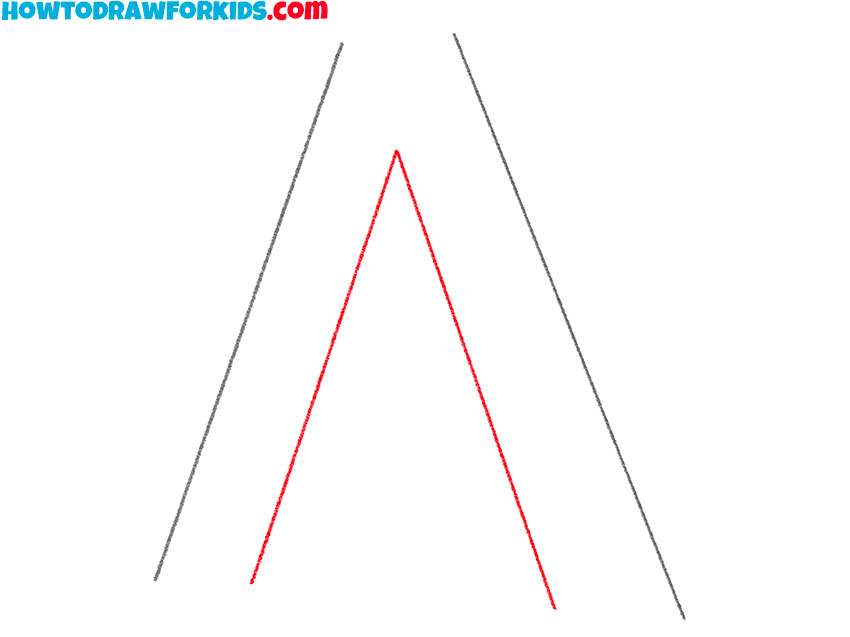
- Depict the inner outline.
Draw two straight lines that are at an angle to each other.
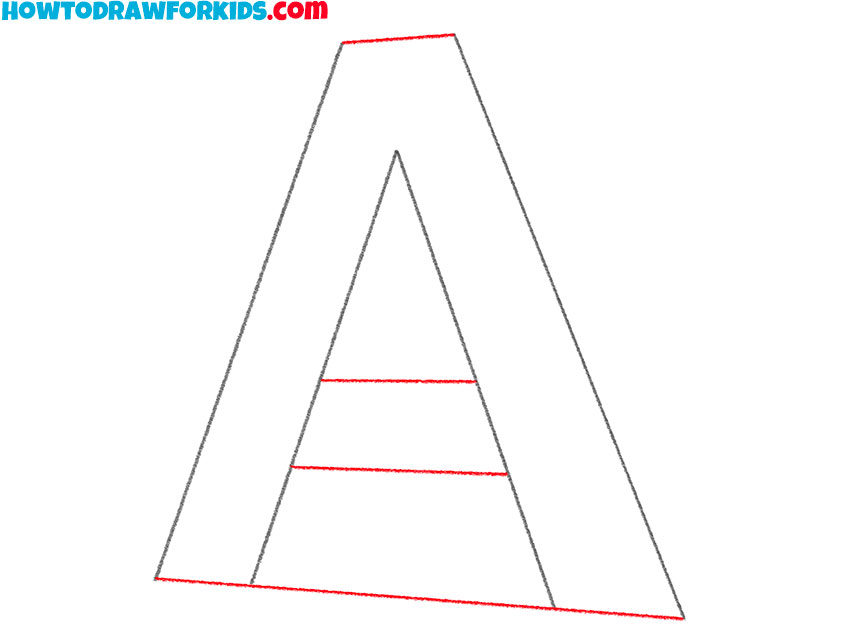
- Add the top, middle, and bottom.
At this stage, sketch out several horizontal lines.
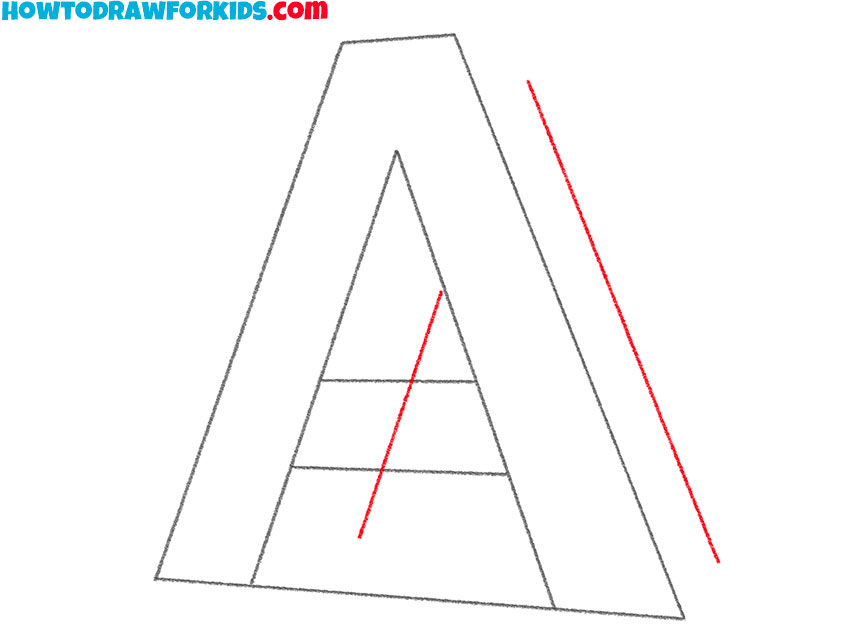
- Start drawing the back of the letter.
To do this, you need to draw straight parallel lines.
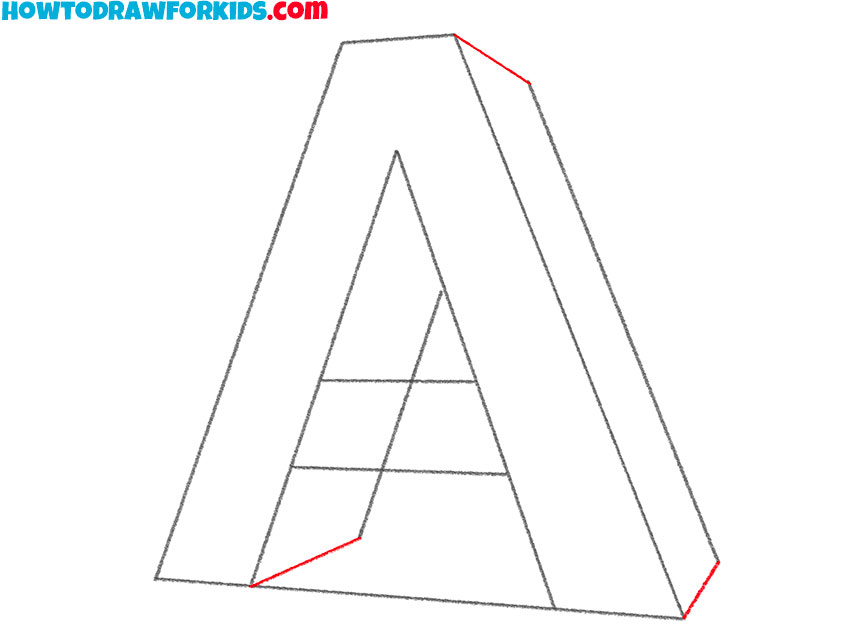
- Add details.
Depict connecting lines between the front and back of the letter.
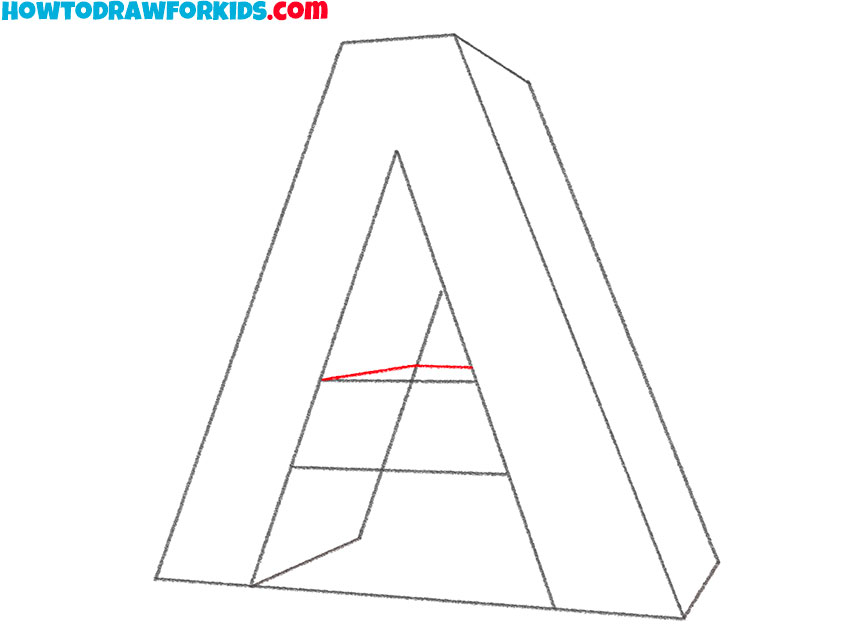
- Draw the middle of the letter.
Depict short lines to draw the thickness of the middle section.
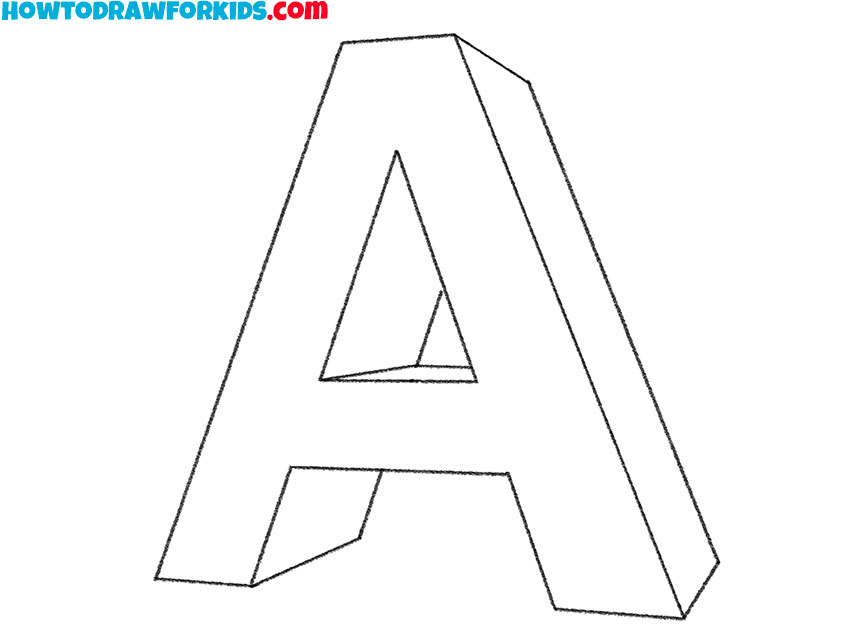
- Correct inaccuracies.
Carefully remove all extra lines.
- Color the 3D letter.
You will need two shades of blue, or two shades of any other color.

Finally, I suggest you download the PDF file, which I have prepared specifically for your convenience. This file contains a short version of the lesson and additional useful materials that you can use at any time, even if you do not have access to the Internet.

