How to Draw a Banner Ribbon
Here you will learn how to draw a banner ribbon, which works both as practice and as a base for adding text later.

In this tutorial, you will learn how to draw a banner ribbon. This is a very common design element. Such an object is very often used for advertising purposes when you need to beautifully present any information. The banner ribbon is usually bright red, as this is the color that attracts attention.
Banner tape can have different widths and a different number of bends. This picture shows a narrow banner ribbon that has two curves and a beautiful curly edge. In general, it looks very attractive.
This tutorial will be very helpful for you. You will train your attention, accuracy, the ability to draw smooth lines and observe symmetry. You can use this banner tape in your future drawings. For example, you can decorate a greeting card for your friends with this banner ribbon and write some small wishes in the center of the ribbon.
Materials
- Pencil
- Paper
- Eraser
- Coloring supplies
Time needed: 15 minutes
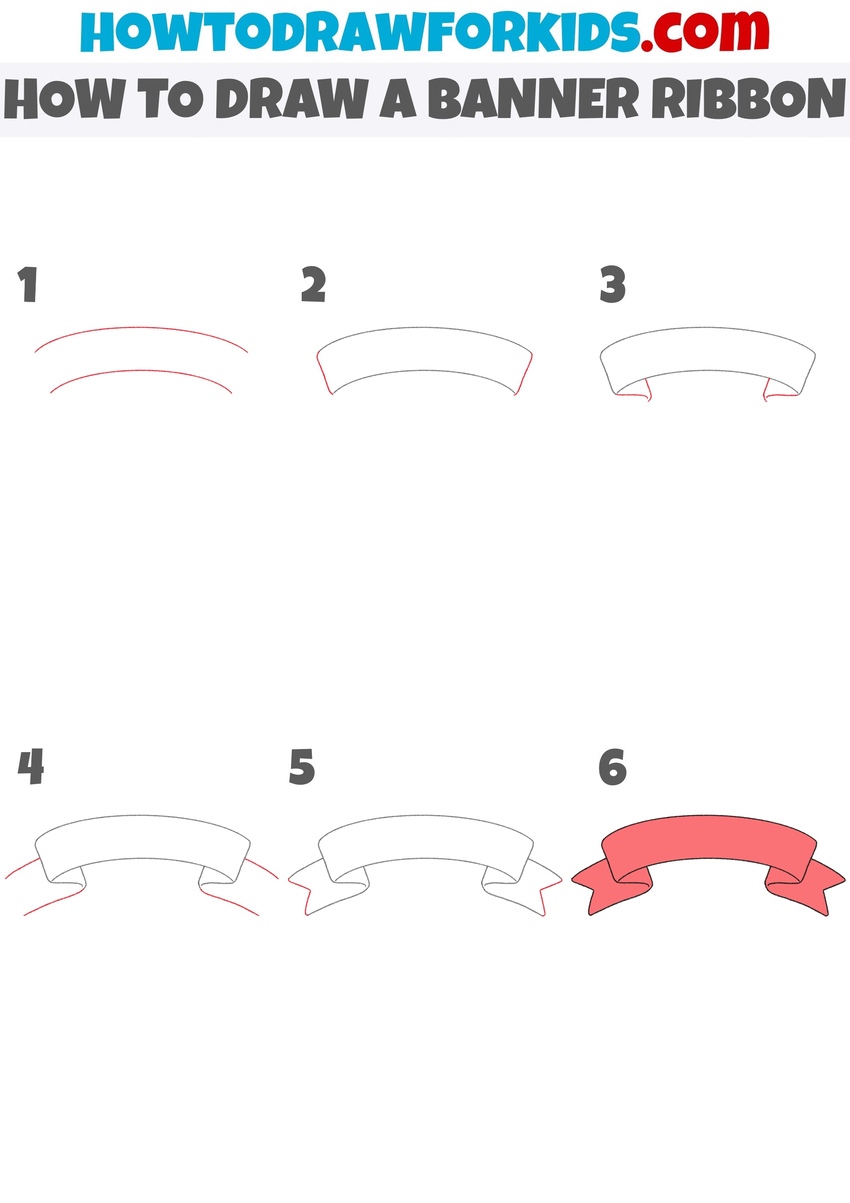
How to Draw a Banner Ribbon
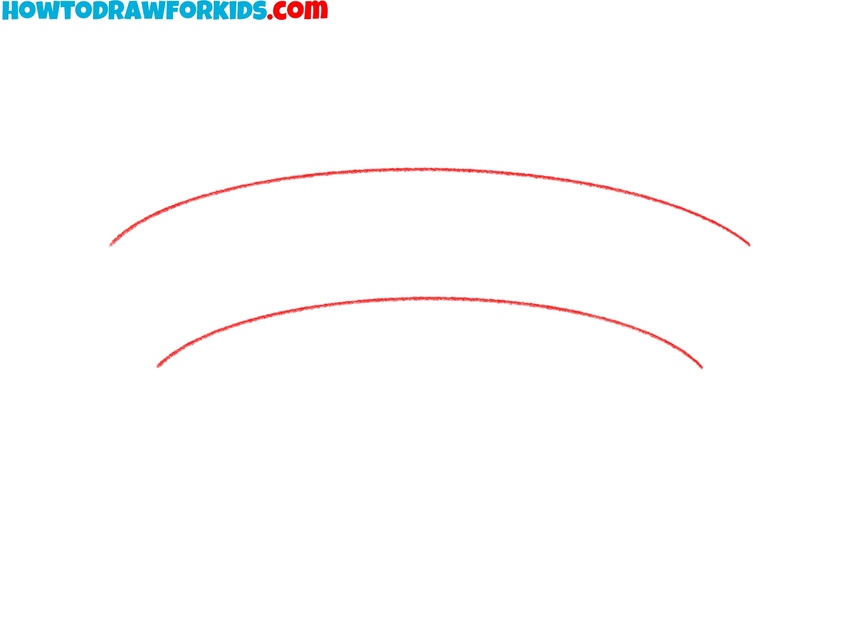
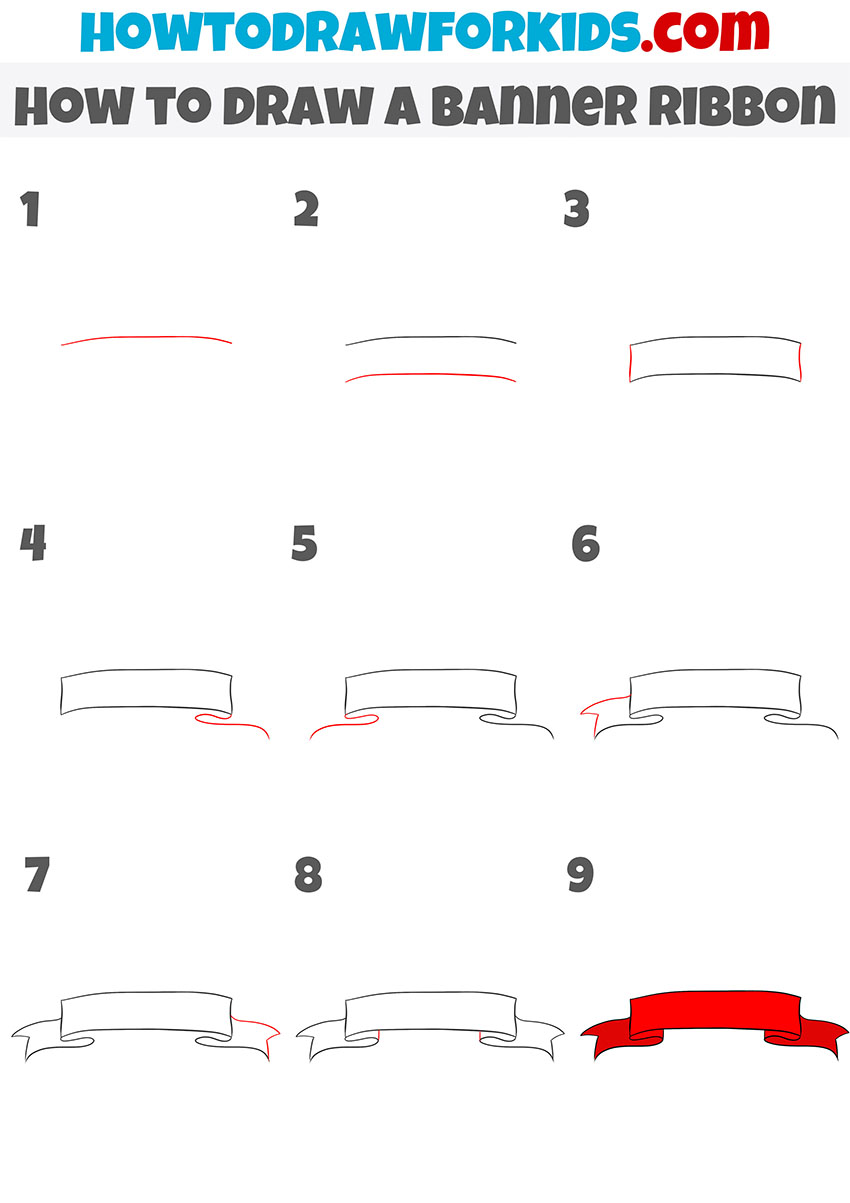
- Define the top and bottom arcs.
Before adding details, let’s set the structure with two smooth curves. These lines will act as the top and bottom edges of the ribbon’s main strip. Place them parallel to each other, keeping the same bend so the shape looks realistic. The distance between the lines will determine how wide the ribbon appears.
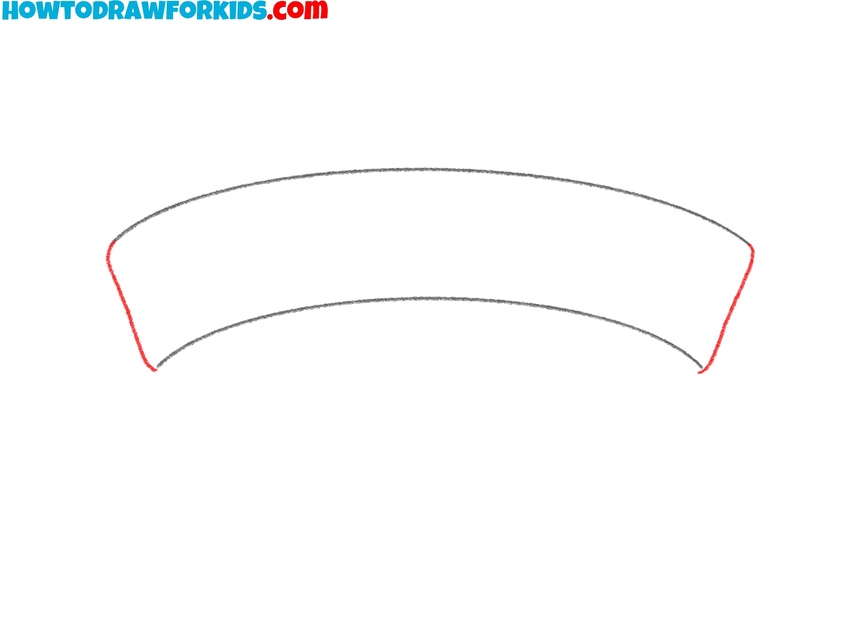
- Connect the ends with diagonals.
Now that the top and bottom arcs are set, connect the ends to form the main ribbon part. Use short diagonal lines on both sides to join the curves. The diagonals should angle to the sides, giving the banner ribbon a natural spread. You can also check proportions at this stage.
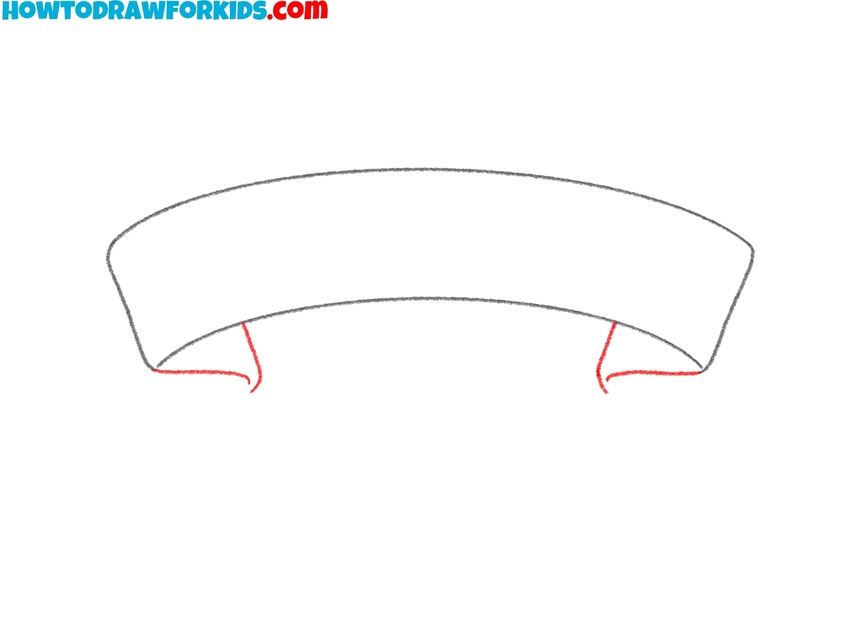
- Add the folded sections below the ribbon.
To give the ribbon some dimension, draw two short curved lines below the lower corners. These represent the folds where the ribbon bends back. When sketching folds, think about how paper or cloth bends when pressed. Double-check both sides look symmetrical.
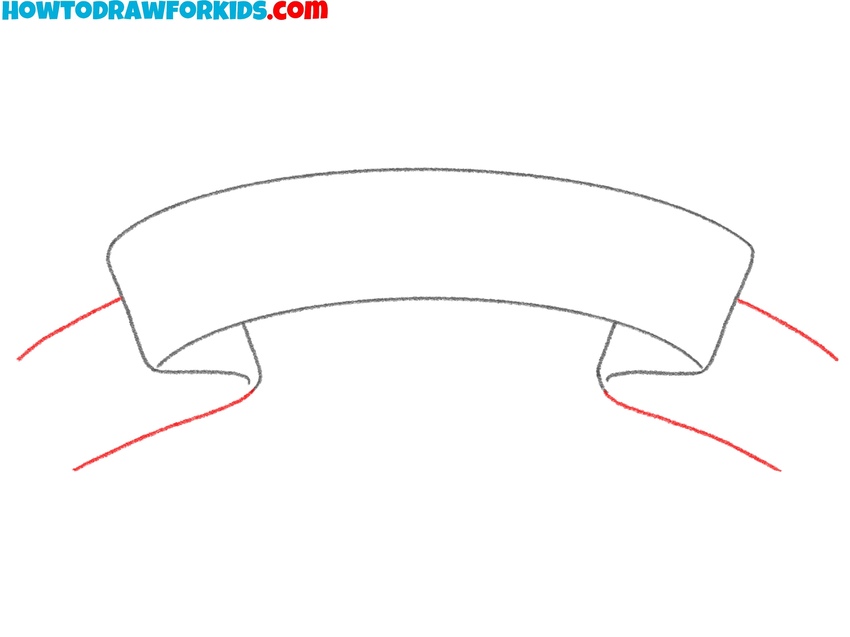
- Extend side tails for ribbon ends.
With the center strip defined, the next focus is adding the extended sides that give a ribbon its classic banner look. From each fold, sketch diagonal lines. These should look like strips trailing away from the center. Keep the lengths roughly the same on both sides so the drawing remains symmetrical.
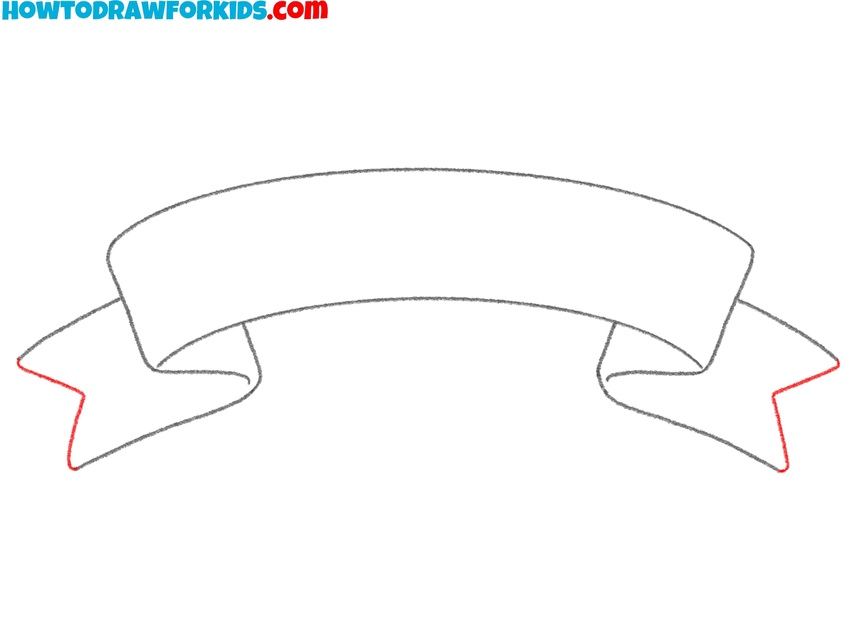
- Shape the pointed ribbon tips.
Now connect the side extensions by closing them into neat triangular or fishtail shapes. These ends are often shown cut at an angle or with an inward “V” notch, both are common banner styles. Choose whichever fits the design you prefer. You can also detail the folds and check proportions at this stage.
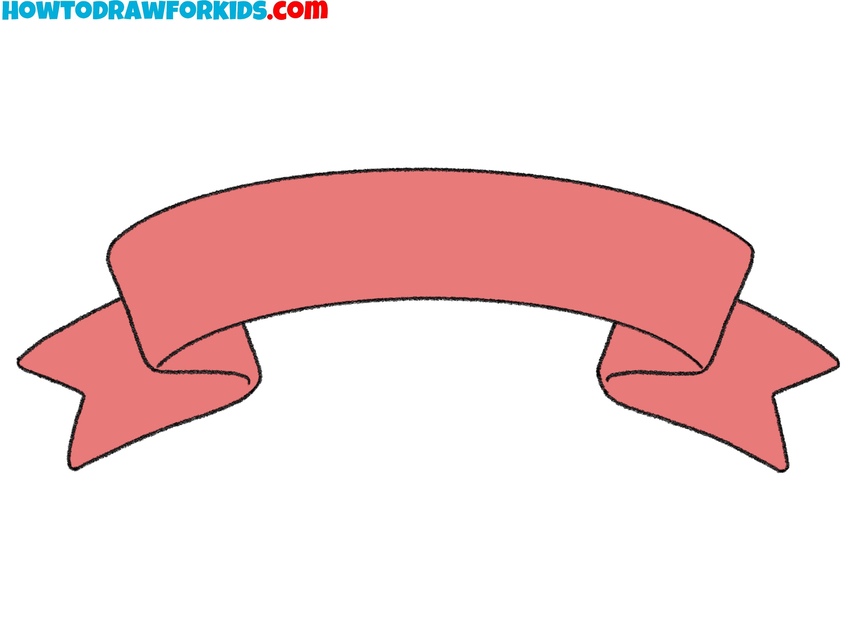
- Complete the banner adding colors.
At this stage, the ribbon already has its full form, so the focus should be on giving it a finished look. First, carefully erase any unnecessary construction marks if you’ve added them. Next, fill the surface with a smooth, solid color of your choice, for example bright red, soft blue, or even a golden yellow. To make it appear less flat, you can vary the intensity of the color on the folded sections.
Alternative Banner Ribbon Drawing Tutorial
To construct this drawing, draw two parallel slightly curved lines that will form the top and bottom edges of the ribbon. Close the shape at both ends with short vertical strokes.
Add one curled extension on the lower right side by drawing a small hook-like shape. Repeat on the opposite side for symmetry.
Once the outline is ready, go over the lines neatly and fill the main strip with a solid color. Leave the folded areas slightly lighter or shaded differently.

I know