How to Draw a Betta Fish
This tutorial takes us back to the underwater theme, to learn how to draw a betta fish with two simple methods in nine easy steps.


How to Draw a Betta Fish: Introduction
In this tutorial, I will show you how to draw a betta fish. It is one of the most popular aquarium fish in the world. The males of these fish are hostile to each other, therefore these fish are called fighting fish. Sometimes they even arrange tournaments with the participation of betta fish.
This fish has a bright color and a beautiful fin shape. This is an unpretentious and unhurried fish, which is often kept at home by lovers of aquarium fish. Watching the smooth movements of this amazing fish is a very pleasant experience.
In the picture, you can see a betta fish, which has an extremely beautiful color of scales and fins. For your drawing, choose the brightest colors you have. I am sure that you will be happy to follow this tutorial because everything is very simple here.
you’ve already studied my main lesson on how to draw a fish, this lesson on drawing a betta fish will be much easier, so it’s worth reviewing the basic techniques from that lesson before you begin.
Betta Fish Drawing Tutorial
Materials
- Pencil
- Paper
- Eraser
- Coloring supplies
Time needed: 30 minutes
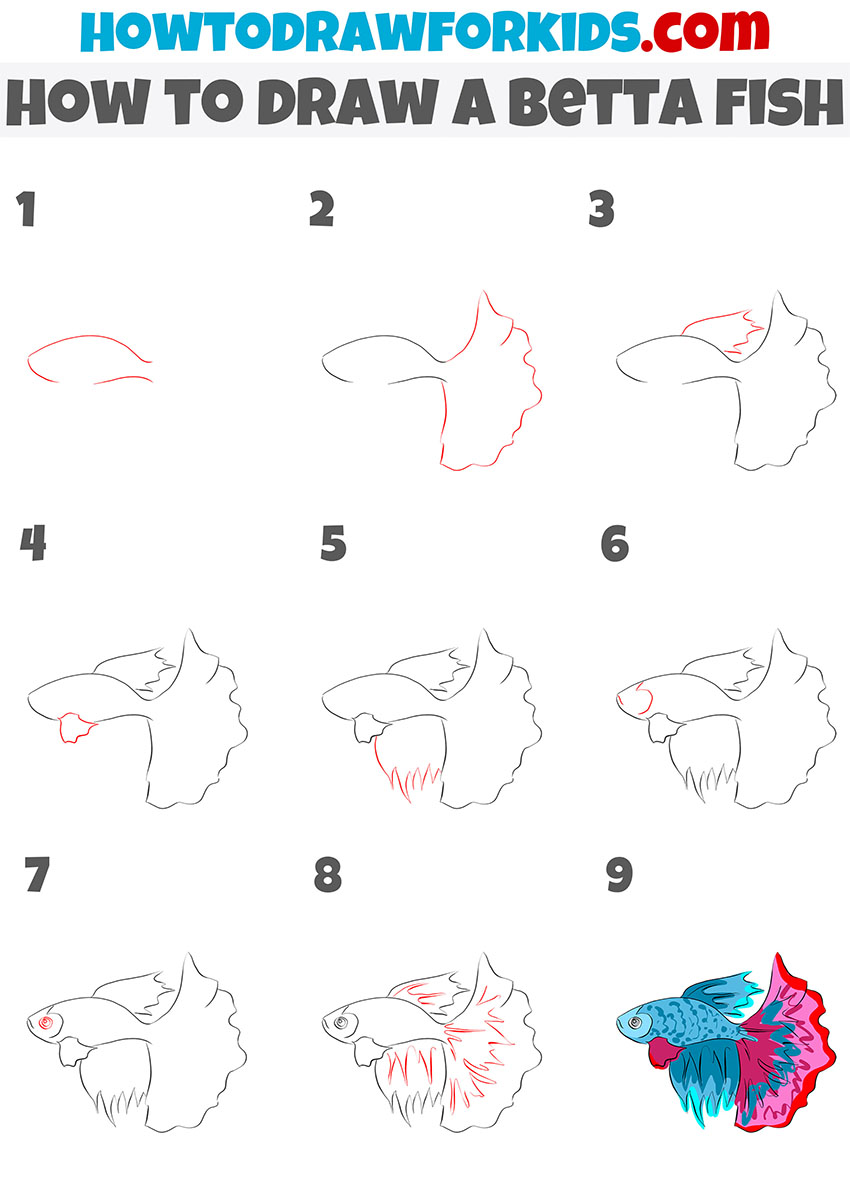
How to Draw a Betta Fish
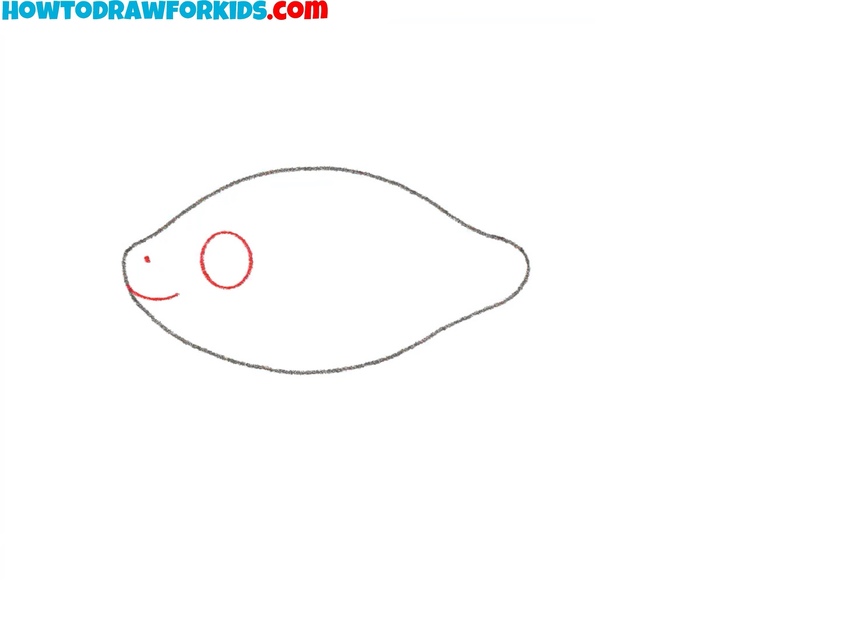
- Sketch the fish body shape.
Begin by lightly drawing the main shape of the betta fish. When I teach kids how to draw a betta fish, I often compare the body to an almond or a stretched oval with slightly pointed ends. Also, don’t forget to keep your pencil lines light so you can adjust the proportions if needed.

- Draw the betta fish eye and mouth.
Next, sketch a small round eye on the head area. Then add a short curved line for the mouth. I often encourage students to look at reference photos of real bettas to see how their eyes seem to shine. Adding a couple of small circles of highlights can make your betta fish drawing look more authentic.
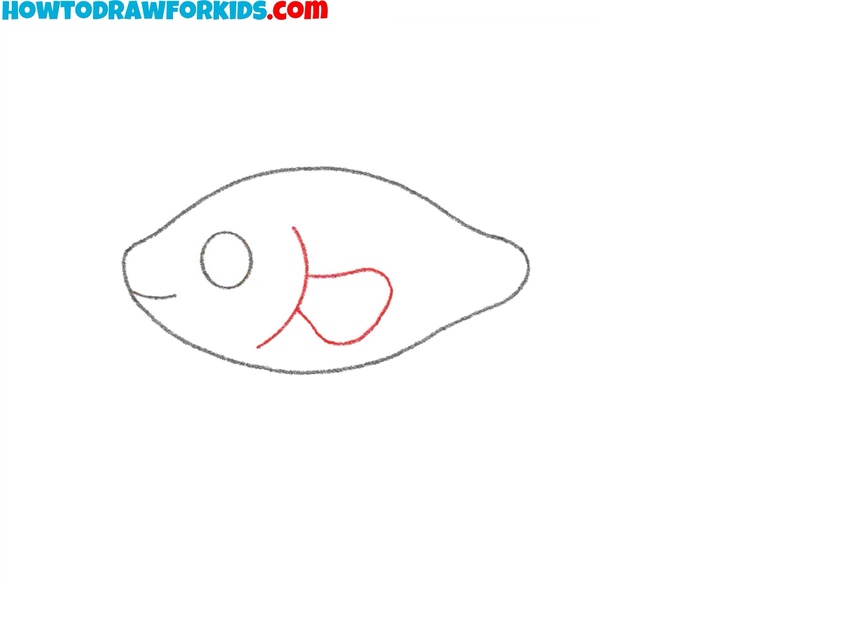
- Sketch the gill and small side fin.
Now, draw the curved gill cover just behind the eye, and then add the short side fin. The gill cover should follow the shape of the body, and the side fin should be a small and simple. Also, you can draw scale texture using small curves along the back of the body.
- Draw the betta fish dorsal fin.
From the top of the body, sketch the dorsal fin rising upward and curving back toward the tail. I often tell my students to imagine it as a piece of fabric being lifted in water, so drawing a betta fish, keep it in mind. This fin is one of the features that gives bettas their elegant look, so try to convey it in your artwork.
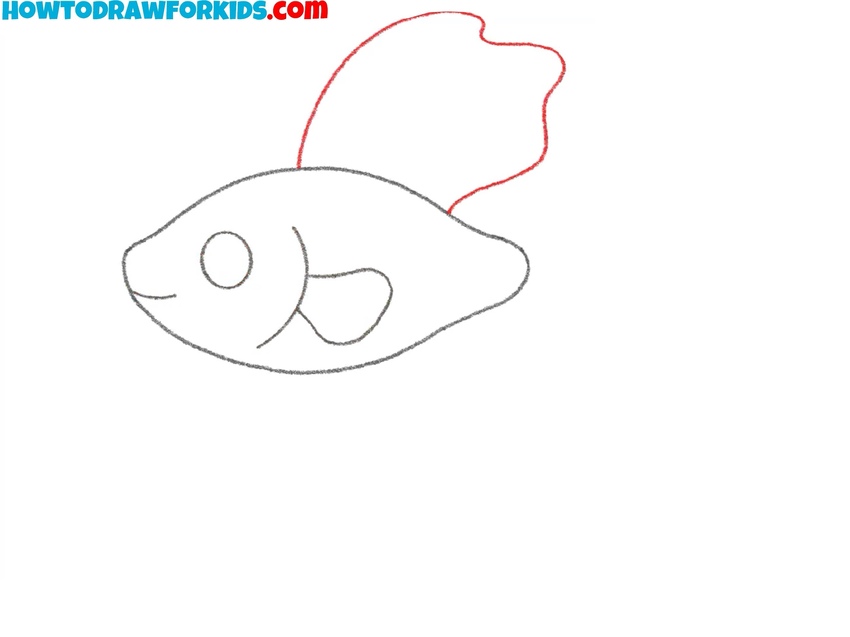
- Sketch the large tail fin.
Now, draw the large, flowing tail fin extending from the back of the fish. A betta fish tail is one of its most beautiful features, often wider than the body itself. Start with a big, wavy outline, almost like a soft piece of cloth. The edges can curve in and out.

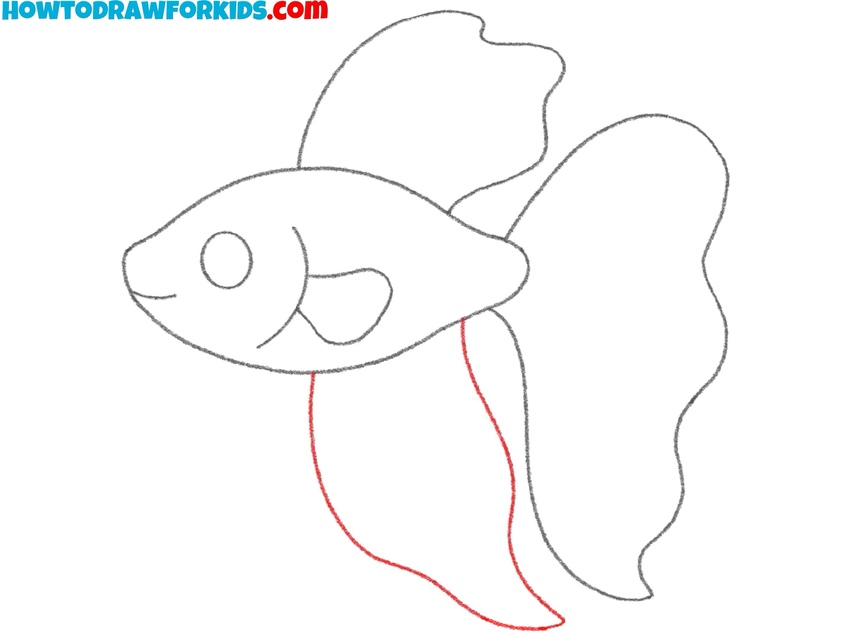
- Sketch the bottom fin of the fish.
Below the body, sketch the bottom fin starting just behind the belly and extending toward the tail. I often advise students to angle it slightly backward, as if it’s drifting in water, so you can do the same to illustrate the movement of the fish.
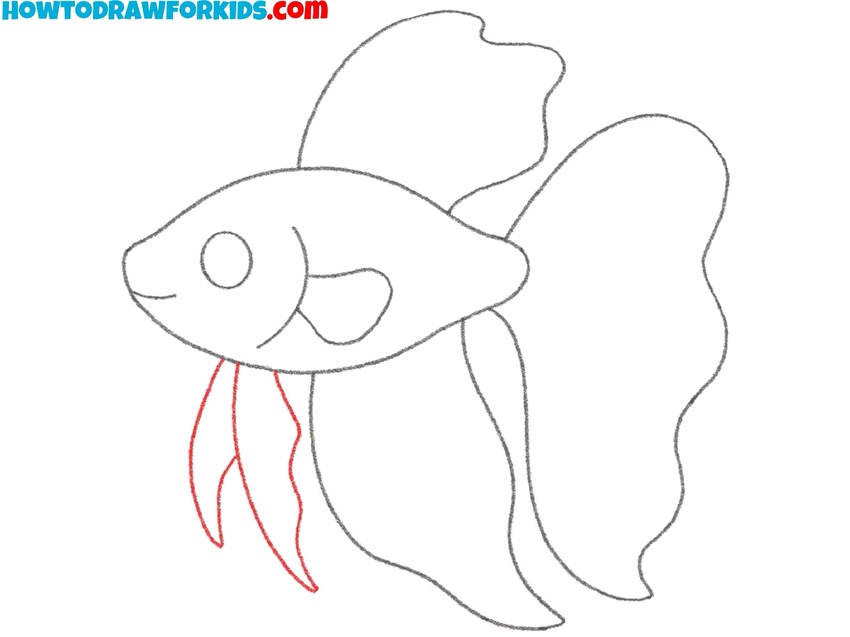
- Draw the betta fish pelvic fins.
Under the head area, draw two long, narrow pelvic fins flowing downward. These should be thinner than the other fins but still gently curved. When you sketch a betta fish, keep in mind that the pelvic fins should act like small ribbons near the front of the body.
- Sketch the rays on the fins.
Go back to each fin and add long, curved lines from the base to the edge to represent the fin rays. In a betta fish illustration, these lines should follow the flow of the fins, helping them look more realistic. Keep your pencil pressure light so the lines don’t overpower the outline.

- Add color to the fish illustration.
These fish come in many vibrant shades – reds, blues, purples, and even multi-colored patterns. In this example, the body and fins are a bright red, but you can choose any color combination you like. I recommend keeping the fin colors rich and consistent to show off their beauty.

Simple Betta Fish Drawing Tutorial
This version of the betta fish tutorial shows a very different fish with a different sequence of steps and color palette.
To form the outline, sketch the shape of the body with a slightly pointed head and a narrow tail base. Add the large tail fin, using a wavy line. Draw the upper fin starting near the head and curving toward the tail, then add the small lower fin close to the body. Extend the pectoral fin near the head, and give the lower fin extra length with narrow curved shapes.
Place the round eye near the front and add a short curved line for the gill. Inside the fins, draw several lines radiating outward to show the fin structure. Finally, go over the lines cleanly, remove extra marks, and color the body in shades of blue or turquoise, with fins in contrasting reds, purples, or other combinations.
Conclusion
This guide showed how to draw a betta fish step by step using two very different 9 step methods. You can keep your betta fish in one solid color, or try blending different shades to match real-life varieties. Changing the tail shape or fin length can also create different types of bettas, like crowntails or halfmoons.
If you enjoyed this tutorial, you might like other fish or sea life drawing lessons to build a collection. Share your drawing, try different variations, and keep practicing to improve your aquatic artwork.