How to Draw a Bird
If you want to learn how to draw a simple bird in nine very easy steps. You will like this tutorial because it is easy and useful.
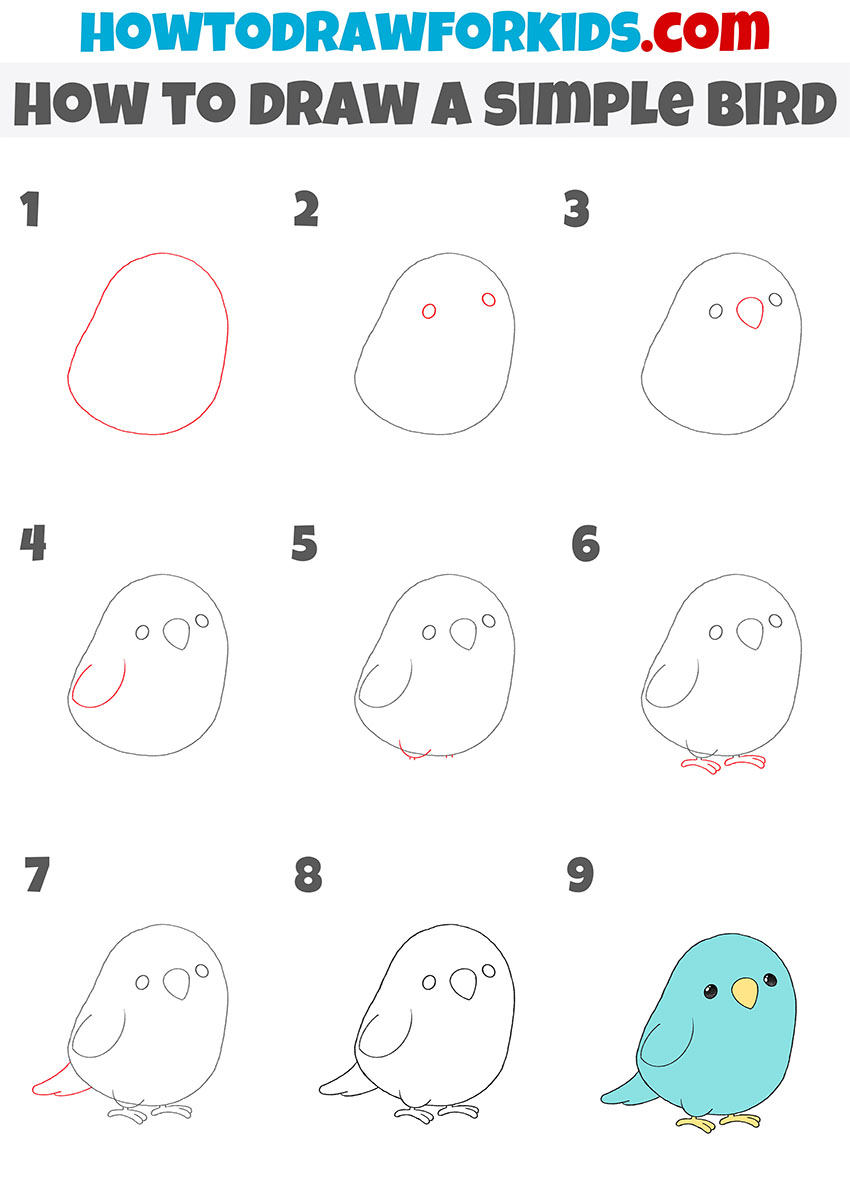
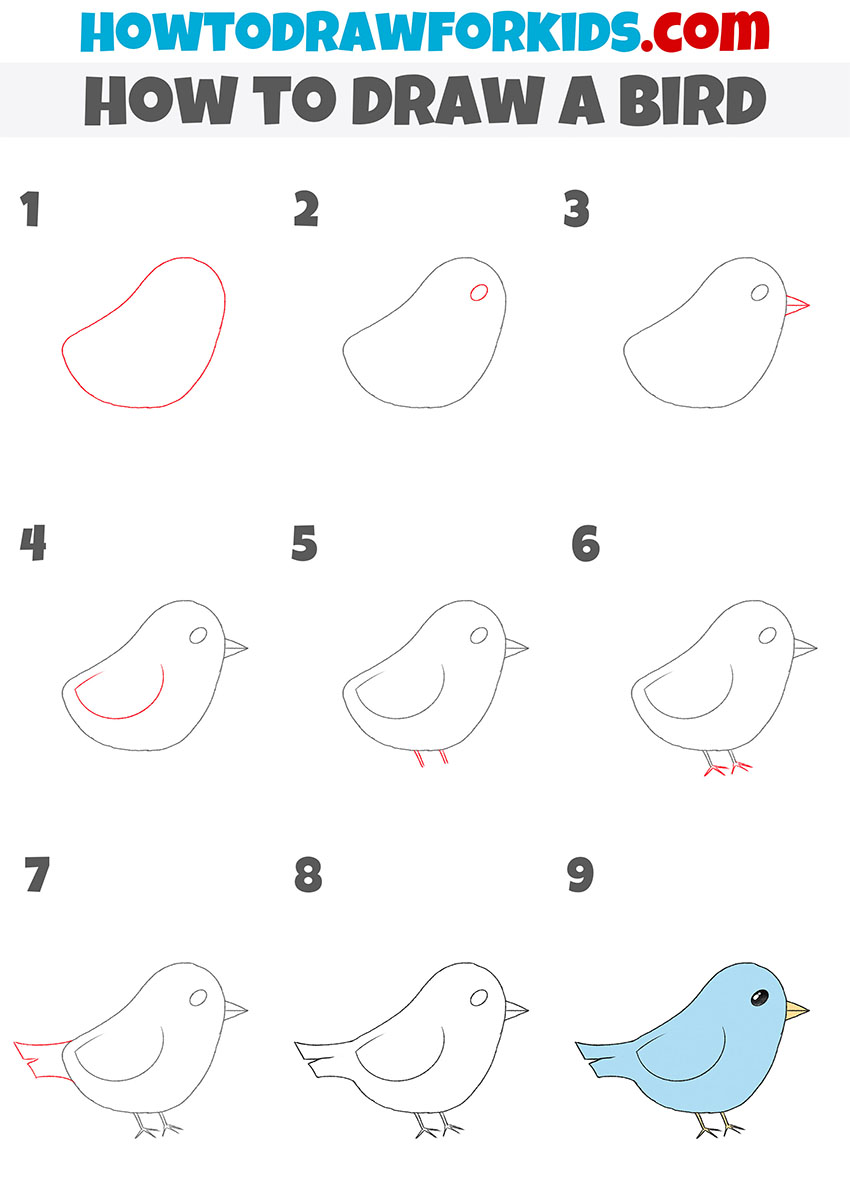
In this tutorial, I will show you how to draw a bird. This lesson is really very simple and consists of nine steps that you can easily repeat.
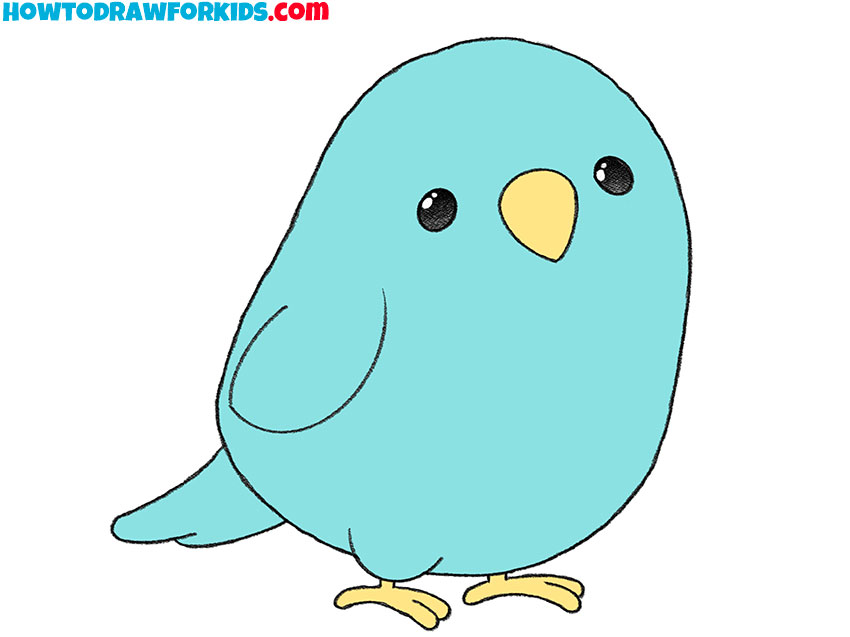
The picture shows a small simple bird. Note that the bird’s head blends into the body and it looks like one object. The wing and tail are small. Paws are short, fingers are long. All these features you must depict in your drawing.
For coloring the bird, you can choose the same color or you can show your imagination and choose any other color of your choice. It will be very beautiful if you use several shades, you will get colorful plumage.
You can also detail the plumage and add short strokes to highlight individual feathers. Use your imagination and make your drawing more vivid and rich!
Materials
- Pencil
- Paper
- Eraser
- Coloring supplies
Time needed: 25 minutes
How to Draw a Bird
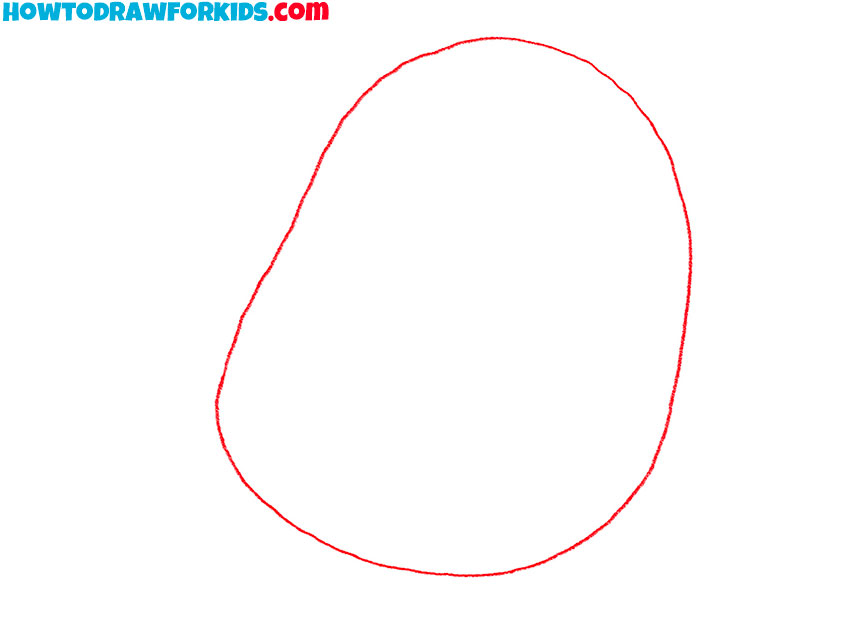
- Draw the outline of the torso.
Determine the size of the bird and draw a circle of the same shape as in the example.
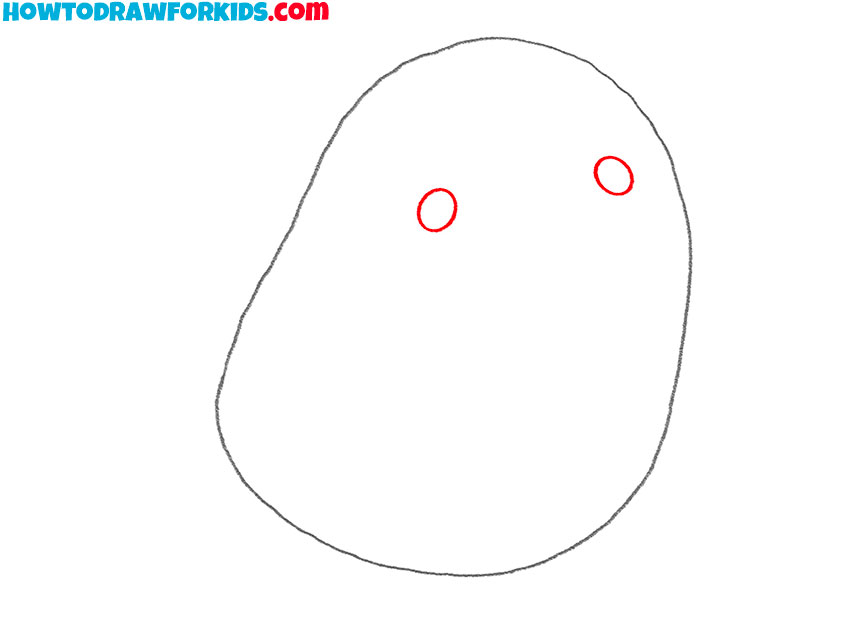
- Sketch out the eyes.
Depict two small circles.
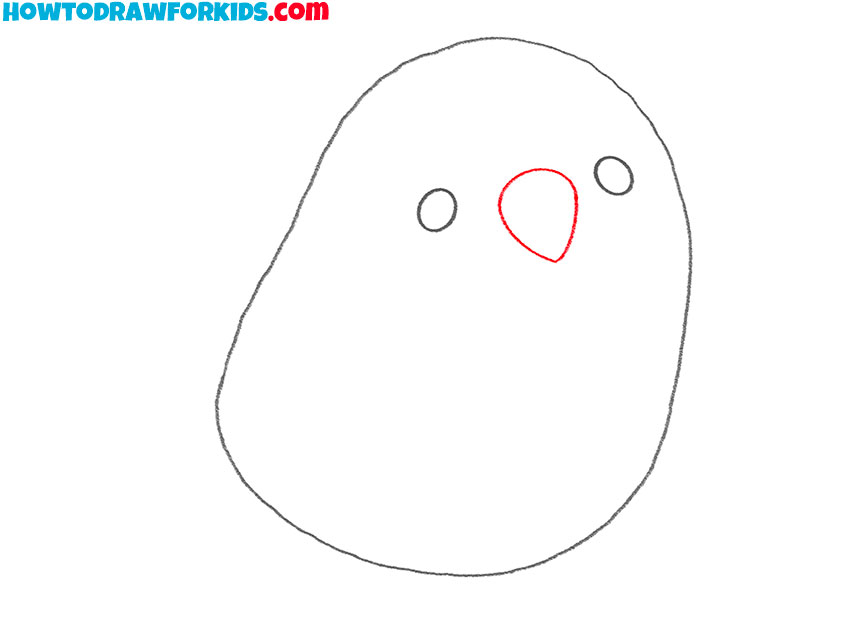
- Draw the beak.
Depict the beak between the eyes.
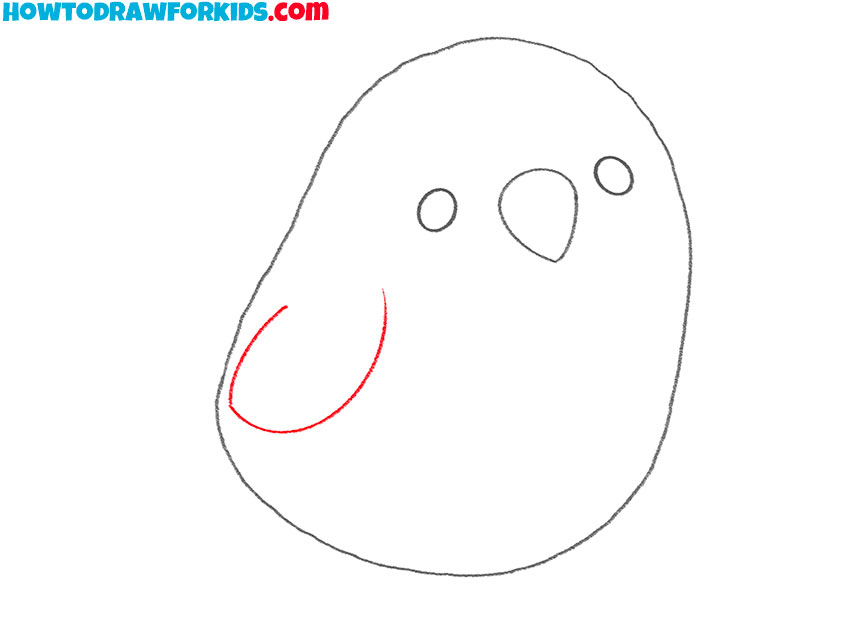
- Sketch out the wing.
Draw a rounded line on the side of the body.
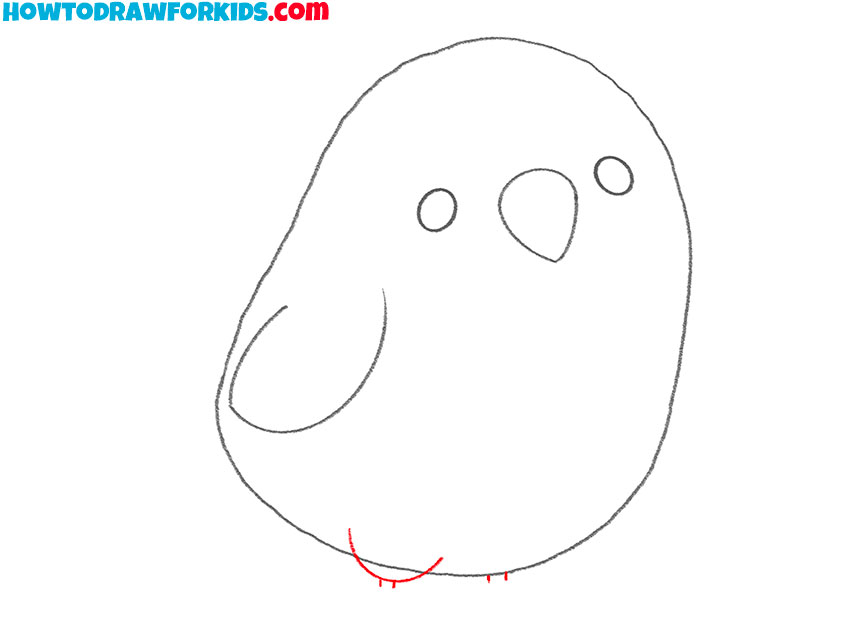
- Draw the top of the paws.
Depict a small rounded line below the torso and draw a few short strokes.
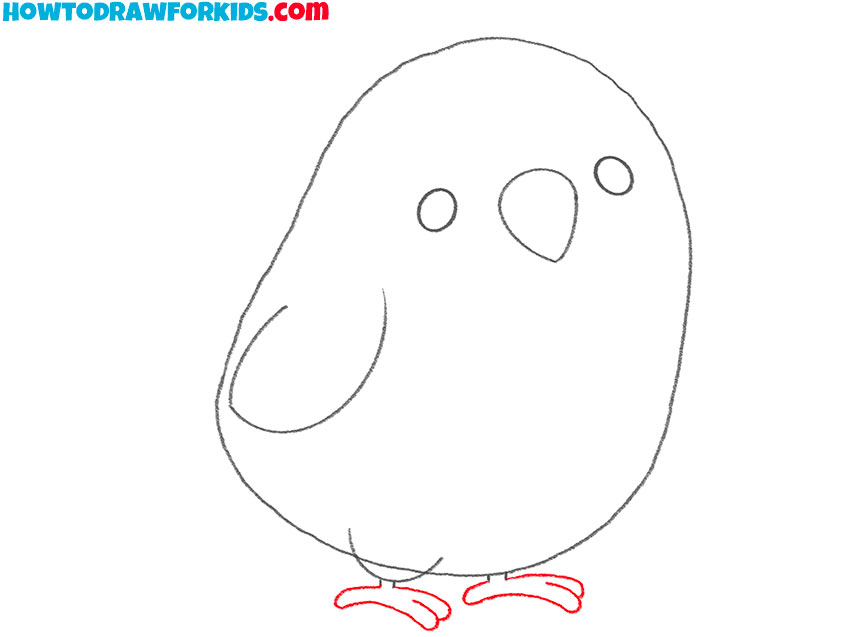
- Add the bottom of the paws.
Draw two paws that have long toes.
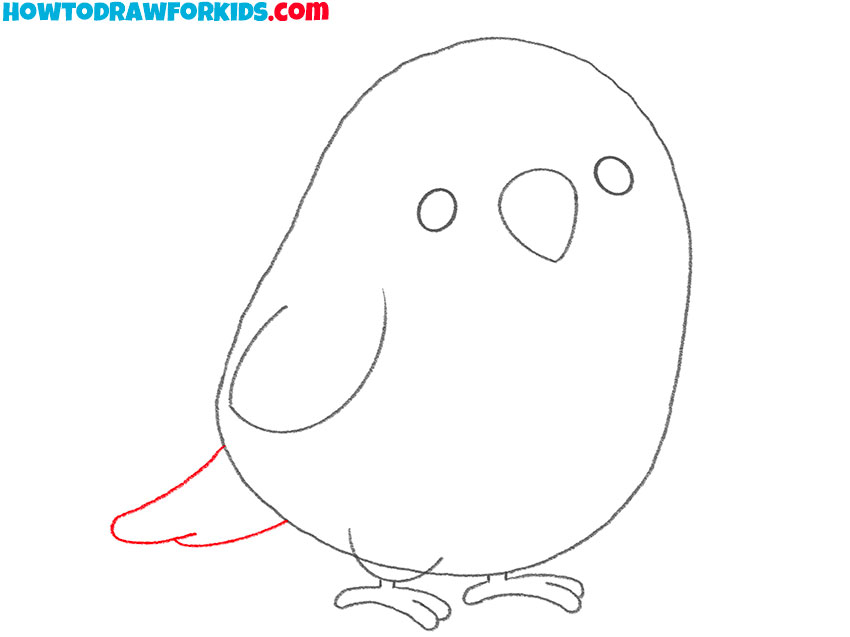
- Depict the tail.
Draw the small tail with a smooth line.
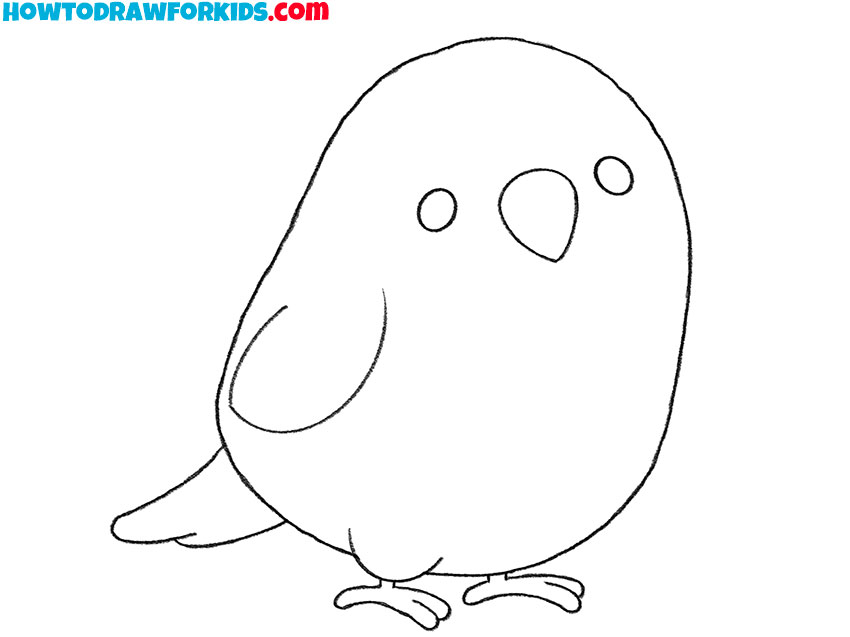
- Correct inaccuracies.
Delete extra lines and make the outline clearer.
- Color the simple bird.
Use blue for the torsos, yellow for the beak and paws. Color the eyes black and add highlights.
By tradition, I have prepared for you a short version of the lesson in the form of a PDF file. Download the file so you can return to this lesson any time you want to draw.
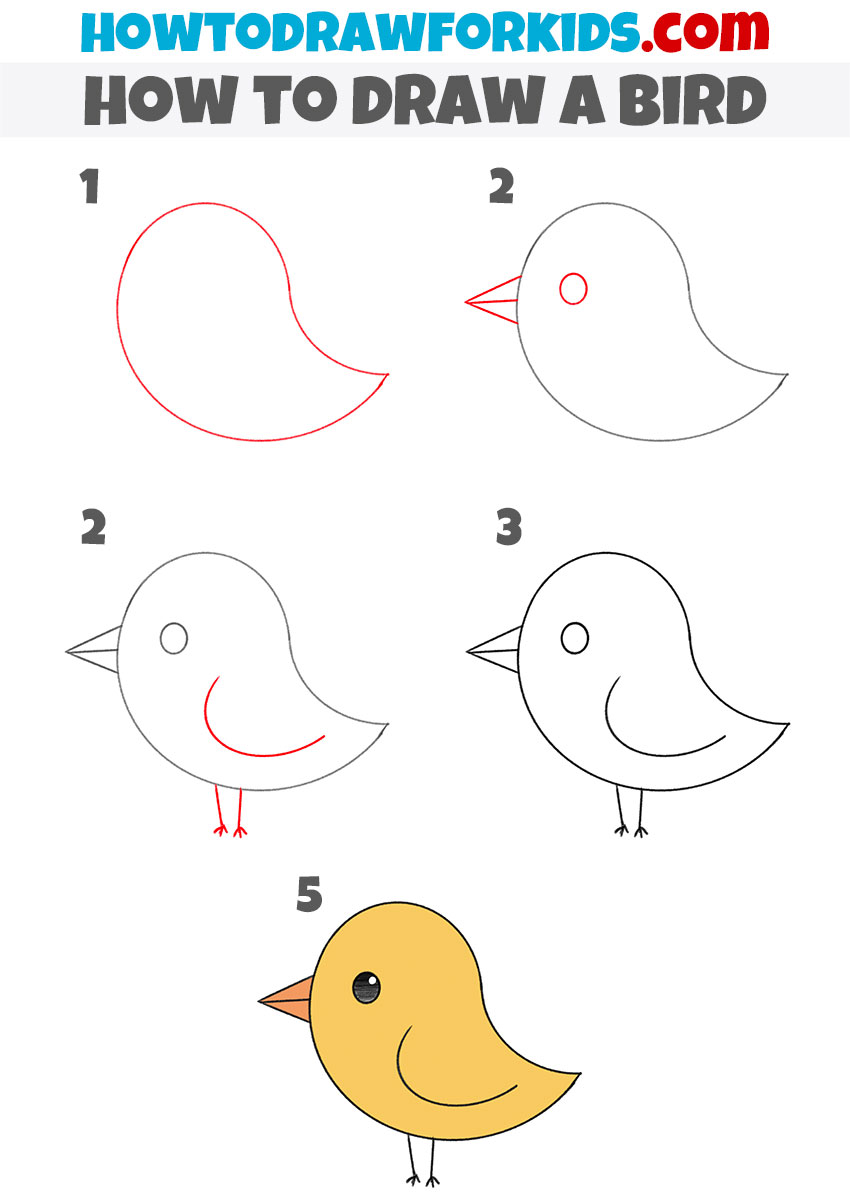
How to Draw a Bird for Kindergarten
This illustration shows a small cartoon bird. Surely you have seen just such a bird in cartoons. Pay attention to the proportions of the body. The head merges smoothly into the body, and the paws are very small. At the same time, the bird looks very cute.
How to Draw a Bird Step by Step
You can see that the body of the bird has a rounded shape, the head, and torso are one object. Try to draw the outer contour correctly, and all other elements will be quite simple.
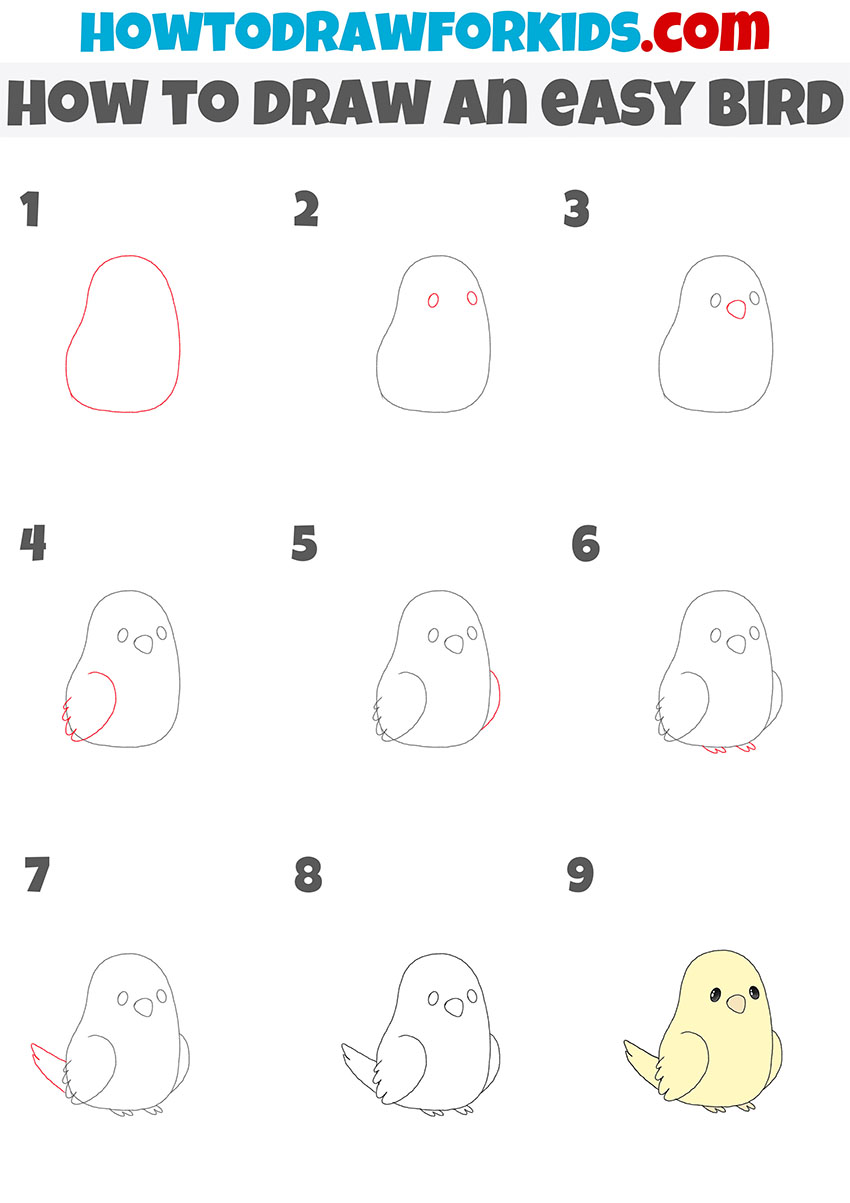
How to Draw an Easy Bird
The figure shows a small bird whose head and body represent one object. First you have to draw the outer outline and then add some small elements. I hope that you can easily do this and that drawing will give you pleasure. To color the bird, you can use the same color as in the example, or you can get creative and color the bird differently.