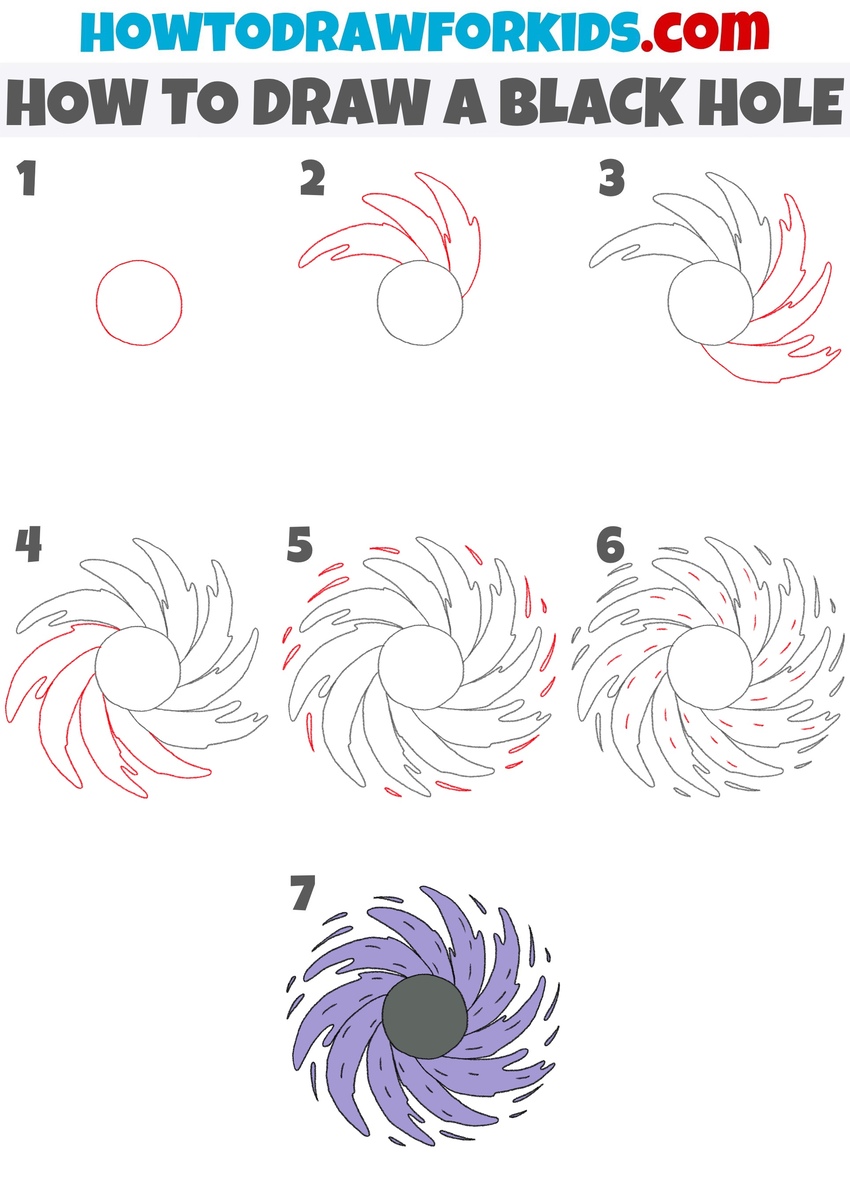
How to Draw a Black Hole
Follow this easy tutorial on how to draw a black hole and create a stylized version of this space phenomenon with smooth lines.

How to Draw a Black Hole: Introduction
A black hole may be invisible in real space, but in drawing, it’s often represented with a swirling accretion disk and a dark circular center. This version uses a spiral layout made from curved, tapering shapes. In this tutorial, we’ll draw a simplified version of a black hole using spiral shapes and a simple core.
To keep the composition clean, build the swirl arm by arm around the circle, ensuring each new line follows the same curve and distance. They should all tilt slightly as they stretch from the center – this is what creates the swirling feel. If they’re too close, the drawing may feel crowded. If too far apart, it loses the gravitational pull effect.
The outer streaks help to make your drawing of a black hole look more natural. These should look irregular but still echo the direction of the main arms. Don’t make the marks too stiff or identical – using slight variation in length and angle makes the whole effect feel even more natural.
You can draw a black hole in a more realistic style or change the number of spiral arms, make them thicker, or add extra shading for a more authentic look. Some versions may include stars or nearby cosmic objects being pulled in. You can also adjust the color to create different types of energy, from violet hues to deep reds, depending on the mood or theme you’re going for.
Black Hole Drawing Tutorial
Materials
- Pencil
- Paper
- Eraser
- Coloring supplies
Time needed: 30 minutes
How to Draw a Black Hole
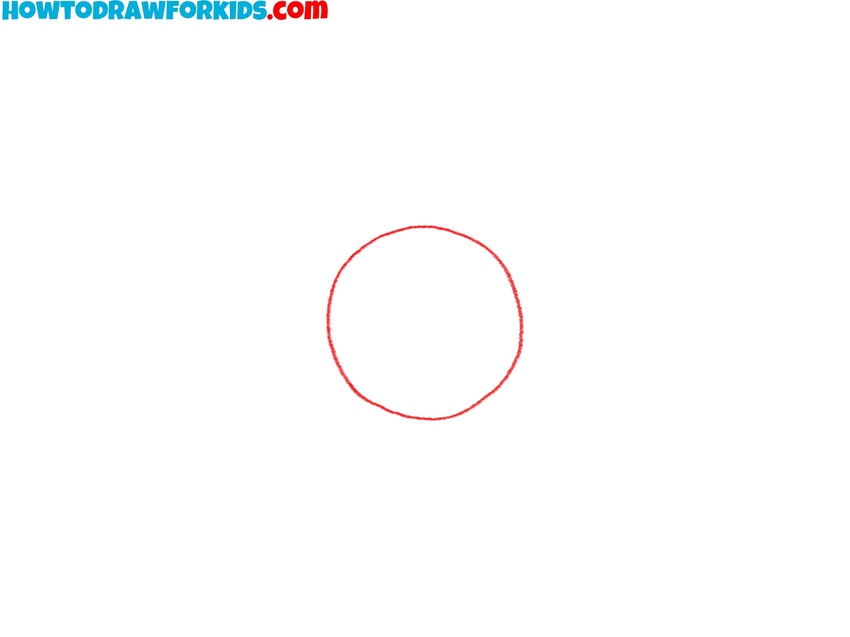
- Draw the black hole core.
Let’s start with a simple circle near the middle of your paper. This will serve as the event horizon – the central part of the black hole where light can’t escape. You can use a compass or trace a round object for the cleanest result. This circle helps guide the placement of all following elements.
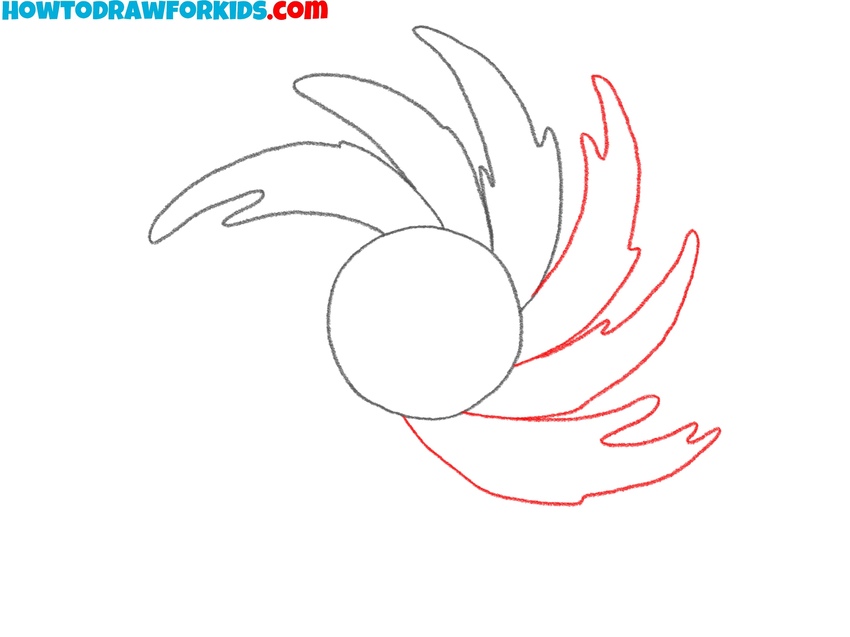
- Start forming the accretion disk.
From the upper left area of the circle, begin drawing long, curved, flame-like shapes. These lines should twist and taper at the end, mimicking the spiraling, chaotic motion often associated with a black hole’s accretion disk. Start with about three of these sweeping curves.

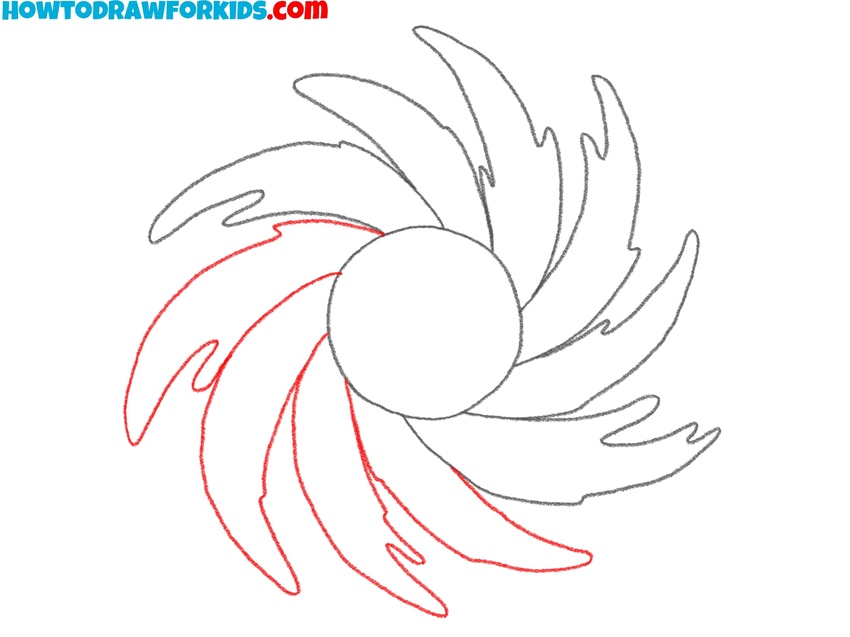
- Continue drawing the black hole arms.
Continue to draw the pattern of the black hole by adding several more swirl shapes on the right side of the circle, matching the style and motion of the first group. These shapes should also curl clockwise and taper off at their ends. Keep the curves slightly jagged and wavy at the ends.
- Complete the swirling arms.
Now continue filling in the remaining space and draw more arms around the black hole. These curves should follow the same general shape and spacing as the others, leaning in the same clockwise direction. This spiral disk represents the matter and light spinning around the black hole before being pulled into its core.
- Sketch short secondary trails.
Begin adding smaller, curved shapes around the larger spirals and fill in the gaps to enhance the swirling effect. These parts should be shorter and thinner. Think of them like brushstroke-like trails or sparks of energy. They should curve in the same direction and follow the same clockwise motion as the main shapes.

- Complete the texture of the swirl.
Now draw a set of very small strokes and lines inside the spiral arms of the black hole to create a turbulence effect. These short dashes should follow the same circular direction. Some can be close to the core, while others drift farther into the outer edges of the swirl. Vary the thickness and length of each stroke.

- Color the black hole.
Fill in the central circle with a solid dark gray or black to represent the event horizon – the area from which no light escapes. For the swirling arms, use a vibrant purple or deep violet to create heat generated by gravitational pull. For the small swirl marks you can use a slightly darker purple.

Advanced Techniques
Once you’ve finished the basic version of the black hole drawing, there are several ways to improve and refine it using more advanced techniques.
One approach is to draw a black hole and add subtle gradients within the spiral arms to illustrate heat variation – paint from deep purple or black near the center to lighter violet or even orange toward the outer edges. This simulates how light might behave as it’s twisted by gravitational forces.
You can also draw a black hole introducing glowing effects using a light-colored pencil or digital brush to create a faint halo or lensing ring around the black hole, illustrating the warping of space.
To add realism, include nearby space elements such as stars being stretched, shattered asteroids, or distant light being bent. You might also draw a spaceship or satellite being pulled in, using angled lines or debris trails.
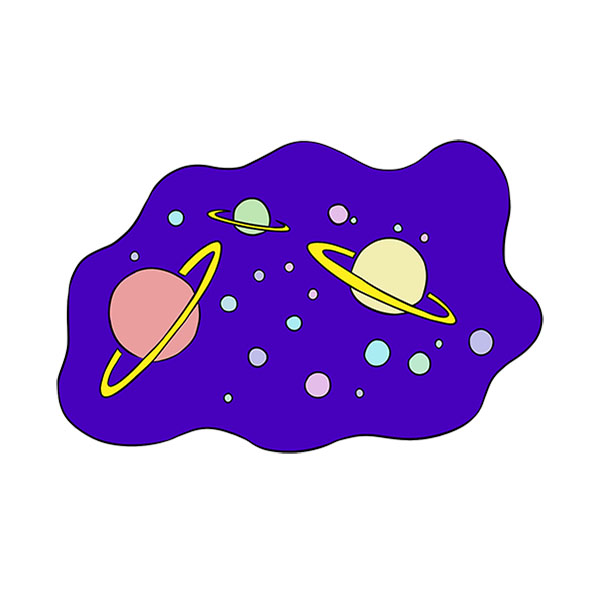
To build a complete space-themed scene around this drawing, try also adding other celestial elements that complement the black hole. You can start with my planet drawing tutorial to add orbiting bodies nearby, or use the galaxy drawing tutorial to place your black hole in a more complex cosmic environment.
Try experimenting with asymmetrical swirl patterns to simulate a black hole actively absorbing material from a companion object.
Conclusion
Did you enjoy this black hole drawing tutorial? If so, I’d love to hear your thoughts – feel free to leave a comment sharing what you liked most or what other space-themed tutorials you’d like to see next. If you know someone who enjoys drawing or is interested in astronomy, consider sharing this tutorial with them – it’s a great way to practice stylized forms and build themed illustrations together.
To keep up with new tutorials like this one, follow me on Pinterest, where I regularly post fresh drawing guides, themed boards, and printable worksheet sets. You can also subscribe to my YouTube channel to watch step-by-step videos, including full demonstrations and behind-the-scenes looks at how these lessons are created. Both platforms are updated often and created to help you improve your drawing skills with simple content.