How to Draw a Broom
I built this lesson in 9 basic steps to teach you how to draw a broom, an item seen both in every home and in witch stories.

How to Draw a Broom: Introduction
I have prepared an original drawing guide that will help you learn to draw a broomstick step by step. This lesson will help you to improve your drawing skills. You can easily manage this task if you are just a child or a beginner artist.
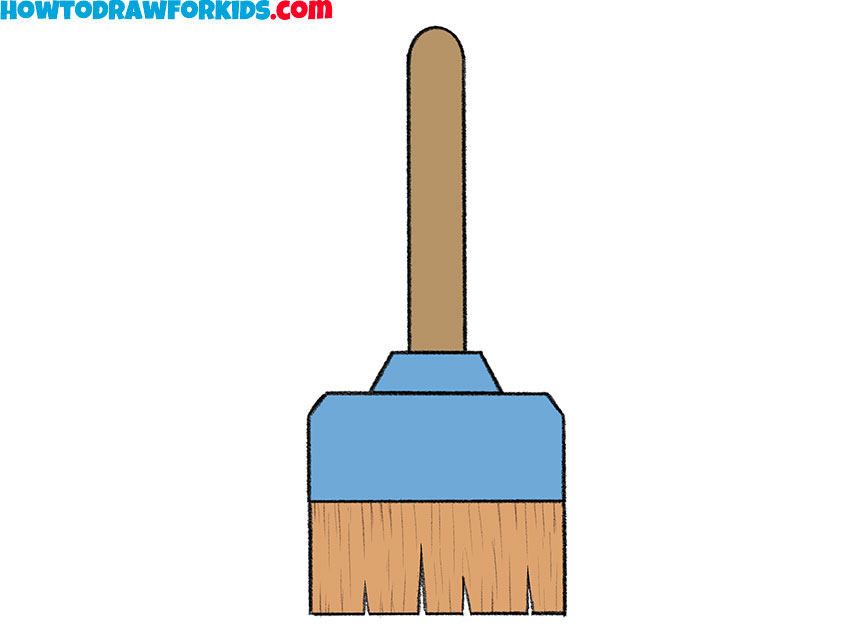
The object you will draw with this lesson is an everyday item that everyone knows. A broom is a cleaning tool consisting of usually stiff fibers attached to, and roughly parallel to, a cylindrical handle, the broomstick. It is thus a variety of brushes with a long handle. It is commonly used in combination with a dustpan.
So, prepare the materials you need to draw and then start drawing the broom.
Broom Drawing Tutorial
Materials
- Pencil
- Paper
- Eraser
- Coloring supplies
- Ruler (optional)
Time needed: 25 minutes
How to Draw a Broom
- Sketch the side edges of the broom stick.
Brooms can be long or short, thick or thin, but in any case, you should start with the handle. To do this, create two straight vertical lines close to each other. Actually, these two lines ads the skeleton of your broom. Try to make these lines perfectly straight and equal in length.

- Finish the broomstick.
Now close the top of the broom handle by adding a curved line between the two vertical strokes. At the bottom of the handle, connect the lines with a small horizontal stroke. This small base will later join with the part that holds the bristles.

- Draw the broom connector piece.
Beneath the handle, draw a trapezoid shape that connects to the bottom. This represents the joint between the handle and the broom bristles. As I tell beginners, these little geometric shapes are important because they explain how different parts of an object fit together.

- Start outlining the bristle holder.
Sketch two short lines to the side from the bottom of the trapezoid. This simple line illustrates the top edge of the part, which holds the broom bristles together. This is a wide wooden or plastic block found on many modern brooms.

- Finalize the bristle section shape.
Now sketch a large rectangle under the trapezoid shape. This represents the top part of the section with the broom bristles. This part holds the bristles together. To make your sketch look more unique, make this part wider or narrower than in my example.

- Sketch the side edges of the bristles section.
Draw two vertical lines dropping down from the rectangle. These should be parallel and equal in length. If you want to draw a broom that sweeps, sketch these lines not as straight lines, but slightly curved. You can also add uniqueness to your sketch by making this part of the broom long or shorter.

- Draw the bottom edge of the broom.
At the bottom edge, sketch several small vertical cuts or notches. These are simple lines that show separation in the broom’s bristles. As with any similar shape, I’ll say that these lines don’t need to be identical, variation often makes your broom drawing look more natural.

- Give the bristles detailed texture.
Now add thin vertical strokes throughout the bristle area. These lines should vary in length and spacing, giving the broom a look of fibrous material. Think of it like sketching grass or straw, where overlapping lines create a realistic look.

- Paint the bristles and handle.
Brooms come in different colors, so you can use any shade for your sketch. If you want to repeat the color scheme from my example, use a light brown shade for the bristles, since real broom bristles are usually straw-colored. The handle can be filled with a darker brown the connector and block can be blue or gray.

Additional Content
Great job! I think you have done excellent work with this task. I’d like to read your comments on this drawing lesson and hope to see you among our subscribers. Don’t forget to download the PDF version of this tutorial. This file will allow you to return to the drawing lesson at any time, even without an internet connection.

