How to Draw a Butterfly
This tutorial will teach you how to draw a butterfly in profile using simple techniques and a variety of easy methods for kids and beginners.

How to Draw a Butterfly: Introduction
For maximum simplicity, this lesson will show how to draw a butterfly from the side, keeping only the basic shapes and outlines needed for clear recognition of the insect.
To broaden your understanding, at the end of the tutorial I’ll include several additional methods for drawing a butterfly from different angles – from the back and using both simpler and more advanced techniques.
Each approach can be practiced separately or in sequence, helping you gradually strengthen your drawing skills and expand your ability to sketch this insect in various ways.
The skills learned here will not only allow you to create a stunning butterfly sketch but will also enhance your overall ability to draw a butterfly from various angles.
Butterfly Drawing Tutorial
Materials
- Pencil
- Paper
- Eraser
- Coloring supplies
Time needed: 15 minutes
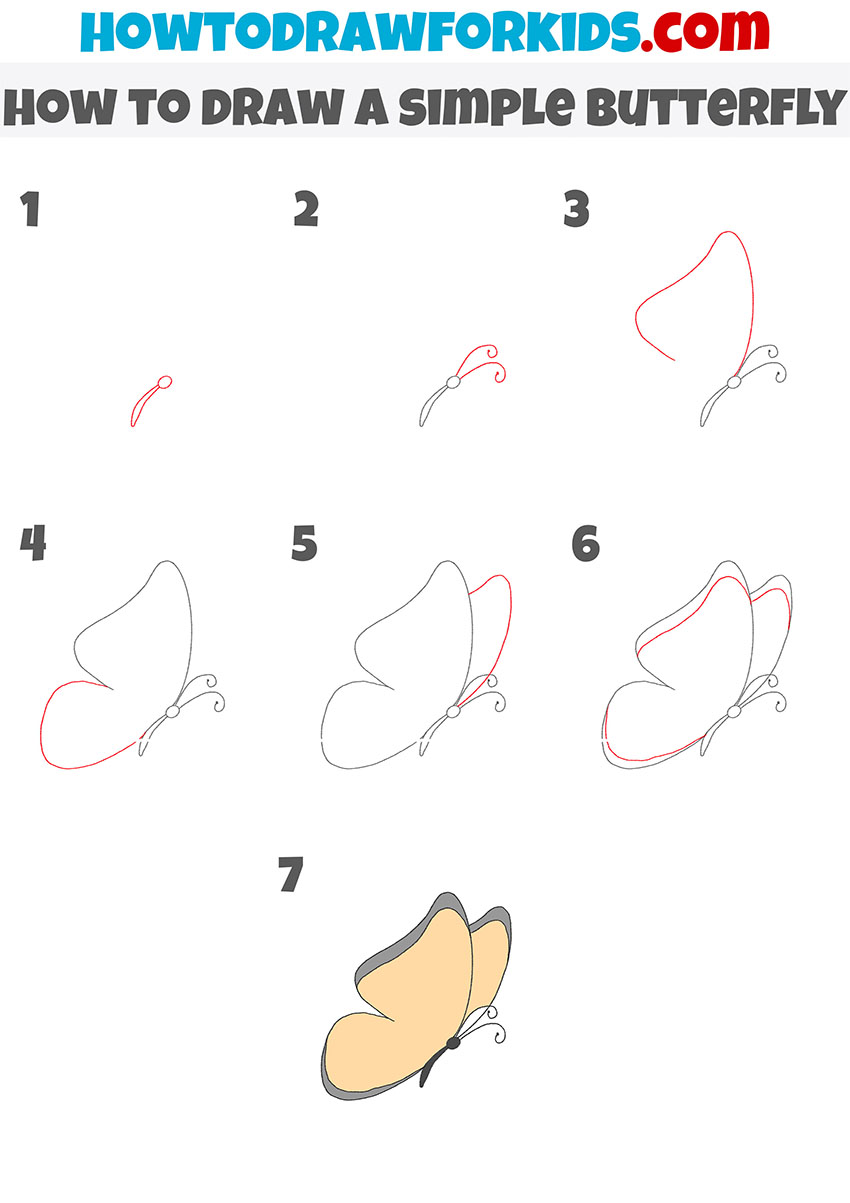
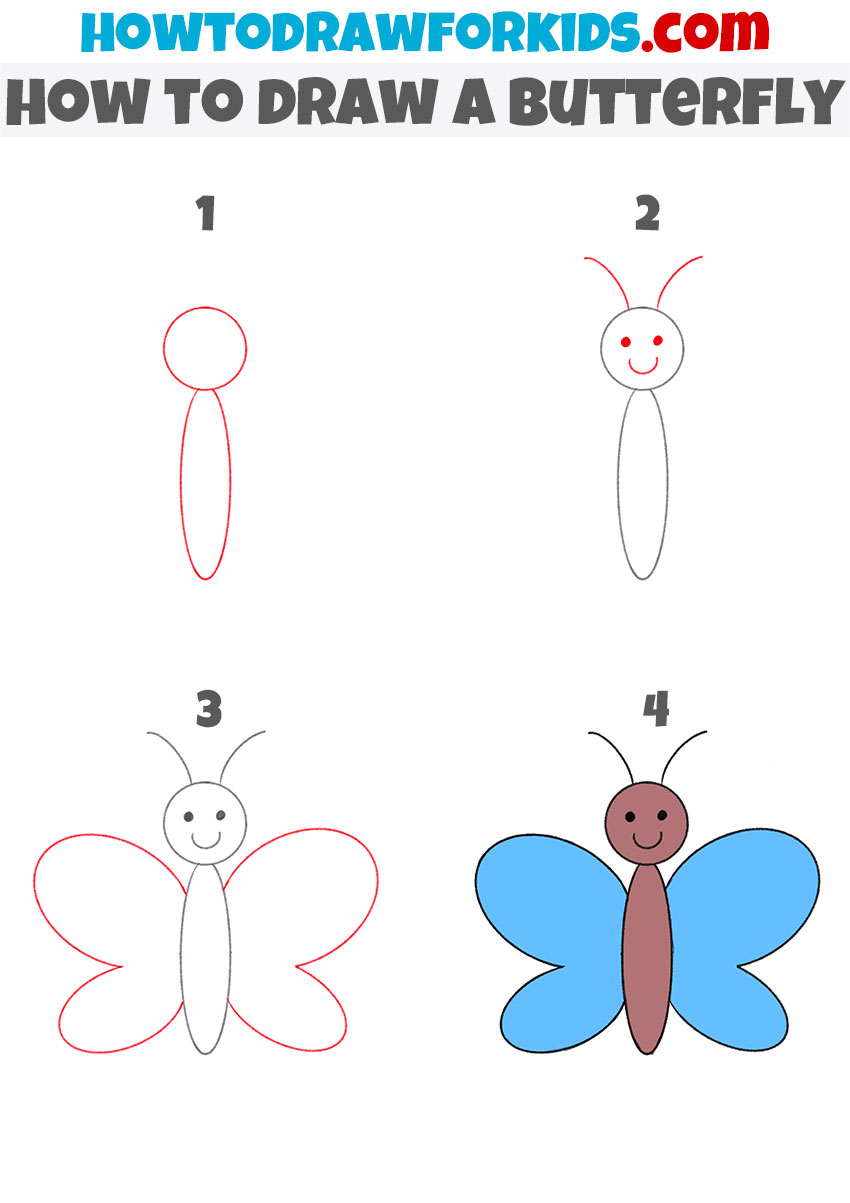
How to draw a butterfly step by step
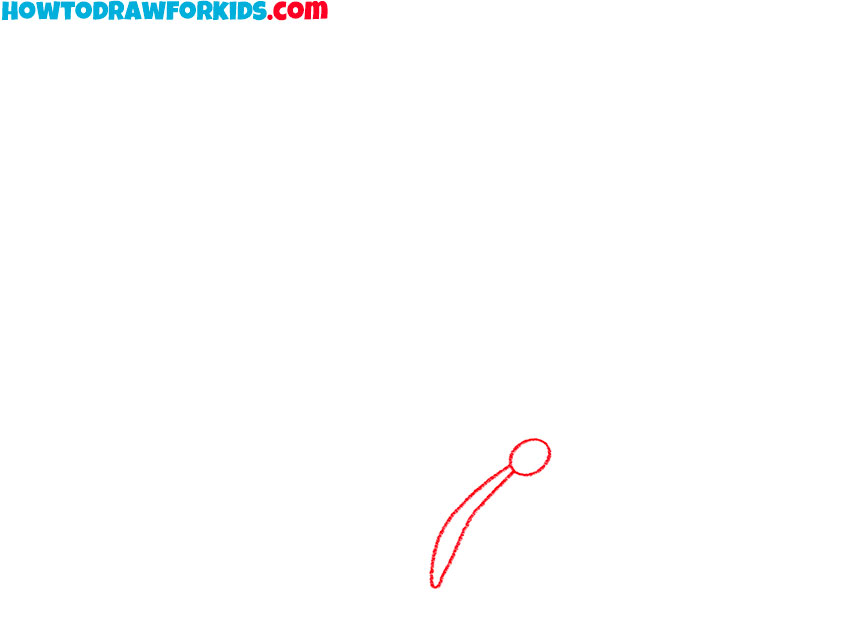
- Sketch simple shapes for the head and body.
Draw the head of the butterfly as a tiny circle. From it, sketch the short, curved thorax-abdomen shape that bends gently to the side. Butterflies are different, so the body parts can vary. You can make the head and body parts larger or smaller, thinner or thicker.
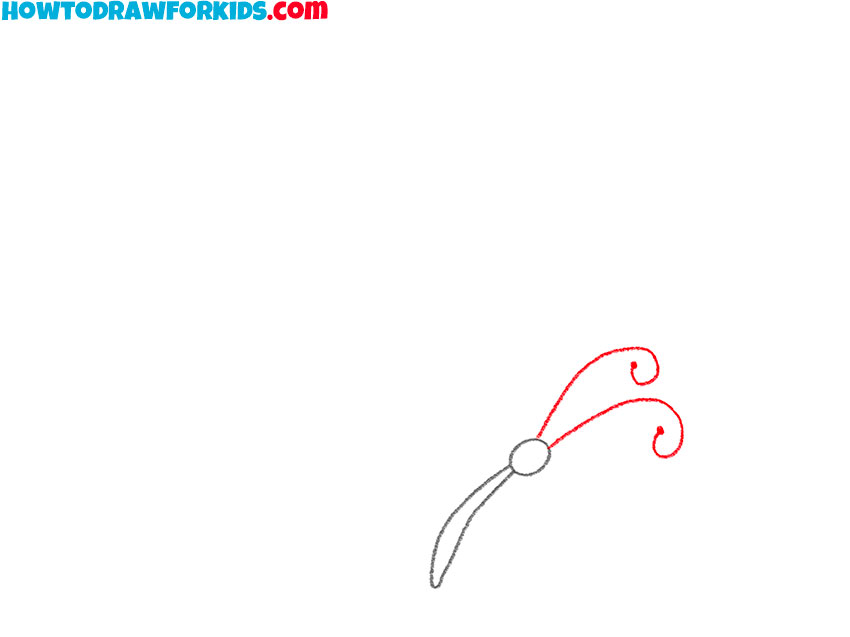
- Draw the antenna lines of the butterfly.
Starting at the top of the head, draw two curved lines extending upward to represent the antennae of the insect. Draw them with a slight curl at the ends to represent the butterfly’s delicate sensory organs and make it look authentic.
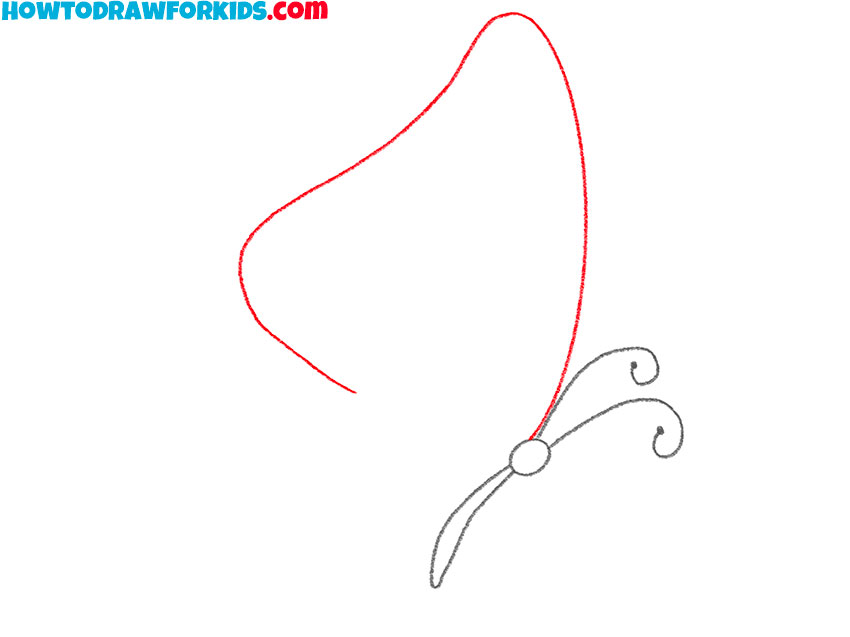
- Sketch the first upper wing shape.
To draw the butterfly wings correctly, first sketch the closer forewing as one flowing, balloon-like contour that rises above the body and returns to the thorax. Don’t create sharp angles; a continuous, elastic curve conveys the butterfly wings more authentically.
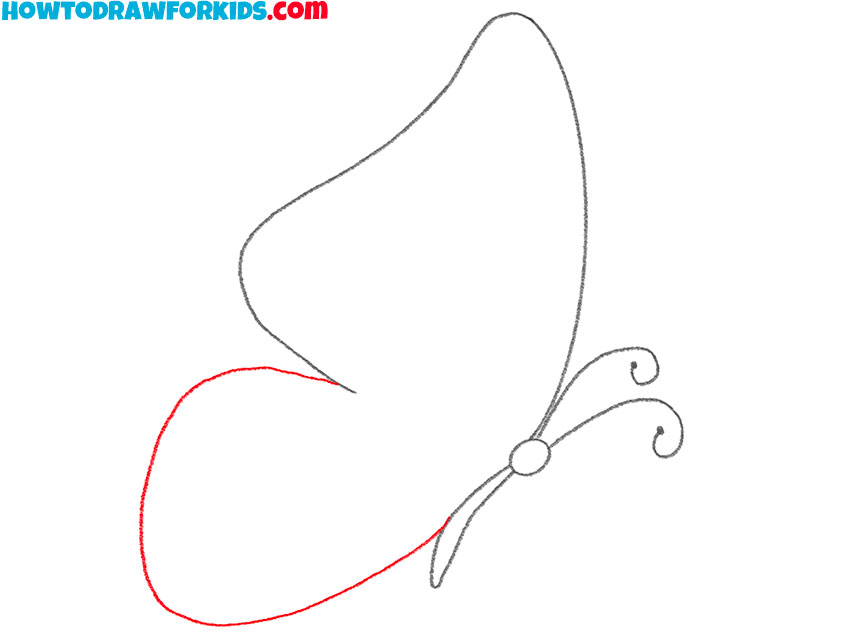
- Draw the lower wing of the butterfly.
With the forewing set, add the lower portion. Complete the shape of the lower wing by drawing a large curved line from the bottom of the body to the tip of the upper wing, creating a closed loop.
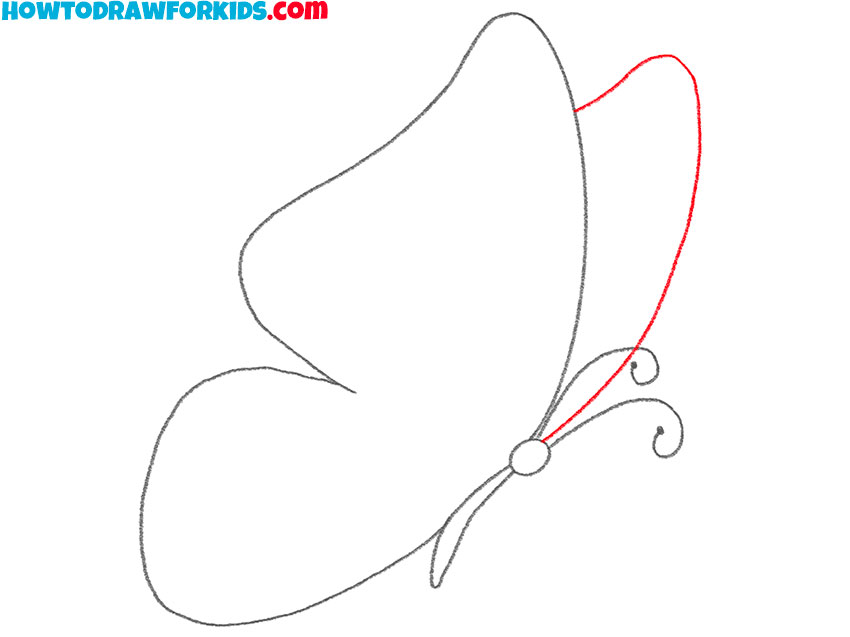
- Sketch the far forewing behind.
To make the butterfly drawing look more dimensional, add the visible part of the distant upper wing. Draw the far forewing as a slimmer version peeking behind the front wing, following the same general contour.
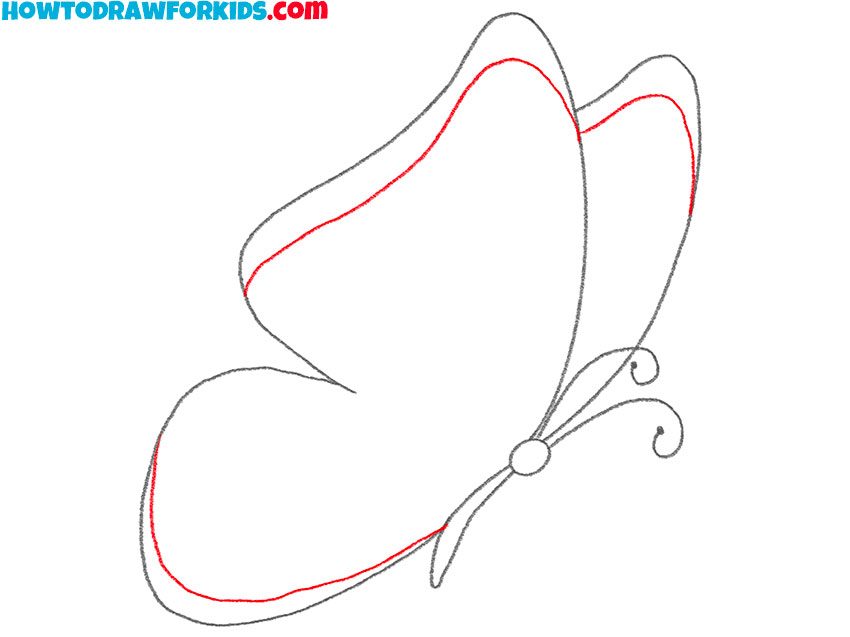
- Add patterns to the wings.
Now, outline some texture on the wings, drawing smooth and flowing lines at the ends of the wings, following the contours of the edges. Strengthen and darken the final outline of the body, antennae, and all visible wings with strong bold lines.
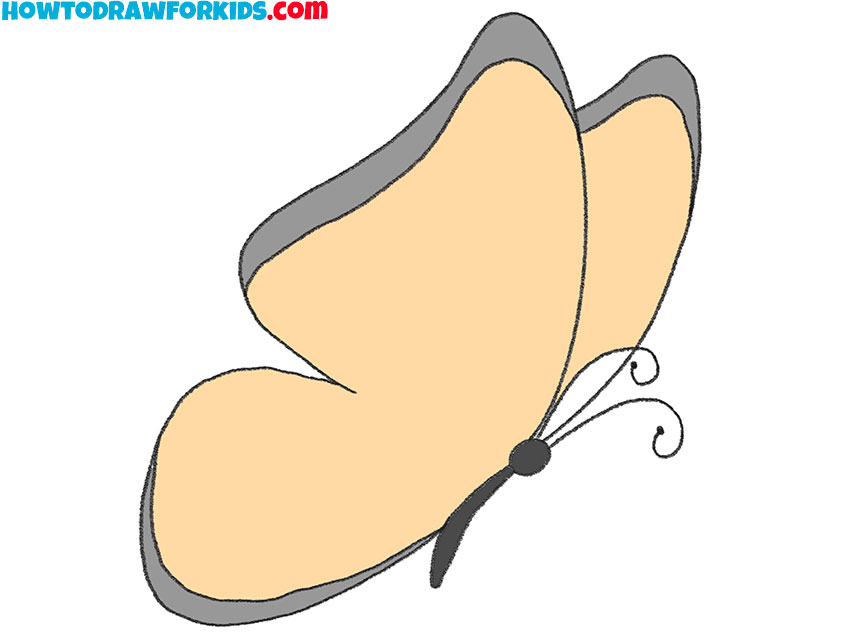
- Color the wings and body.
Paint the forewings and hindwing a uniform color, such as a warm orange or pale yellow. Darken the body and antennae with gray or black. Paint the wing edges with a darker shade, mimicking the natural border characteristic of many species.
Additional Content
And to make this butterfly drawing lesson even more practical, I’ve created a compact PDF version you can download for offline use.
It includes the essential steps from the tutorial and comes with a few extra worksheets – a coloring page, a tracing sheet, and a grid-based drawing exercise.
This small collection is convenient for both home and classroom practice, helping you revisit the basics of the lesson anytime without needing an internet connection.
Alternative Ways to Draw a Butterfly
In addition to the main lesson, I’ve included several other ways to draw a butterfly so you can practice different shapes and perspectives. These variations demonstrate how small changes in angle or wing design can noticeably affect the final look of the drawing.
As you experiment with these alternate methods, you’ll strengthen your overall insect sketching skills. Each version helps you refine your technique, gradually building a broader understanding of how to represent butterflies in varied positions and artistic styles.
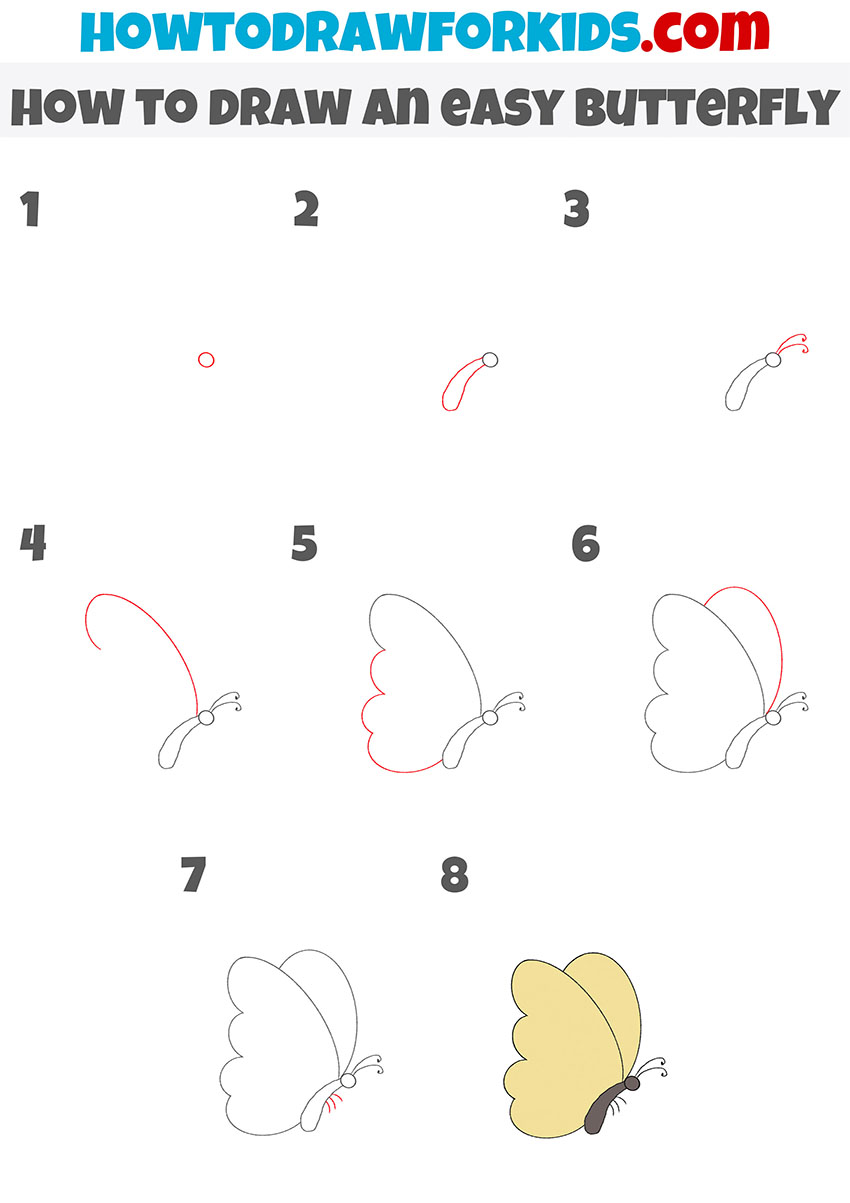
How to Draw an Butterfly Easy
This method simplifies the drawing process by creating an even more simplified butterfly shape, with basic wings and easy-to-follow steps.
To illustrate this version, mark a small circle for the butterfly’s head and attach an elongated and curved oval for the body. Add two thin, curved antennae extending from the top of the head.
Next, sketch a long arc starting from the upper part of the body to outline the wing. Draw the distant wing with smooth curves. Give the wings a simple shape.
Clean up the sketch, trace the final contours, and color the butterfly with light yellow or orange wings and a darker brown body.
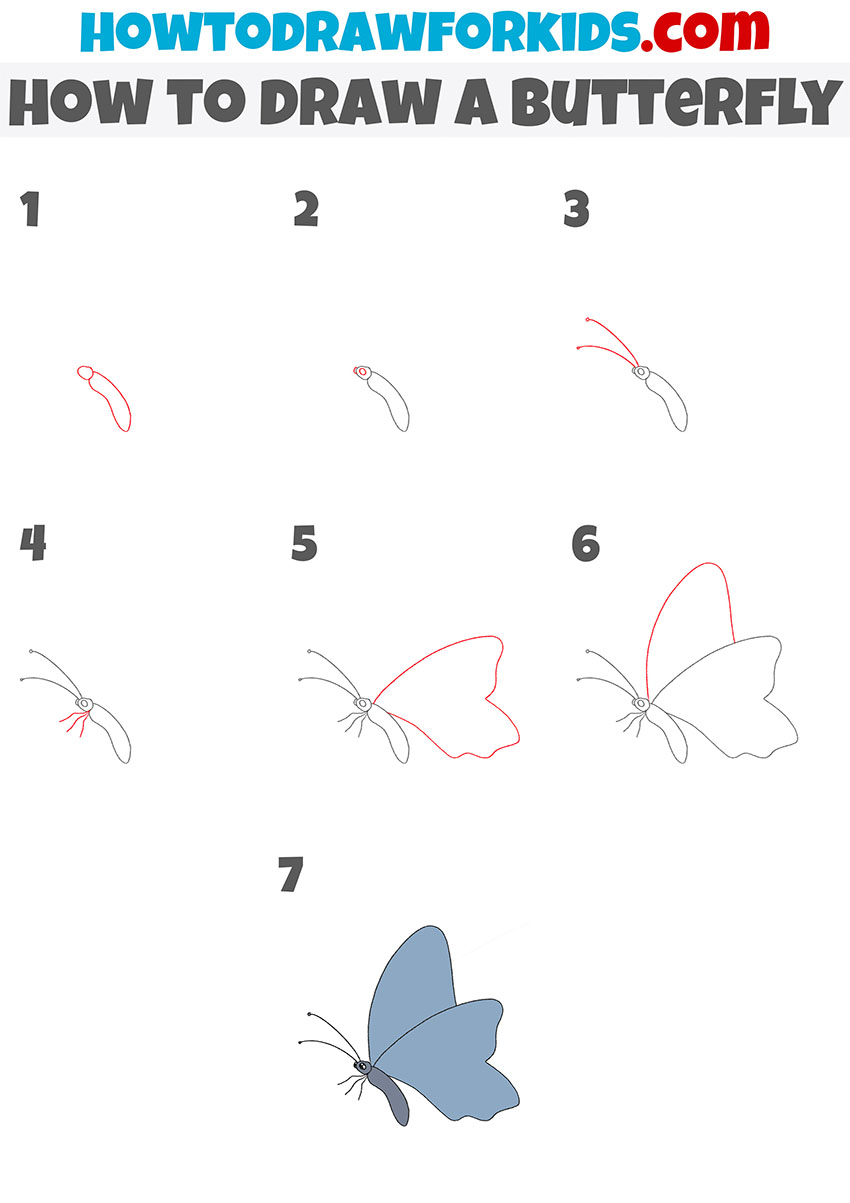
How to Draw a Butterfly From a Different Angle
So, we continue to learn how to draw a butterfly from the side, but this time in a different direction. In this method, I slightly increased the amount of detail and changed the overall shape to give not only a different overall look but also a different way of depicting the insect.
Begin by sketching the butterfly’s body at a slight angle, marking a long, narrow oval with a small round head. Add a pair of thin, curved antennae extending forward.
Draw short lines for the legs underneath the body. Next, outline the closer wing, creating a wavy triangle with smooth and wavy edges. Then add the distant wing, which should be smaller and partially covered by the closer wing.
Once the main shapes are clear, darken the final contours and color the wings with light blue or another soft shade, painting the body and head in darker tones.
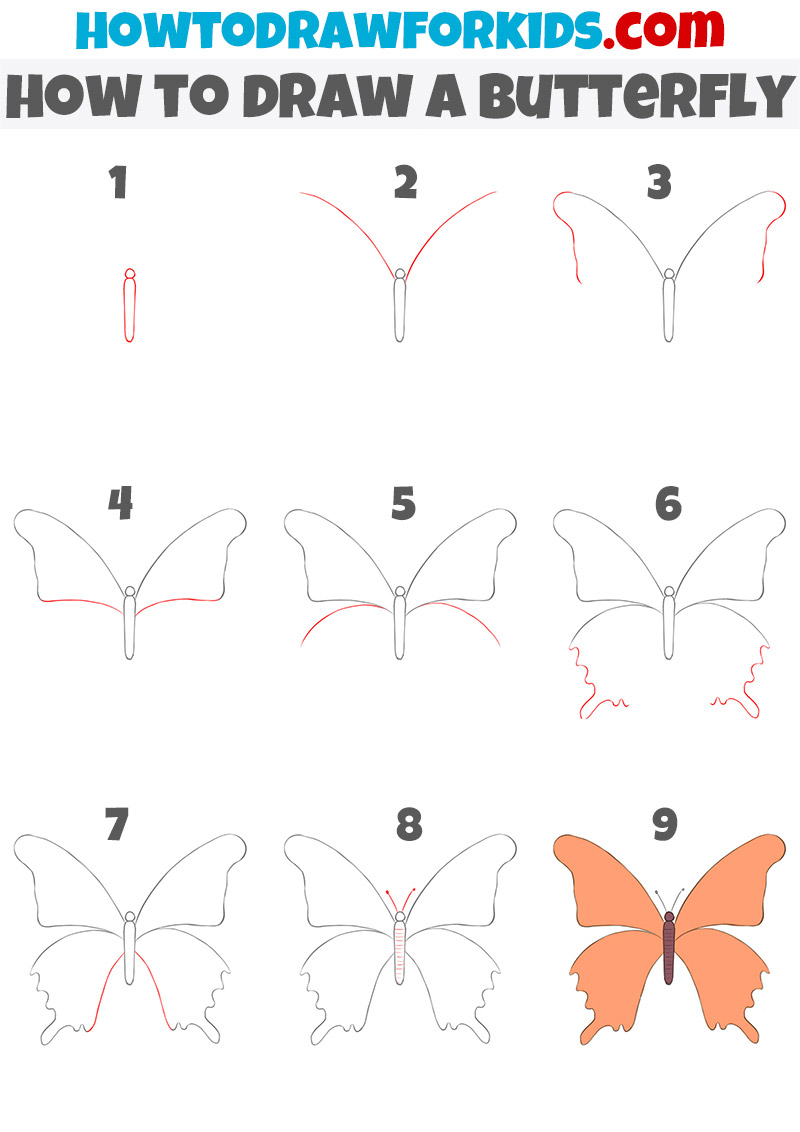
How to Draw a Butterfly from the Back
We continue to sketch a butterfly and move on to a different perspective. So, this method enhances the drawing process with a higher level of detail, methodically introducing advanced steps for crafting the insect’s wings.
Start with a narrow oval for the butterfly’s body and a small circle for the head on top. Draw two long, curved lines to mark the direction of the upper wings.
Around these guides, sketch the wide and rounded shapes of the upper wings, making them symmetrical and smooth. Below them, draw the lower wings with an irregular, wavy outline.
Add two thin antennae extending upward from the head, and mark the segments along the body. Once the outline is complete, trace over the main lines and erase the extra guides.
Color the butterfly with basic tones like orange or yellow for the wings, making the body a darker brown or gray.
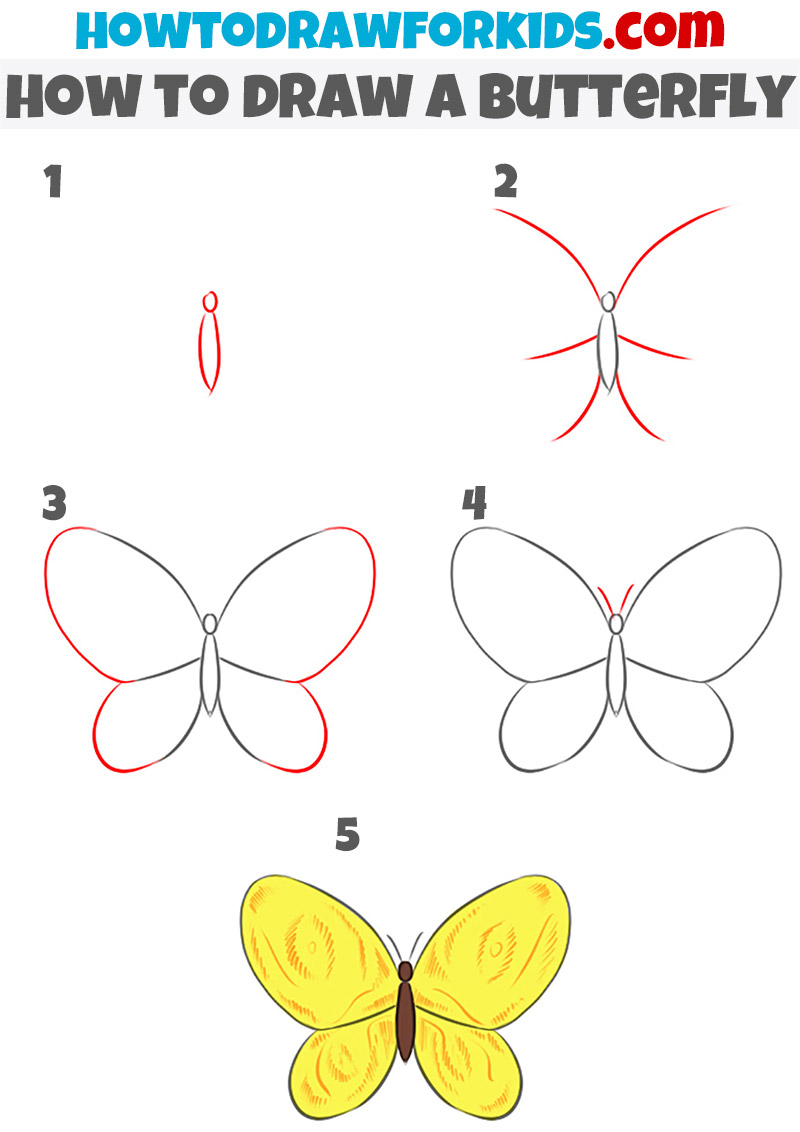
Alternative Butterfly Sketching Technique
This method presents an alternative and more simplified version of butterfly drawing, showing the basic shapes and easy-to-follow steps arranged in a different way.
Sketch an elongated oval body with a small circle on top for the butterfly’s head. From the center, sketch four guiding lines that extend to the sides to mark the placement of the wings.
Around these guides, outline the upper wings with broad, smooth curves and the lower wings with smaller shapes, trying to make the sides symmetrical.
Add short antennae rising from the head. Add simple curved patterns or ovals on the wings to represent texture and natural markings.
Color the butterfly with simple shades such as yellow, orange, or blue, and use a darker tone for the body and antennae.
Simplified Technique for Preschoolers
This method of drawing a butterfly showcases a simplified and even more stylized approach. In this method I’ll snow the process of sketching the insect using the most basic shapes.
First, sketch a small circle for the butterfly’s head and an elongated oval for its body. Add two curved antennae extending upward from the top of the head.
Inside the head, sketch two dots for the eyes and a small curved line for the smile. Then draw the wings – the upper pair wide and the lower pair smaller. Keep both sides symmetrical but slightly varied.
Color the body in a brown shade and fill the wings with bright blue or another light color. You can also add small decorative circles or patterns on the wings to make the drawing more detailed.
Cartoon Butterfly Tutorial
So, here this insect is depicted in a cartoonish style, which is known for its more exaggerated features. Thus, this approach typically involves anthropomorphizing the butterfly. It gives it human-like facial expressions with big eyes and a smile.
Draw two large round eyes close together, then add short antennae curving upward and a small smiling mouth below the eyes.
Sketch the narrow, curved body that tapers toward the bottom. Draw the upper wings with broad shapes extending from both sides of the body, making their edges smooth and wavy.
Below them, illustrate the lower wings with smaller, scalloped outlines that follow the same natural curve. Make sure both sides look symmetrical but not perfectly identical, so the butterfly appears natural.
Color the butterfly with bright shades such as purple, pink, or yellow, and fill the body with a soft brown tone.

Conclusion
By completing this butterfly drawing lesson, you’ve learned how to simplify shapes and build a clear, recognizable form using a side view.
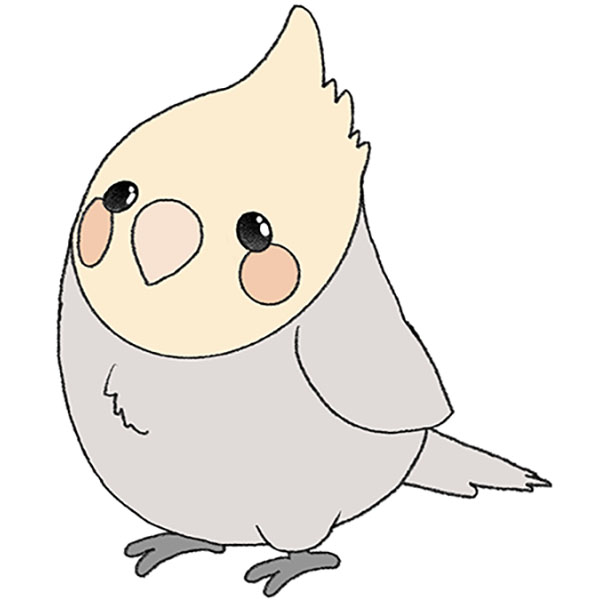
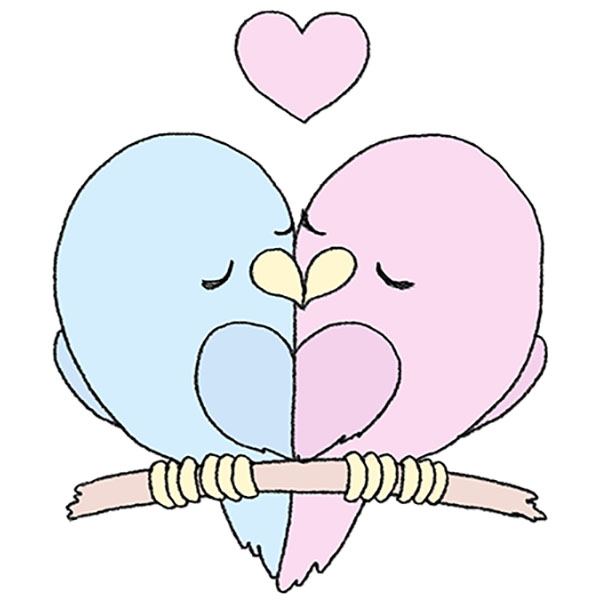
If you’d like to continue developing this topic, try the other butterfly tutorials on the site, and learn how to draw a bird or other animals.
You can also explore related lessons on insects and nature-themed drawings to strengthen your overall drawing skills. And if you want to stay updated with new guides, step-by-step lessons, and drawing ideas, follow us on social media.
Thanks for all your help just what i needed !! God Bless
GOD BLESS YOU!!!!
Appreciate it, John. Glad to know you’re enjoying the site and the lessons.
I’m glad the tutorials helped you, Linda. Thank you for your kind words.