How to Draw a Cape
Today I will show you how to draw a cape. In the process of completing the lesson, you will learn how to draw a new type of clothing.
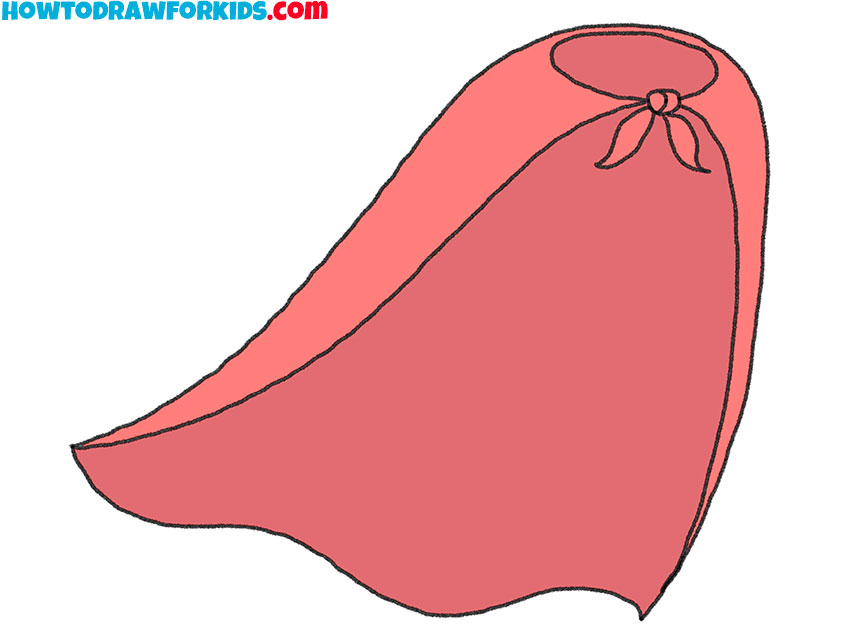
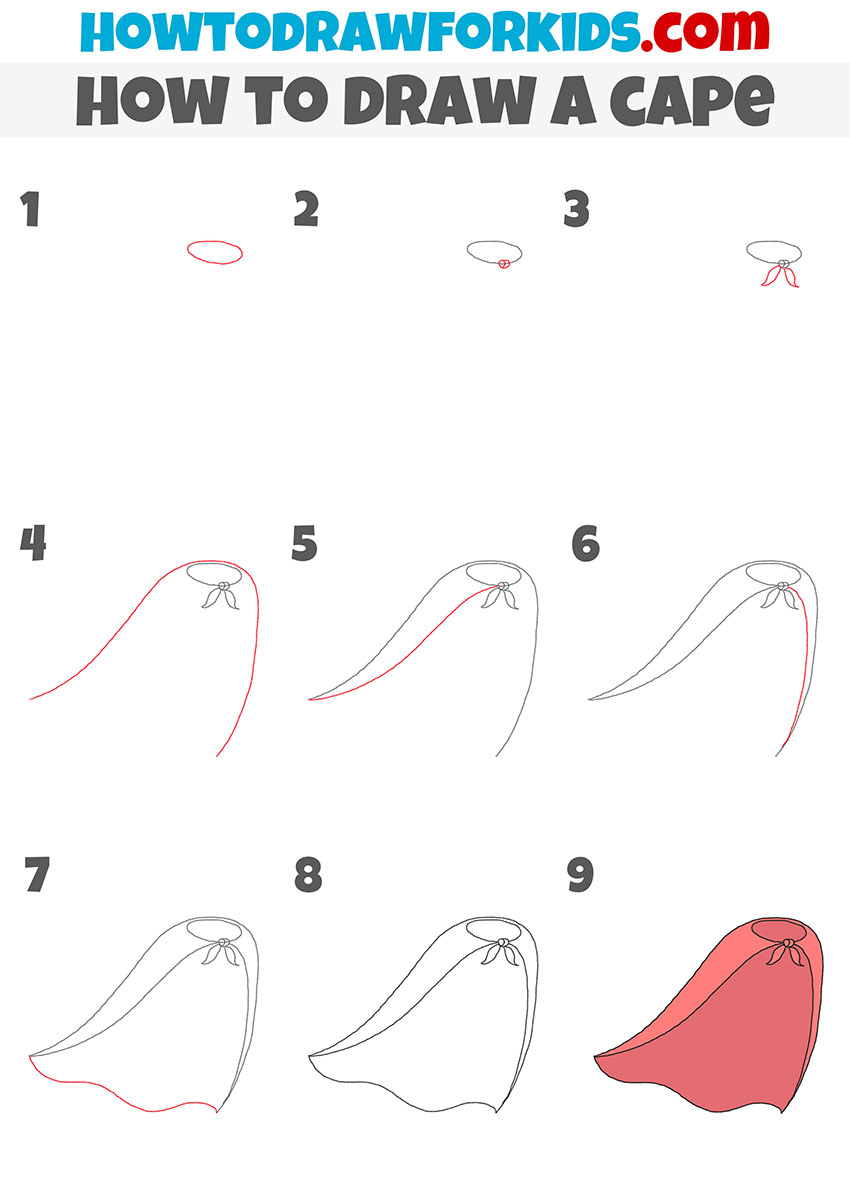
Especially for beginners, I have developed a new lesson in which you will learn how to draw a cape. This is a type of clothing that is convenient to use in bad weather. The cape is usually worn over all clothing, and it helps to hide from rain and wind.
In this case, the cape is a long piece of fabric that is tied around the neck with a knot. Thus, the cape is securely held and well covers the shoulders and back. The cape is worn by both men and women.
In this tutorial, smooth curved lines will be used. This will be a good training for you and in the future you will be able to use the acquired skills when you want to draw a man in a cape.
For coloring, you can use the same colors that are suggested in the instructions, or you can use any other colors. Please note that the inside of the cape is painted in a darker shade.
Cape Drawing Tutorial
Materials
- Pencil
- Paper
- Eraser
- Coloring supplies
Time needed: 20 minutes
- Draw the top outline.
Determine the size of the drawing and draw an oval.

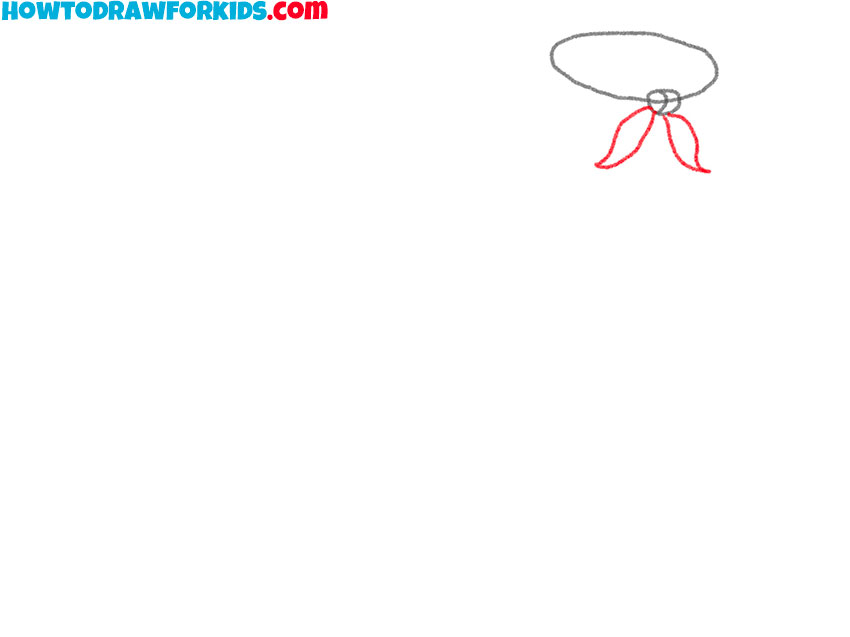
- Depict the knot.
Draw a small circle on the front side.

- Add the fabric ends.
At the bottom of the knot, add two pointed ends of the fabric.
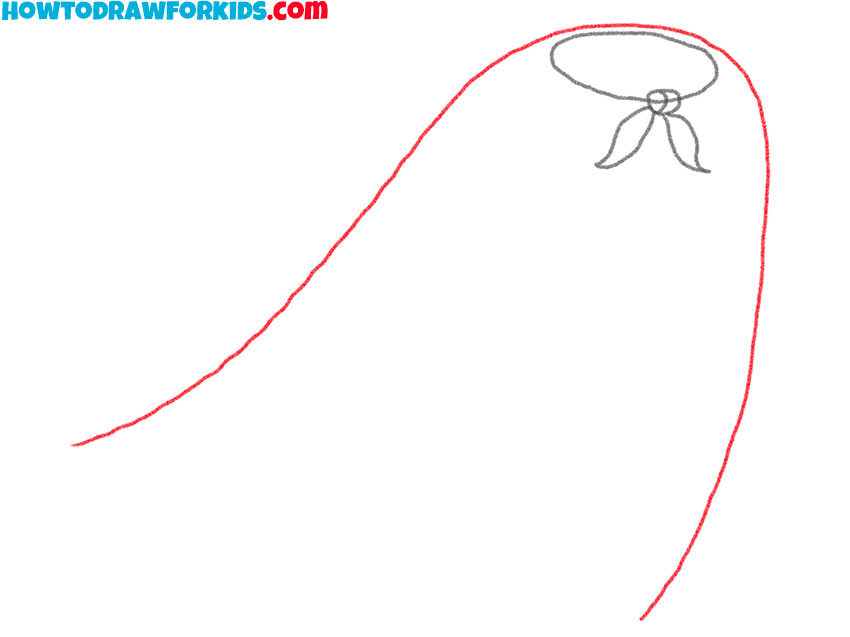
- Draw the main outline of the cape.
Sketch out a smooth curved line in the same position as shown in the example.
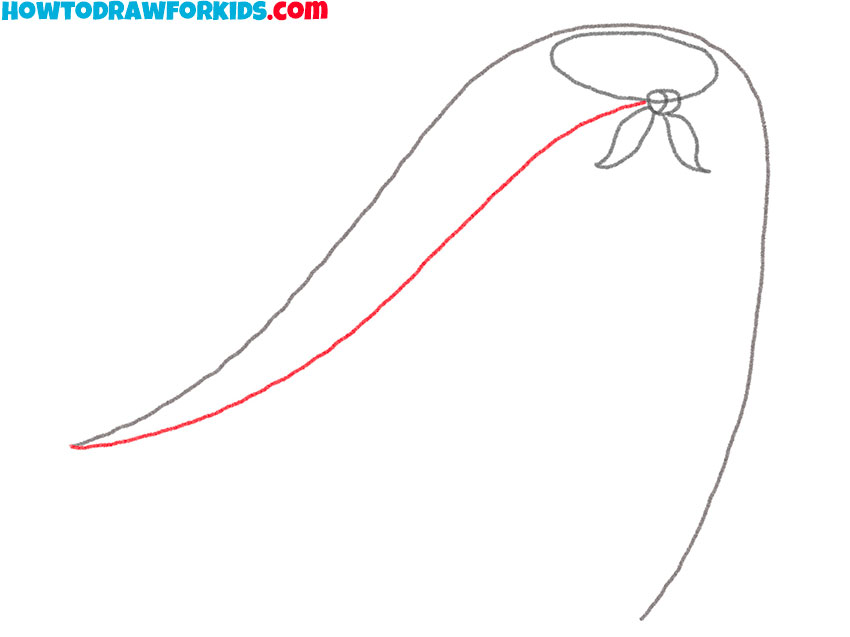
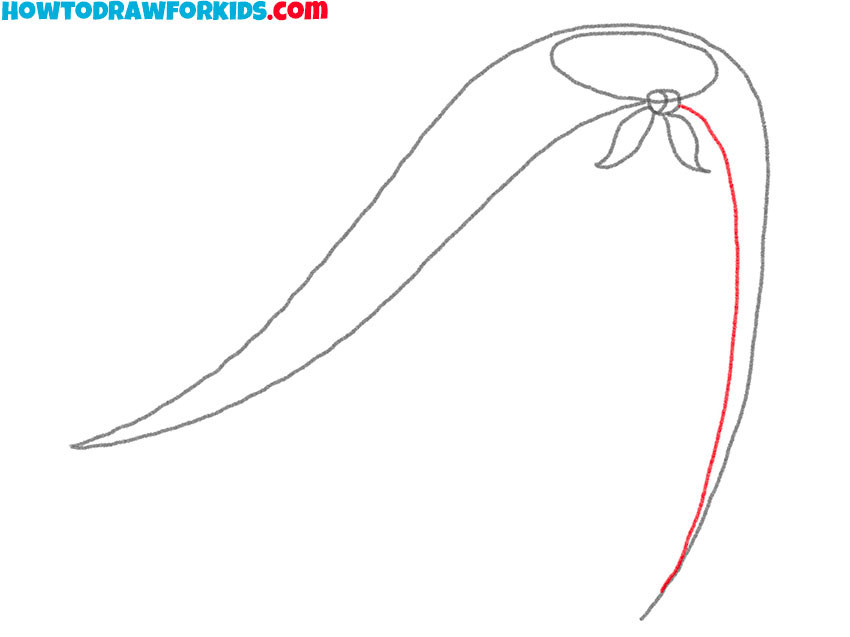
- Draw the front outline on one side of the cape.
Depict a smooth line from the knot to the bottom edge of the cape.
- Add the front outline on the other side of the cape.
Repeat the previous step and on the right, draw another line from the knot to the bottom edge.
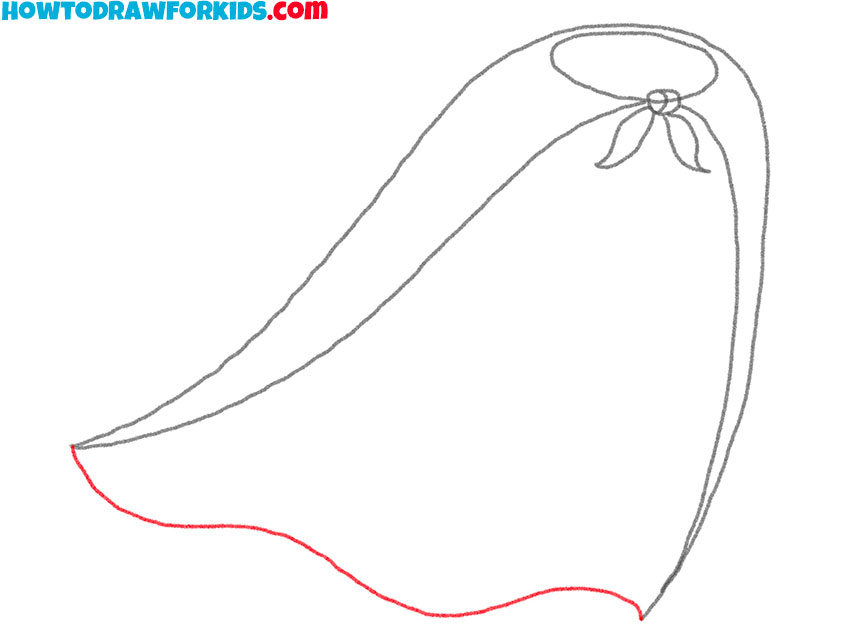
- Depict the bottom outline of the cape.
Sketch out a smooth wavy line at the bottom.
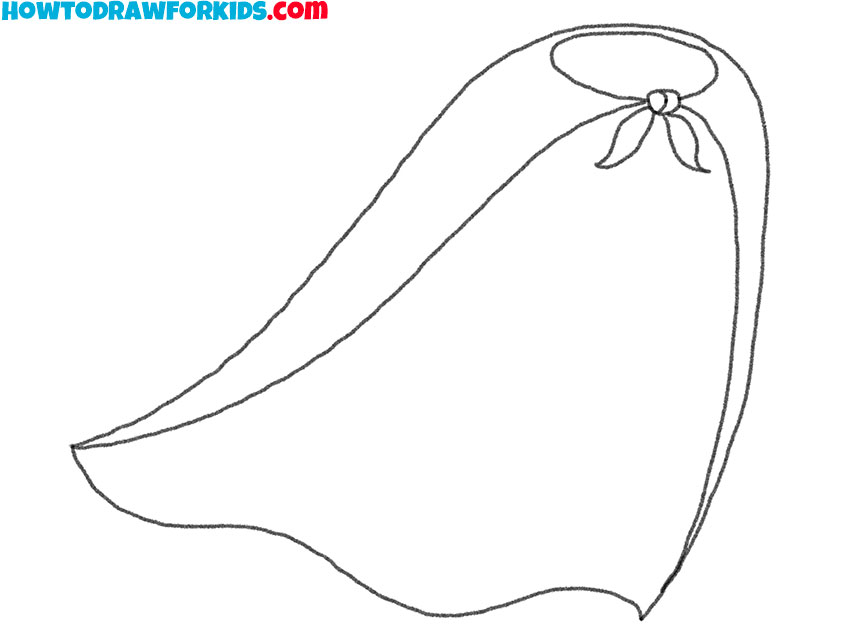
- Correct inaccuracies.
Remove extra lines in the drawing.
- Color the cape.
You will need two shades of red.
At the end of the lesson, I offer you to download a PDF file for free, in which you will find a short version of the lesson and other useful materials. Use the file any time you want to get creative.