How to Draw a Car
I tried to make this tutorial on how to draw a car as simple as possible, even if you have little experience in drawing vehicles.

How to Draw a Car: Introduction
In this lesson, I will show in detail how to draw a car. This is a great drawing object with which you will practice your ability to draw straight and rounded lines.
Each drawing step involves a simple action that even a beginner can perform. During the lesson, use small hints to correctly depict the next element of the car. The car is presented in a cartoon style and has an unusual shape. This model was popular many years ago and now such a car is considered a rarity.
This tutorial will be useful for any novice artist. Here is a very simple drawing method, and now you will get the most basic car drawing skills. You can use this knowledge in the future to illustrate more complex car models.
Car Drawing Tutorial
Materials
- Pencil
- Paper
- Eraser
- Coloring supplies
- Compass (optional)
Time needed: 35 minutes
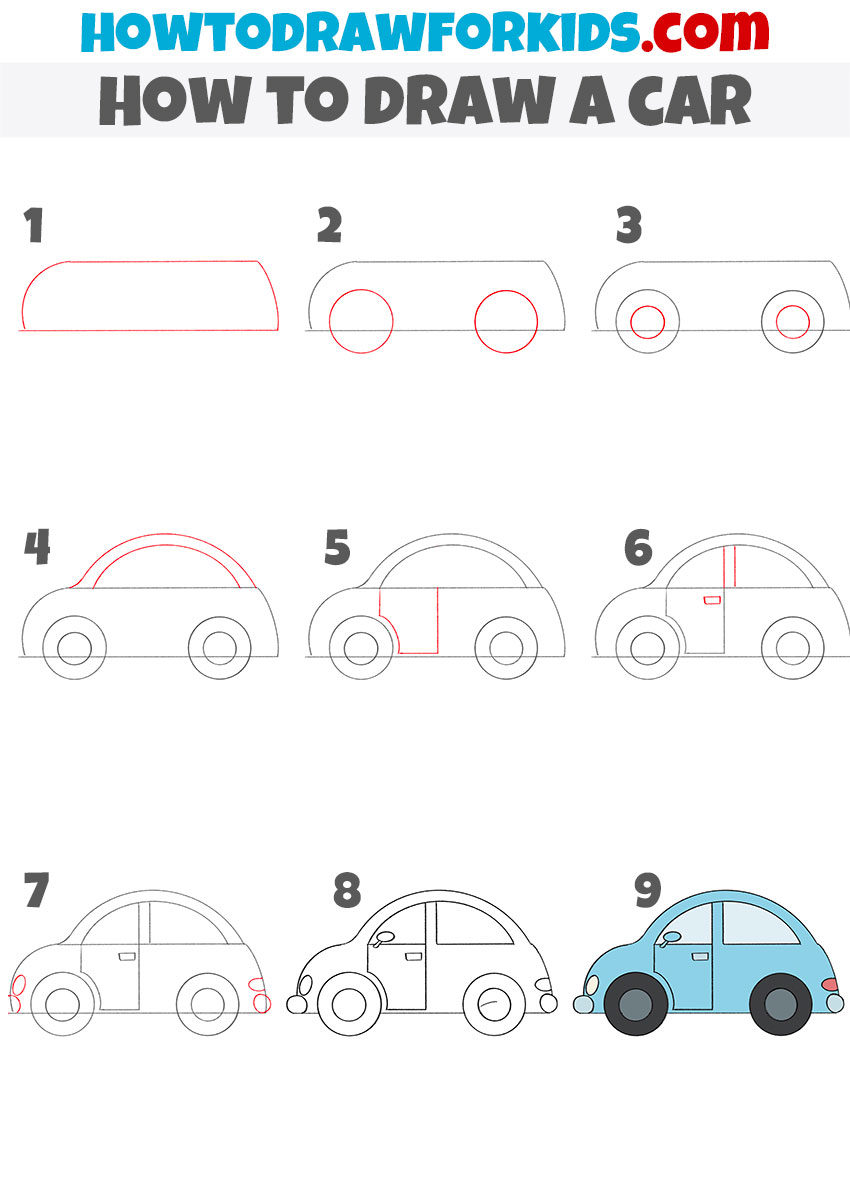
How to Draw a Car
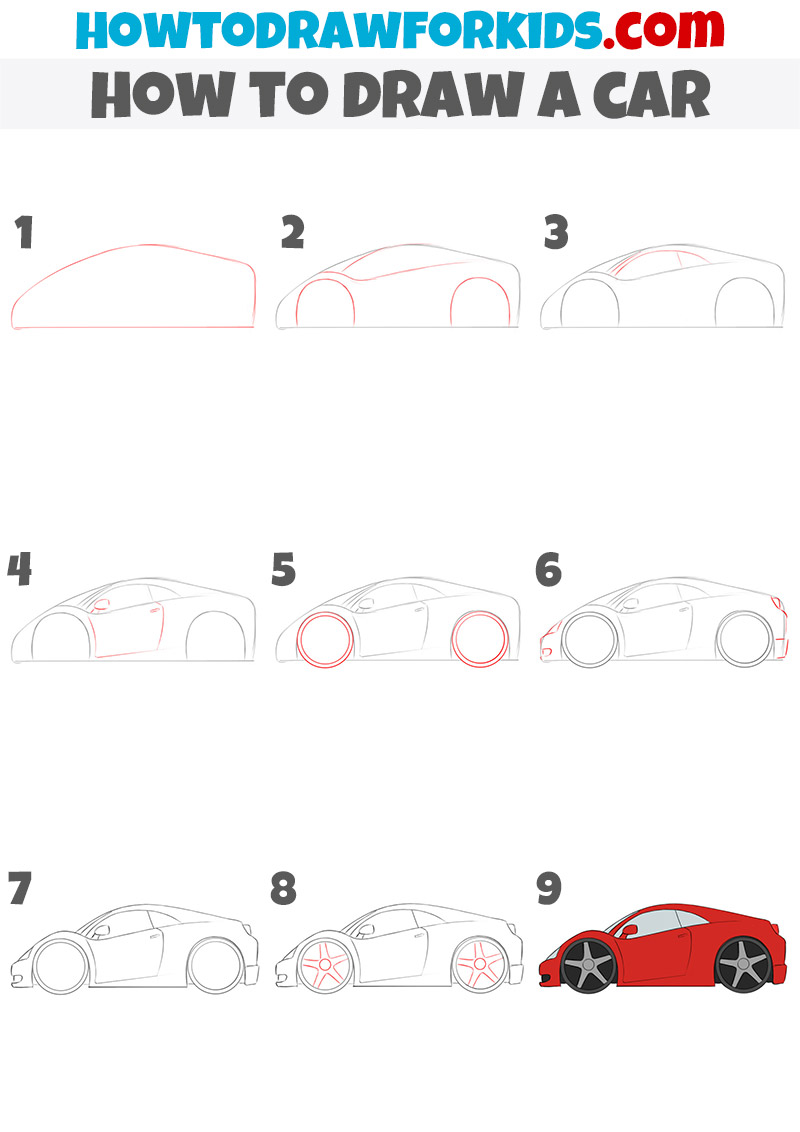
- Sketch the base of the car.
Cars have different contours, so the base shapes will be different too. But in any case, you should begin with the main body of the car using an elongated rectangular shape. At this stage, keep your hand light because you will need to adjust the proportions in the later steps.

- Draw the car’s tires.
Next, add two large circles along the bottom line to represent the wheels. A good tip is to lightly measure the distance between them with your pencil before committing to the final line. Think about the size too: bigger wheels can make the car look sportier, while smaller wheels give it a more classic look.

- Sketch smaller circles for the rims.
Inside each wheel, sketch a smaller circle to show the rims or hubs. These don’t need to be very detailed yet, but adding them makes the wheels look more finished even at this style. If you want to practice variations, try drawing rims with spokes. You can also experiment with different patterns.

- Outline the vehicle roof arc.
Now it’s time to give the car its recognizable silhouette. Draw a smooth arc over the body to form the roof and windows area. The curve should begin at the front and gently slope toward the back. Imagine drawing a rainbow, the line should flow smoothly without sharp breaks.

- Sketch the door outlines.
Next, divide the body by adding vertical lines to illustrate the door. If you want, you can experiment with different designs: two doors for a coupe car or four doors for a larger one. Thinking about real-life car models helps kids create believable car drawings.

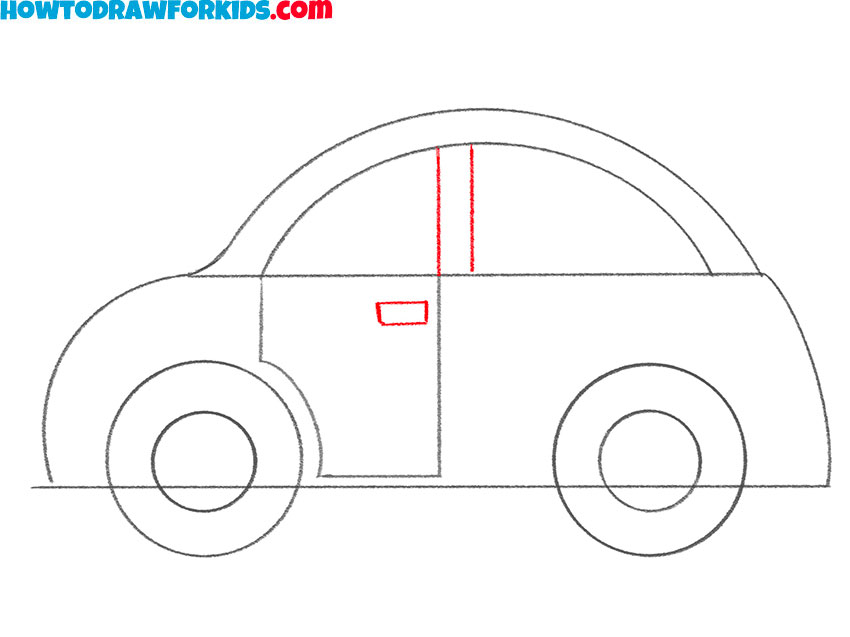
- Add the windows and handle.
With a couple of vertical lines, sketch the windows central pillar. Then sketch a small rectangle for the door handle. In cartoon cars, handles can be exaggerated or simplified to just a line. You can decide the style depending on whether you want your car to look simple or more detailed.
- Add the headlight, taillight, and bumpers.
Illustrate the rear lights as small rounded shapes near the back of the car. You can also add indicators or a third light if you want more accuracy. On the front, sketch a small circle or oval for the headlights, though in a cartoon version these can be simplified. Add front and back bumpers as two small shames.

- Refine the outline and erase guides.
Now, give your car drawing a beautiful and completed look, erasing unnecessary guidelines. Smooth out the contours and darken the lines. In class, I always advise students to take a step back and check proportions. This habit of reviewing helps avoid mistakes before finishing.

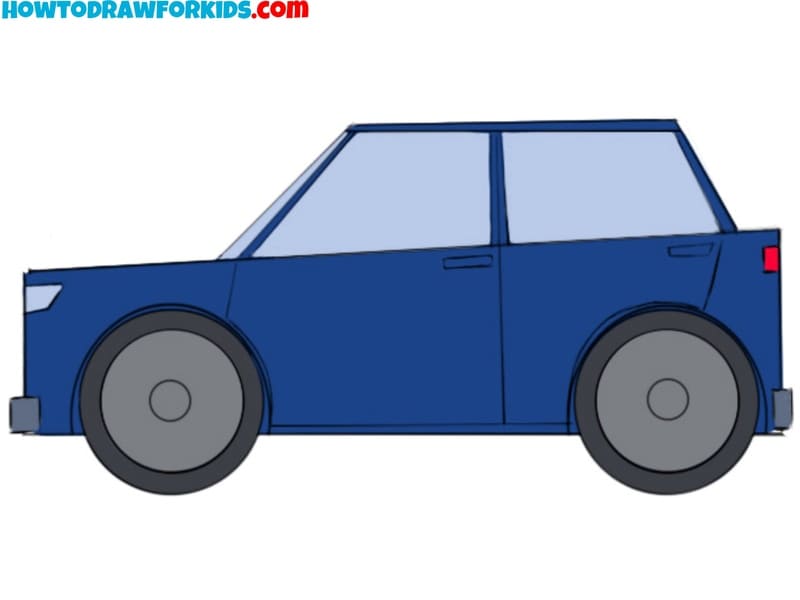
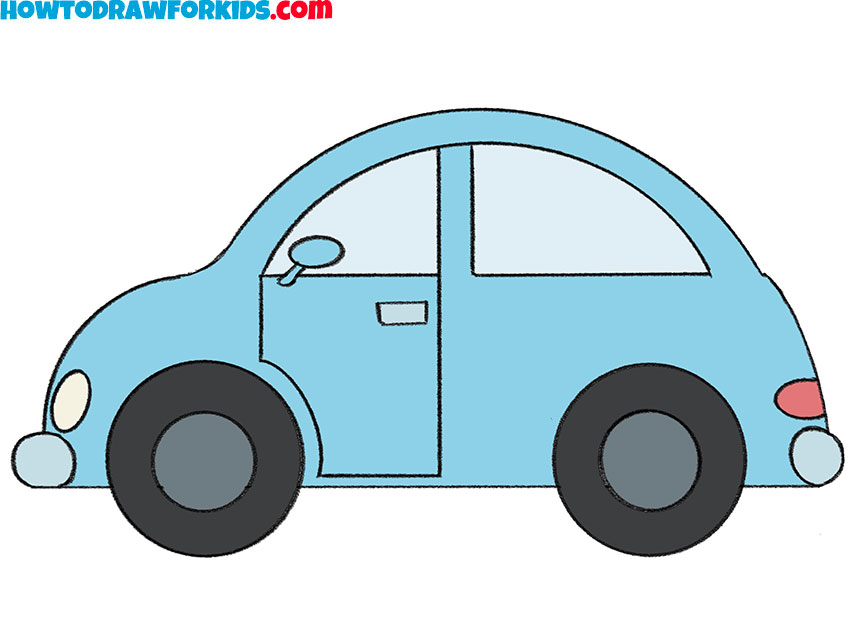
- Paint the final illustration.
Cars come in different colors and shades, so take your favorite art supplies and fill the body, windows ans wheels. To paint your car, apply a shade like blue, red, or yellow for the body, and fill in the windows with a lighter tone such as pale blue or gray. The wheels should be dark gray or black.
Additional Content
You can always return to the lesson if you save a PDF file with a short version of the lesson to your device. I’ve prepared quick instructions, a coloring sheet, a tracing worksheet, and a grid drawing worksheet for you ahead of time. All of these materials are free, and you can use them at any time, regardless of whether you have an Internet connection.
Alternative Car Drawing Techniques
There are many car models, so I have prepared for you several methods for drawing cars of varying complexity. You can choose anyone and start training with this method. I suggest taking all the lessons to improve your art skills.
Advanced Car Drawing Tutorial
So, now you have to draw a four-door passenger car. This lesson will require your ability to draw simple geometric shapes – rectangle, trapezoid, and circle. First you have to outline the outer contours using thin lines, and then you can add the rest of the car’s elements.

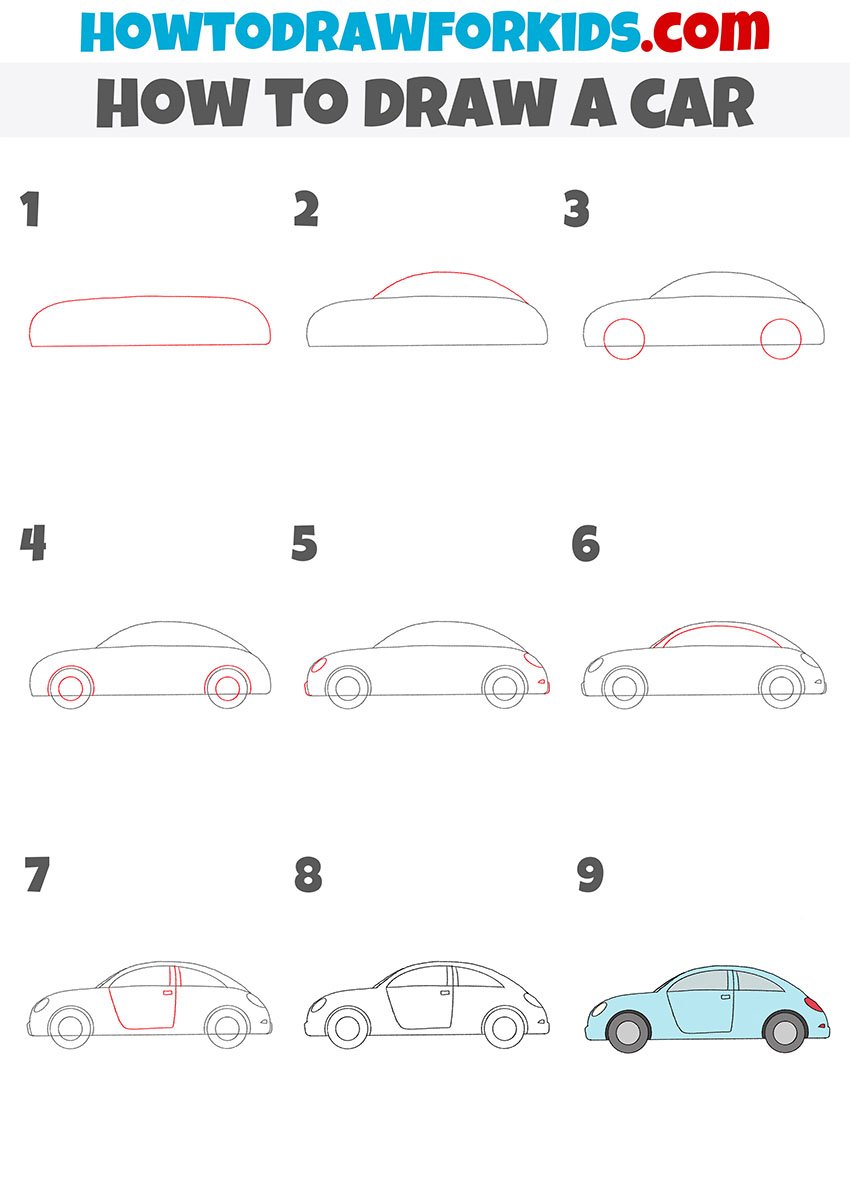
Coupe Car Drawing Tutorial
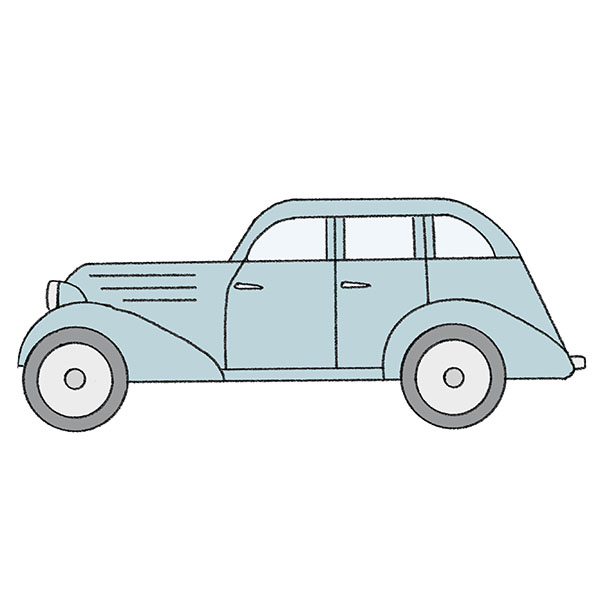
This is a large car that was very popular in years past. Now this model is a bit outdated and is considered antiques. The instruction includes nine steps that you can easily repeat. Each step is one simple action.
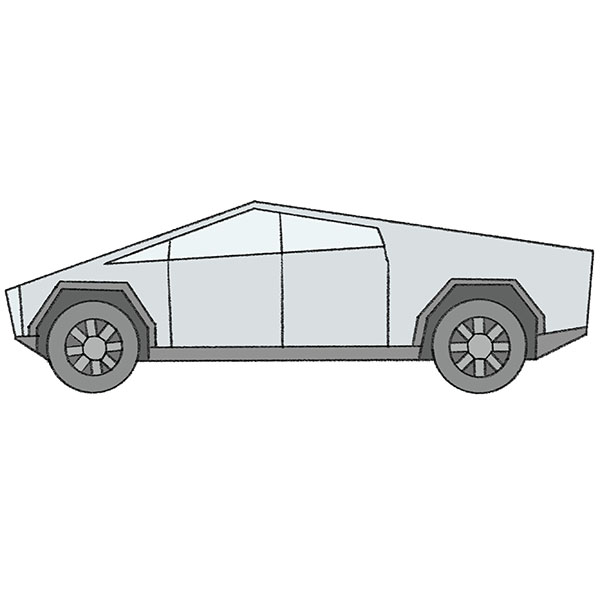
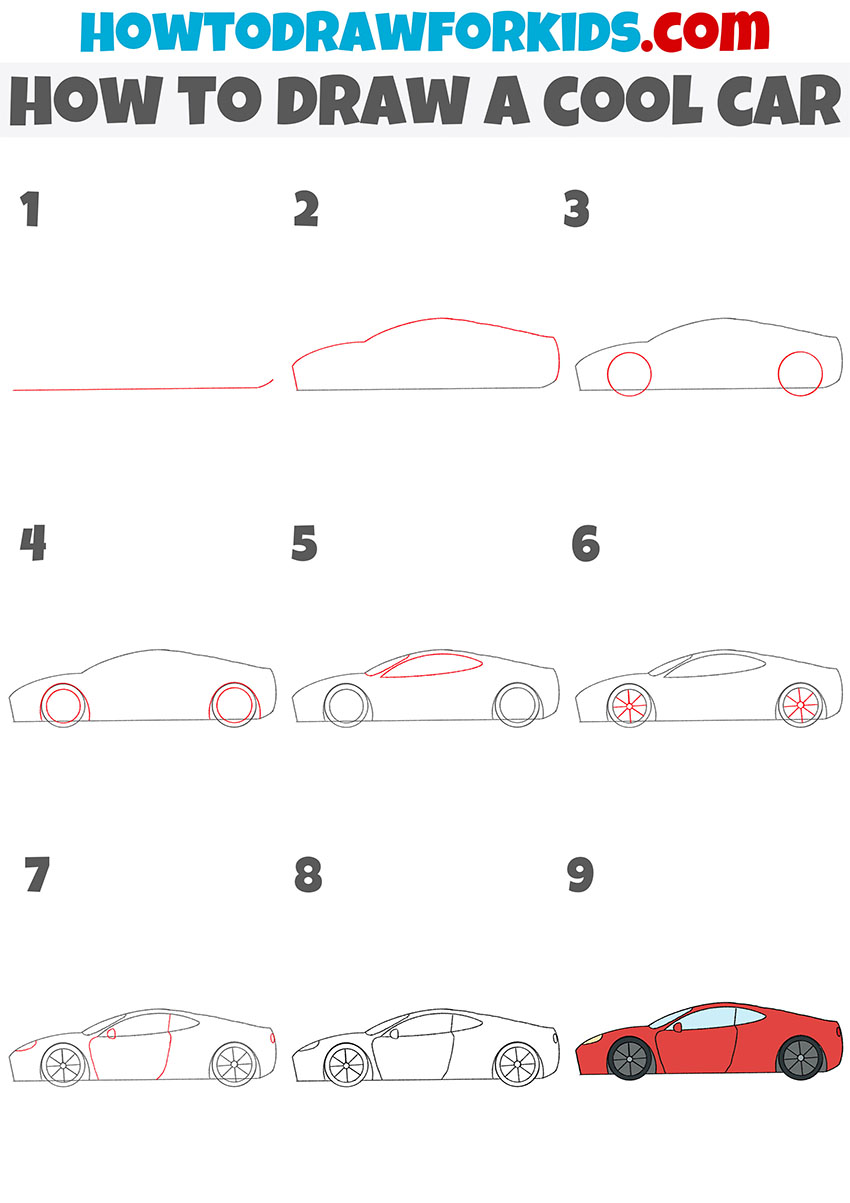
Cool Car Drawing Tutorial
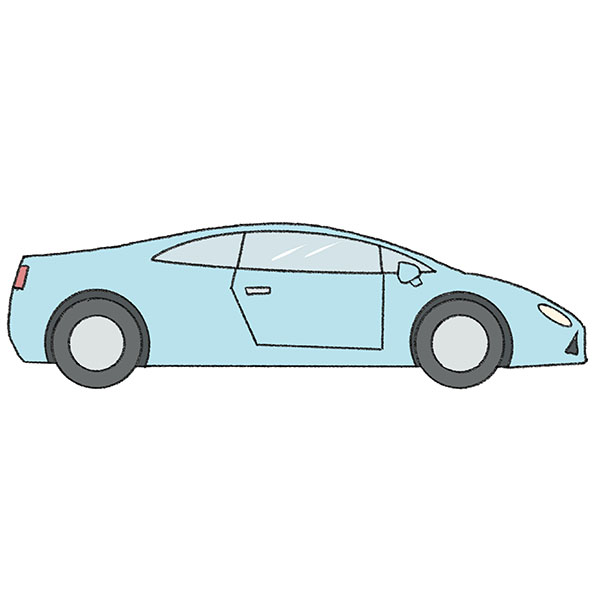
The body of the cool car has an elongated, streamlined shape. This car is very similar to a sports car. Your task is to carefully and accurately follow each step of this lesson and remember the sequence of steps.
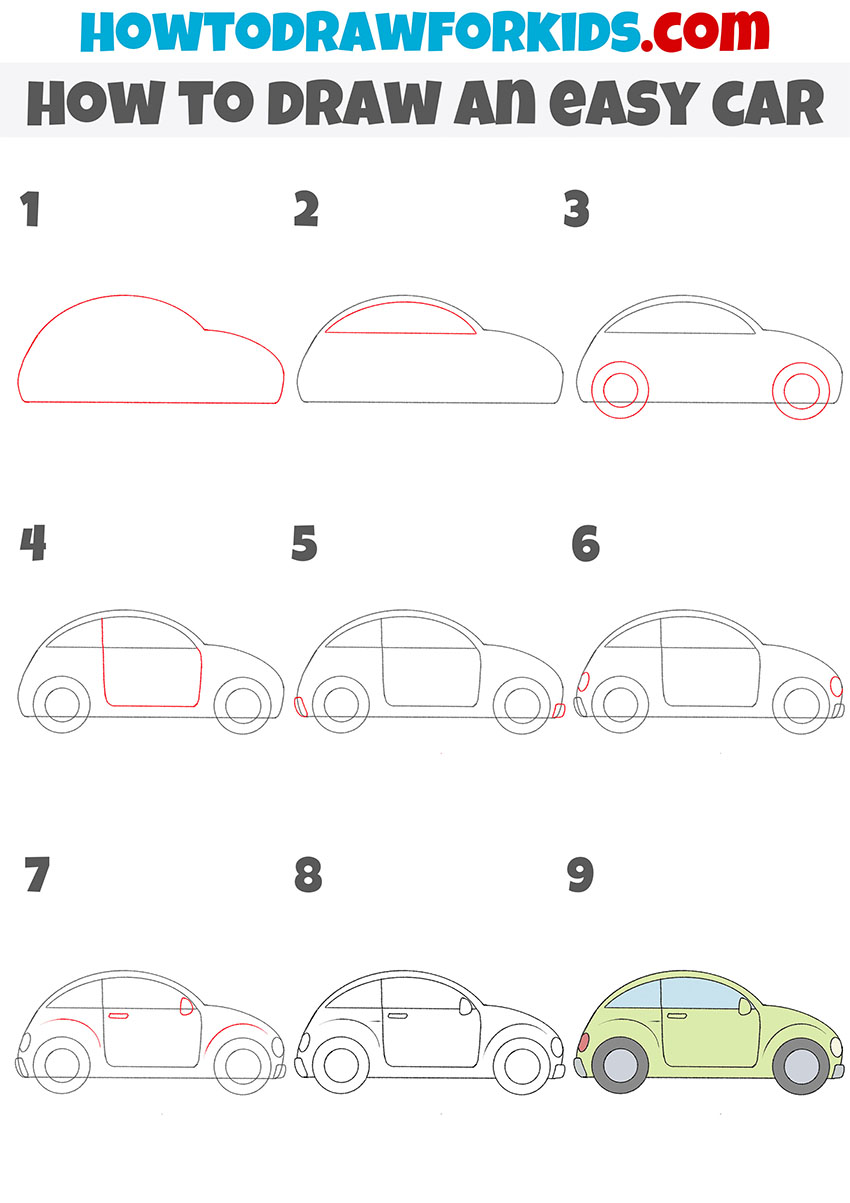
How to Draw an Easy Car
Here is an easy model of a car, which belongs to the outdated collectible brands of cars. You can easily draw such a car, even if you have no experience. This tutorial mainly uses simple rounded lines.
Cartoon Sports Car Drawing Tutorial
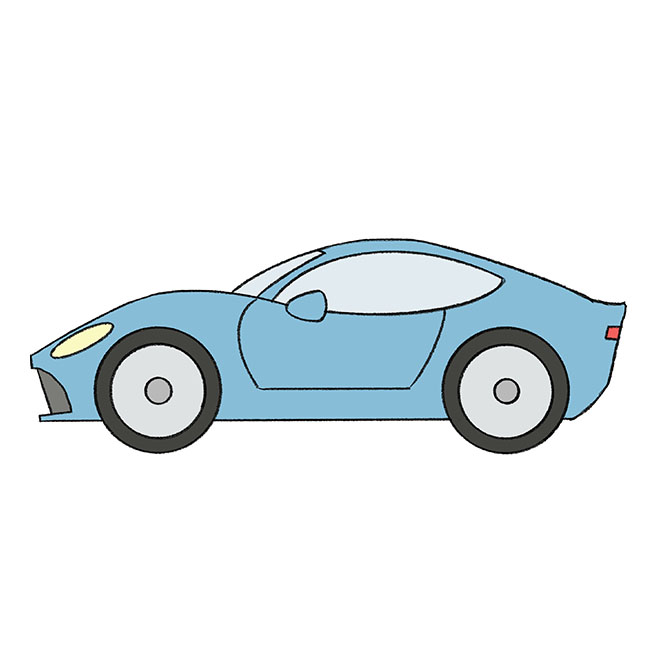
This tutorial will appeal to those who want to draw a cool two-door red car, but in a simplified style. In this tutorial, the car is in a cartoon style, and you won’t have to put in a lot of effort.
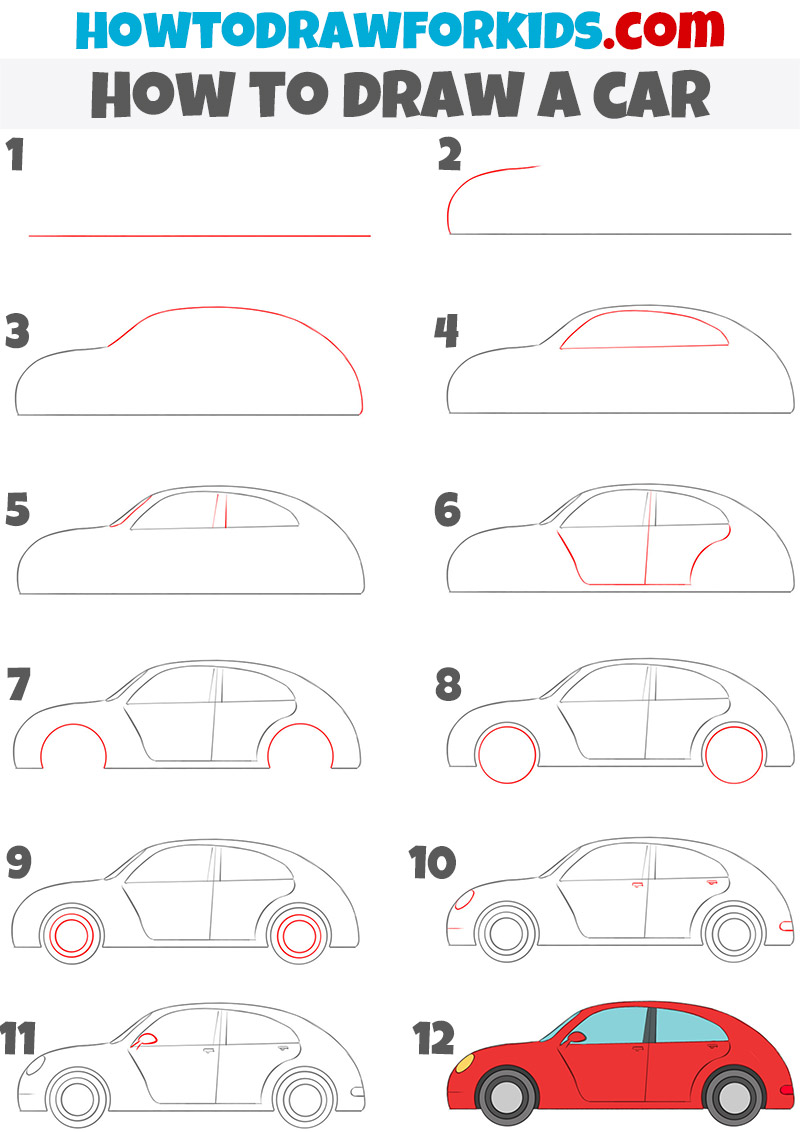
Drawing Tutorial
This method of drawing a car is more detailed and thanks to this the result looks more realistic. There are 12 steps in this tutorial, but each step has small details. You need to take your time and carefully follow my steps at each stage.
Method 7: How to Draw a Car for Kindergarten
Now I will show you how to draw a car for kindergarten. This is the easiest method! In the drawing you see a convertible. This model looks quite stylish, despite the fact that it is very simple and does not require much effort to draw.

Conclusion
That’s all friends! I hope you enjoyed this tutorial! There are many more lessons on drawing different car models on my website. Be sure to check them out too to improve your artistic skills.