How to Draw a Cherry
This tutorial explains how to draw a cherry. It begins with instructions for drawing a single fruit, followed by steps to draw a pair of cherries.

How to Draw a Cherry: Introduction
This tutorial explains how to draw a cherry, including a single fruit and a pair of cherries. The process is straightforward and uses basic shapes and lines, as cherries consist of simple forms.
The tutorial on drawing a cherry is designed to help young learners create this fruit in a simple style. It also provides useful skills that can be applied to drawing similar fruits. This guide will assist in improving the ability to draw smooth, organic shapes.
Additionally, this tutorial on how to draw a cherry provides practice in creating still life drawings that appear natural. These skills can also be used to draw other fruits. For example, using the skills, learned in this guide, you can draw apples or peaches, apart from cherries.
At the end of the tutorial, there is an additional demonstration showing how to draw a pair of cherries in a similar style. This will further enhance skills in illustrating this fruit and applying the techniques to various drawing styles.
Cherry Drawing Tutorial
Materials
- Pencil
- Paper
- Eraser
- Coloring supplies
Time needed: 20 minutes
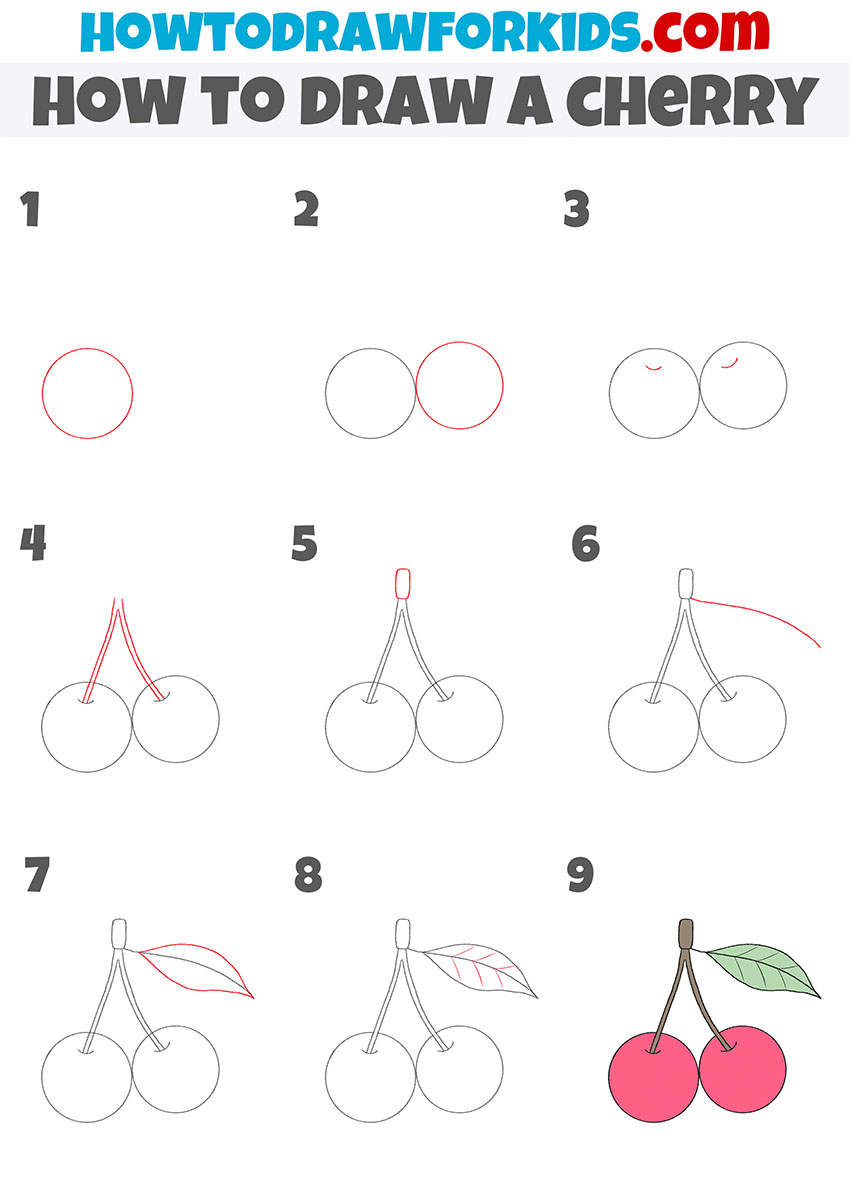
How to Draw a Cherry
- Sketch the outline of the fruit.
To start drawing a cherry, create a perfect circle in the lower portion of your paper. This circle will form the body of the cherry and is the foundation for the entire drawing. Keep the shape smooth and round, as it represents the fruit. Keep your strokes light, so erasing any lines later is easy.

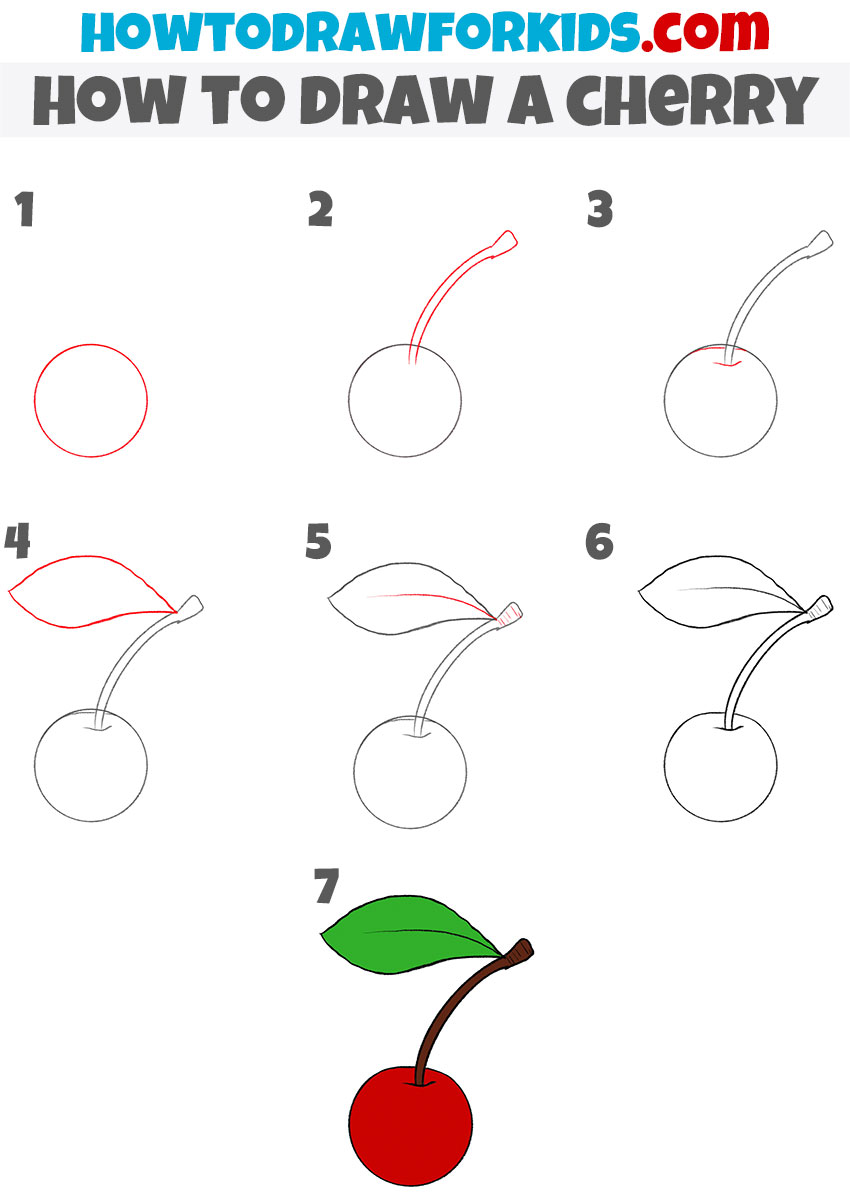
- Draw the cherry stem.
Now, sketch the cherry’s stem extending from the top of the circle. The stem should be slightly curved to mimic the natural appearance of a real cherry stem. Draw two parallel lines starting at the top of the circle and extending upwards. Add a small rectangular shape to create a realistic stem end.
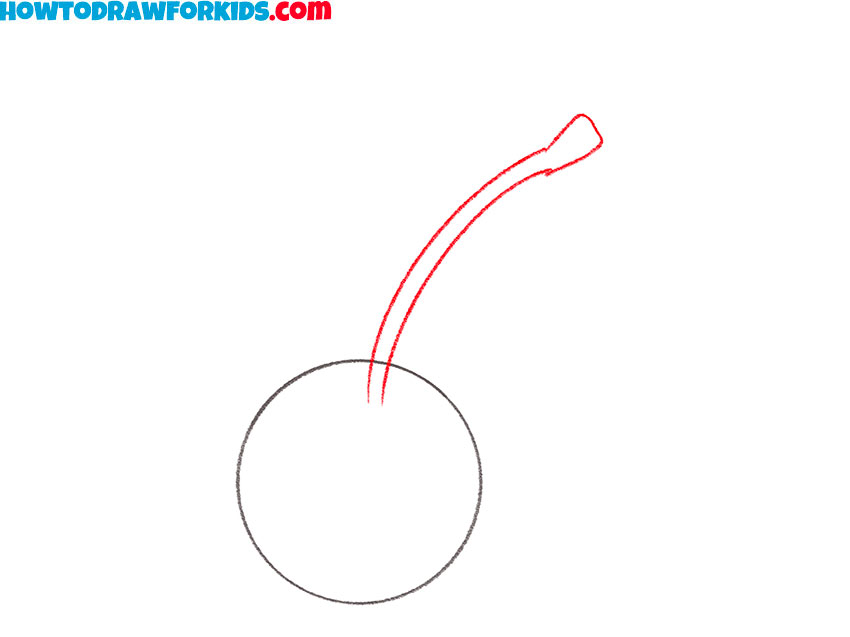
- Detail the stem connection.
In this step, refine how the stem connects to the cherry. Add a short, curved line at the base of the stem where it meets the circle to give a natural appearance. This detail makes the cherry look more realistic, as it mimics the slight indentation where the stem attaches to the fruit.
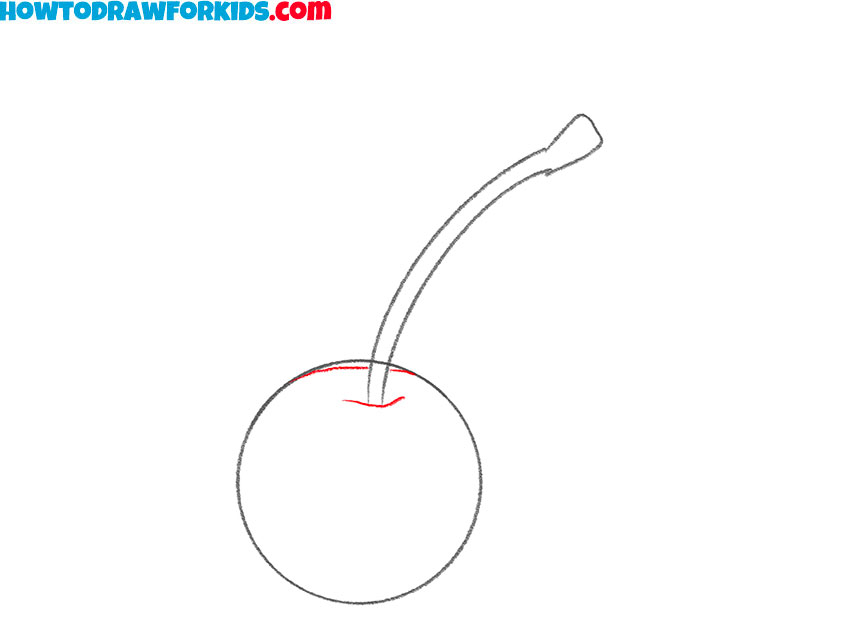
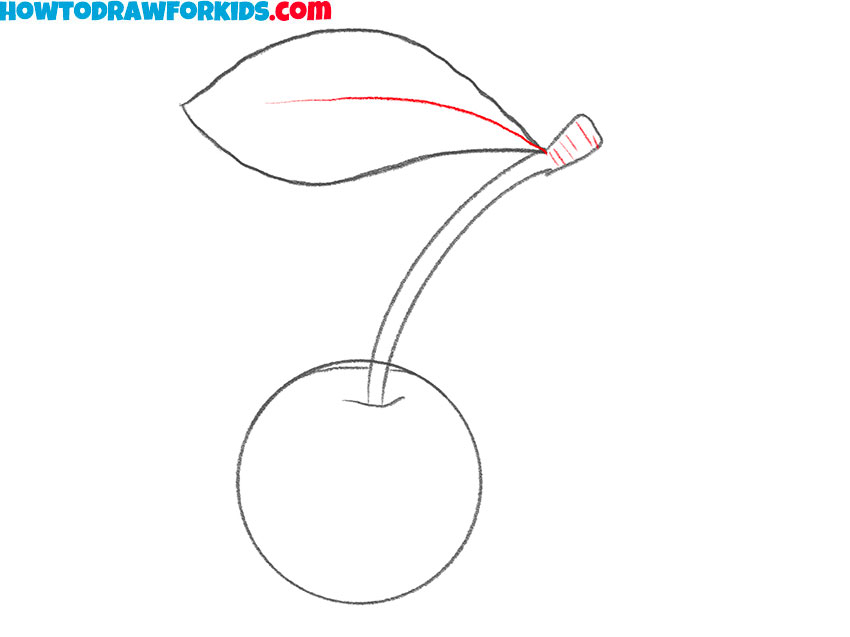
- Draw the cherry leaf.
Start adding this part at the upper part of the stem, sketching a slightly elongated, pointed oval shape to represent the leaf. The leaf should curve naturally outward to follow the flow of the stem. Use light lines to outline the leaf’s shape, as you’ll refine it further in the next steps.
- Detail the leaf and stem.
Now, add details to the leaf to make it more realistic. Begin by drawing a vein through the center of the leaf, starting at its base near the stem and extending to its pointed tip. Next, using short and slightly curved lines, detail the top of the stem.
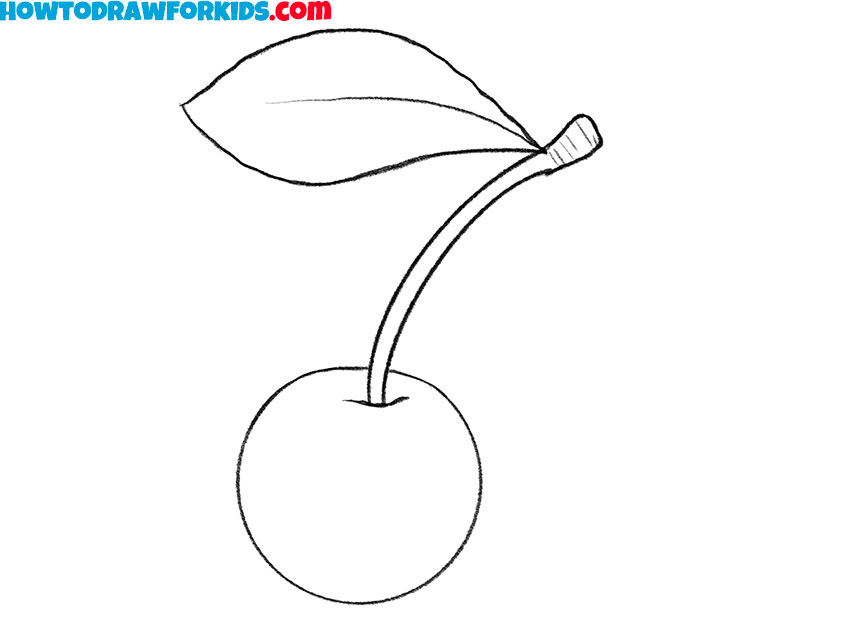
- Erase the auxiliary lines.
At this point, go over the entire drawing of the cherry to finalize the lines. Trace over the outline of the cherry’s body, stem, and leaf with a darker pencil or pen to make them look finished. Smooth out any rough edges and erase unnecessary guidelines from earlier steps.
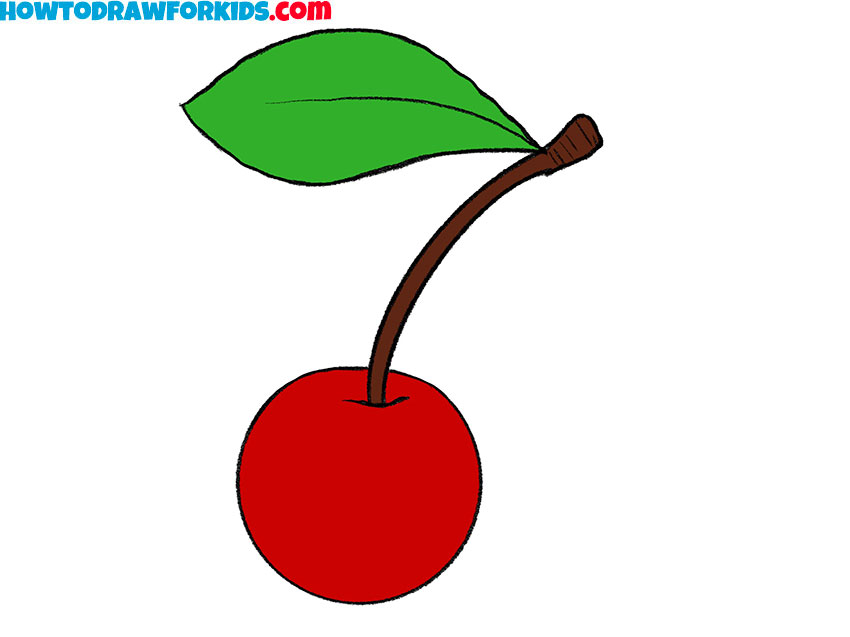
- Color the cherry drawing.
Use red for the cherry’s body. You can use light reds or more dark shades if this color. For the stem, apply a rich brown shade to give it more realistic look. The leaf should be a bright green. You can make your cherry drawing more voluminous by adding shadows to the bottom and a highlight to the top.
Additional Content
Remember to download the PDF version of the lesson. This file can be used at any time. Along with the steps of the tutorial, the PDF file contains additional materials, including a cherry coloring page, a tracing worksheet, and a grid drawing worksheet.
How to Draw a Cherry Pair
Now that you know how to draw a cherry, it is important to note that cherries often grow in pairs. This tutorial will demonstrate how to sketch a paired version of this fruit. The steps are slightly adjusted to accommodate the second cherry, with added instructions for connecting the two fruits with stems and drawing a shared leaf at the top. Additionally, this tutorial has more steps to account for these added details.
To draw a pair of cherries, start by drawing two circles to represent the cherries. Add small curved lines at the top of each circle to mark where the stems will connect. Then, draw two curved stems that meet at a single point above the cherries. At the top of the stems, add a small elongated shape to represent the attachment point.
Extend a curved line outward from this point to form the vein of the leaf. Sketch the outlines of the leaf by creating an elongated oval shape and then add smaller veins inside the leaf for detail. Next, go over the entire cherry drawing to finalize the lines and erase unnecessary guidelines. Finally, color the cherries red, the stems brown, and the leaf green to complete the drawing.
Conclusion
Now you know how to draw a cherry. You can use the skills learned in this tutorial in your future drawings. For instance, you can create a still life with a cherry. To do this, draw a strawberry, other fruits, and additional similar objects to create more complex composition.
If you found this tutorial helpful, share it with others. Leave comments with your feedback, questions, or suggestions for new tutorials. Follow me on social media for more updates.