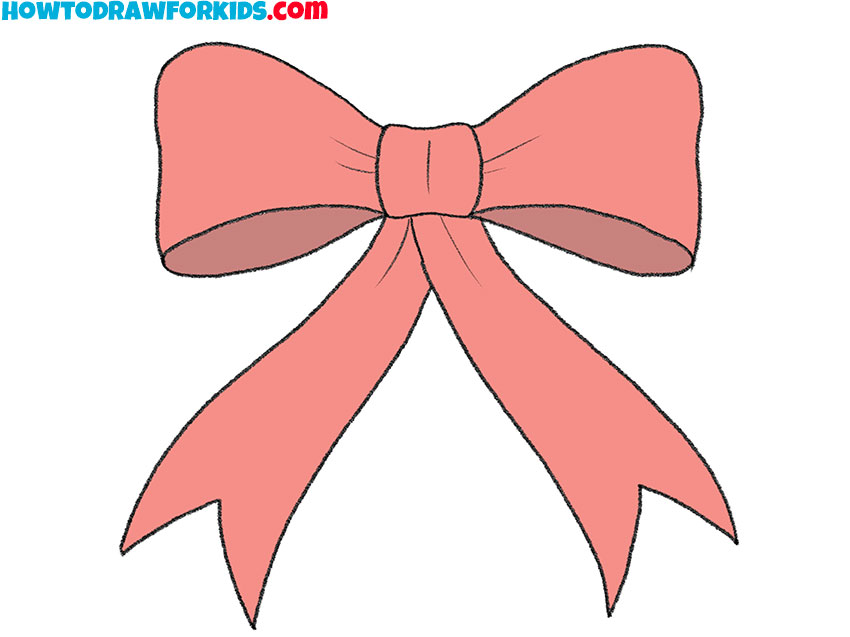
How to Draw a Christmas Bow
In this lesson, I want to tell and show you how to draw a Christmas bow. This lesson will definitely not leave indifferent any of you.
I am glad to offer you a great drawing lesson in which I will tell you how to draw a Christmas bow step by step. This lesson is sure to cheer you up and help you get in the Christmas spirit. After learning how to draw a Christmas bow, you can add this decorative element in the future if you want to draw a Christmas tree, a Christmas present and your other beautiful paintings or cards. Completing this lesson will help develop the artistic skills of any aspiring artist or child.
It is impossible to imagine Christmas and New Year holidays without a Christmas bow. In addition to gift wrapping and home decoration, Christmas bows play an important role for the December holidays. Christmas bows can be simple or intricate, but in any case, they convey the Christmas spirit to everyone around. The Christmas ribbon is usually red, green or red-green. A gold ribbon is also sometimes used. For most people, making Christmas decorations is a tradition associated with childhood. Christmas tree ribbon bows allow you to decorate the Christmas tree in a new way every time. There are also various ways to tie a bow.
If you can draw curved lines and want to start drawing a Christmas bow, then I recommend that you prepare the necessary art supplies right now, and then follow my instructions and enjoy the creative process. I am sure that you will be pleased with the result of your work.
Christmas Bow Drawing Tutorial
Materials
- Pencil
- Paper
- Eraser
- Coloring supplies
Time needed: 30 minutes
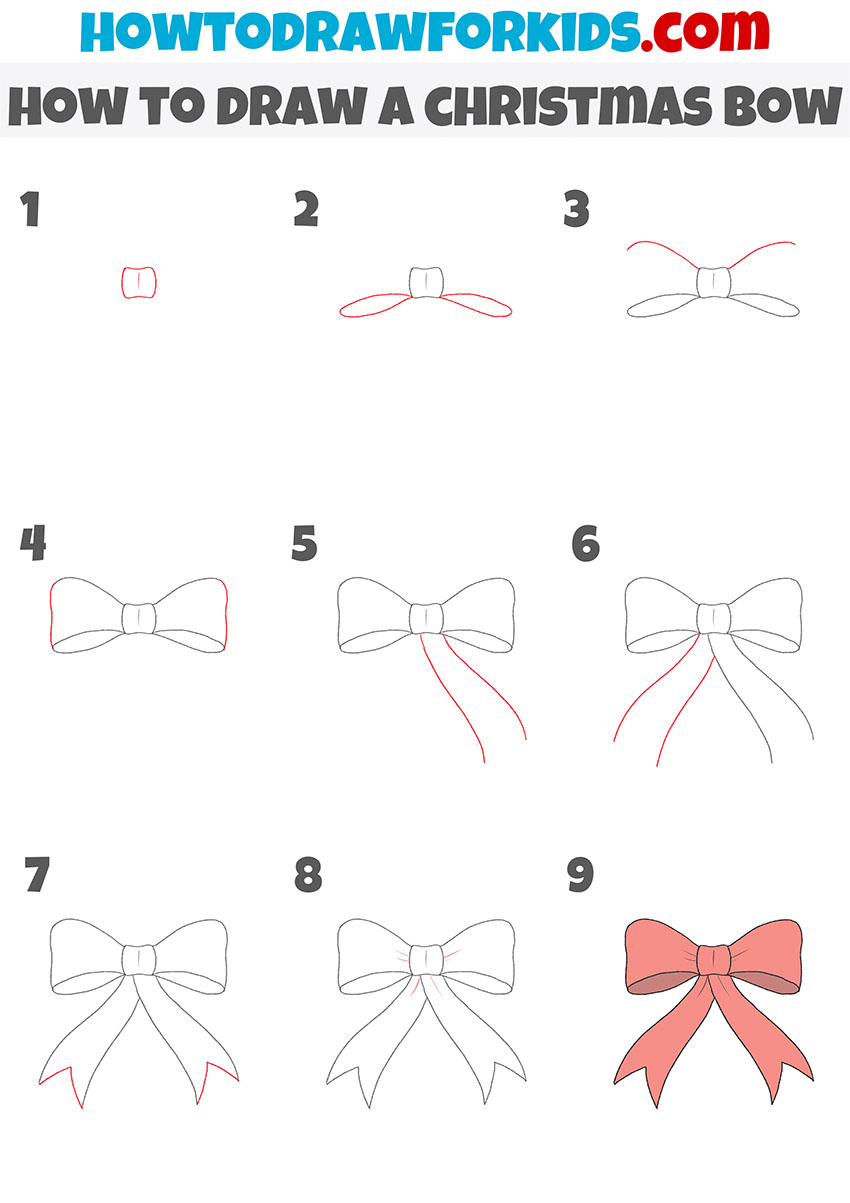
How to Draw a Christmas Bow
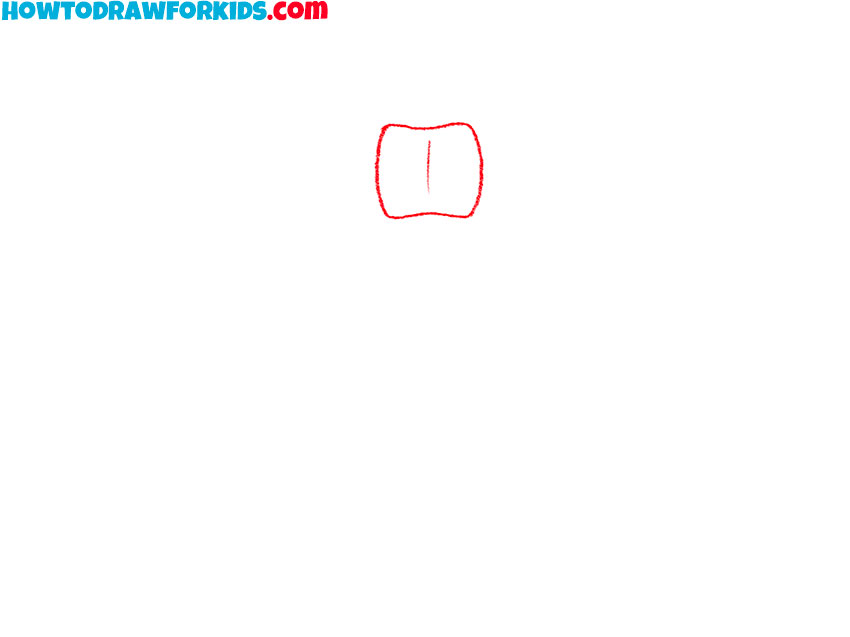
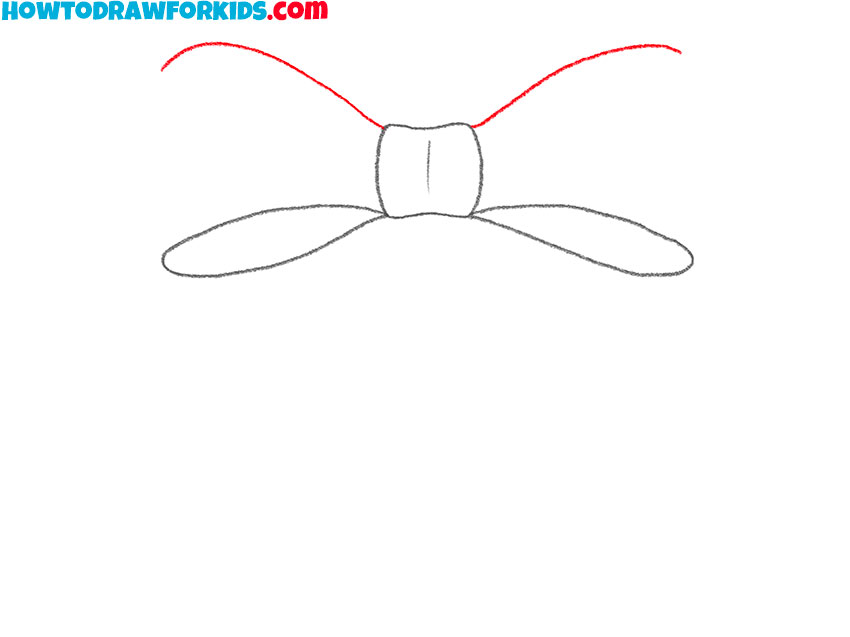
- Draw the knot of the Christmas bow.
To complete this simple step, draw arcs as well as a few curved lines.
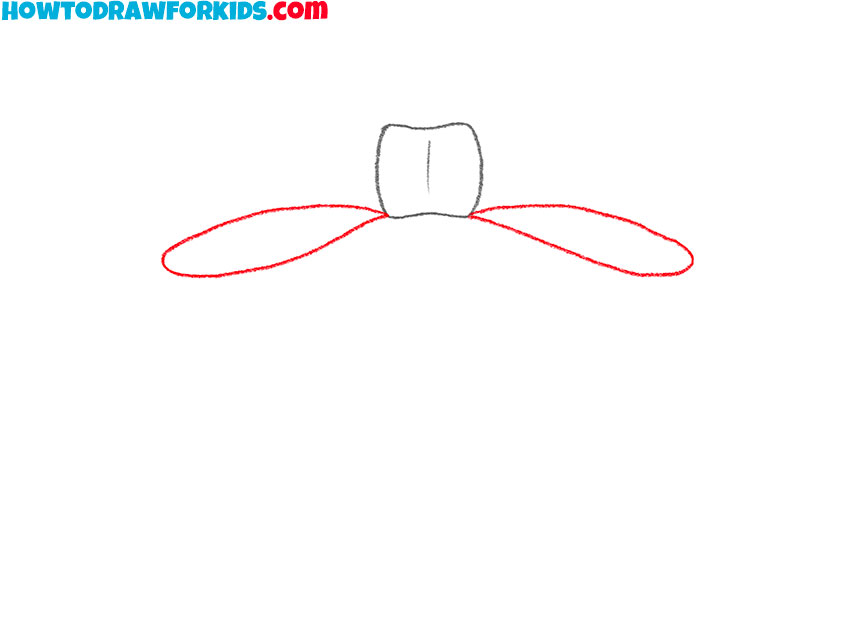
- Add the inner loop outlines of the Christmas bow.
On the sides of the previously drawn bow knot, draw two loops as two curved lines.
- Depict the top of the loops of the Christmas bow.
Now you should draw two symmetrical curved lines above the previously drawn elements.
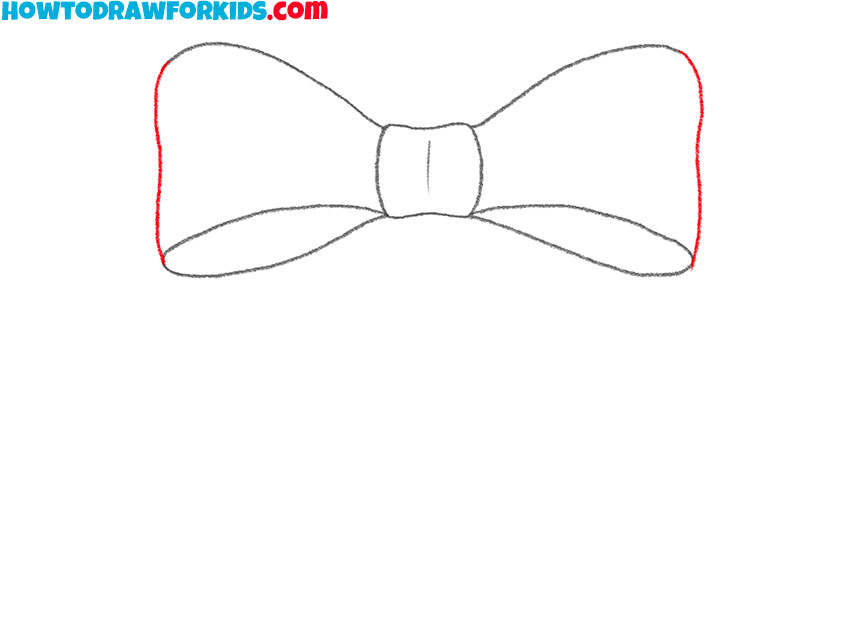
- Add the contours of the sides of the Christmas bow.
Connect the previously drawn curved lines with the inner loop outlines of the Christmas bow.
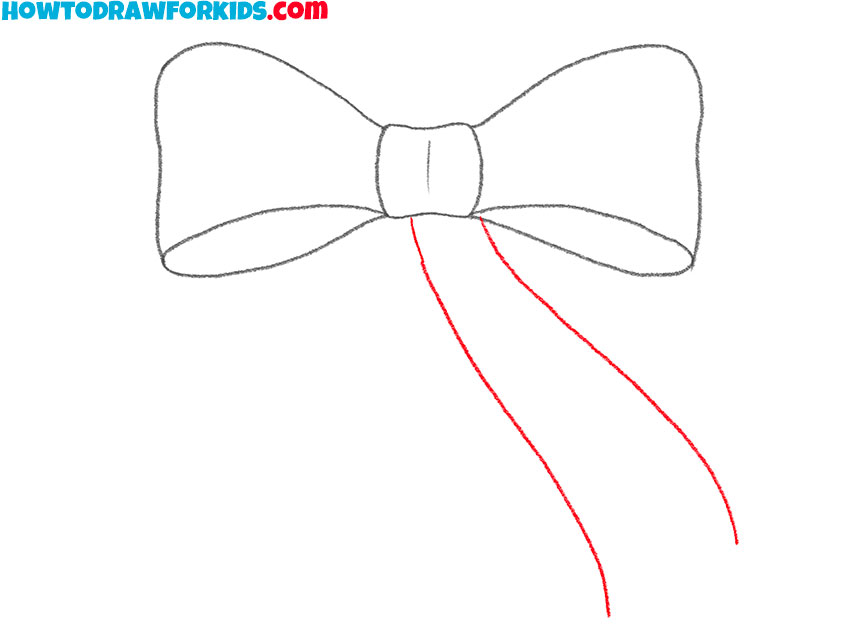
- Sketch out one edge of the Christmas bow ribbon.
Below the drawn bow knot, draw two curved lines of different lengths, as shown in the figure.
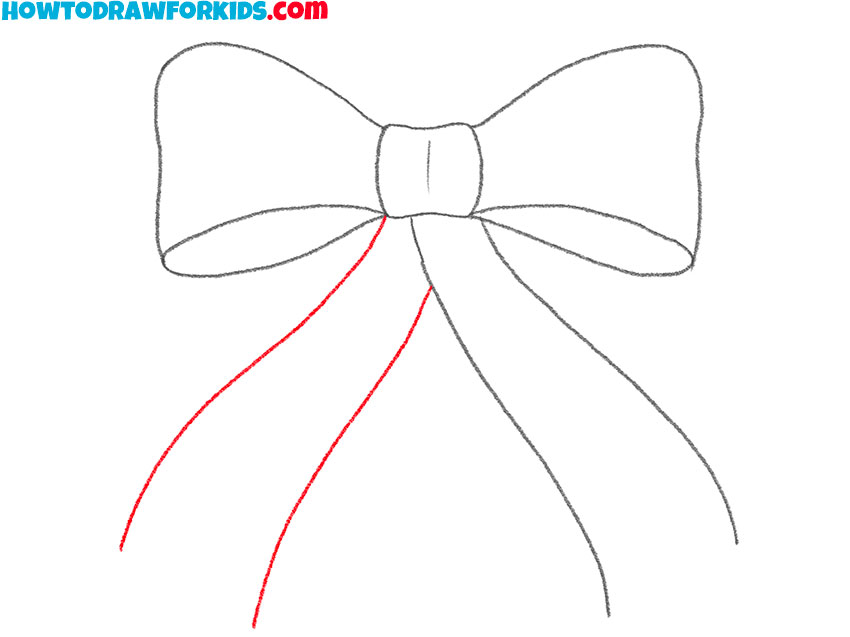
- Add the second edge of the Christmas bow ribbon.
Draw another ribbon on the left side by drawing two curved lines of different lengths.
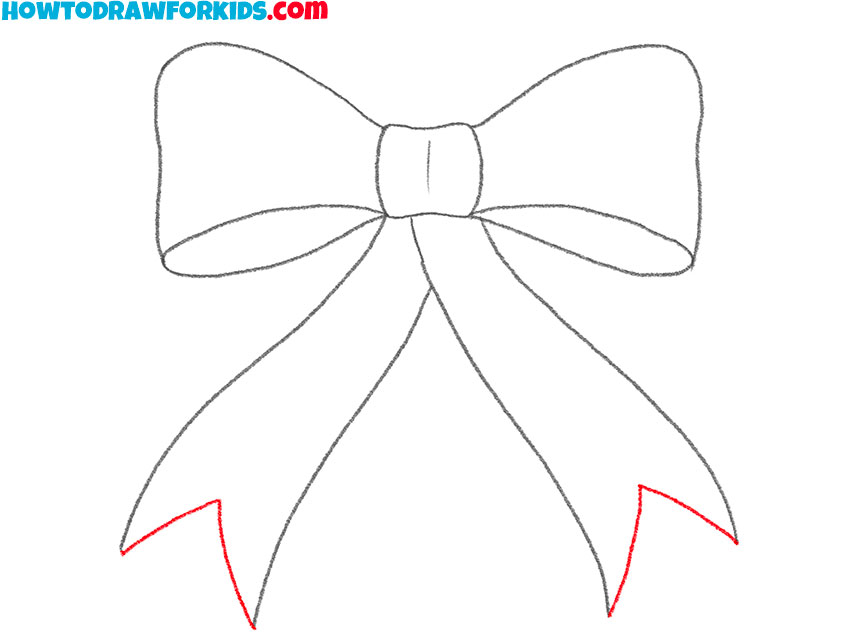
- Draw the decorative ends of the ribbon.
From the lower ends of the drawn curved lines, draw short, curved lines of varying lengths.
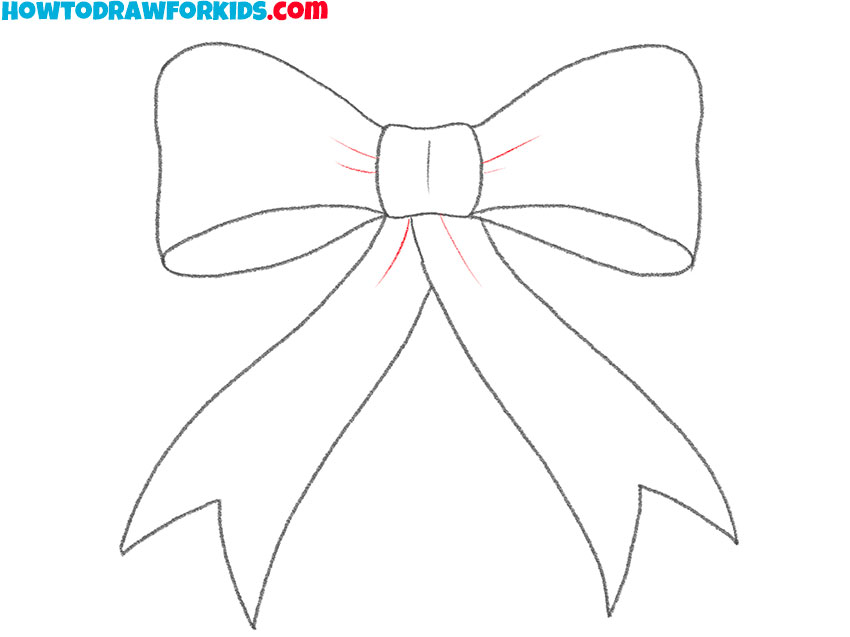
- Make the drawing more realistic.
To make the Christmas bow look more realistic and voluminous, draw the folds with thin lines.
- Color the drawing.
To color this Christmas bow using red and burgundy.
If you liked this tutorial and found it useful, you can share it with your friends. I remind you that you can download the PDF file that I have prepared especially for your convenience. This file contains a short version of this lesson and has additional useful training materials. Download this file so as not to lose it and return to this lesson at any time convenient for you.


nice it was really easy and very cool