How to Draw a Compass Rose
In this tutorial, I will show you how to draw a compass rose, an image you may have often seen on maps and as a pattern in everyday life.
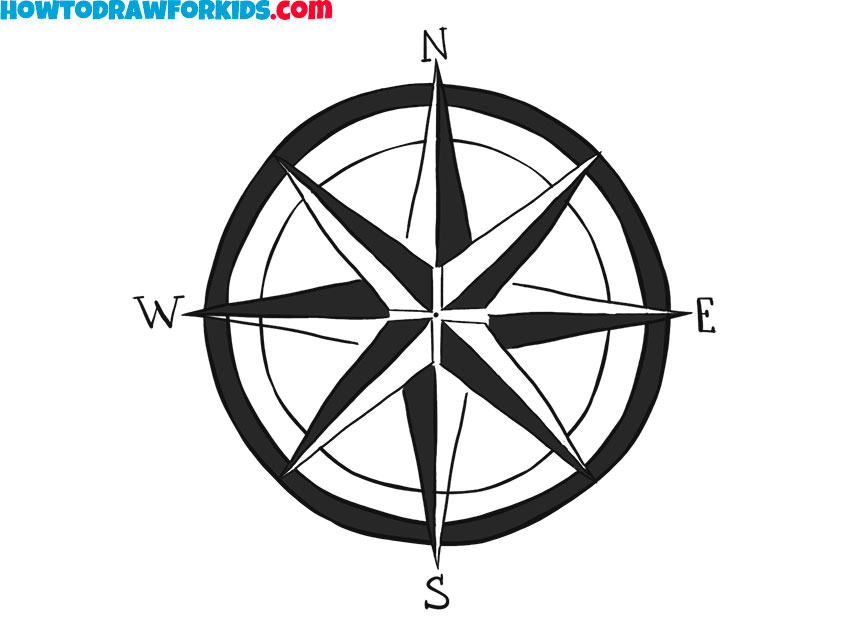
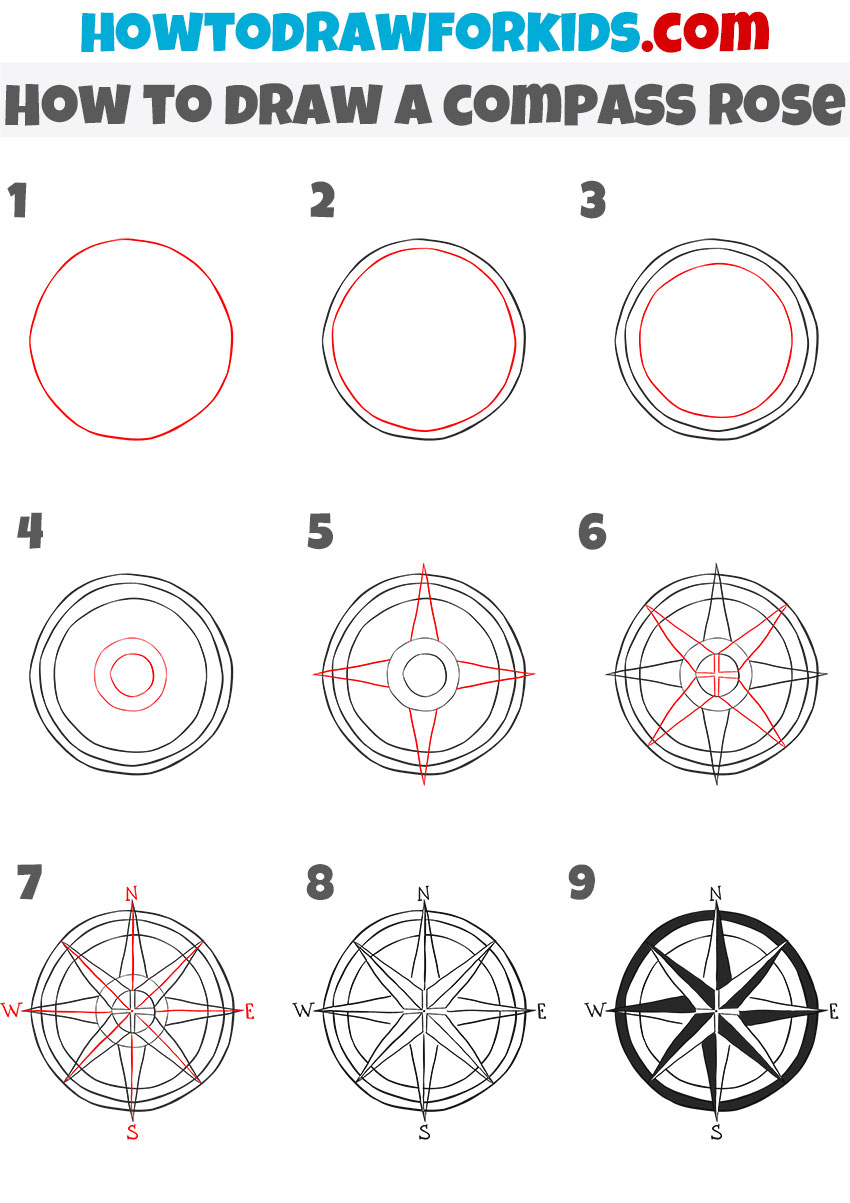
How to Draw a Compass Rose: Introduction
In this tutorial, you will learn how to draw a compass rose. This is an image commonly seen in various logos and artworks. You may have seen a similar image on the chest of your favorite winter jacket or hoodie.
Drawing a compass rose, be sure to keep the sides symmetrical throughout the lesson. This is one of the most important aspects of drawing a compass rose, as this image should be perfectly symmetrical. Practicing drawing a compass rose will help improve your skills in creating symmetrical objects.
You must be careful to complete this lesson accurately. Here, you need to make clear, straight lines. You can use tools like a ruler and compass, but it is recommended that you do all the work yourself. This approach will help develop your skills in drawing straight and curved lines.
Additionally, this tutorial on drawing a compass rose will help you practice combining different geometric shapes and patterns. Compass roses consist of multiple circles and straight lines that must be placed at appropriate distances and in correct positions. Following this guide to draw a compass rose will build skills that can be useful for your other artworks.
Compass Rose Drawing Tutorial
Materials
- Pencil
- Paper
- Eraser
- Coloring supplies
Time needed: 25 minutes
How to Draw a Compass Rose
- Draw the outer circle of the compass rose.
Begin drawing a compass rose by sketching a medium-sized circle in the center of your paper. You can use a compass for accuracy, try tracing around a round object, or drawing freehand. Take your time to get this circle as even as possible, as it will serve as the main guide for positioning the points in later steps.

- Add another circle.
Next, draw a second, slightly smaller circle imside the first one. This inner circle will form the inner boundary of the compass rose outline and will be used to mark the outermost tips of the directional points. Carefully measure the spaces between the circles to keep an even distance from each other.

- Illustrate the third circle.
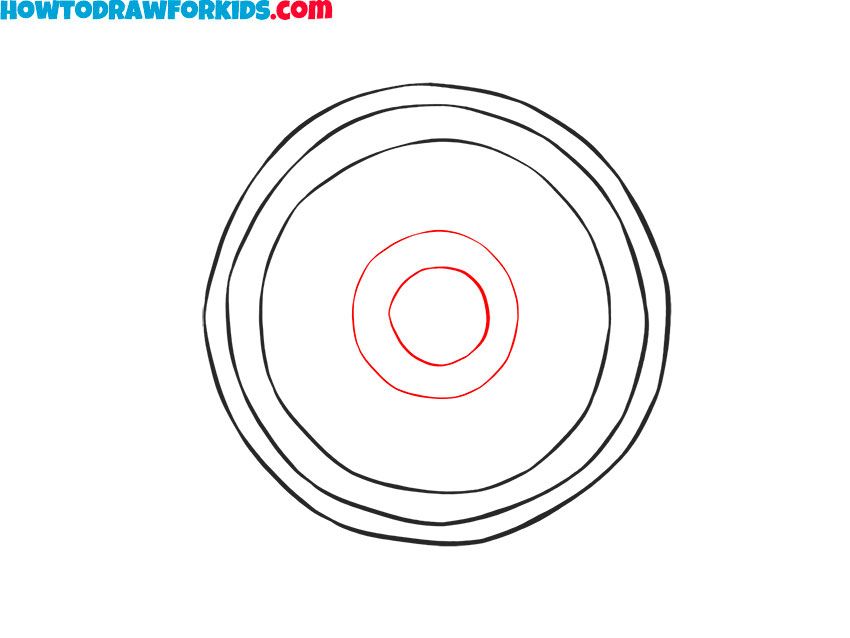
Inside the first two circles, draw a smaller circle centered within the smallest one. As with the previous circle, center this circle so that it is perfectly in the center of the circles. You can first outline the circle with light movements, then trace around it for greater smoothness.

- Add the innermost circles.
Add a fourth, even smaller circle inside the third circle, right at the center of your design. This smallest circle will be the core of the compass rose. It serves as a base for connecting the directional points and helps you align each section symmetrically.
- Draw the four cardinal directions.
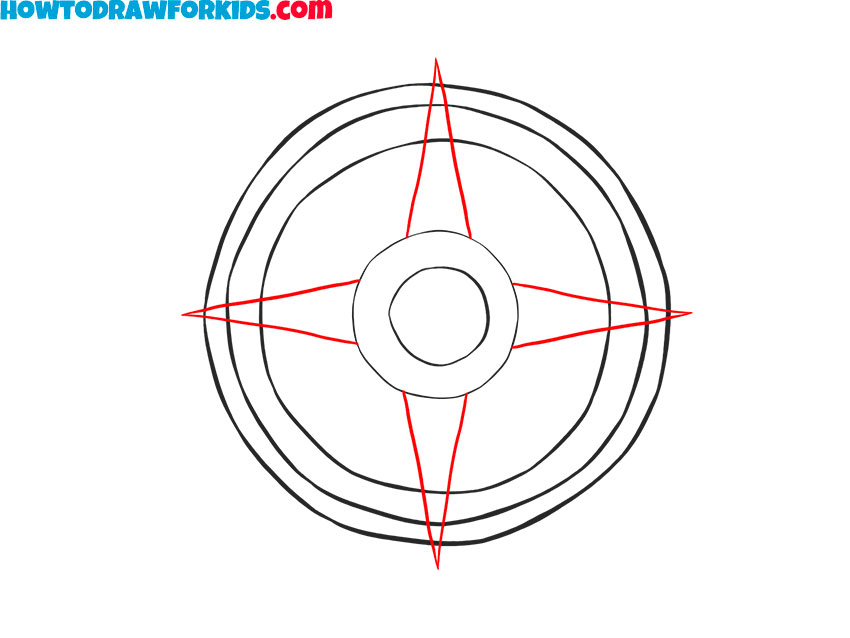
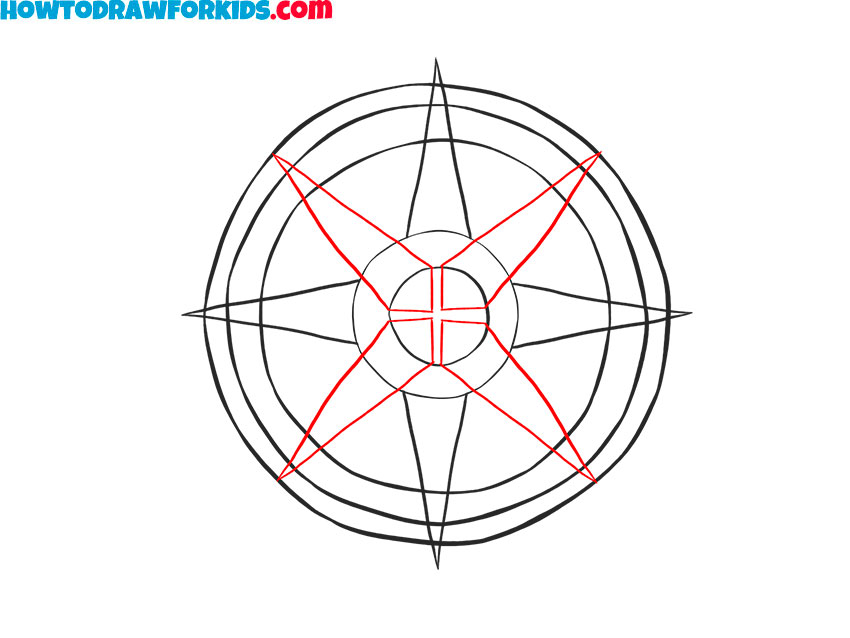
Now, draw elongated triangular shapes extending outward from the center. These triangles represent the four main cardinal directions: north, south, east, and west. Each triangle should start from the edge of the inner circle and extend to just beyond the outer circle.
- Add the diagonal directions.
Now, draw shorter triangular shapes on diagonal directions to represent the intermediate directions: northeast, southeast, southwest, and northwest. These triangles should be similar in shape to the main points but smaller, helping distinguish the primary directions from the secondary ones.
- Detail the directions and add letters.
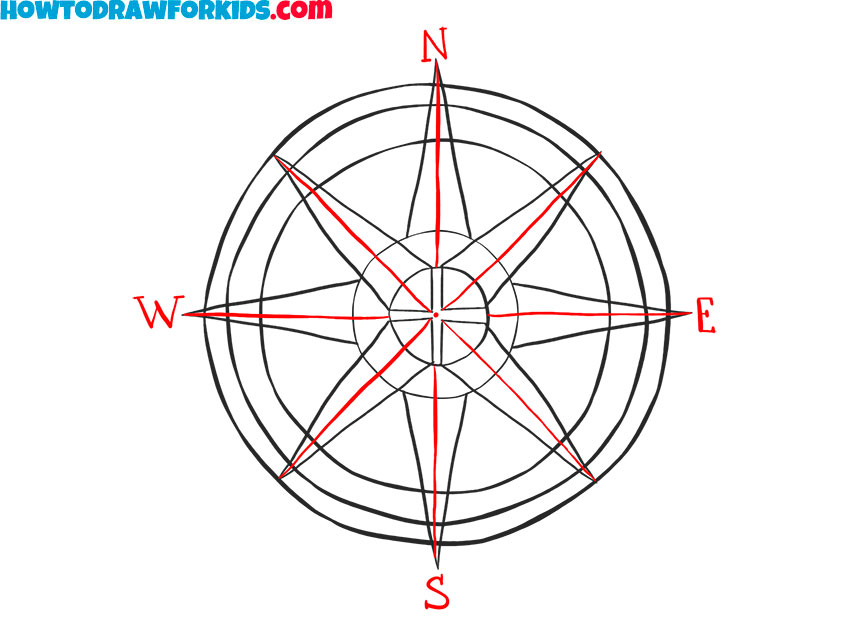
Within each triangle, draw a thin line from the base to the tip. These lines will give each point more definition and create a clean look. Next, label the four main points with the initials for each cardinal direction (N for north, S for south, E for east, W for west) at the tips of the corresponding triangles.
- Erase the guidelines.
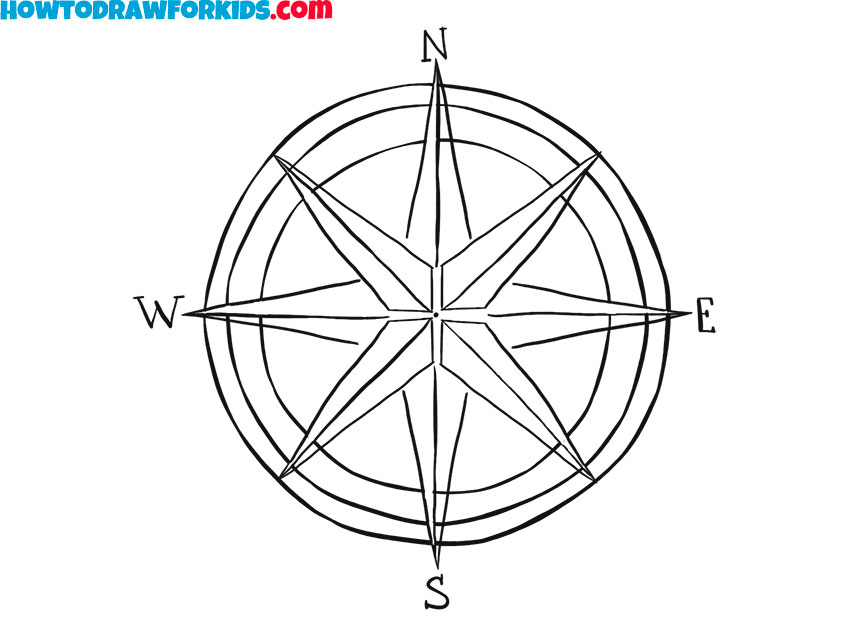
Carefully erase all the unnecessary guidelines and construction parts that are no longer needed. Removing these extra lines will clean up your compass rose drawing and leave only the final outline. Be cautious while erasing to avoid disturbing the main shapes and details of the compass points.
- Add colors to your compass rose.
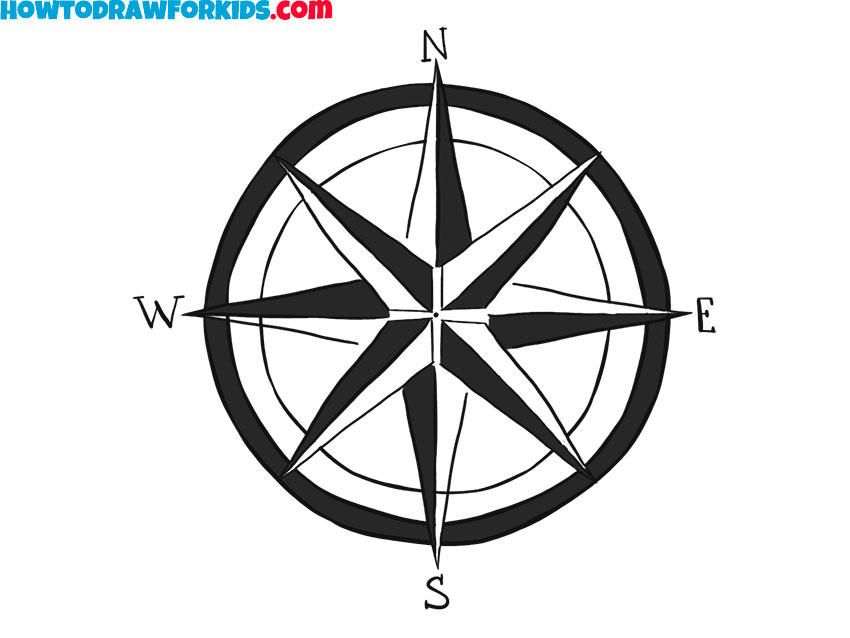
In my example, I used the high-contrast colors black and white to color the compass rose drawing. You can choose a traditional color scheme, like shades of blue or brown, or use colors that match the style you’re aiming for.
Additional Content
For your convenience, you can download the prepared PDF file, created as an addition for this tutorial on how to draw a compass rose. The file includes a condensed version of the lesson, a coloring page, a tracing worksheet, and a grid drawing worksheet. This will allow you to work on the drawing anytime, even without internet access.
Conclusion
I hope this compass rose drawing tutorial was enjoyable, and you did well. You not only spent your time well but also practiced drawing a circle and straight lines. Now, you have learned how to draw a compass and can use this image if needed.
If you want to continue practicing your skills and aim to become a professional artist in the future, visit my other lessons. For example, you can learn to draw the planet Earth or explore other geography-related lessons on my site.



good
add a video