How to Draw a Cute Bird
In this lesson I will show you how to draw a cute bird. Now you only have to follow a few simple steps to get a great result.
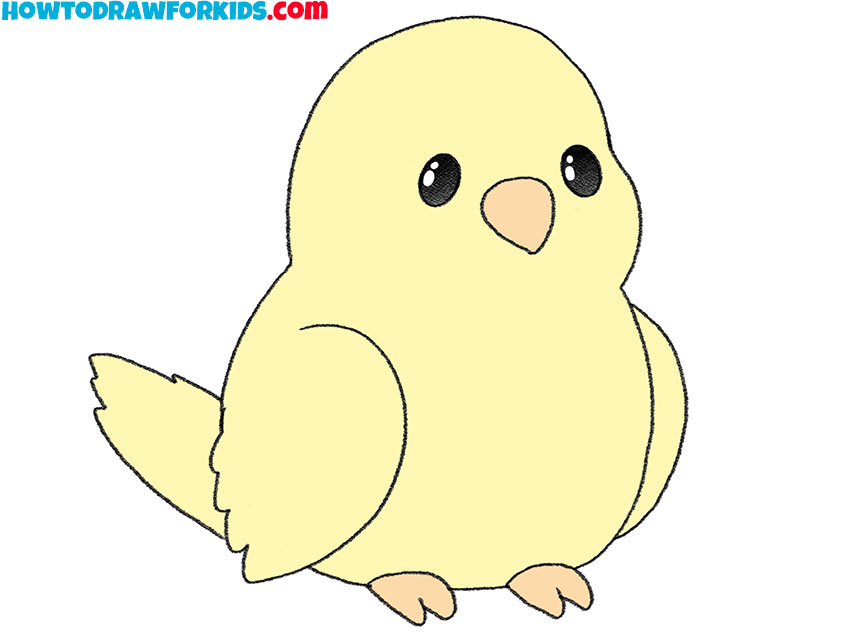
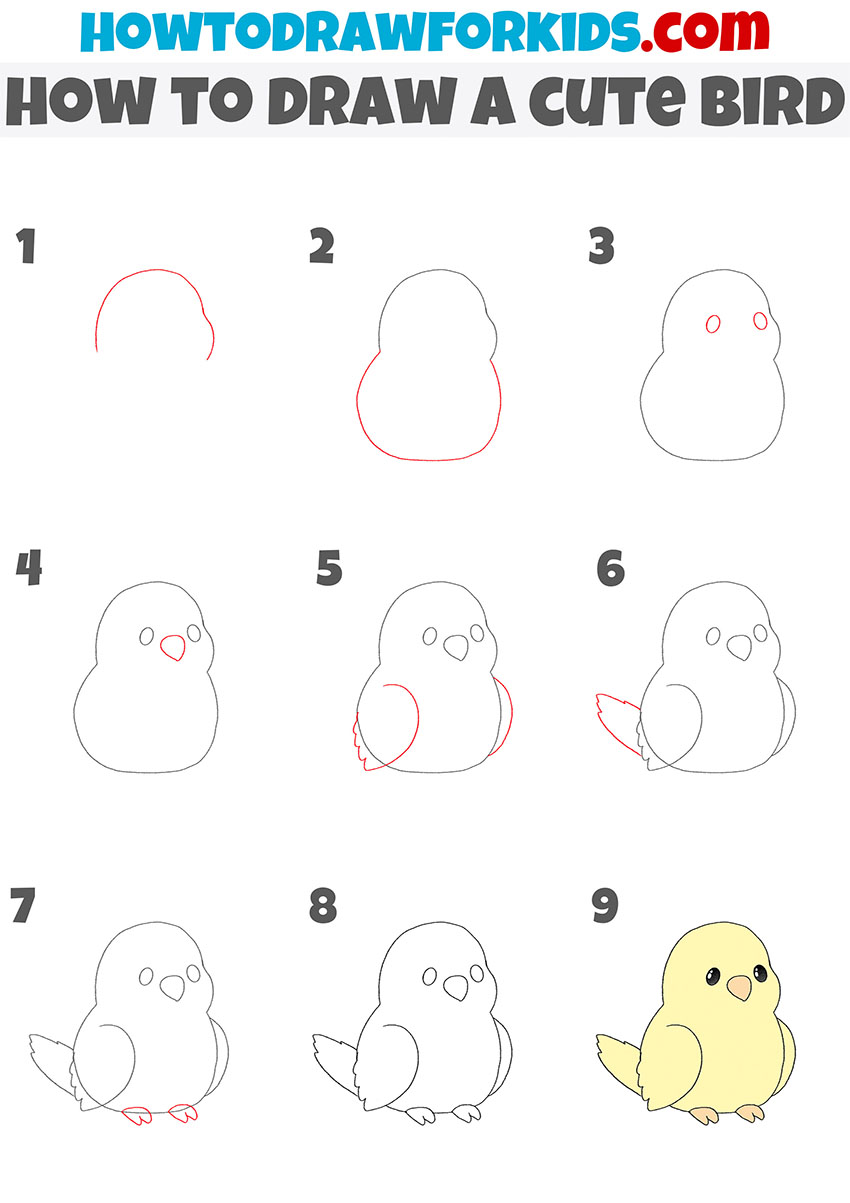
Especially for children and beginners, I have created an interesting and useful lesson on how to draw a cute bird. Each step in this tutorial is one simple action that you can easily follow even with little experience in drawing. This will require your ability to draw smooth curved lines.
In this drawing, the body of the bird has a very simple shape. The plumage is not detailed, but if you wish, you can improve your drawing and add the outline of the feathers yourself. Take your time and carefully follow each step of the drawing.
Now check if all the art supplies are at hand and if everything is ready, then get to work, and I wish you creative success.
Materials
- Pencil
- Paper
- Eraser
- Coloring supplies
Time needed: 30 minutes
How to Draw a Cute Bird
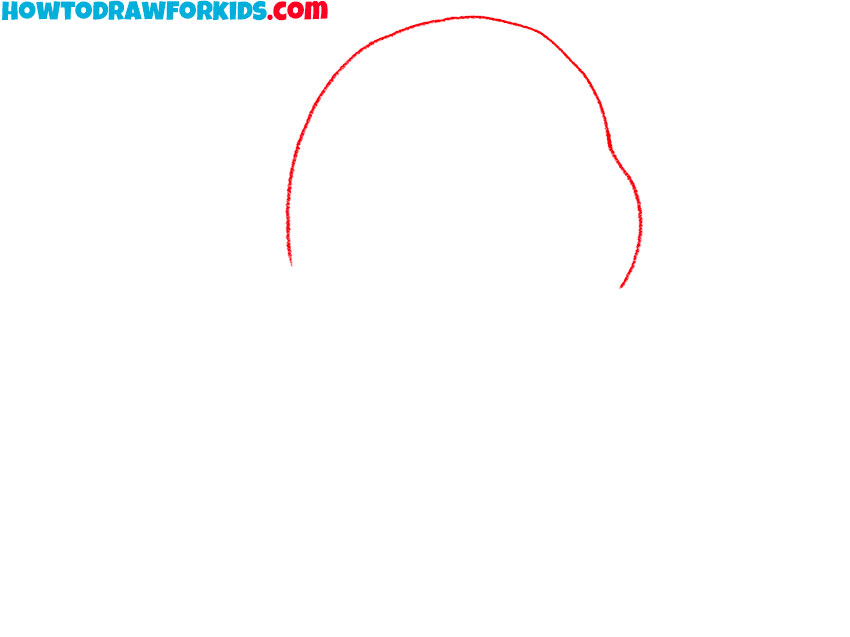
- Draw the head.
Using a curved line, draw the head of the same shape as in my example.
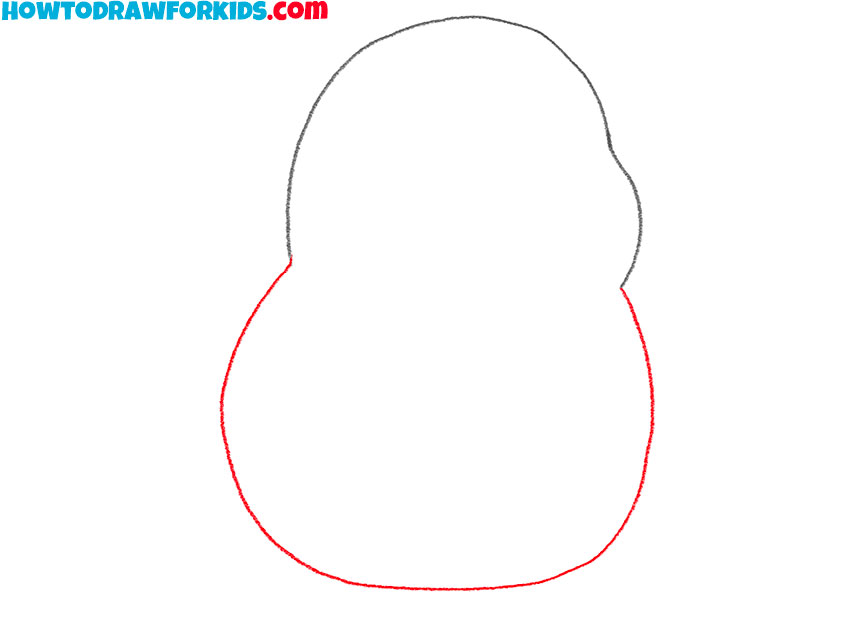
- Depict the torso.
Use a smooth line to add the torso to end up with a closed outline.
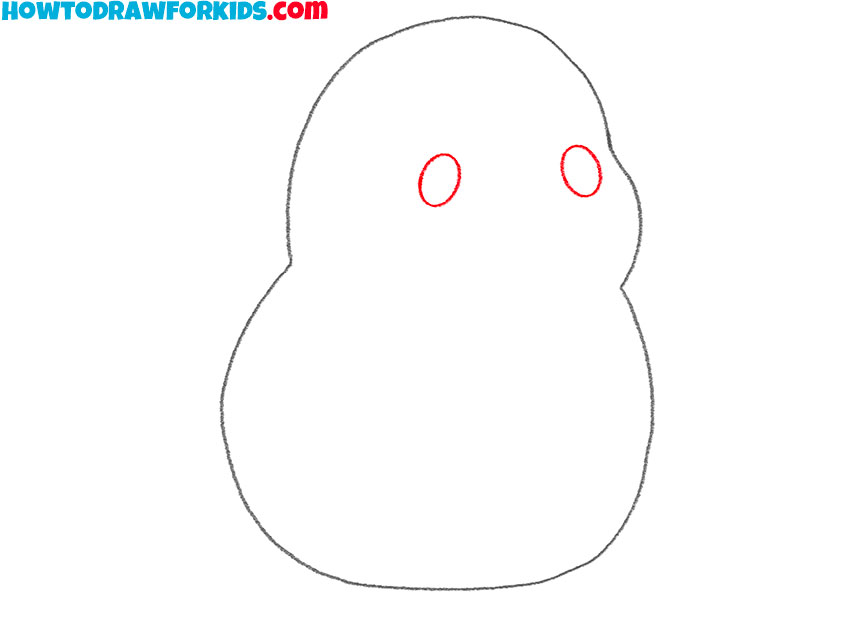
- Add the eyes.
Draw two eyes that are oval.
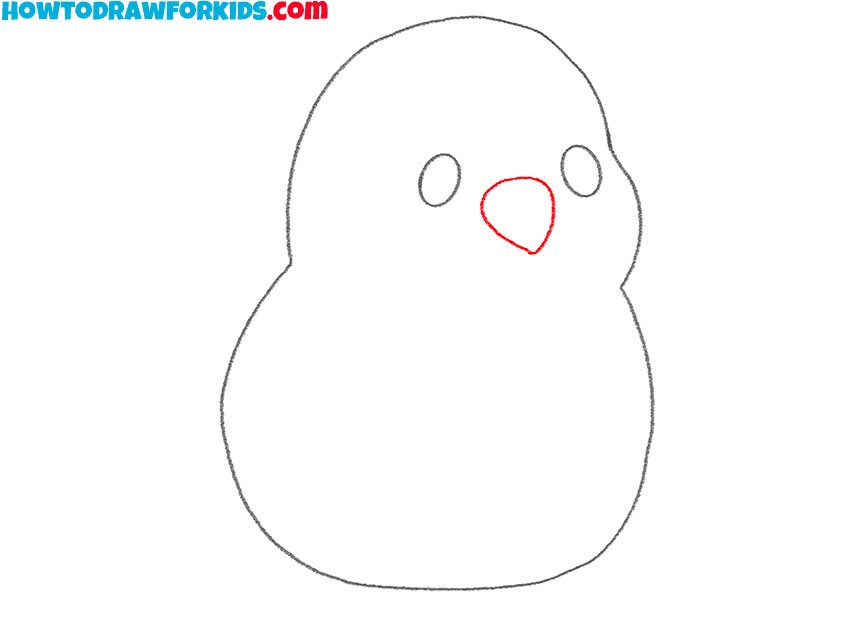
- Sketch out the beak.
Depict the pointed beak just below the eyes.
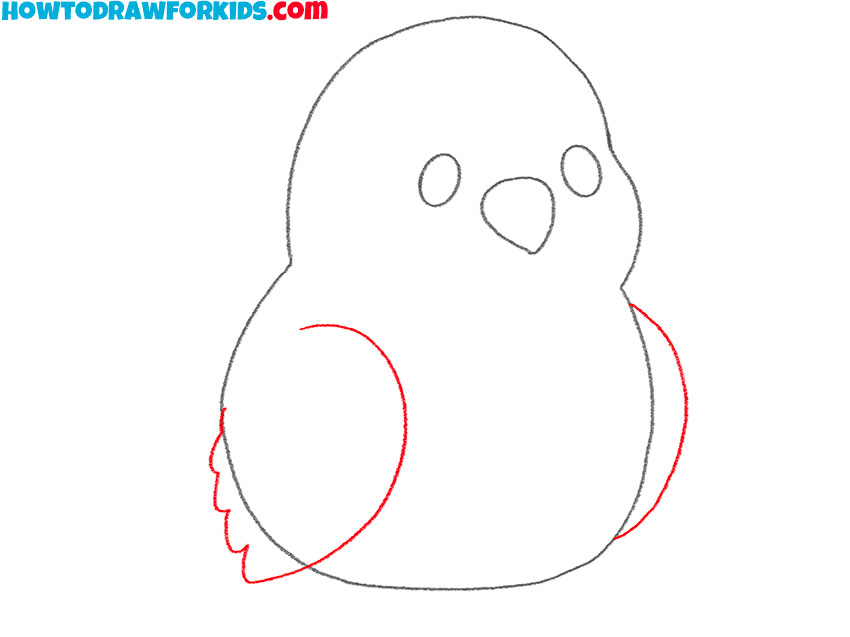
- Draw the wings.
Add one wing with smooth and wavy lines and add the visible part of the second wing.
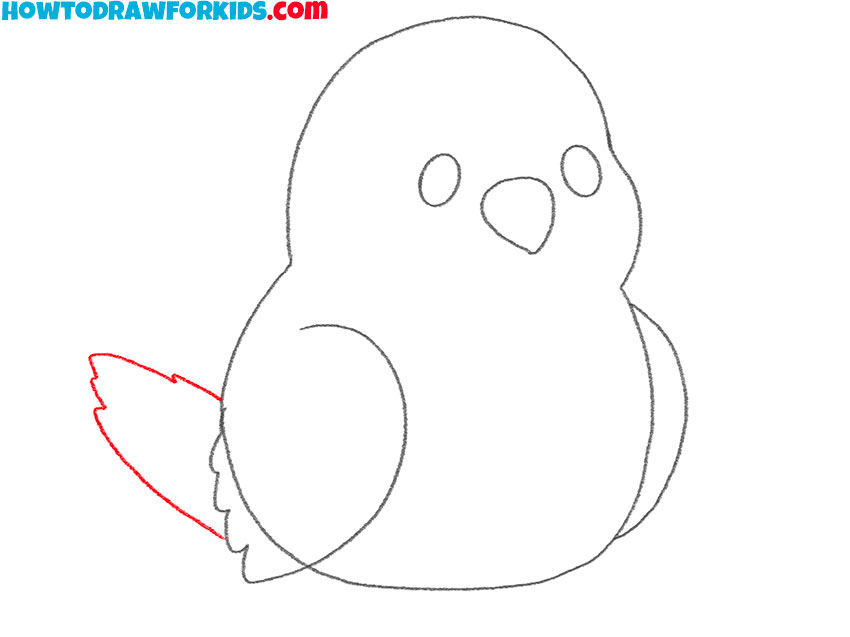
- Depict the tail.
Draw the pointed tail that is slightly raised up.
- Add the paws.
At the bottom of the body, add two small identical paws.
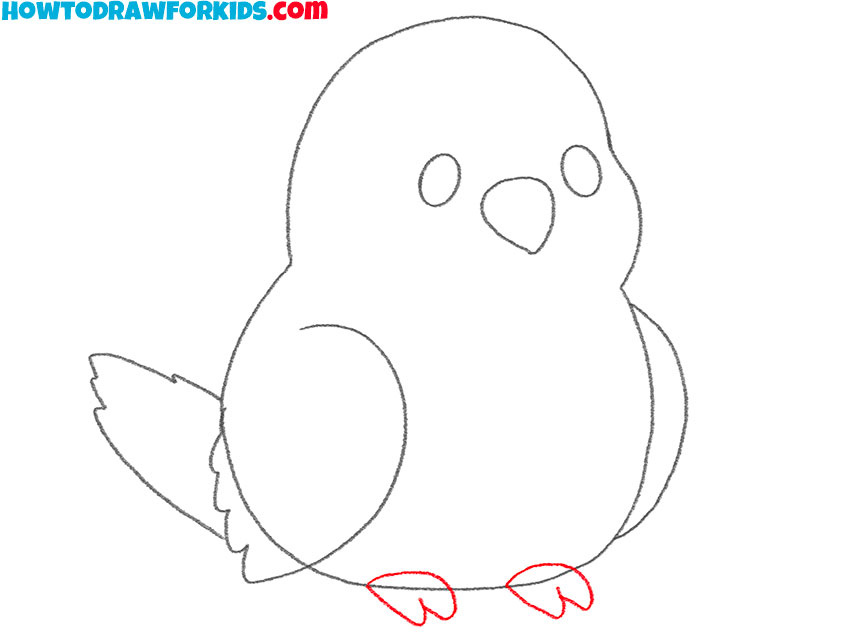
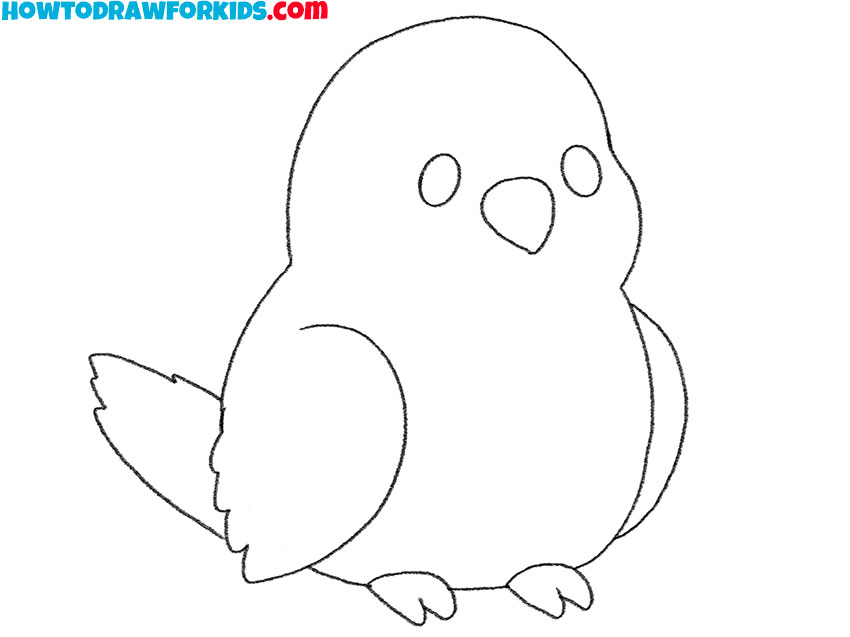
- Correct inaccuracies.
Use the eraser to remove all extra lines in your drawing.
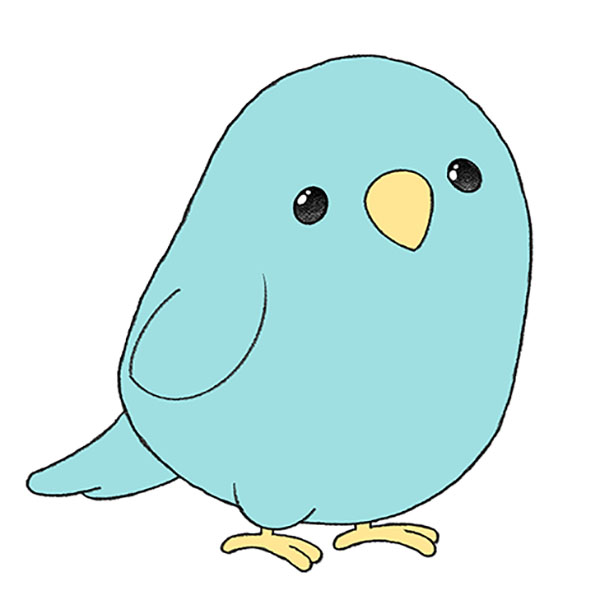
- Color the drawing.
You will need yellow, orange, and black. Don’t forget to add highlights to the eyes.

The lesson is over, and now you know how to draw a cute bird step by step. If you liked this lesson, then leave a small review in the comments. By tradition, I prepared a PDF file for you in advance, which contains a brief instruction and additional training materials. Rather, download the file and draw at any convenient time.


You should make it more traceable.