How to Draw a Globe
I have prepared for you a lesson on how to draw a globe. This lesson is very simple and consists of only nine very easy steps.
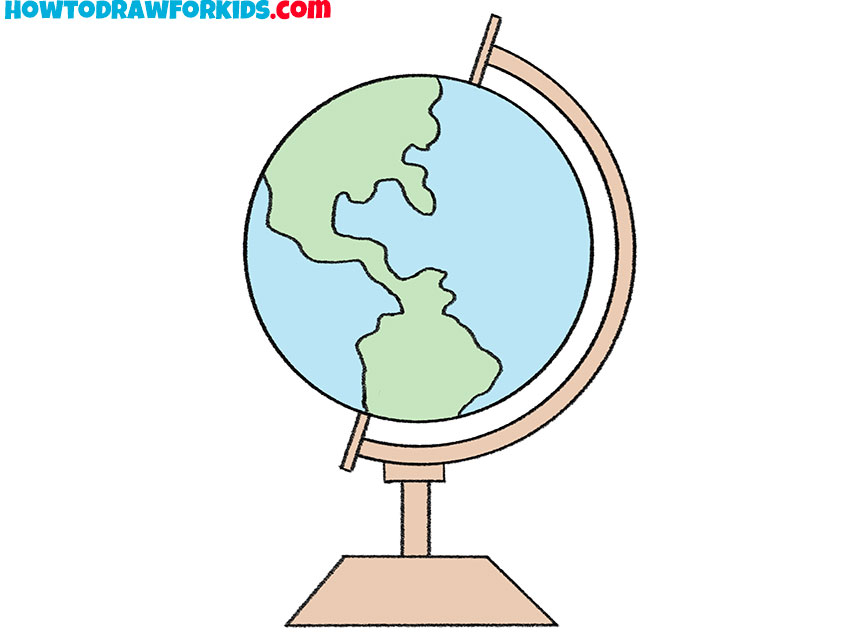
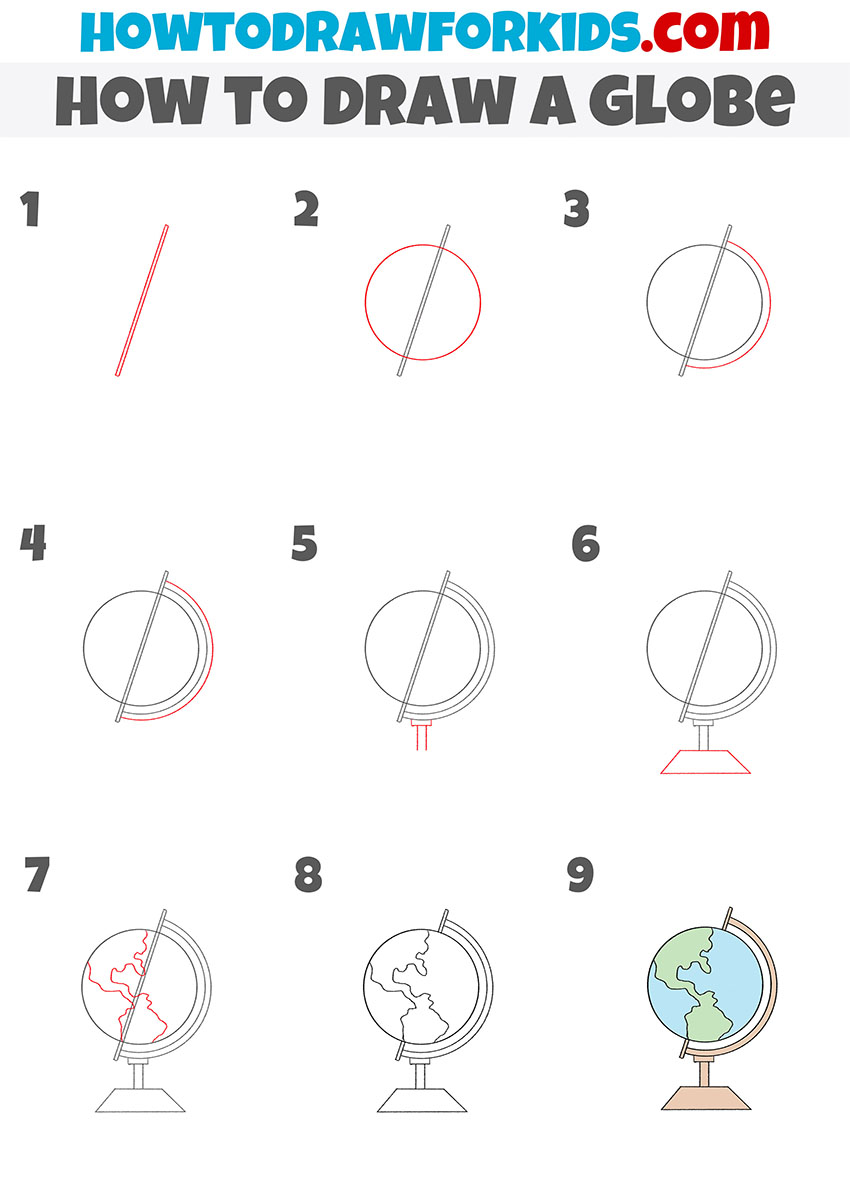
In the next drawing lesson, I will show you how to draw a globe. This lesson will be interesting and not difficult, as it is designed for beginners.
This step-by-step guide will help you improve your drawing skills and learn something new. Now I will show you in detail how to draw a globe step by step.
On the globe, the appearance of the Earth is most correctly reflected and there are no such distortions as on the map. The globe has a sphere on which an image is applied and a stand on which this model rotates easily. You can see these elements in the picture.
You can easily draw a globe because each step is one simple action that you can easily repeat. Try to make even contours, take your time and be careful, then you will achieve the best results.
Materials
- Pencil
- Paper
- Eraser
- Coloring supplies
Time needed: 30 minutes
How to Draw a Globe
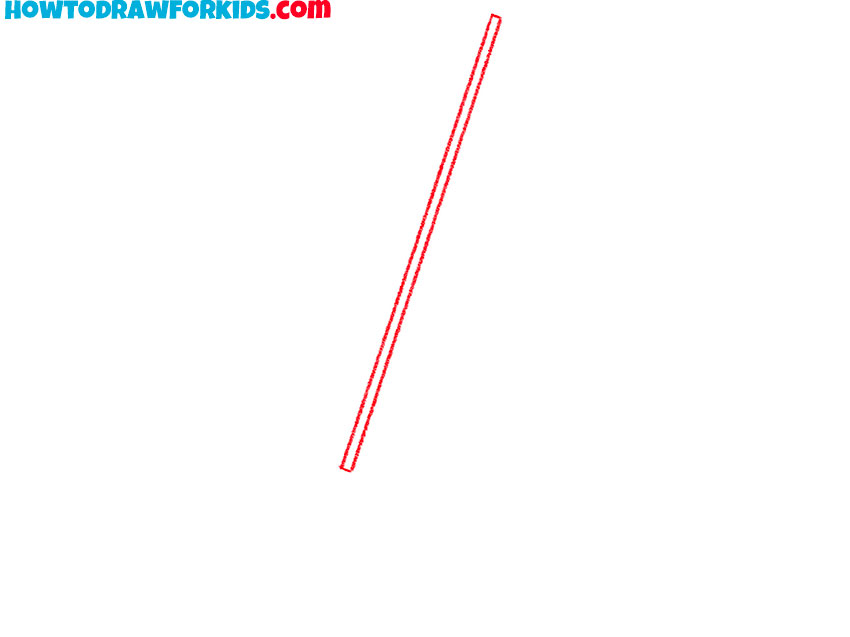
- Draw the axis on which the sphere will be located.
With the help of straight lines draw the long, thin axis that is tilted.
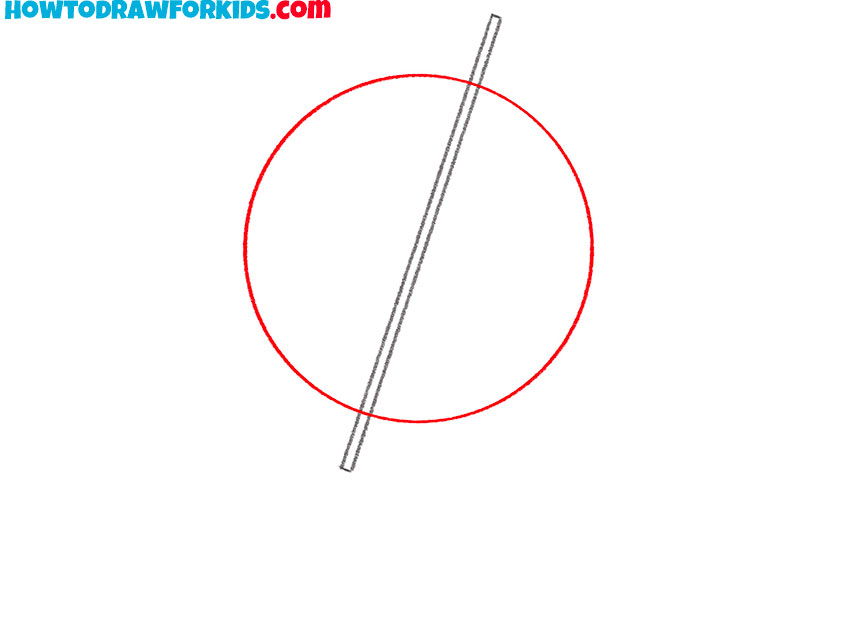
- Depict the sphere.
Be careful at this step, try to draw an even circle, in the middle of which the axis passes.
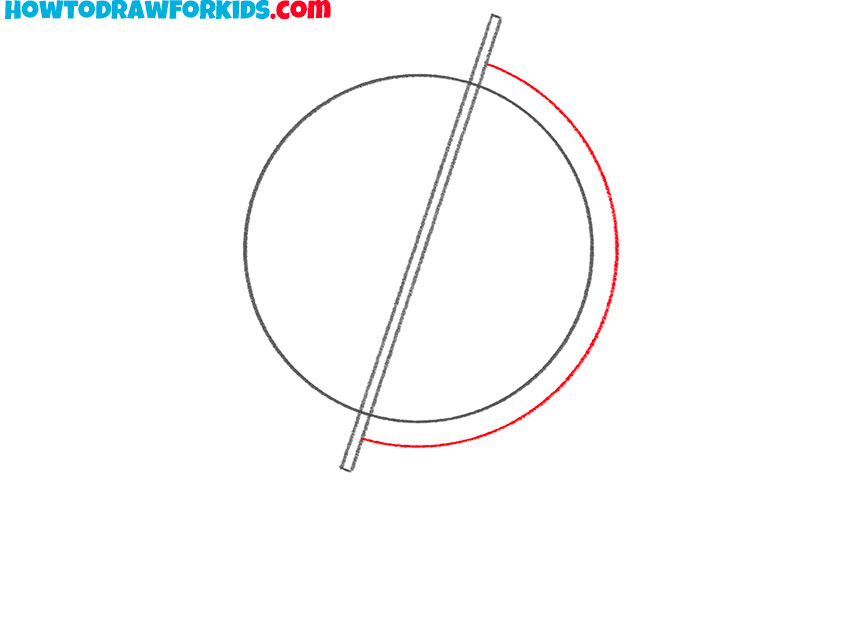
- Start drawing the side arc.
On one side of the sphere, draw the smooth rounded line.
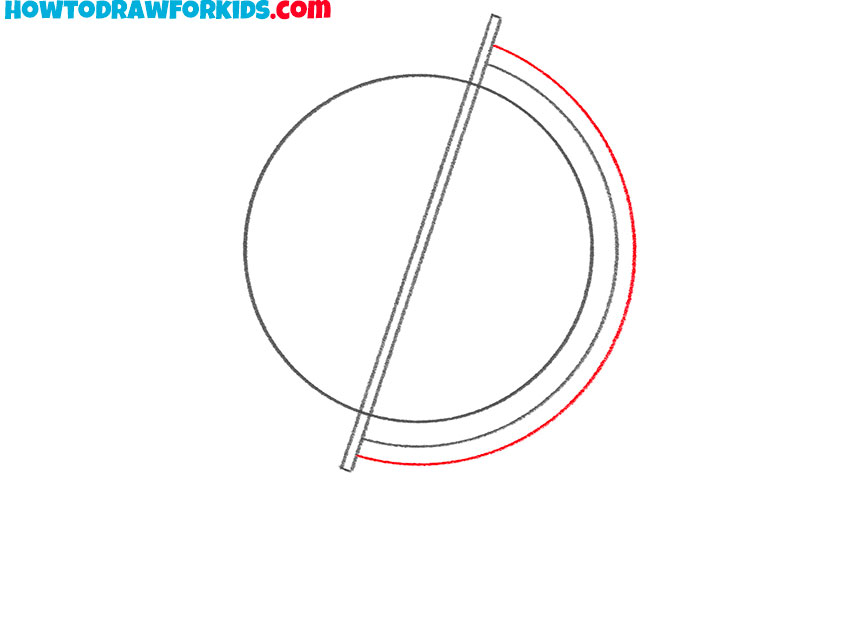
- Add the thickness of the arc.
Depict another parallel rounded line on the right side of the sphere.
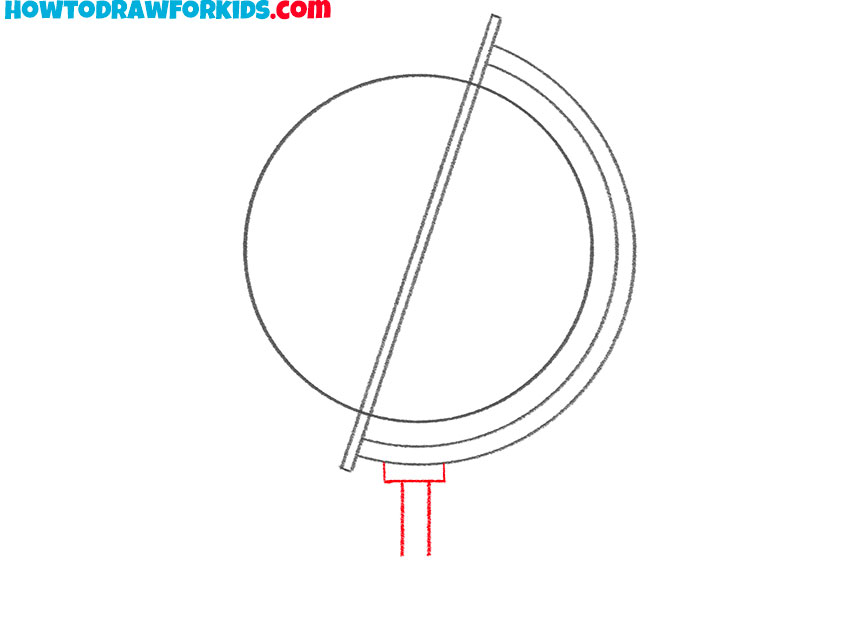
- Draw the mount to the stand.
At the bottom, sketch out the small mount using a few straight lines.
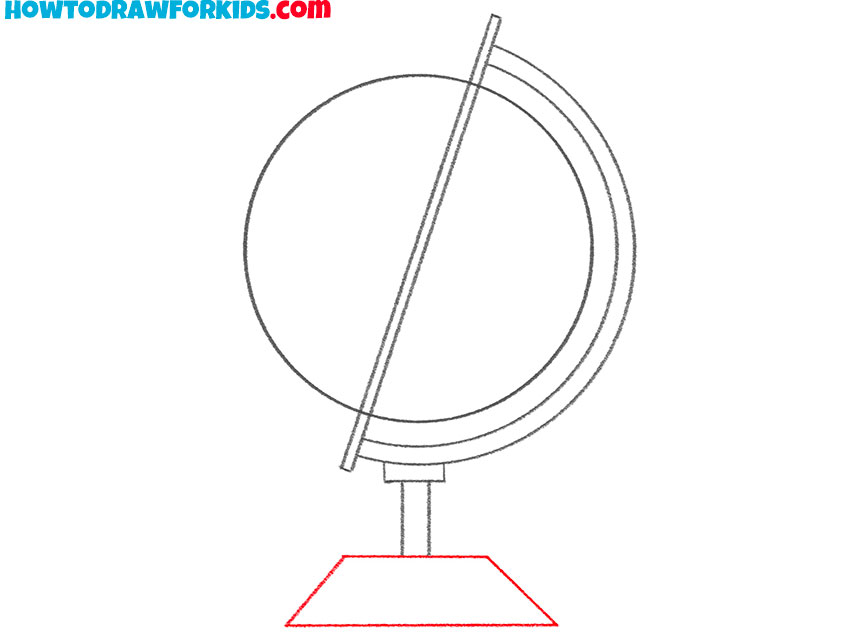
- Sketch out the stand.
The stand has the shape of a trapezoid.
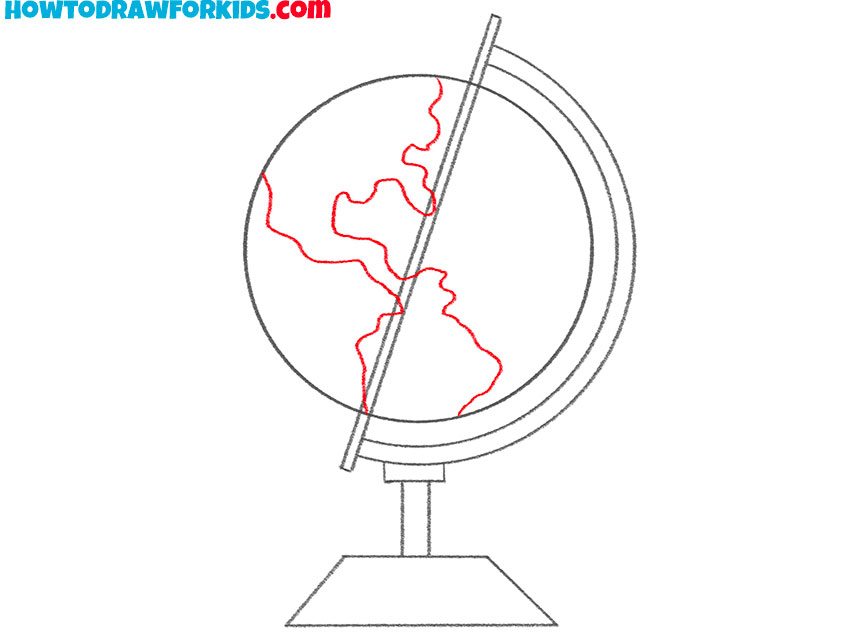
- Add the image to the globe.
Using smooth curved lines, draw the image of the continents on the surface of the globe.
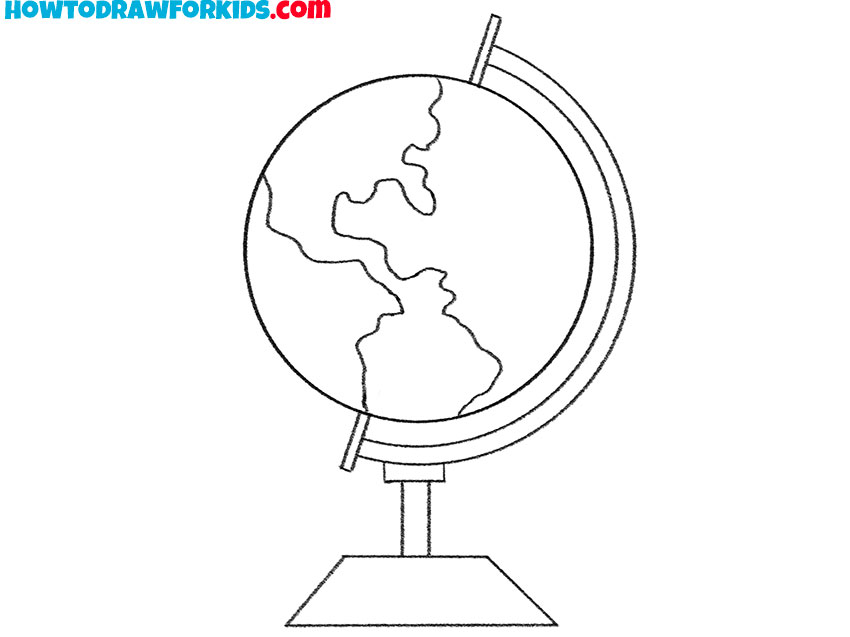
- Correct inaccuracies.
Carefully remove all extra lines.
- Color the globe.
For the drawing, you will need gray, blue, and beige.

Download the short version of the lesson as a PDF file. Save this file for yourself so that you can return to the lesson at any time, even if there is no Internet access.

The globe drawing was nice but more land would be nice and you should have also draw the moon and its orbit with eyes mouth
🌎🌙 That is all