How to Draw a Golf Ball
In this tutorial, I will show you how to draw a golf ball. You will learn how to draw this object in just five easy steps.
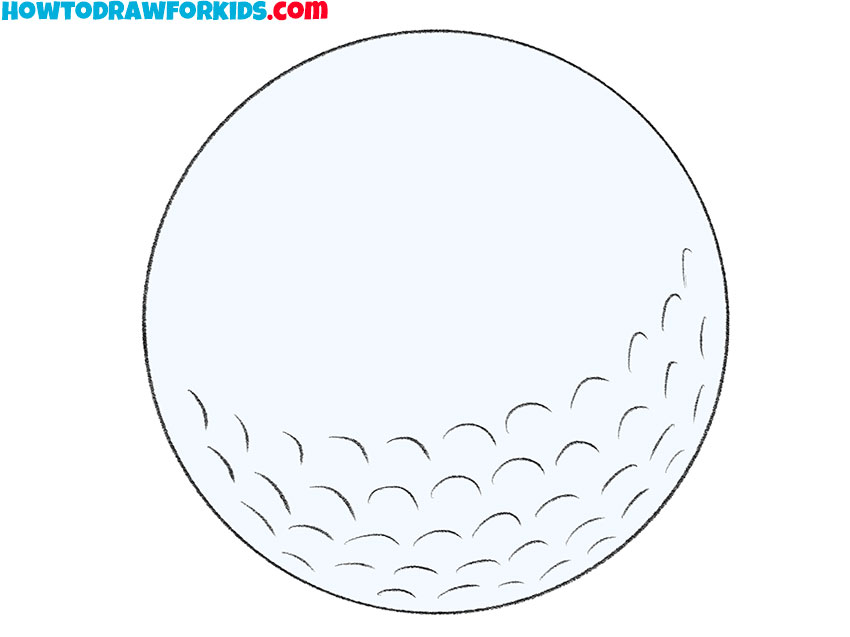
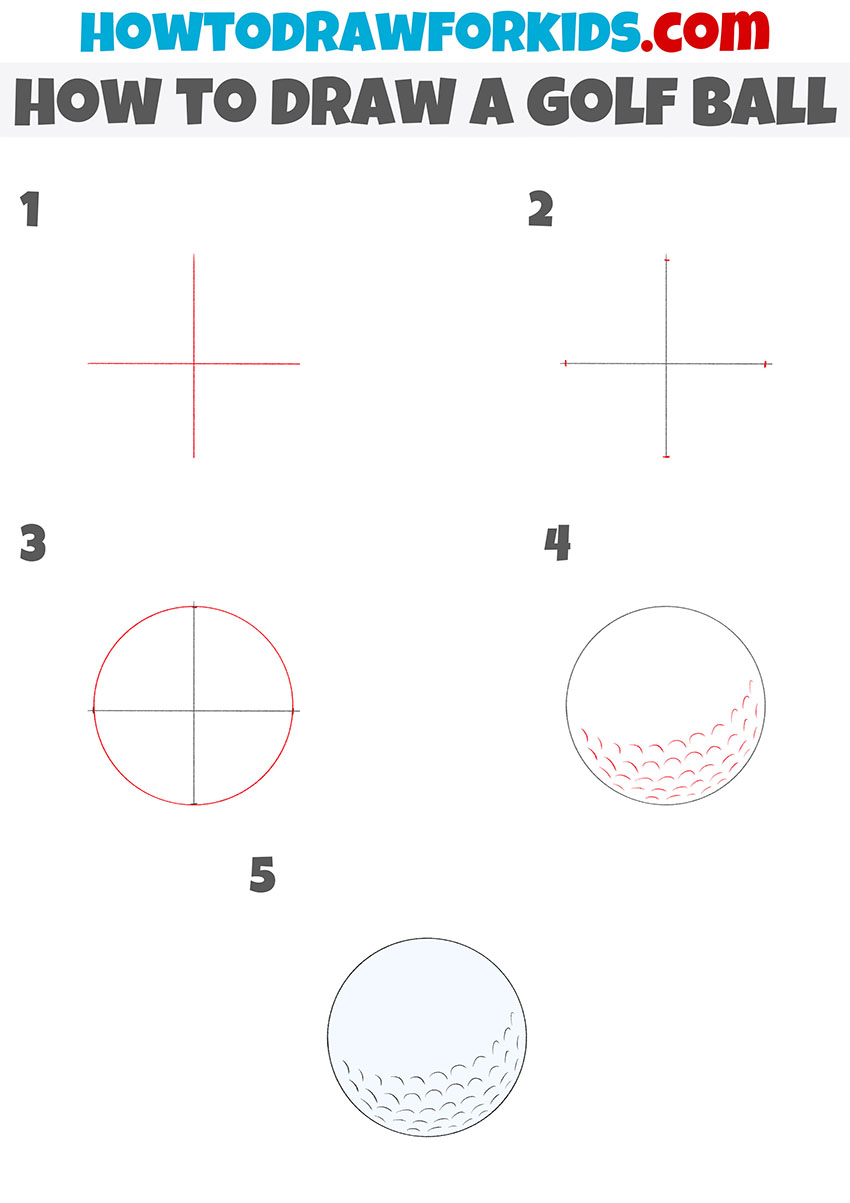
I suggest you complete a new interesting lesson on the topic of sports equipment and with the help of a simple instruction you will learn how to draw a golf ball. There are certain requirements for a golf ball.
The ball has a standard size, weight and is made of special materials that provide durable use. The ball consists of several layers.
In the center of the ball is a small core, followed by several intermediate layers. The top layer is a thin, durable coating. Unlike other balls, this ball has an uneven surface with small round depressions.
In this lesson, you will practice drawing a smooth circle. In order to draw a smooth outer contour, you will use auxiliary lines. These lines should be thin so that you can easily remove them later.
Materials
- Pencil
- Paper
- Eraser
- Coloring supplies
Steps on How to Draw a Golf Ball
Time needed: 20 minutes
How to Draw a Golf Ball
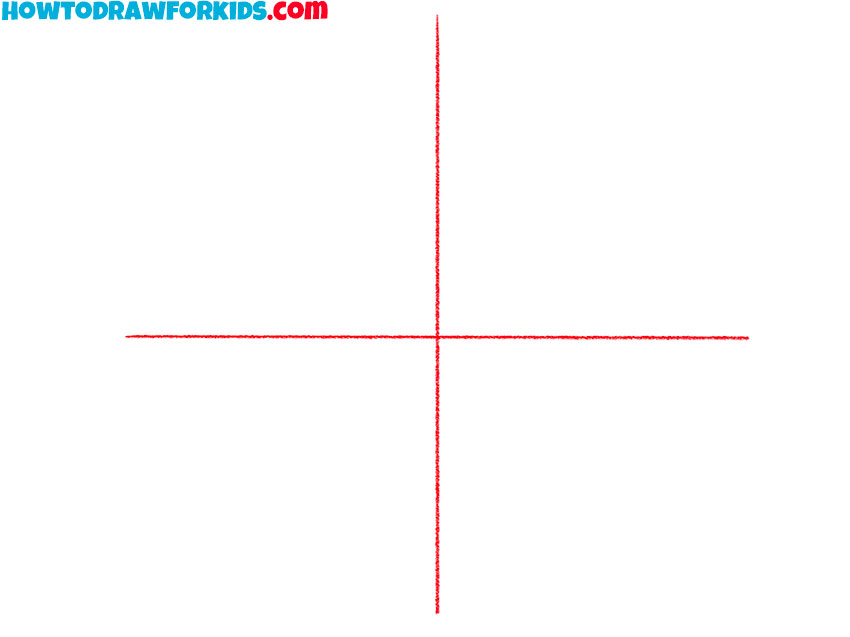
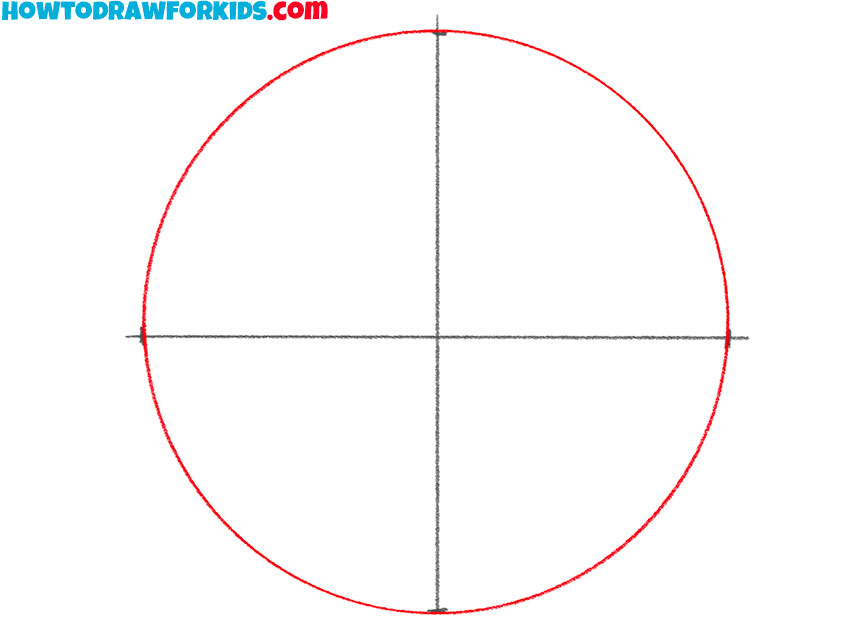
- Add the guidelines.
Draw two thin straight lines that are crosswise.
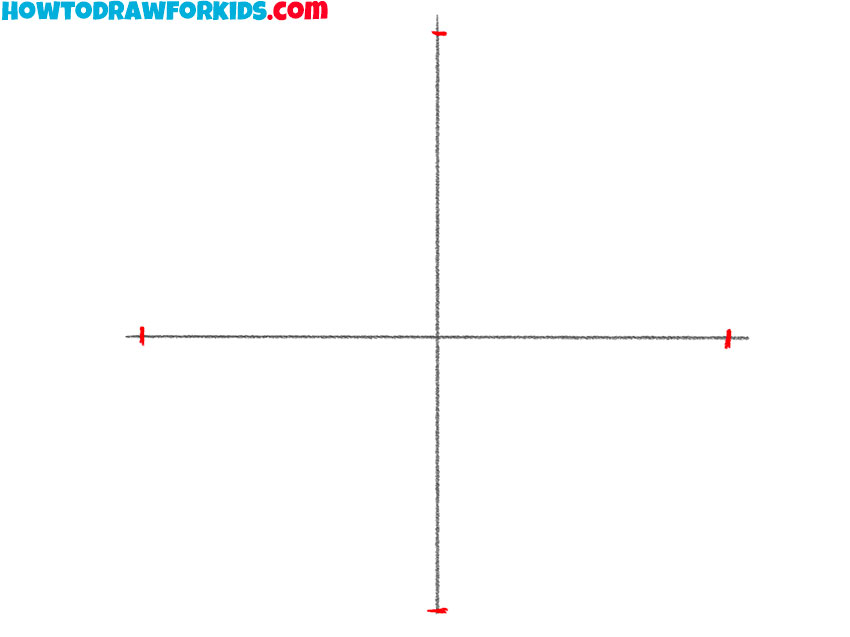
- Add the marks.
Using short strokes, add the marks at the same distance from the center.
- Depict the outer contour.
Use the guidelines as a guide and draw a straight circle.
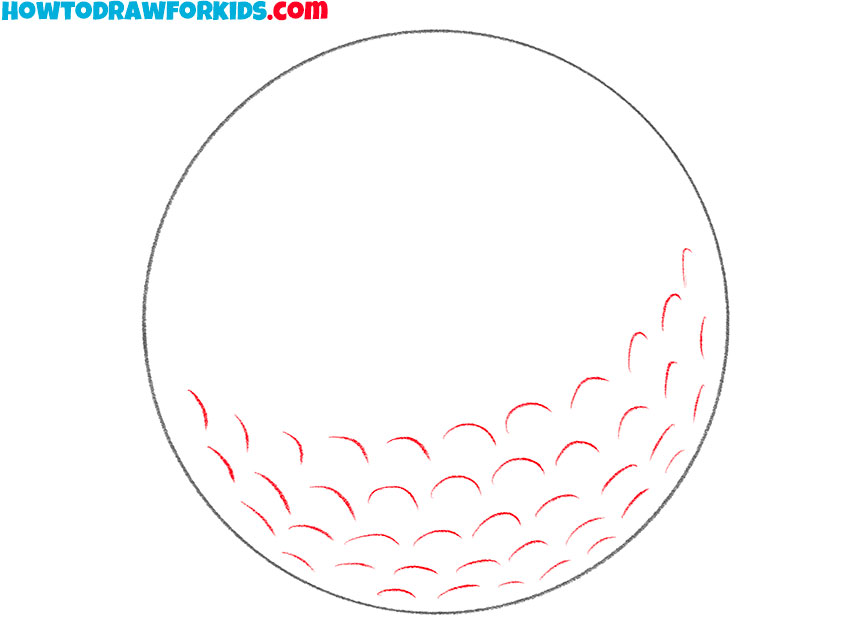
- Detail the surface of the ball.
At the bottom of the ball, draw small depressions using short, curved lines.
- Color the golf ball.
You will need a light blue color.

The next lesson is over, and now you have learned how to draw a golf ball step by step. I will wait for your feedback in the comments. I will definitely take into account all your wishes when compiling new exciting lessons.
By tradition, at the end of the lesson, a short version of the lesson in PDF format is available for you. As usual, this file contains a small instruction and additional useful materials. Rather, download the file so that you can always return to the lesson and complete it if necessary.



Golf⛳️🏑