How to Draw a Grasshopper
In this simple tutorial, I will show you how to draw a grasshopper. With this step-by-step guide, you will gain useful skills.
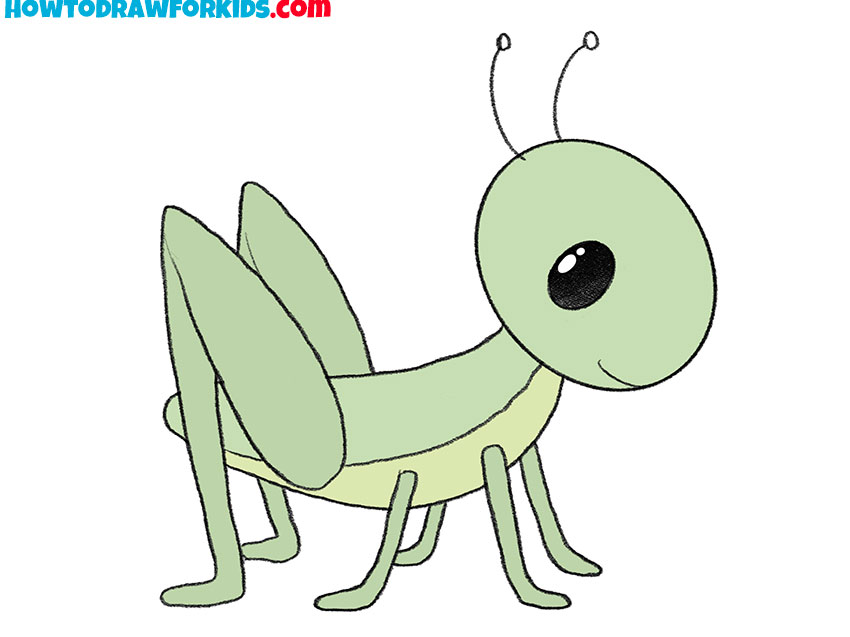
Surely you have already drawn any insects, and now I will show you how to draw a grasshopper. This insect is widespread and can be found in cold climates and tropical forests.
The grasshopper is small, can jump high and is able to cover a long distance with one jump. Male grasshoppers are capable of making loud noises.
In the figure, the grasshopper is presented in a cartoon style. It uses simple lines and a minimum of elements, so you can easily repeat all the drawing steps, even if you are a beginner. Be careful and try to correctly depict the position of the legs.
Grasshopper Drawing Tutorial
Materials
- Pencil
- Paper
- Eraser
- Coloring supplies
Time needed: 30 minutes
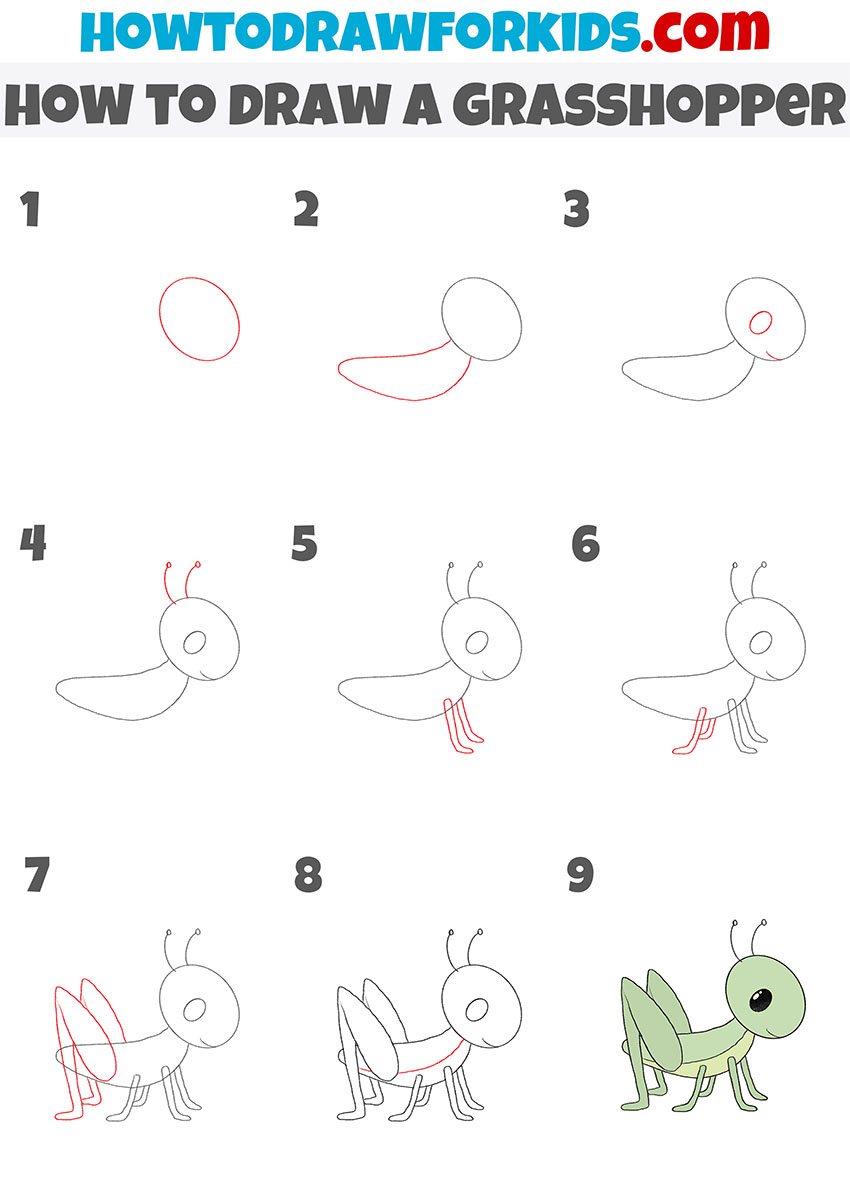
How to Draw a Grasshopper
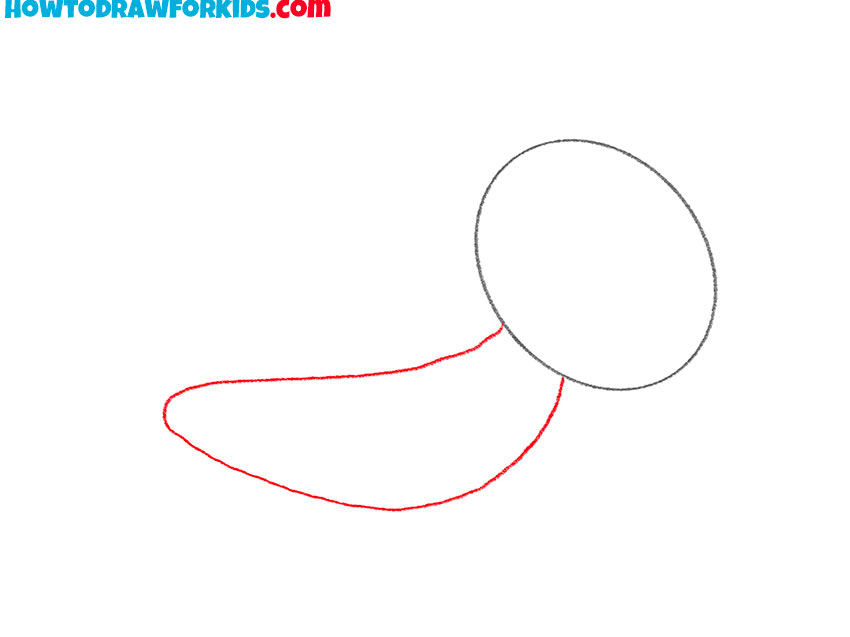
- Draw the head.
Depict an even oval, which is located diagonally.

- Sketch out the torso.
With smooth lines, draw the elongated torso.
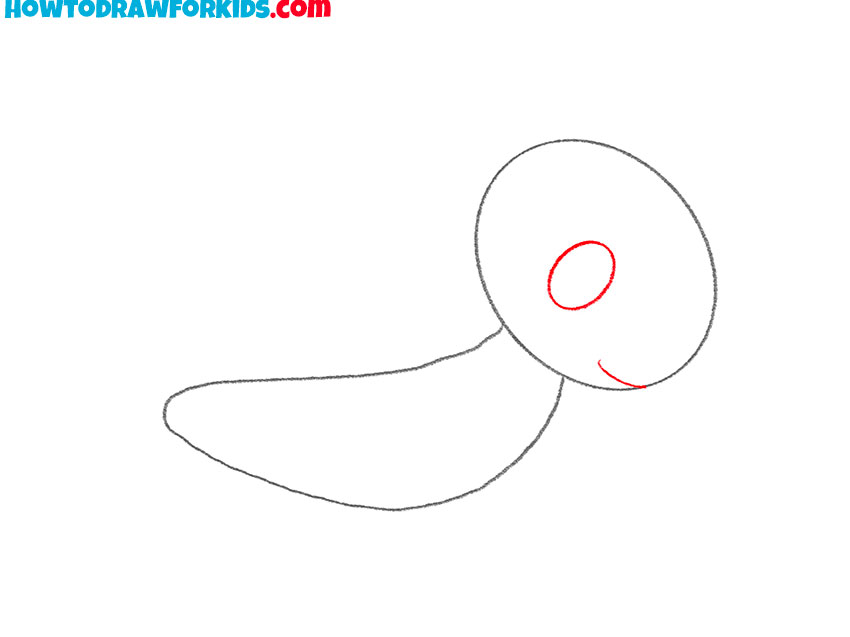
- Add the eye and the mouth.
The eye is oval. Draw the small line to depict the mouth.
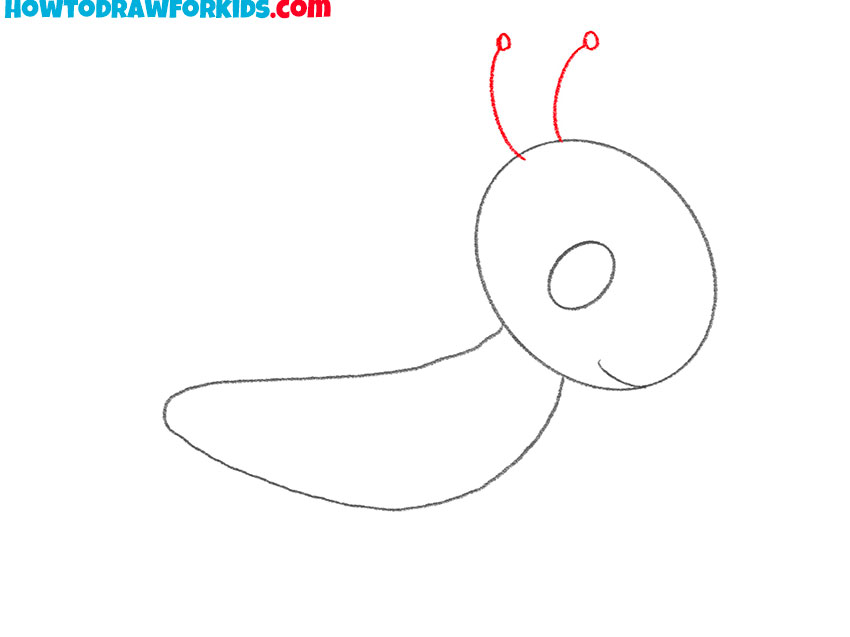
- Sketch out the antennae.
Add two small smooth lines on the head and draw small circles at the ends.
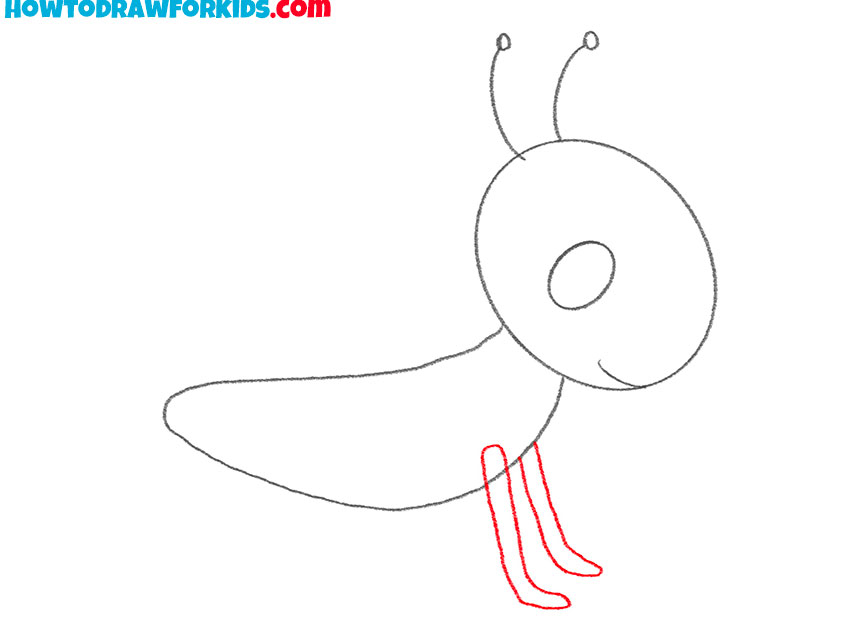
- Depict two front paws.
With smooth lines, draw two thin paws.
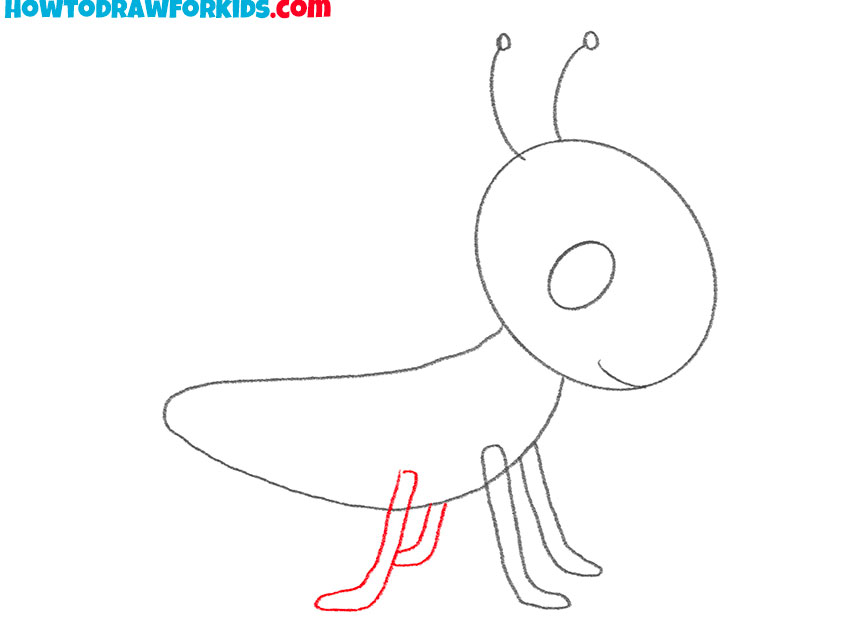
- Draw the next two paws.
Sketch out two paws that are turned in the opposite direction.
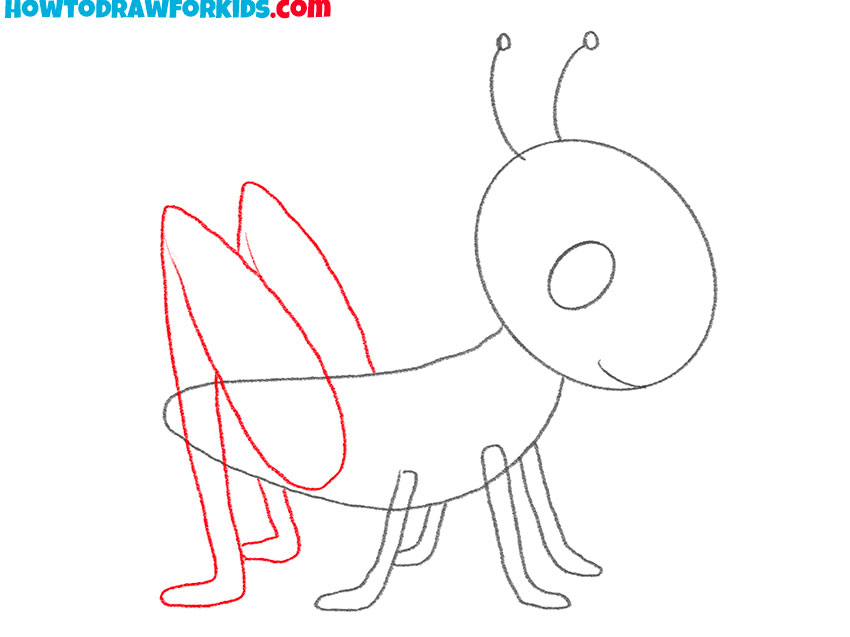
- Add the hind paws.
The hind paws are very large and consist of two segments.
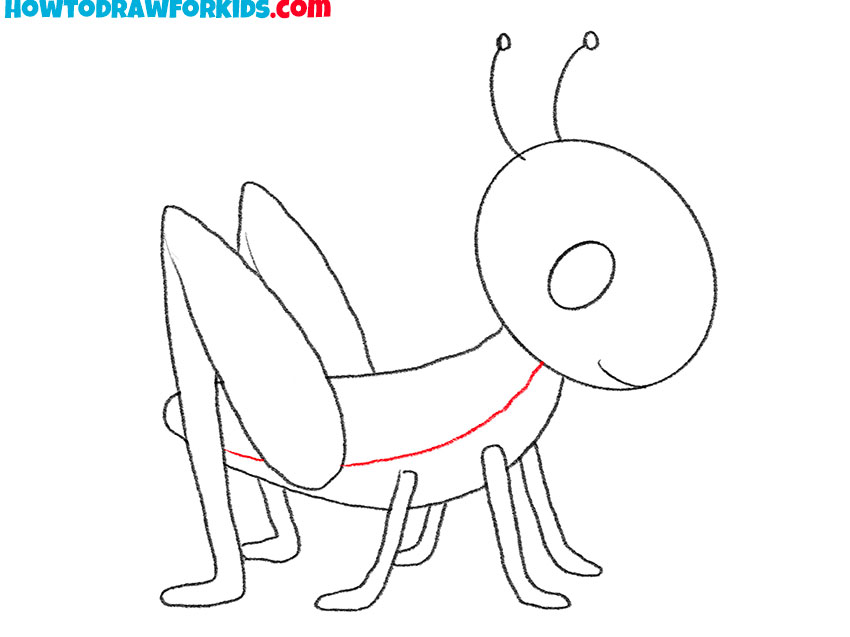
- Detail the color of the torso.
Draw a smooth line along the body to indicate the outline where the color will differ.
- Color the torso.
Use two shades of green. Color the eye black and add highlights.
The grasshopper is ready! I hope that you memorized all the drawing steps and learned the lesson well. Now you can improve your drawing and add an environment for the grasshopper. Draw grass and flowers around, make your drawing bright and colorful!
As a reminder, you can now download the short version of the lesson as a PDF file. Save this file and use it whenever you want to be creative.