How to Draw a Hockey Stick
In this lesson you will be able to learn how to draw a hockey stick. This simple step-by-step instruction consists of only five steps.
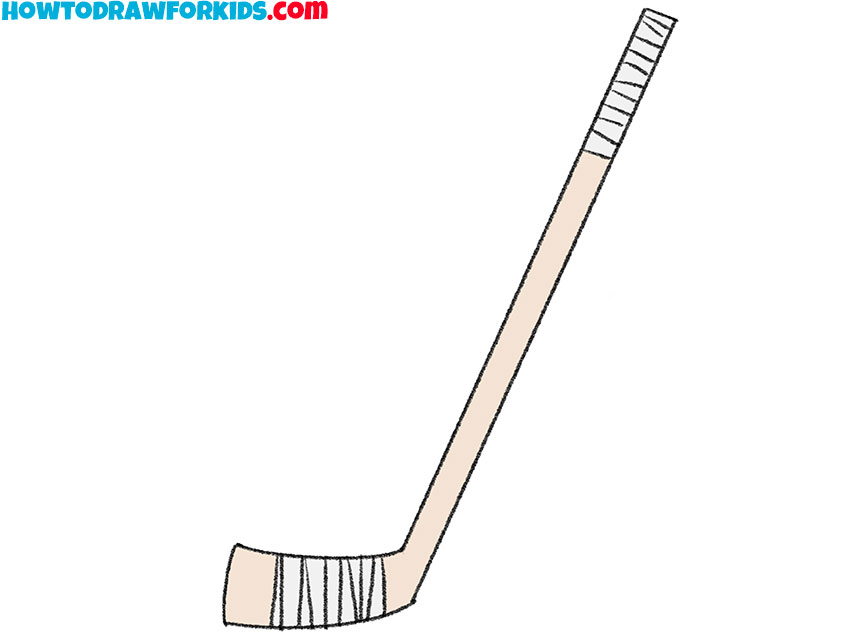
So, I am glad to bring to your attention this simple drawing lesson in which I will tell you how to draw a hockey stick step by step. This lesson does not contain difficult-to-draw elements. To make your drawing look more beautiful and neat, you can use a ruler when necessary.
The hockey stick is a sports equipment that is used in ice hockey for shooting, passing and dribbling the puck. By learning how to draw this, you can depict a hockey player or complement your other drawing with an image of a hockey stick.
If you have already prepared art supplies, start doing this work right now. I am sure that this lesson will help you develop your artistic skills, and you will also have a great time doing it.
Materials
- Pencil
- Paper
- Eraser
- Coloring supplies
Time needed: 30 minutes
How to Draw a Hockey Stick
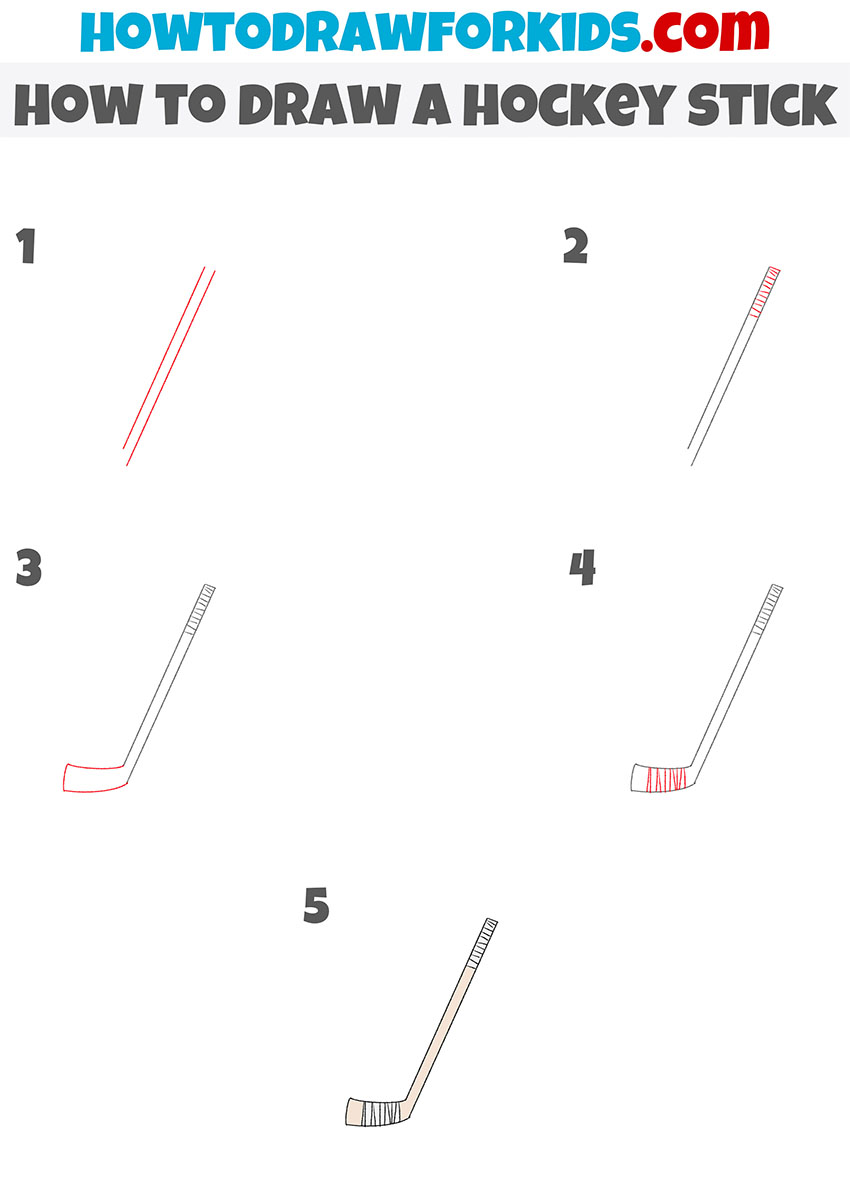
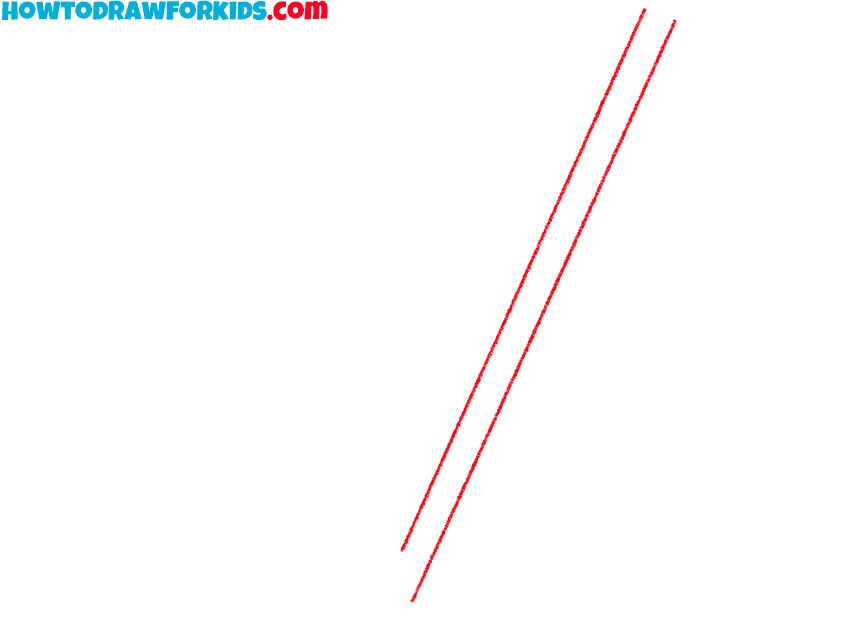
- Start drawing the top of the hockey stick.
To complete this step, you need to draw two straight parallel lines of different lengths.
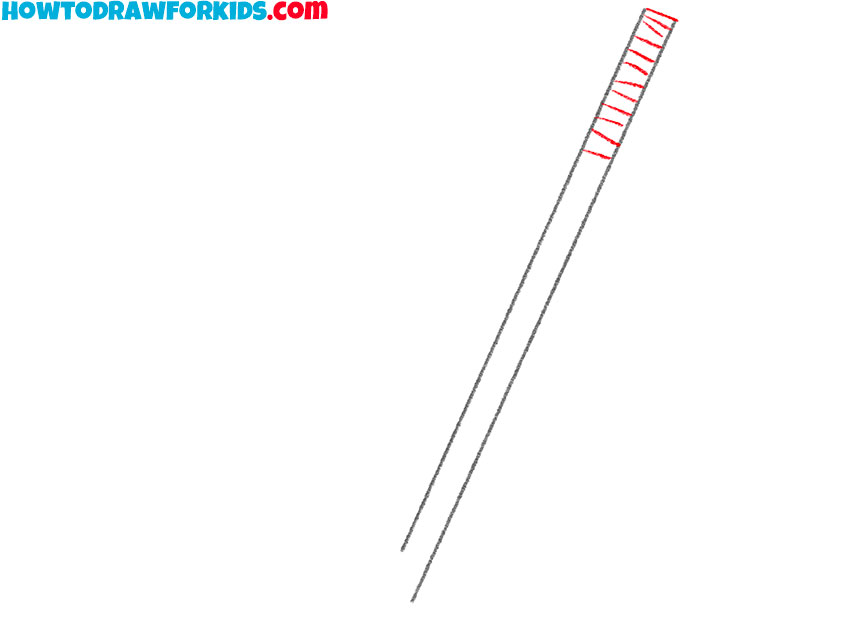
- Finish drawing the top of the hockey stick.
Use a straight line to connect the top ends of the two lines, and also add slanted straight lines.
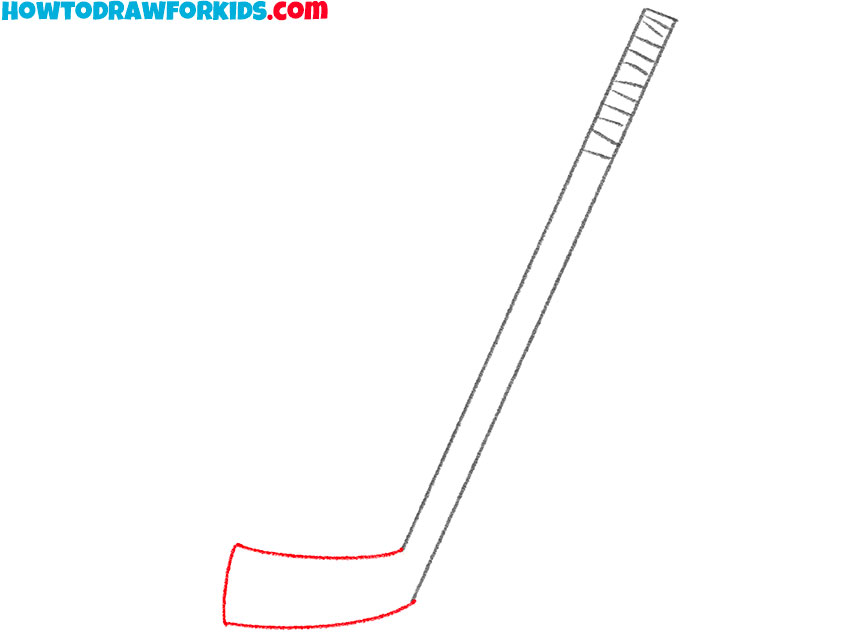
- Draw the outline of the bottom of the hockey stick.
From the bottom ends of the lines drawn, add two rounded lines and connect them.
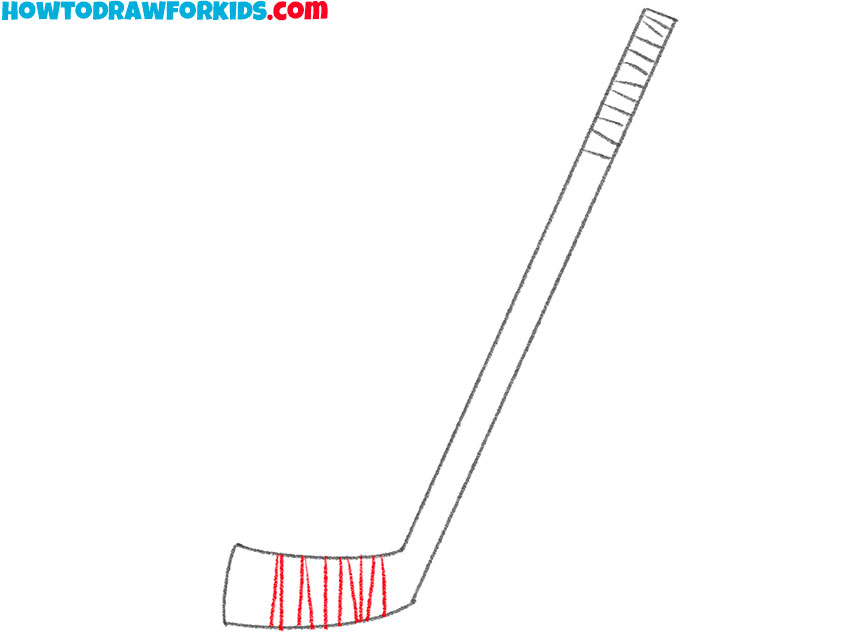
- Finish drawing the bottom of the stick.
On the bottom of the stick, draw a lot of straight lines slanted to different sides, as in the figure.
- Color the drawing.
To color the hockey stick you’ve drawn, use beige as well as light gray.

This is the end of this simple drawing lesson, with which you could learn how to draw a hockey stick step by step. Hope you get great results. If this lesson did not leave us indifferent and was useful to you, then be sure to visit other drawing lessons on our website, you will also like them. Download the PDF file which contains the simplified version of the lesson.

