How to Draw a Light Bulb
This really simple drawing lesson will focus on how to draw a light bulb, a thing without which we cannot imagine our homes.
In this lesson, you will practice drawing simple geometric shapes and smooth curved lines. Thanks to this training, every novice artist will improve their artistic abilities and gradually move on to drawing more complex objects.
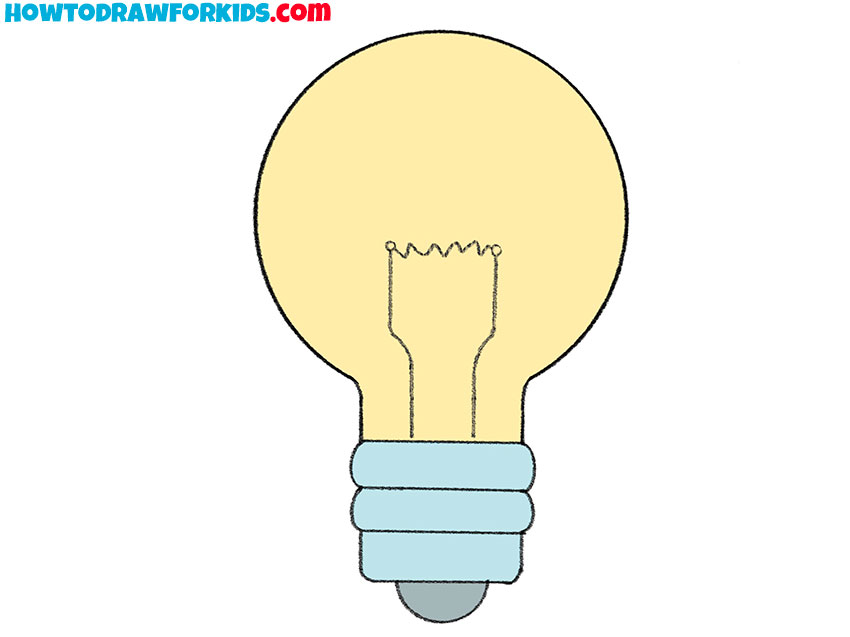
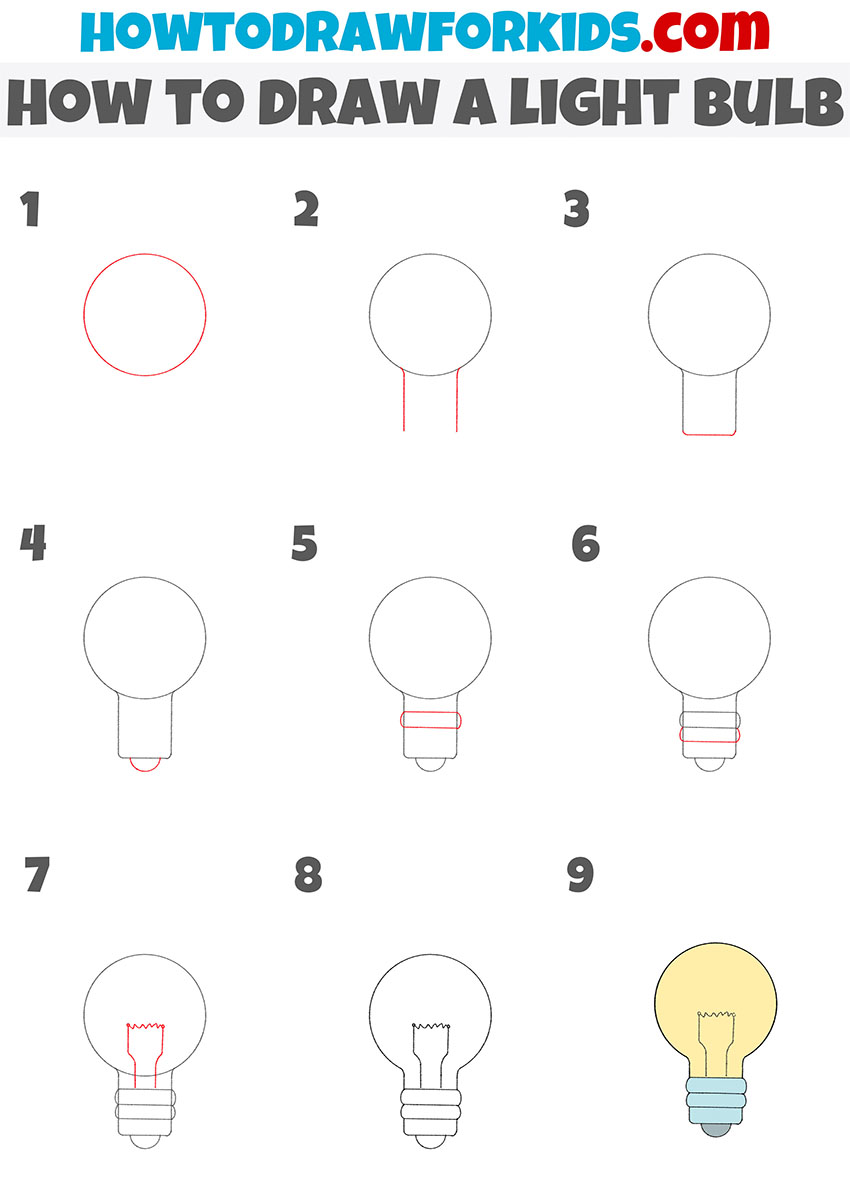
Table of Contents
- Basic information
- Steps on how to draw a light bulb
- Additional content
- Alternative light bulb drawing way
- Improve your artistic skills
- Conclusion
Basic Information on How to Draw a Light Bulb
Before you begin the lesson on how to draw light bulbs, let’s take a little look at the structure of the light bulb. An ordinary light bulb has a base and a glass bulb.
You need to start drawing a light bulb with a glass bulb. This will be the basis of the future drawing. In order to draw an even circle, you can use any available tools or do it yourself.
Then, with the help of my simple instructions, you will easily draw all the elements of the light bulb. Try to maintain proportions and draw lines carefully at each stage of drawing.
Materials
- Pencil
- Paper
- Eraser
- Coloring supplies
Steps on How to Draw a Light Bulb
Additional Content
Time needed: 20 minutes
How to Draw a Light Bulb
- Start drawing the glass bulb.
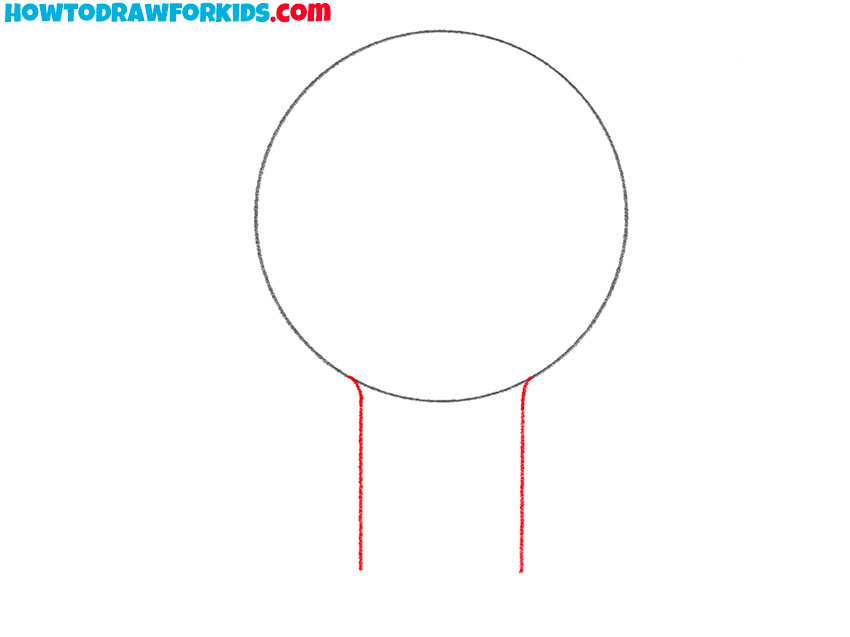
To do this step, you have to draw a circle, placing it at the top of the drawing. This is the protective glass of a light bulb – if you draw this without the help of auxiliary tools, it will be great.

- Draw the bottom of the bulb.
Depict the body of the lamp base. This is exactly the part of the lamp that connects to the source of electric current. To do this, draw two vertical lines that connect to the figure from the last step through small bends.
- Complete the drawing of the glass part of the bulb.
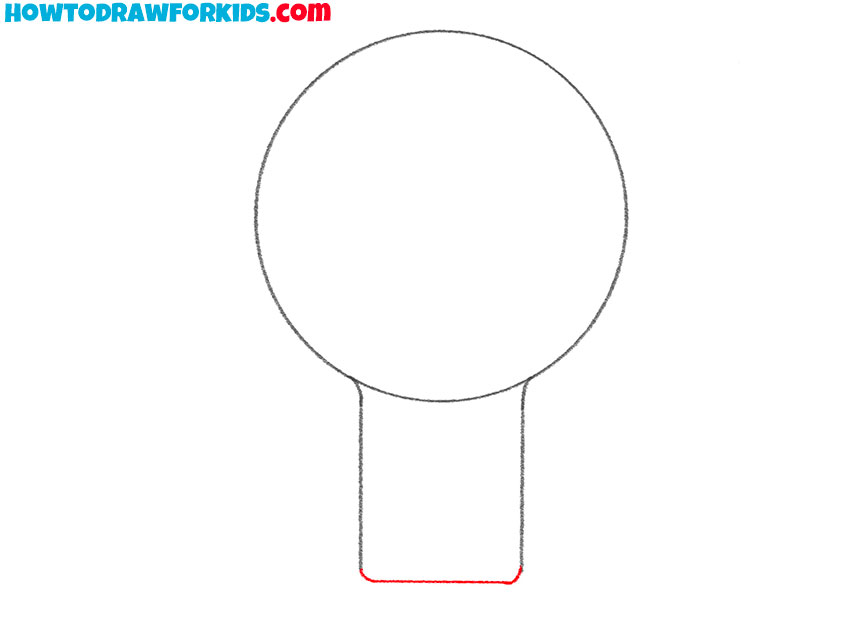
Connect the two lines from the last step using a regular vertical line. This way we will finish drawing the approximate outline of the lamp base.
- Add an element at the bottom of the bulb.
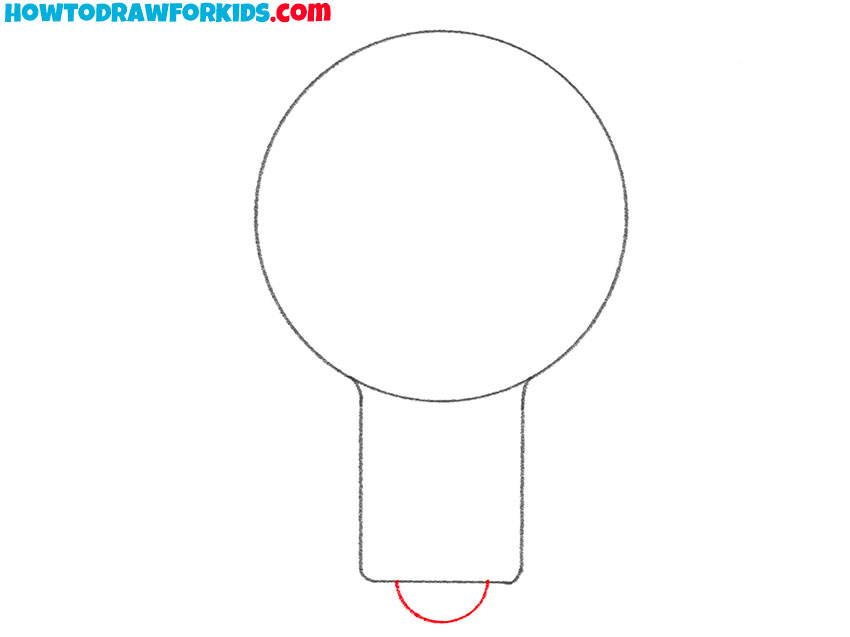
Add a small circle on the bottom of the lamp like in our example. This is the part of the lamp base that is in direct contact with the conductor in the electrical circuit.
- Start drawing the metal base of the bulb.
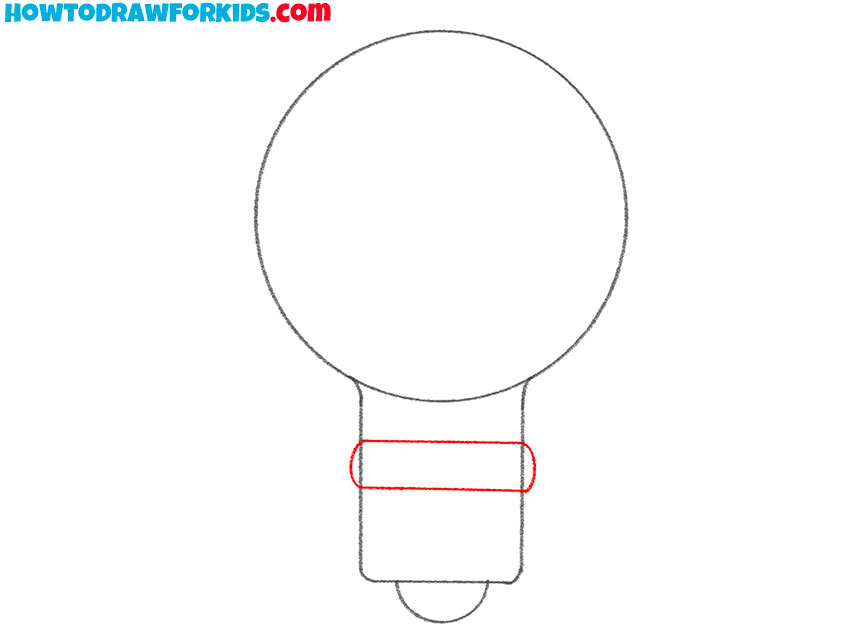
Now we’ll add some details. Let’s make our lamp base more realistic and add carving elements to the body. To draw this, simply add two horizontal lines and connect them with arcs on both sides.
- Continue drawing the base of the bulb.
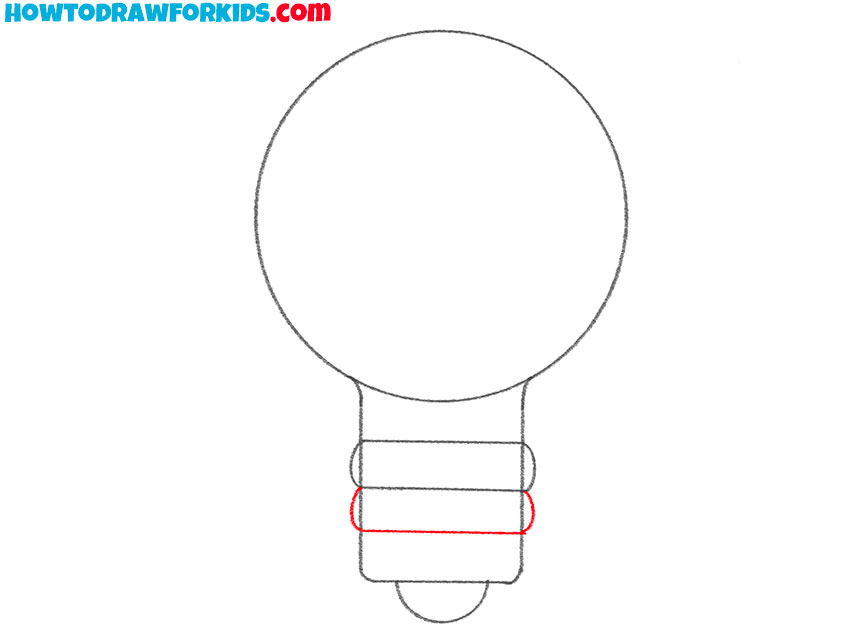
Repeat the action from the previous step and draw a second similar shape just below the first.
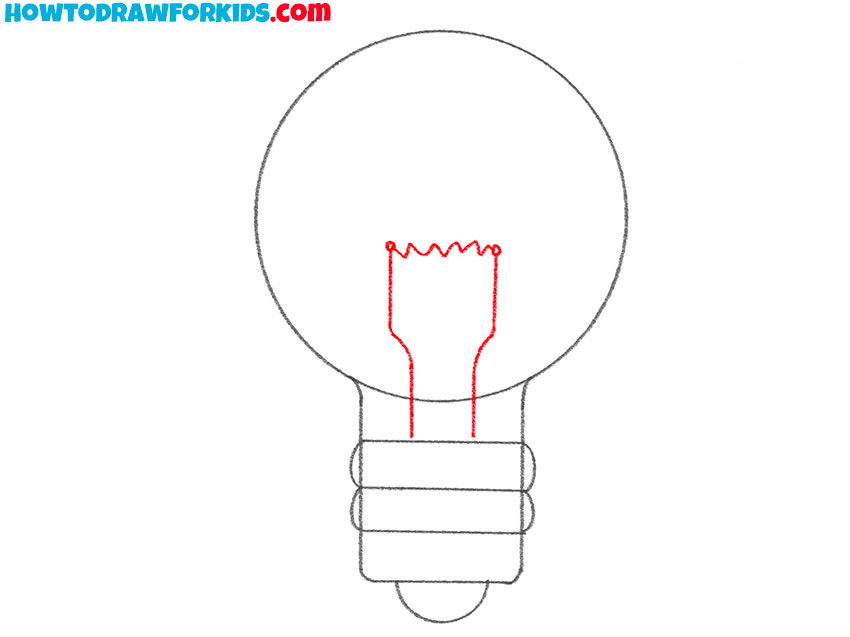
- Draw the electrodes and filament.
Now draw the filament. This is the most important lighting element of the lamp. First, draw the electrodes in the form of vertical lines, and draw a wavy filament between them.
- Erase unnecessary lines.
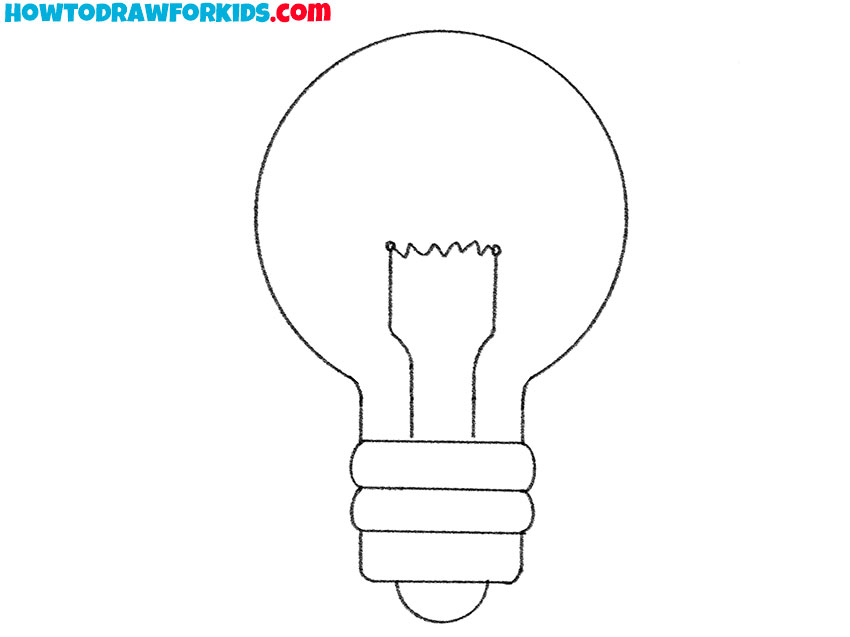
Use an eraser to remove auxiliary lines that appeared during the drawing process.
- Color the drawing.
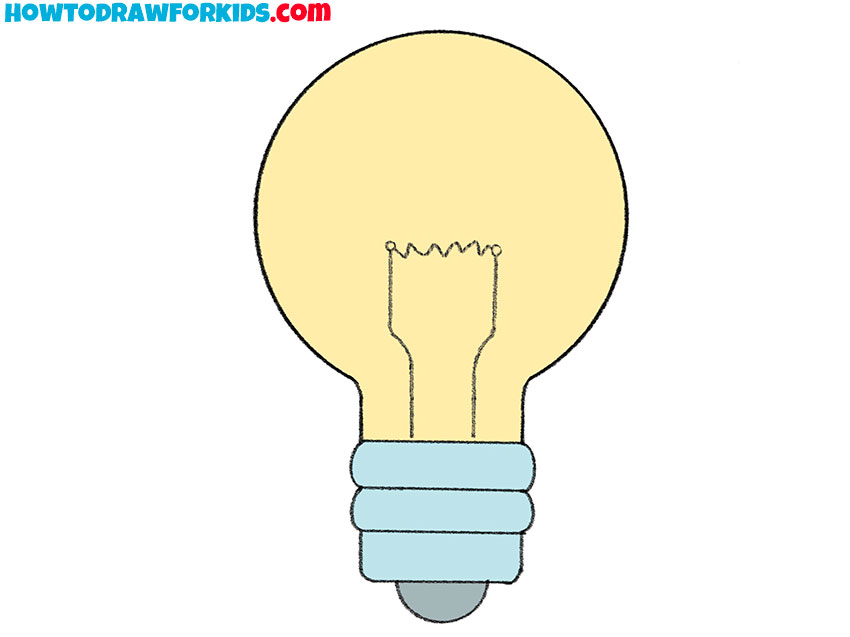
Color the bulb if desired. The glass part can be shaded to indicate its transparency, and the metal base typically in a grey or metallic tone.
At the end of the lesson you will find a link where you can download a short version of the lesson as a PDF file. The file contains all the materials necessary to complete the lesson at any convenient time.
Alternative Way to Draw a Light bulb
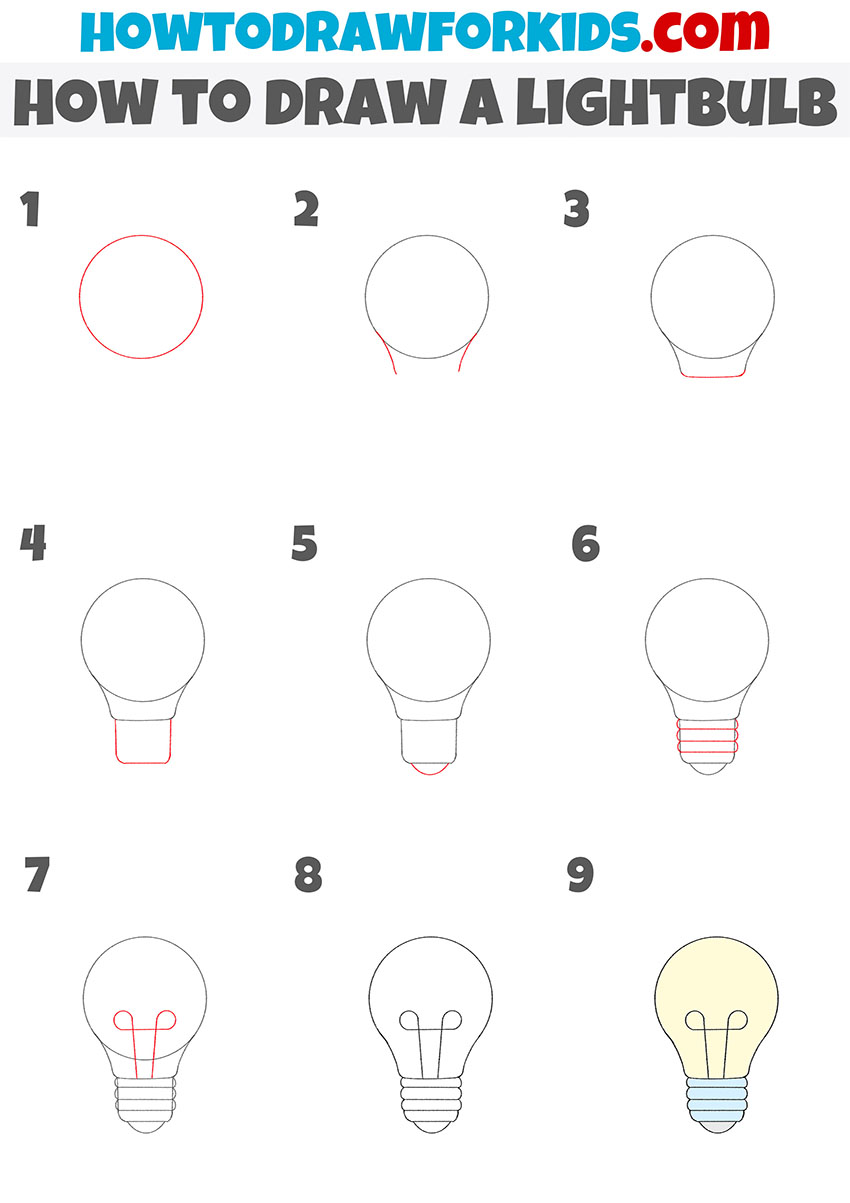
If you don’t succeed the first time, practice again. To do this, I have prepared for you another method of drawing a light bulb.
How to Draw a Light Bulb Step by Step
Here you will draw a metal spiral of a different shape. This lesson differs only in small details. But it will be great practice for strengthening your artistic skills.
Improve Your Artistic Skills
If you want to strengthen your skills, then practice further and draw a few more light bulbs using the drawing principles that you learned from this instruction.
For example, change the size and color of the flask. You can also change the shape of the glass flask, for example, make the flask more elongated or pointed.
To make the light bulb look more realistic, add highlights to the surface of the bulb. Show your imagination and try different options.
Conclusion
Now you have learned how to draw a light bulb on paper using simple art supplies. You can learn about all new lessons from my social networks. Be sure to follow me.


