How to Draw the Genie
For fans of Disney and 1990s cartoons, I’ve created this lesson to show you how to draw the Genie, the main friend of Aladdin.
How to Draw the Genie: Introduction
All of us enjoy fun and memorable cartoons, especially Disney animation from the 1990s. One well-known example is Aladdin, which introduced many distinctive characters, including the blue Genie – a magical being who lives in a lamp and grants wishes.
In this lesson, we’ll draw the Genie using a very simple method based on the same approach we use for drawing a person and other familiar characters.
In addition to the main guide, you’ll also find another version of the lesson that presents the Genie in a more advanced and detailed style.
This will give you an opportunity to practice both a simplified approach and a more developed one.
Genie Drawing Tutorial
Materials
- Pencil
- Paper
- Eraser
- Coloring supplies
Time needed: 35 minutes
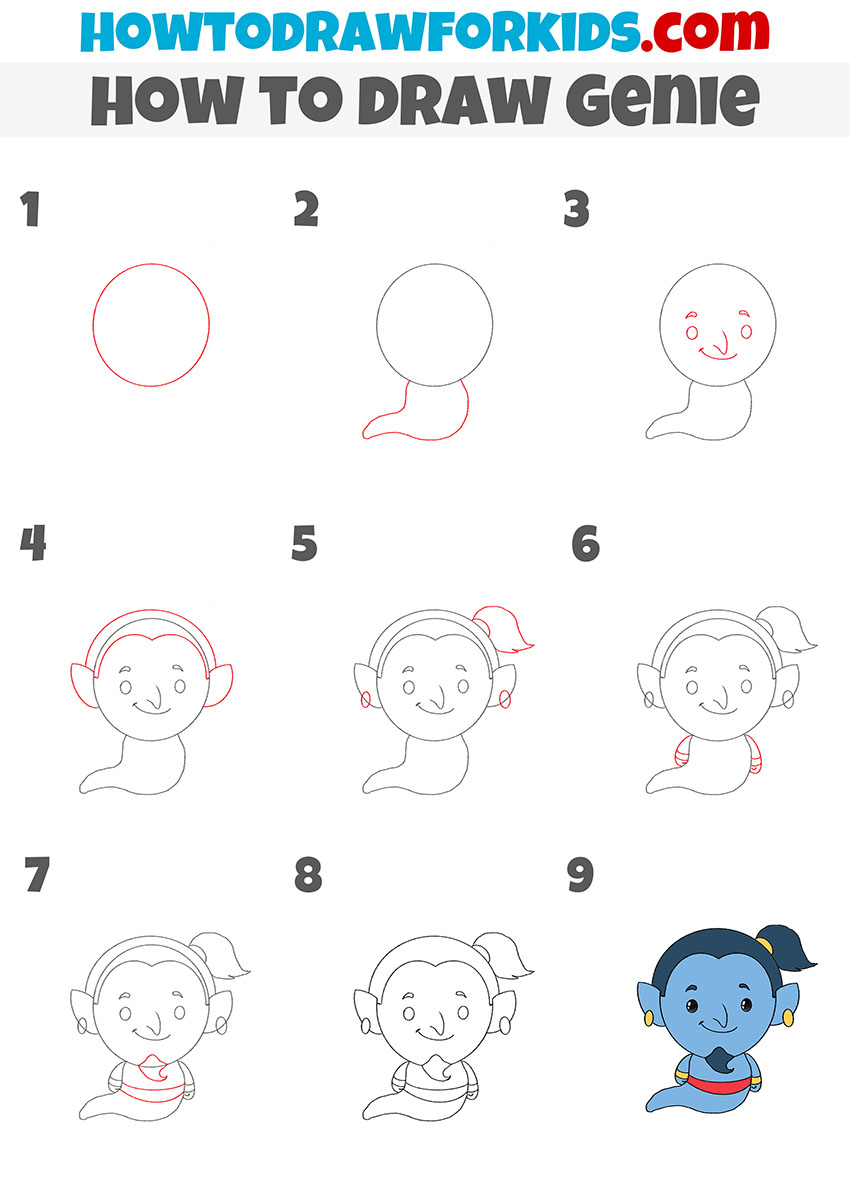
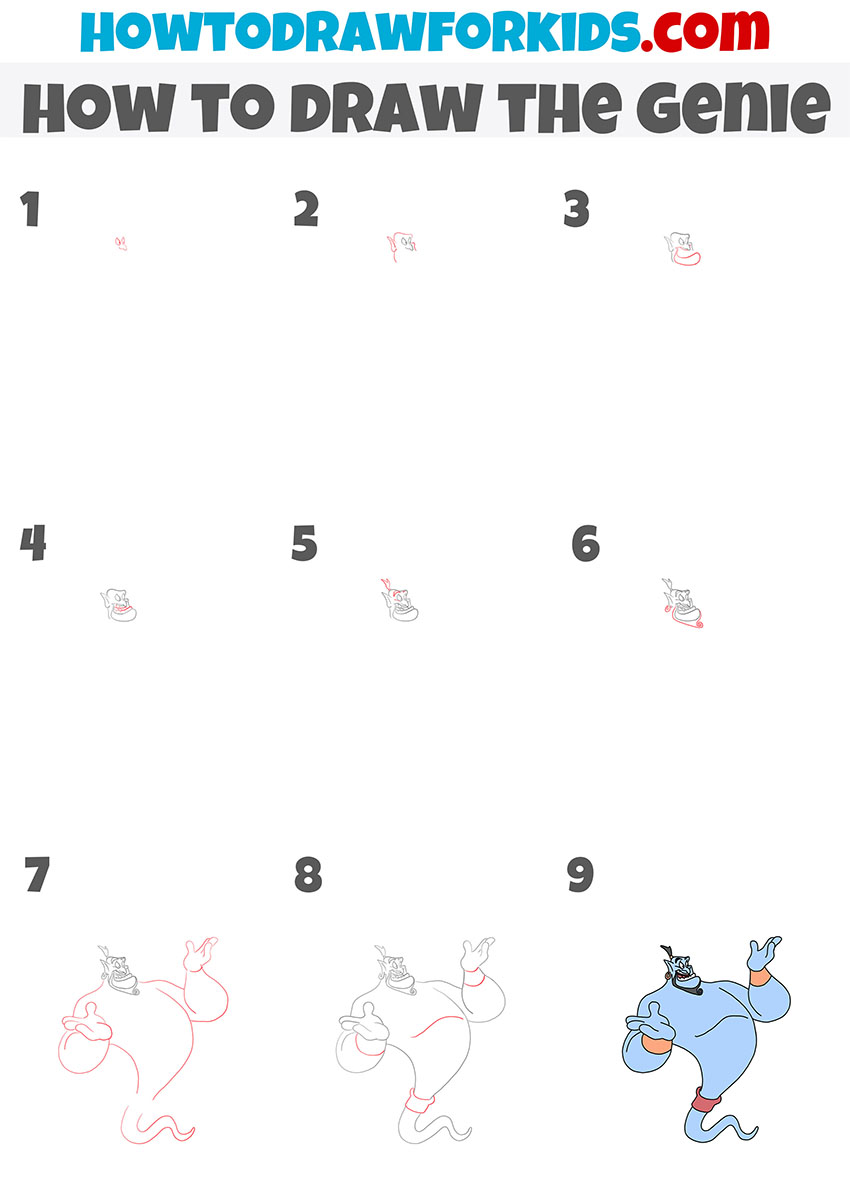
How to draw the Genie step by step
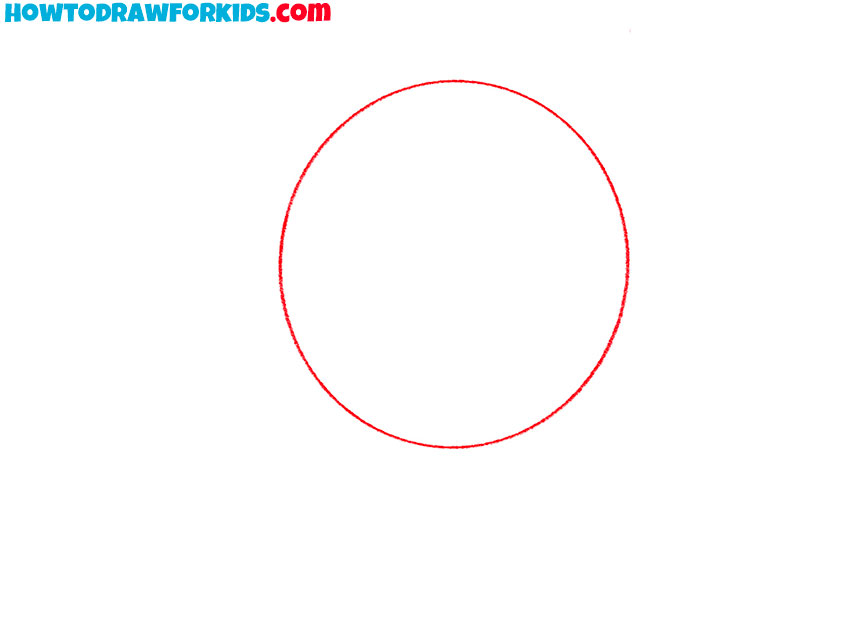
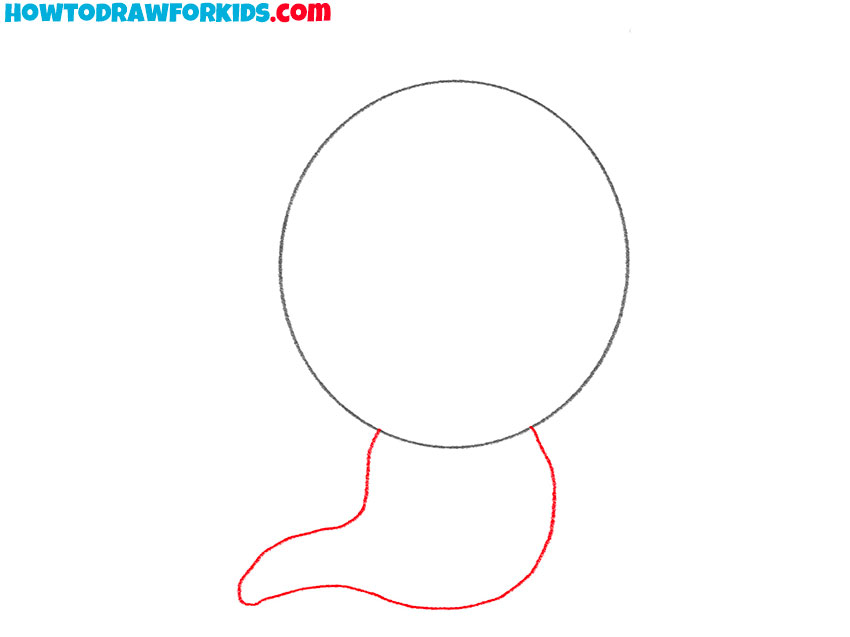
- Sketch a simple circle for the head.
Before adding any details, set up a basic shape for the genie’s head. Sketch a smooth oval or circle for the head of the cartoon character.
- Draw the Genie’s body shape.
A genie’s lower body usually has a smooth and flowing look. Sketch a wavy, tapering shape that curves gently to one side. Think of it as a loose ribbon. This part should look smooth and fluid. When sketching the curve, imagine the genie rising from magical smoke.
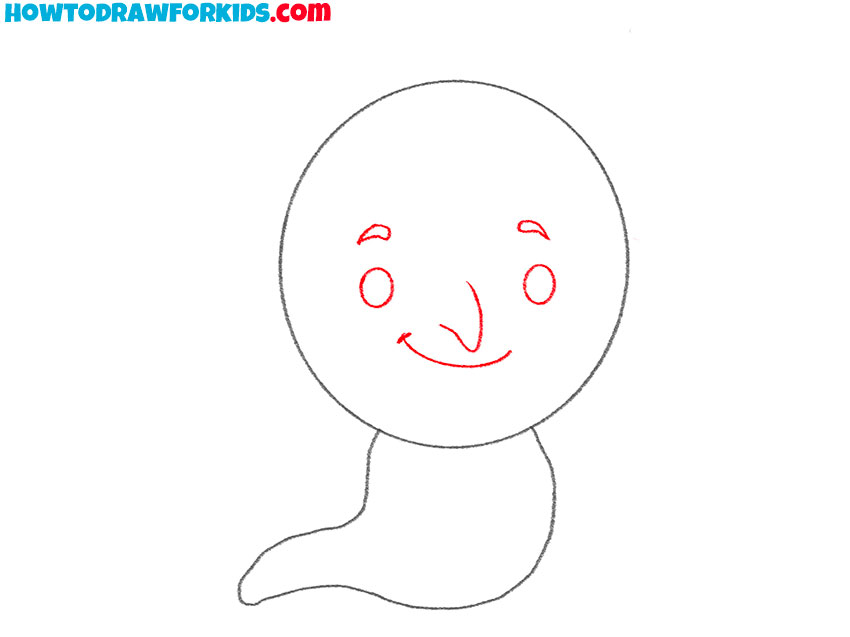
- Sketch the simple face details.
Now that the basic shape is ready, begin adding the facial features of genie. First, draw the eyes as a couple of simple ovals. Sketch the eyebrows above the eyes of the cartoon character. Add a small curved nose and a gentle smile.
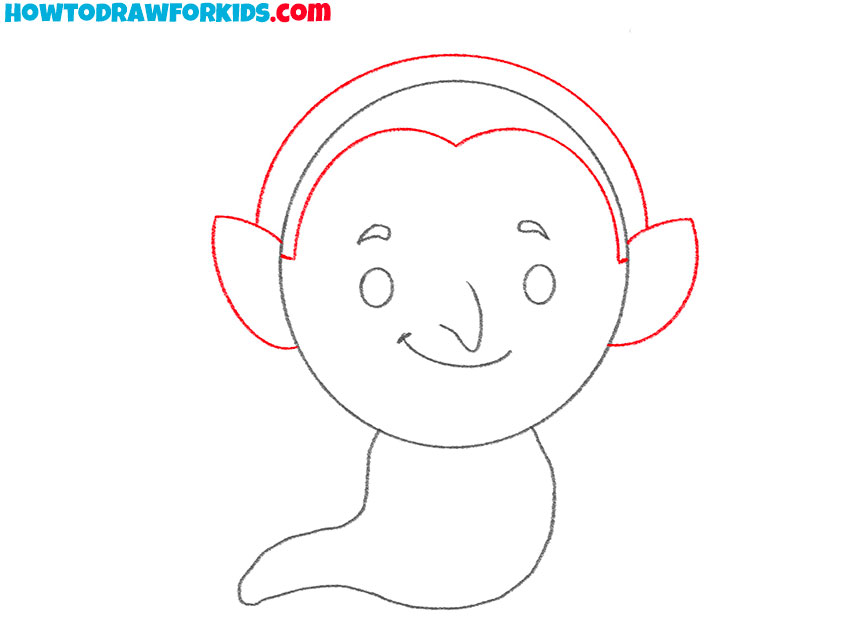
- Add the ears and hair shape.
Now, sketch two wide, slightly pointed ears on each side of the head. Keep them at about eye level and tilt them outward. Next, draw the hair by sketching a curved line across the upper part of the head. This shape should follow the curve of the head.
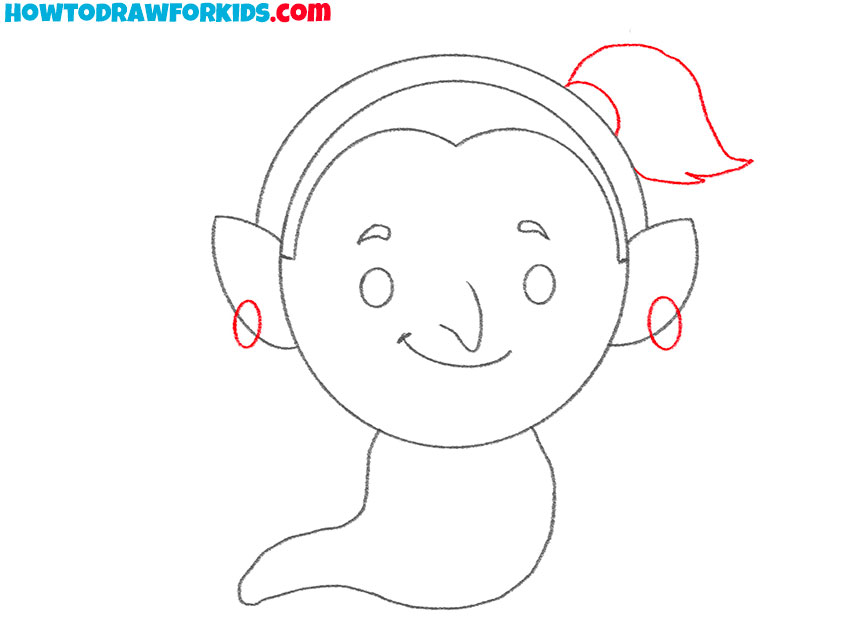
- Sketch the ponytail and earrings.
To continue the genie’s hairstyle, sketch a small gathered section of hair on the right side. Shape it as a curved tuft that ties back. Then draw the earrings as small hoops on each ear. Illustrate them with simple round shapes.
- Draw the arms of the Genie.
Since the genie has a smooth and floating lower body, the arms should be simple and rounded. Add thick arms made of curved shapes. Next, outline the bracers, separating the arms from the hands. Finish the hands by defining the thumbs with a pair of rounded lines.
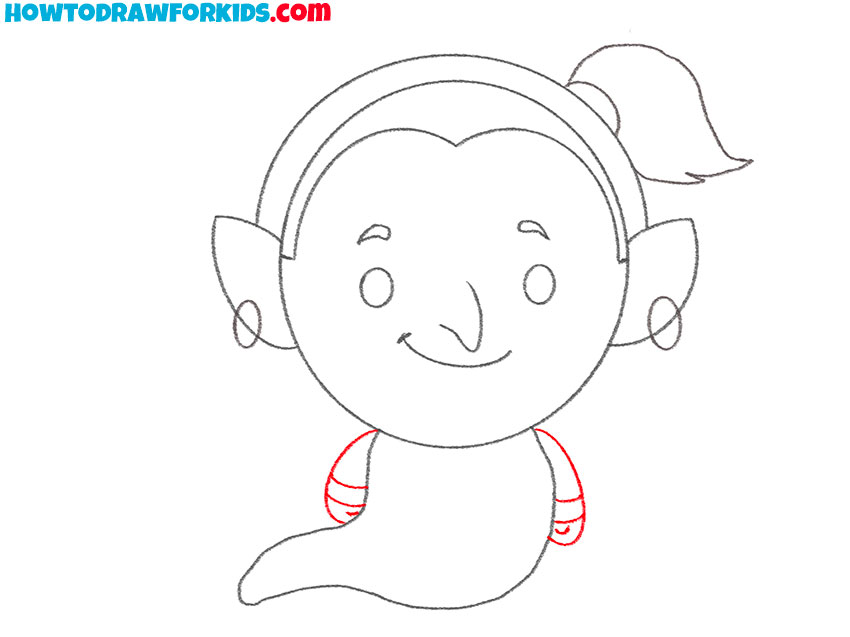
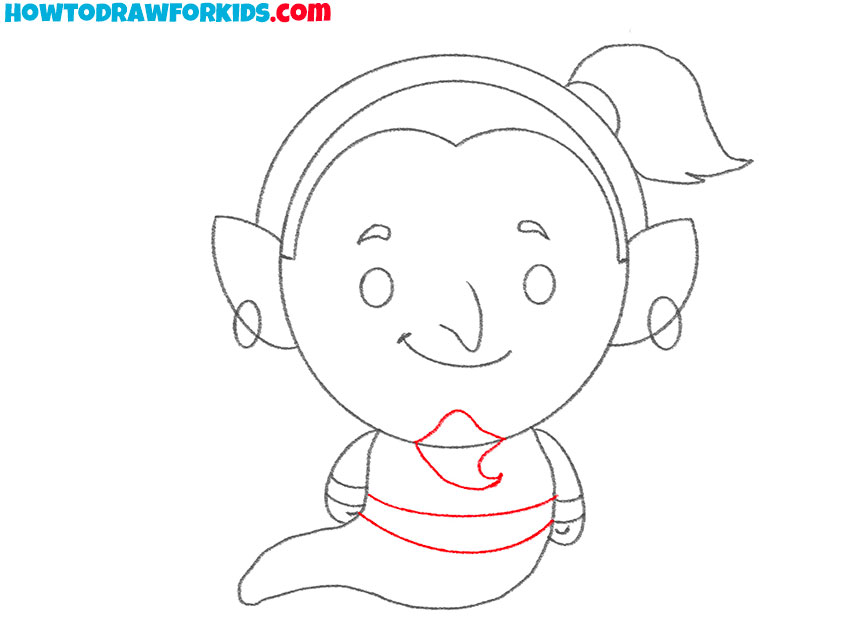
- Sketch the beard and waistband.
To finish the head of Genie, draw the beard at the bottom of the chin. Next, outline the waistband with a couple of smooth lines around the waist.
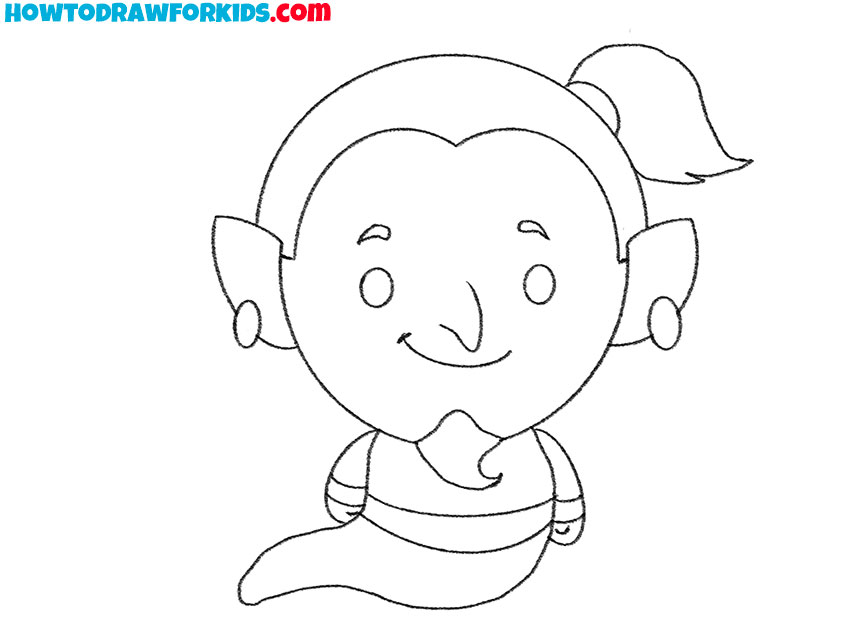
- Clean up the sketch before coloring.
Use this stage to finalize the outline and remove any construction lines. Erase extra marks around the head and body. Take a moment to check proportions. Once everything looks clean and consistent, darken the final outline.
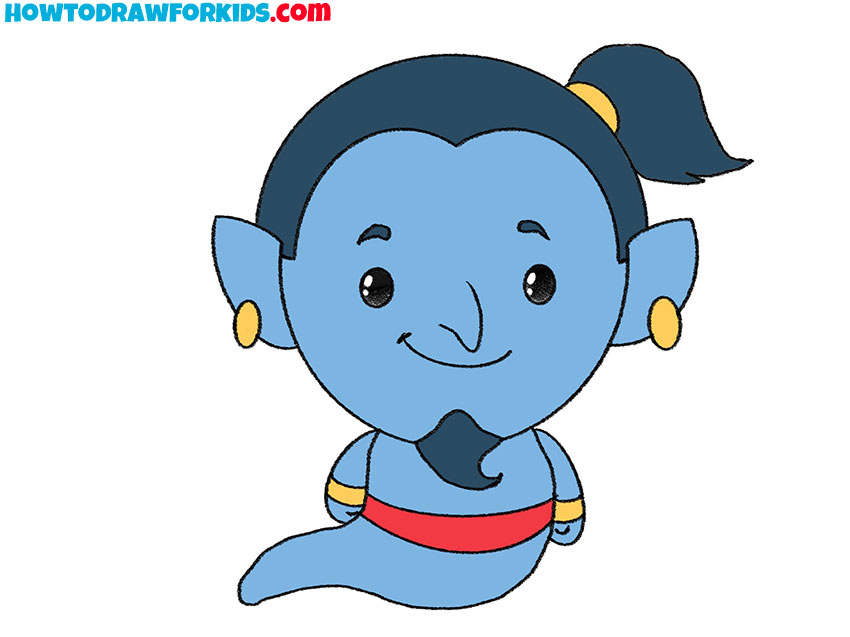
- Color the finished Genie drawing.
Disney artists use blue skin for a classic genie look, so use the same tone for an authentic look. Then shade the hair and beard in a darker tone. Paint earrings and bracers using yellow. For the waistband, use a simple red color.

Additional Content
To make this lesson more useful, I’ve prepared a free PDF that accompanies the Genie drawing tutorial. It’s a simplified version you can download and use anytime, including when you’re offline, so you always have a quick reference at hand.
The PDF includes additional practice material that builds on the main steps. It contains short exercises that give practice without overcomplicating the process.
With this extra resource, you can continue practicing at your own pace and reinforce the concepts from the tutorial.
How to Draw the Genie: Alternative Technique
This alternative method for drawing the Genie adds a bit more details than the basic lesson. It gives you another way to approach the same character.
Sketch the large round head, then illustrate the small wavy body shape underneath. Draw the face with small, gentle shapes.
Add the pointed ears, then draw the ponytail with a loose, flowing contour. Continue by outlining the simple arms and small bracelets.
Don’t forget to draw a smooth, long tail and check the proportions of the entire drawing at the end. Color the character using the palette from the first guide, which is blue and gold.
For a more interesting and detailed version, you can draw a carpet under the genie or add other details.
Conclusion
If you’d like to expand your Genie drawing even further, you can add supporting details such as Abu sitting on his shoulder.
Or you can draw Princess Jasmine nearby for a more detailed composition. Also, you can draw a genie lamp as the source of his power.
And as you continue practicing, don’t forget to follow my social media channels so you won’t miss new lessons. I always appreciate your ideas for future tutorials, so feel free to share them in the comments below.