How to Draw a Keyboard
In this really simple step-by-step drawing lesson, you will learn how to draw a keyboard. Undoubtedly, this lesson will be very useful for you.
This drawing lesson shows how to draw a keyboard using straight lines. If you are persistent enough and draw this object without a ruler, it will help you learn how to create straight lines.
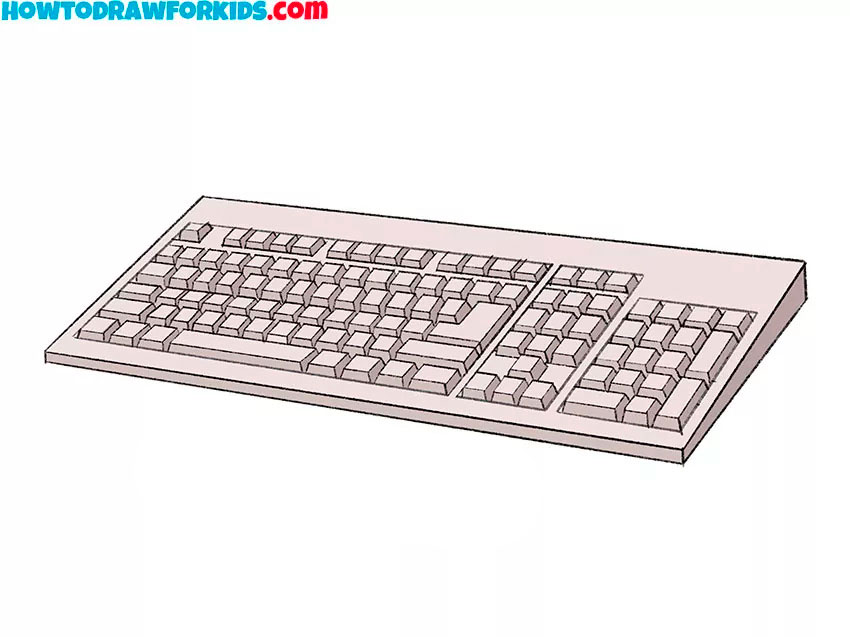
Now I will detail and show you how to draw a keyboard step by step. This device is familiar to you, because it is in almost every home, and we use it to enter data into the computer.
Keyboards may vary and may differ in design, but the character set on the buttons is usually the same. In this picture, you can see that the keyboard contains three panels, each with buttons. Note that the buttons have different shapes and positions.
This lesson will require patience from you, because here you need to draw straight lines and draw a lot of small elements, but if you are consistent and patient, you will get a good result.
Materials
- Pencil
- Paper
- Eraser
- Coloring supplies
Time needed: 30 minutes
How to Draw a Keyboard
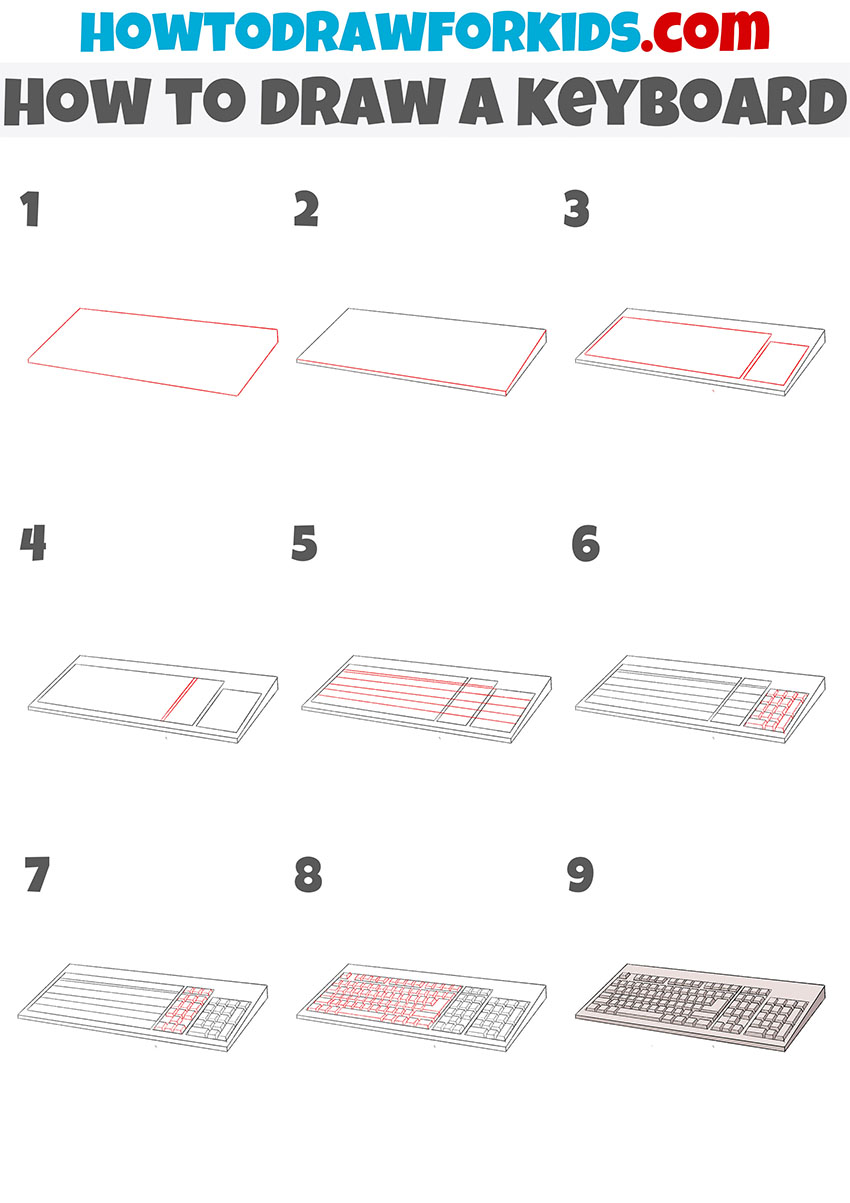
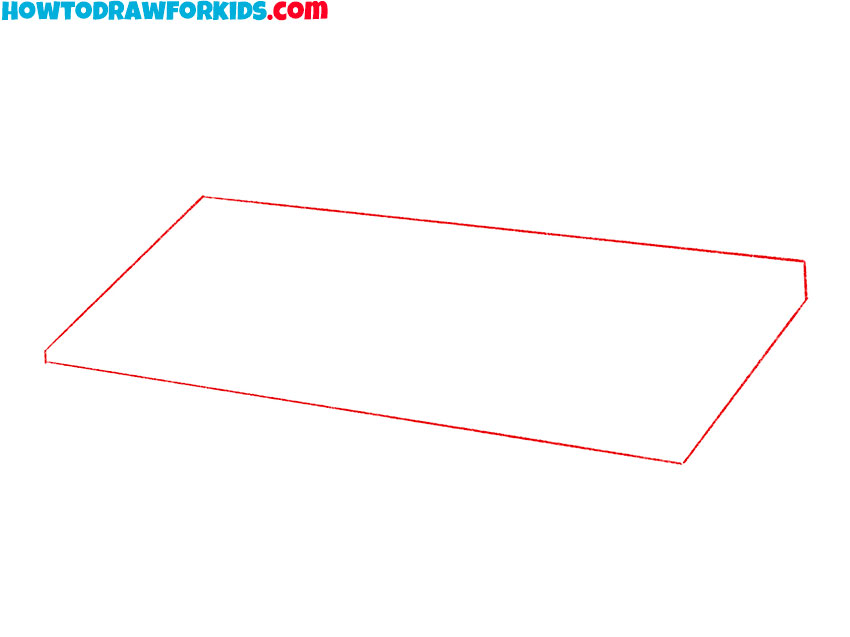
- Draw the outer outline.
Using straight, even lines, draw the outer outline, which has a rectangular shape.
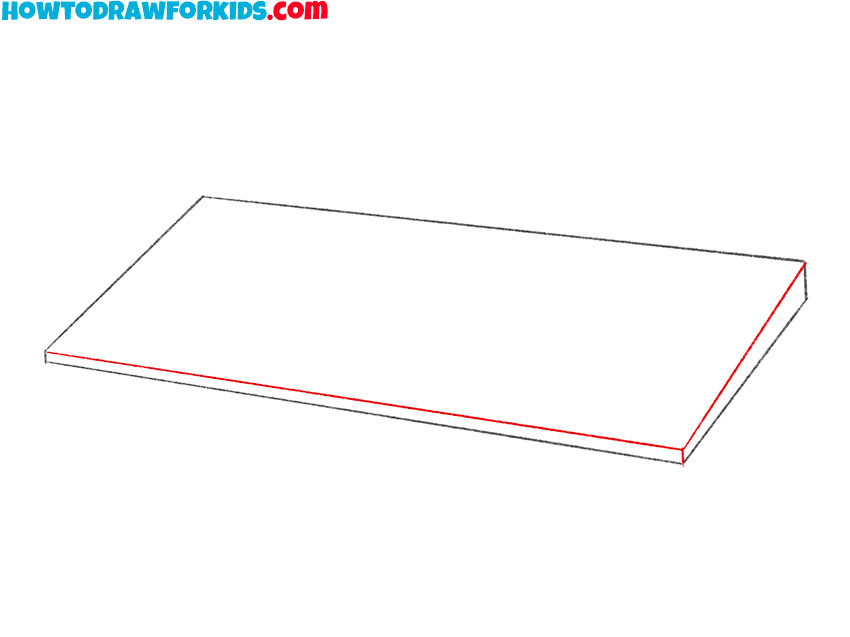
- Add the thickness of the keyboard.
Depict a straight line at the bottom and side.
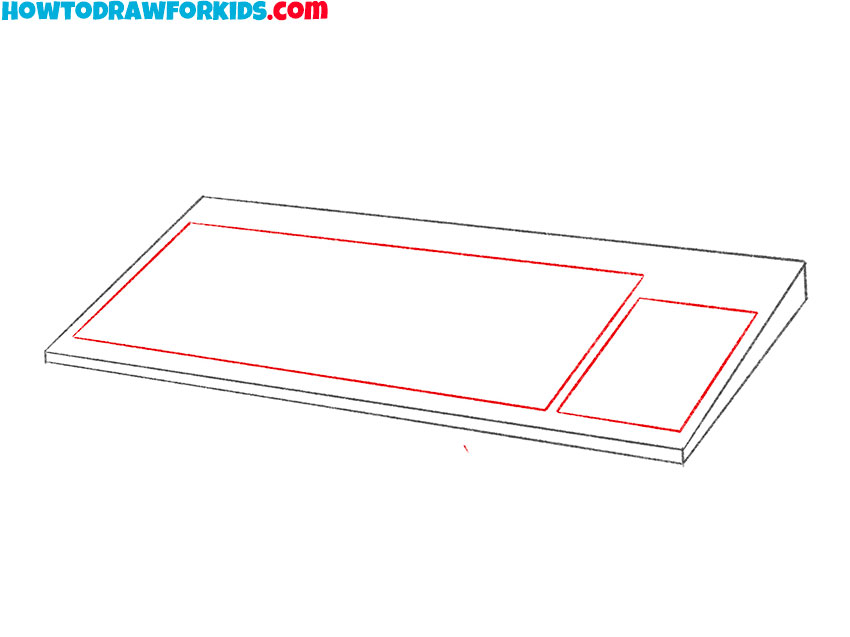
- Sketch out the button bars.
Draw two rectangular shapes that are different sizes.
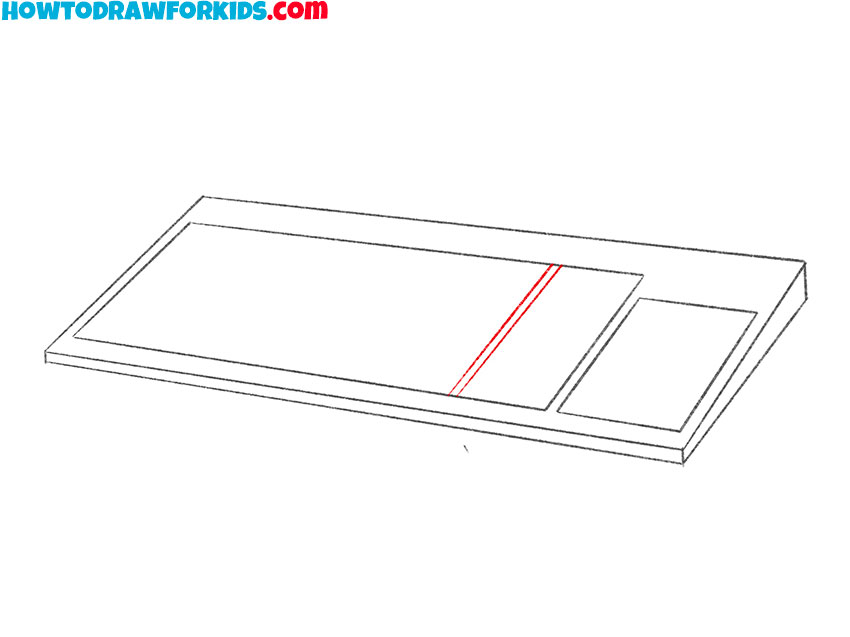
- Divide the panel into sections.
Depict two cross lines as shown in the example.
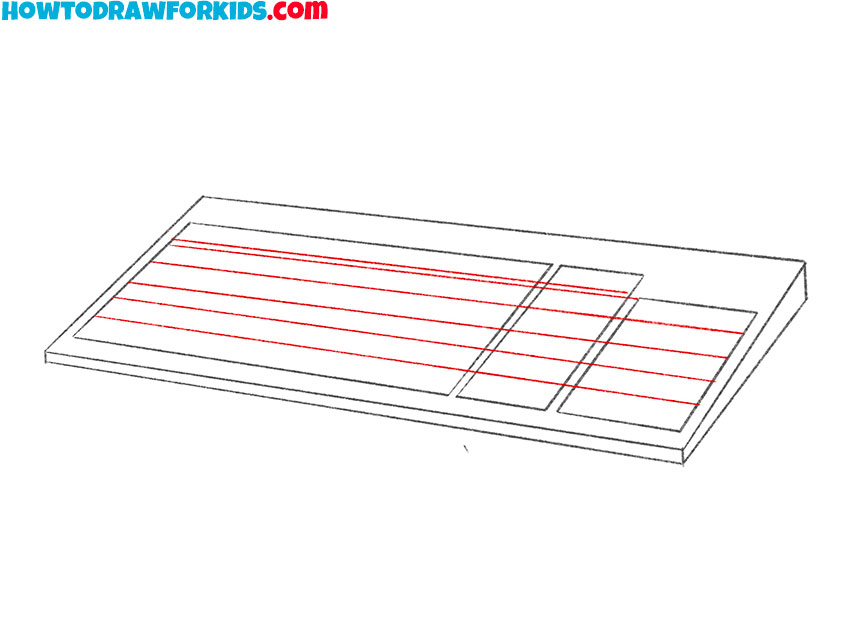
- Sketch out the rows of buttons.
At this stage, carefully draw several parallel lines.
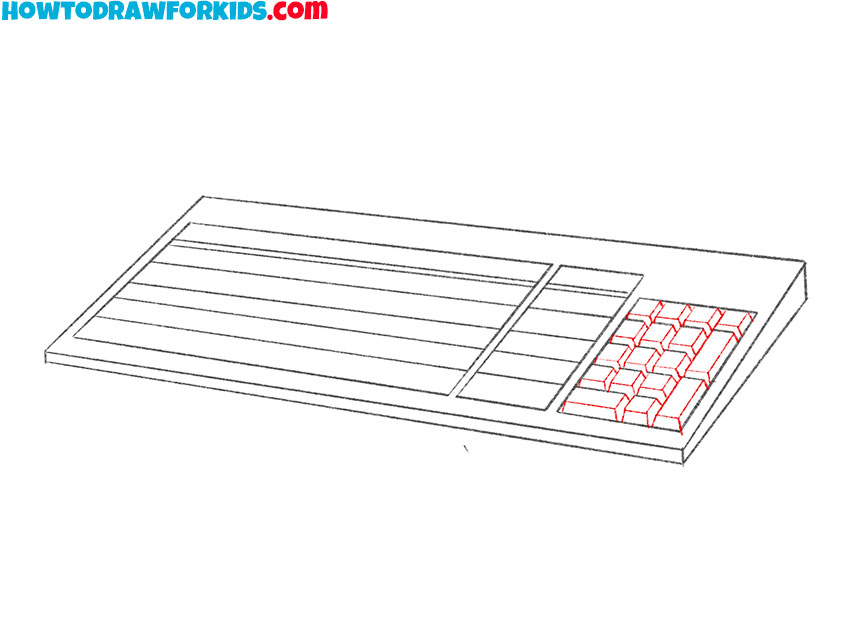
- Depict the buttons on the sidebar.
On the right side, add the buttons in each row.
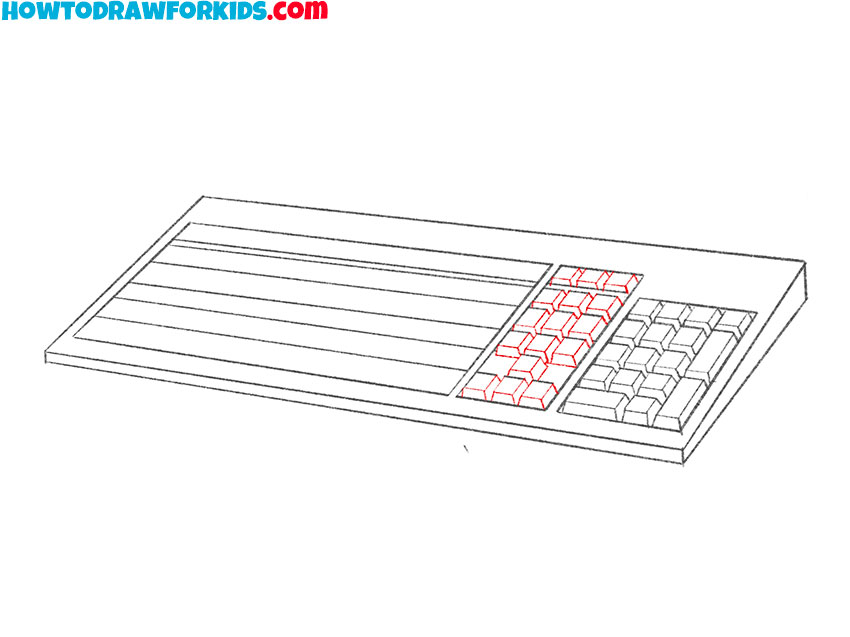
- Add the buttons to the middle bar.
Draw the square buttons like you did in the previous step.
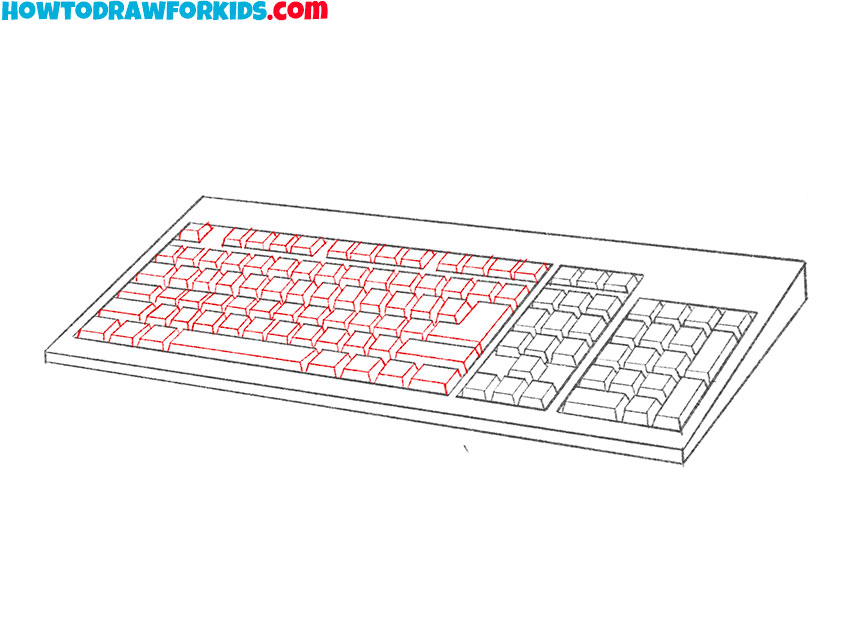
- Draw the rest of the buttons.
On the main panel, draw the rest of the buttons, note that the buttons have different shapes.
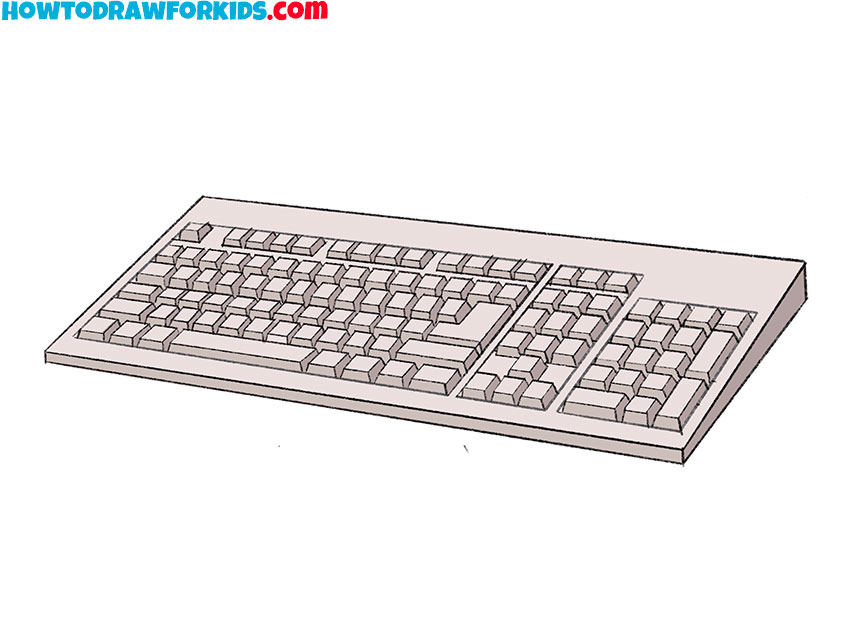
- Color the keyboard.
Use three shades of gray to color the different edges of the buttons and body.
I remind you that you can download a short version of the lesson as a PDF file for free. This will help you return to the lesson at any time, even if there is no Internet access.
I love it , I will be back ❣️
I love this type of drawing. It make children have more sense to know about keyboard.