How to Draw a Genie Lamp
I have prepared for you another exciting lesson in which you will learn how to draw a Genie lamp. This lesson will be useful for you.

In this drawing tutorial, I will show you how to draw a Genie lamp. We know this lamp from the Arabian fairy tale “The Thousand and One Nights”. In ancient times, such a lamp was commonly used in Eastern countries. It was a small lighting device in which they poured oil and put a wick in the spout, which was then burned. In this way, the lamp illuminated the area around it.
Genie is one of the heroes of fairy tales. This beautiful young man accidentally found a lamp and discovered that this simple object has magical properties. Inside the lamp was Genie, who could make any wish come true.
A Genie lamp is small in size. On the front, there is an elongated spout, as on the kettle, on the other side there is a convenient curved handle and on the top, there is a small lid. With this step-by-step guide, you can easily draw this magic lamp. Be careful, then you will have a great drawing.
Genie Lamp Drawing Tutorial
Materials
- Pencil
- Paper
- Eraser
- Coloring supplies
Time needed: 20 minutes
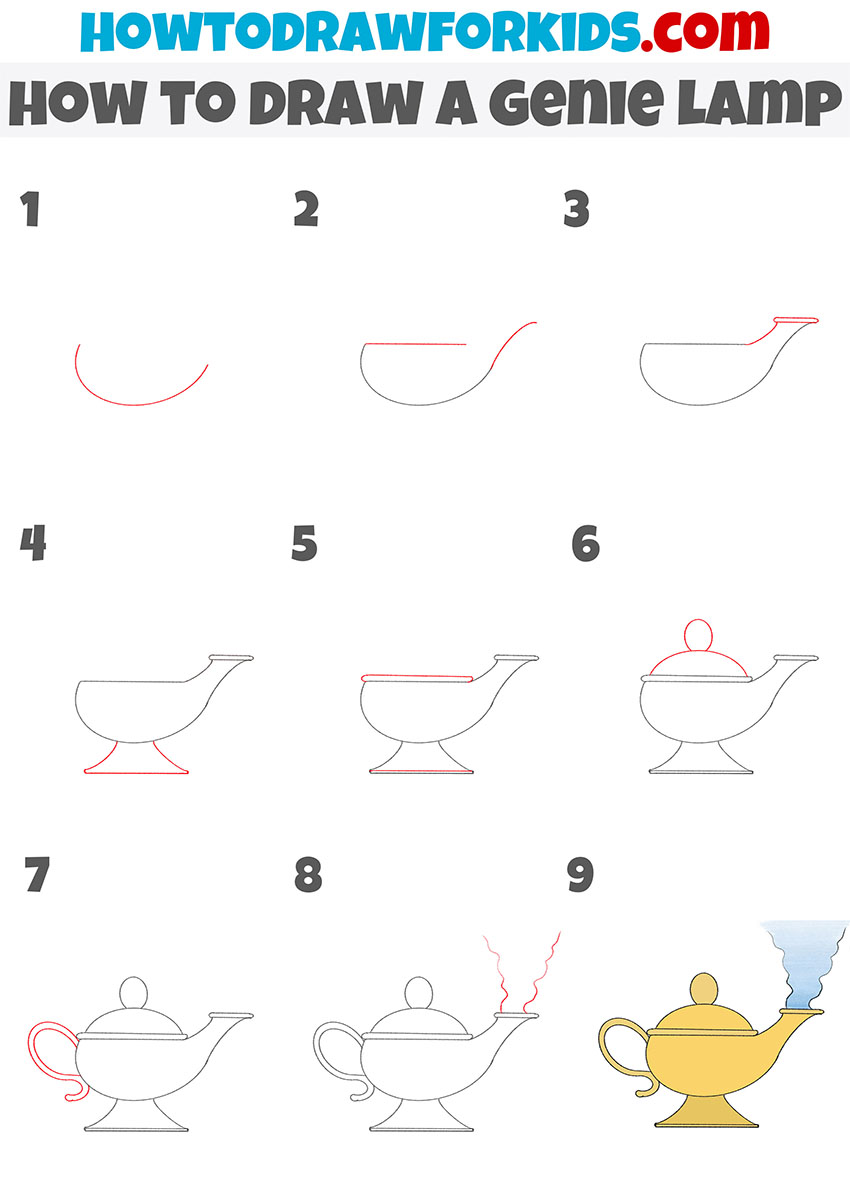
How to Draw a Genie Lamp
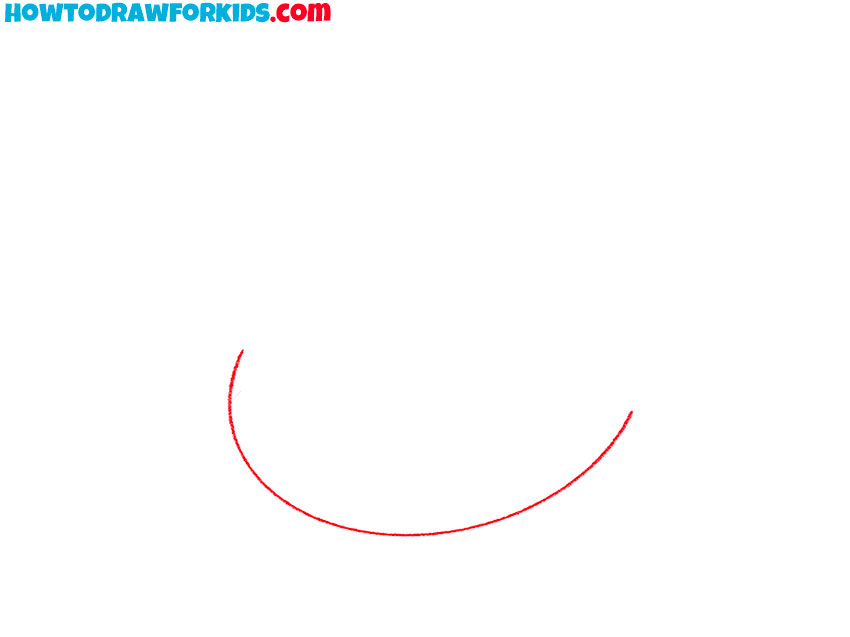
- Draw the bottom outline of the lamp.
To represent this, you should draw a flowing rounded line.
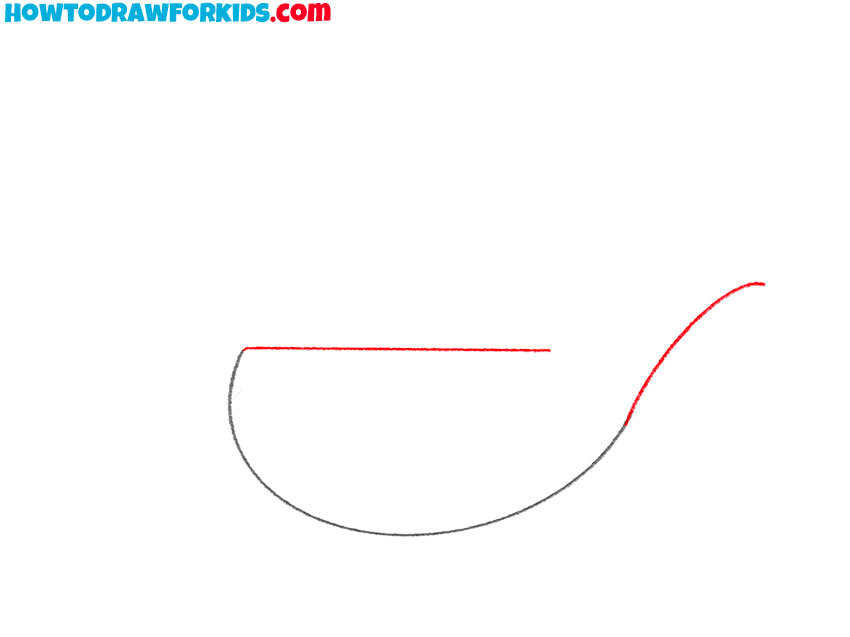
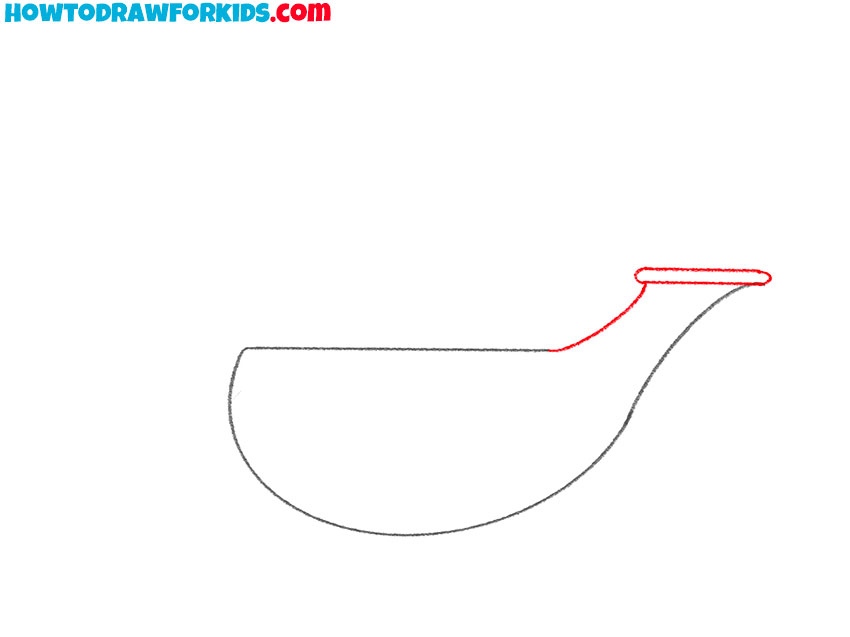
- Depict the top outline of the lamp and part of the spout.
Draw a straight horizontal line, and then outline the bottom edge of the spout with a curved line.
- Add the other elements of the spout.
Draw the other part of the spout and by using two horizontal lines outline the end of the spout.
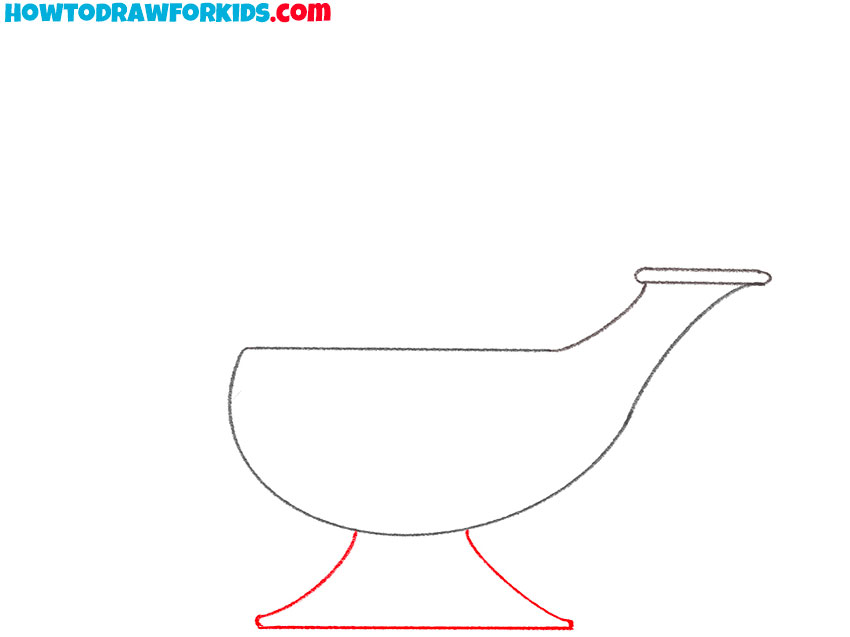
- Draw the bottom of the lamp.
At the bottom of the lamp draw two lines to the sides and then connect them at the bottom.
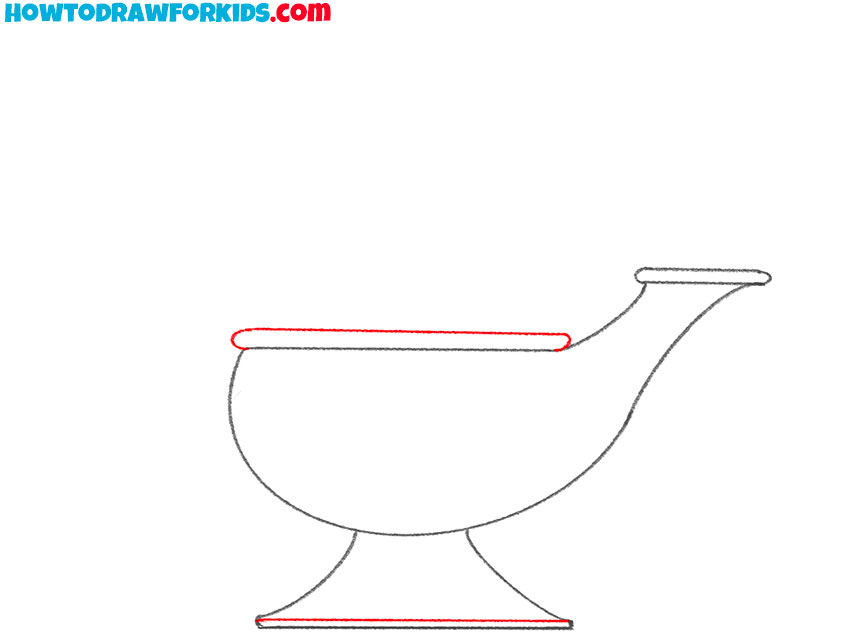
- Depict the bottom of the lid and a line on the base.
Outline two straight horizontal lines and round the edges of one of them.
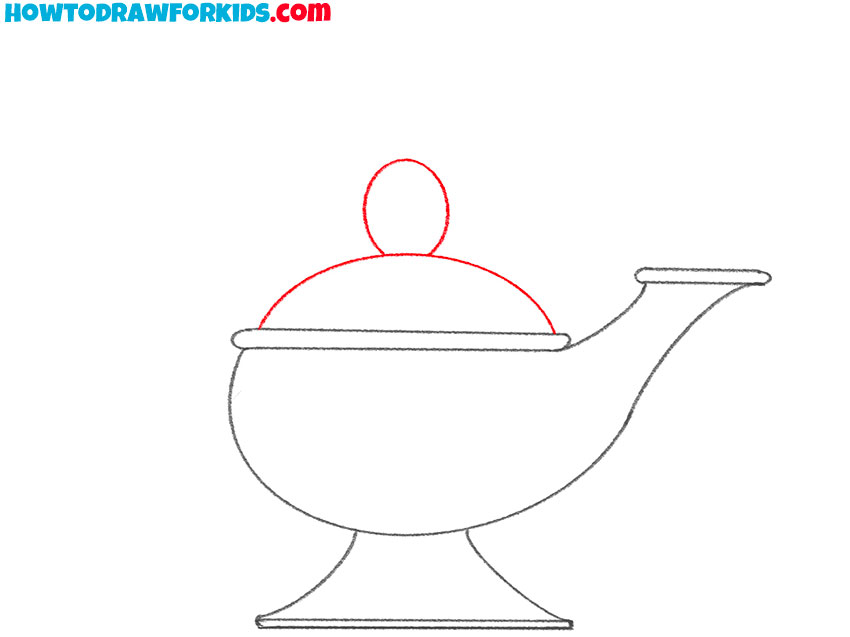
- Draw the top of the lid.
Draw an arch on top of the lamp and add a small oval on top of it.
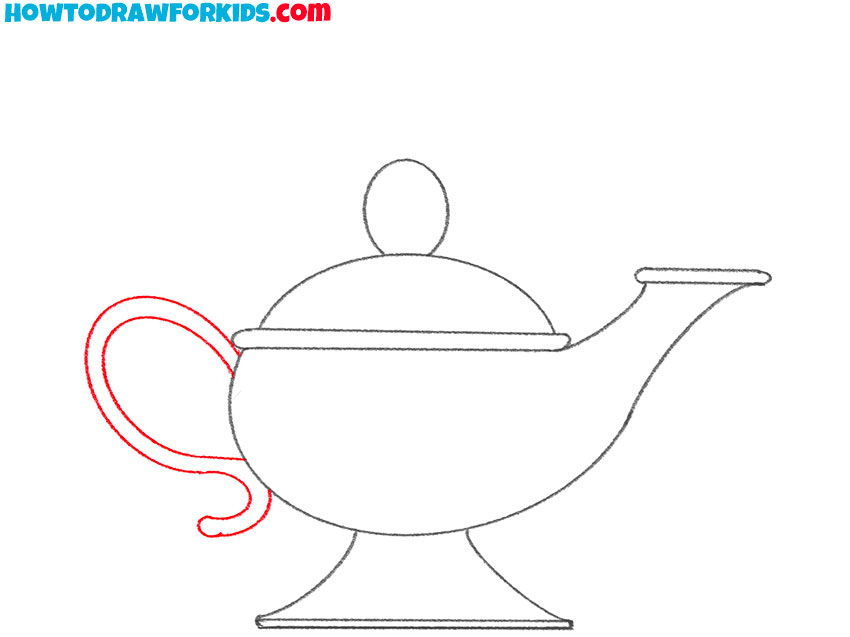
- Add the handle.
On the left side of the lamp draw a handle with two curved lines.
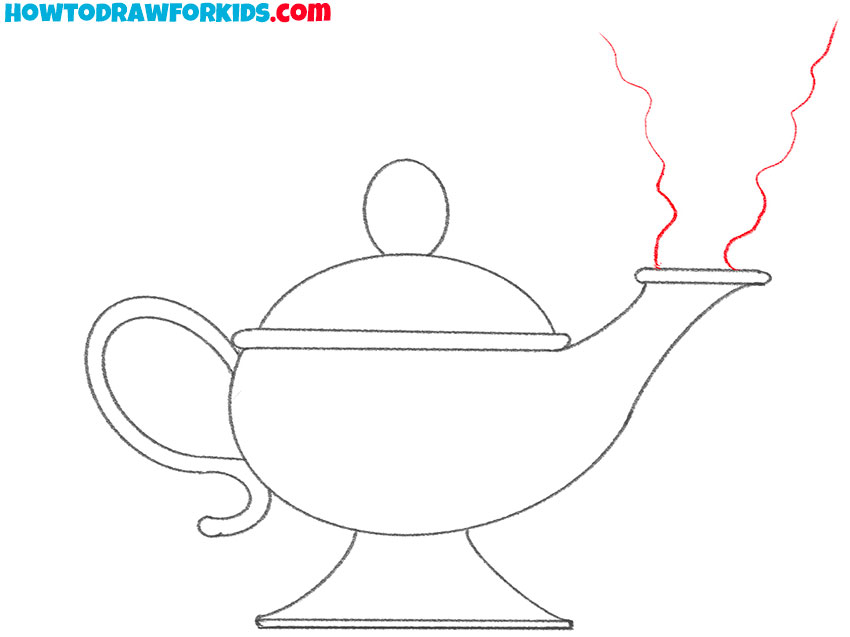
- Paint the smoke.
You can depict smoke near the lamp spout by using thin wavy lines.
- Color the drawing.
Use light orange for the lamp and blue for the smoke.
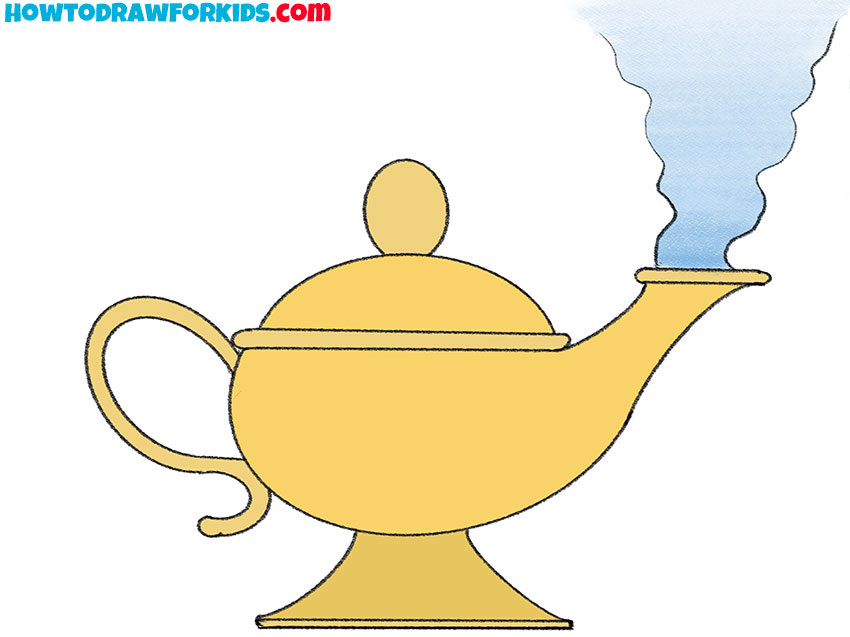
Genie lamp is ready! I hope you did a good job and that you like the result. Finally, I suggest you download a short version of the lesson in PDF format. It will help you go back to the lesson at any time.