How to Draw a Military Man
Follow these steps to learn how to draw a military man. I will guide you through really simple instruction and provide tips on how to make your drawing even more interesting.
How to Draw a Military Man: Basic Information
As is customary on my site, I won’t present a highly complex, detailed version of drawing a military man. Instead, I’ll demonstrate the simplest version, breaking down the drawing to its most basic elements.
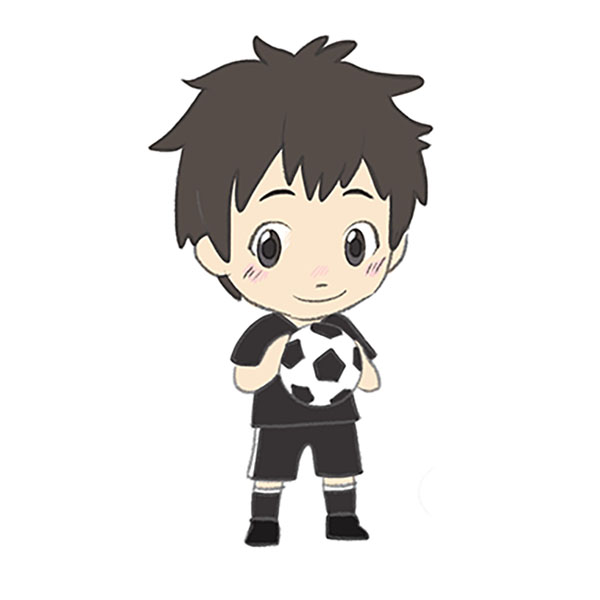
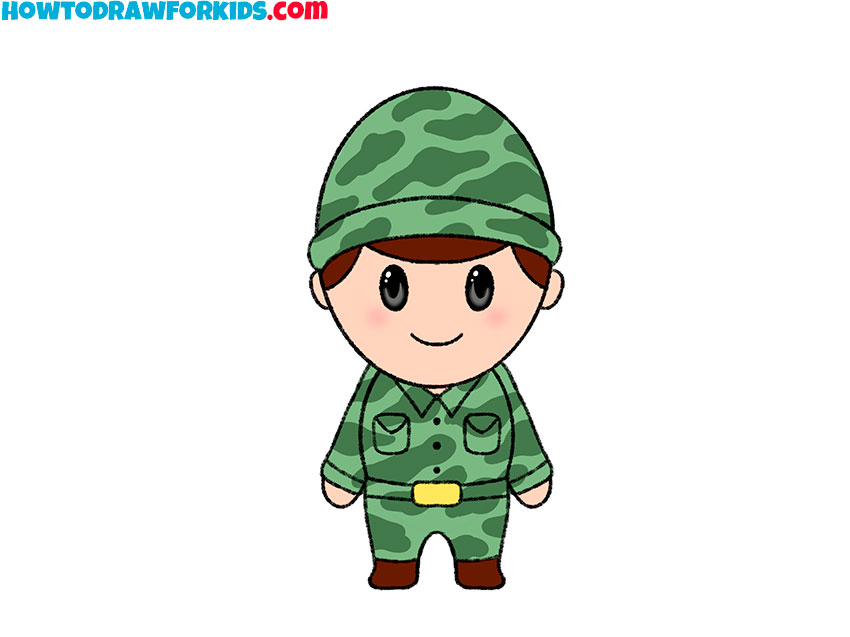
In this approach, each feature is exaggerated – big eyes, oversized head, and a compact body – making the character instantly endearing and approachable. Such a style is forgiving, allowing for creative expression without the pressure of perfect proportions.
Drawing a military man involves practicing consistent character design. This tutorial will teach you how to maintain consistency in your character’s appearance, from the shape of the helmet to the design of the uniform. Consistency is key in character design, especially if you plan to draw multiple characters or create a series of drawings.
Military characters often come with a range of equipment and accessories, such as weapons, gear, and tools. This tutorial will introduce you to the basics of illustrating these items, helping you to understand how to integrate them seamlessly into your character design.
Military Man Drawing Tutorial
Materials
- Pencil
- Paper
- Eraser
- Coloring supplies
Time needed: 30 minutes
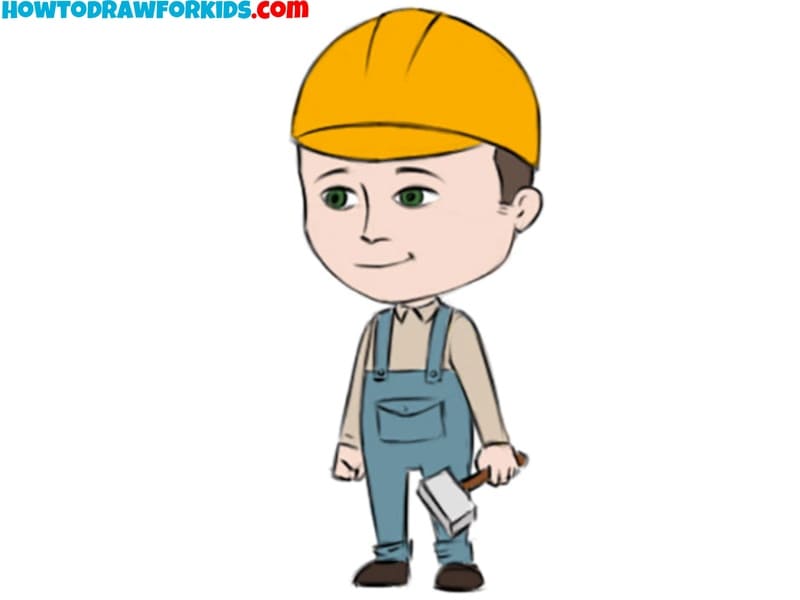
How to Draw a Military Man Step-by-Step
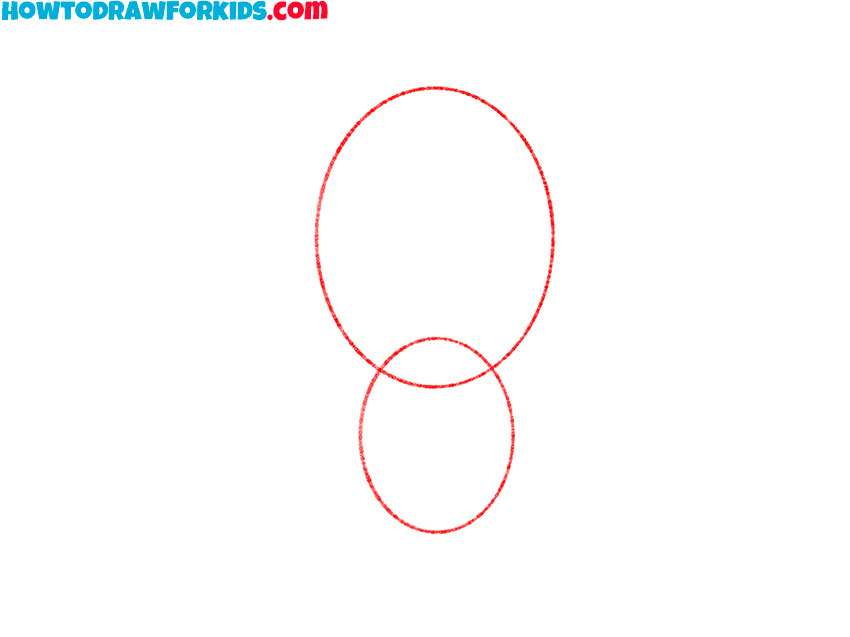
- Draw the head and torso of the military man
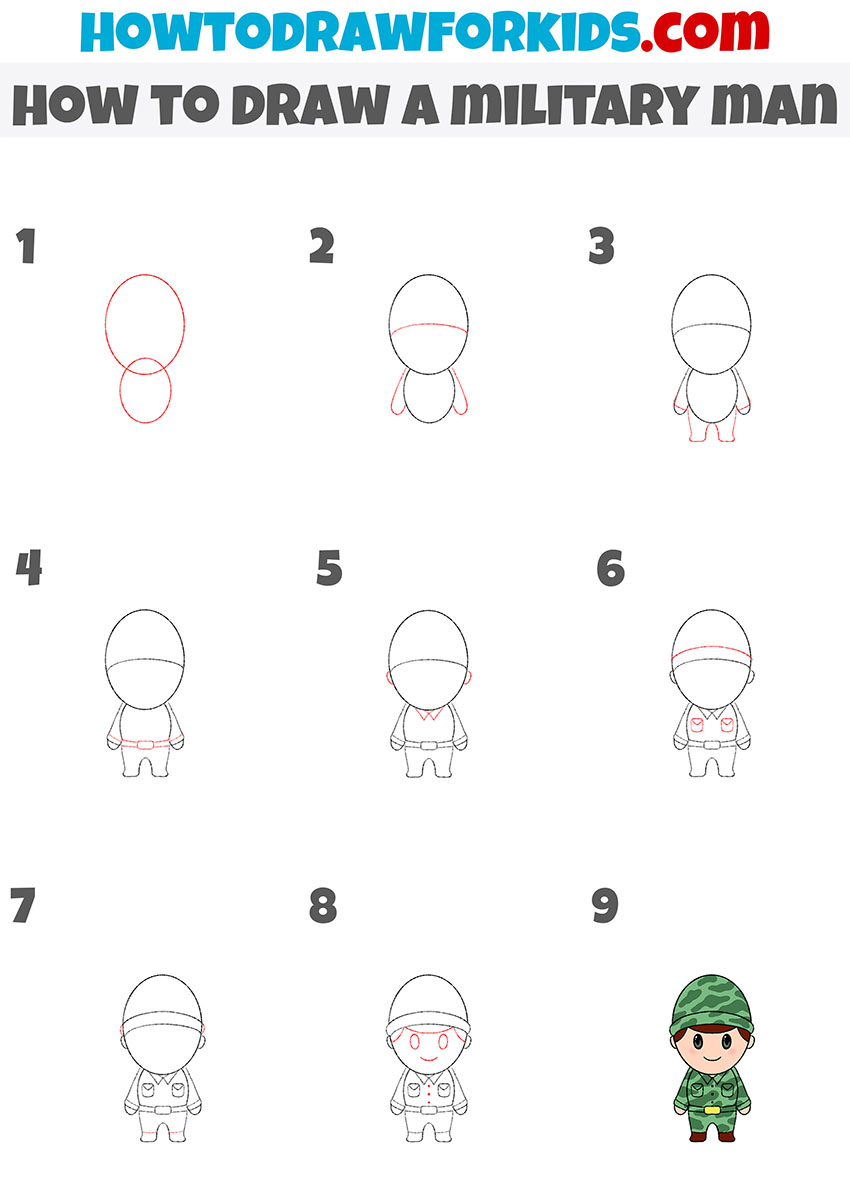
Start with an oval shape for the head. Just below the head, draw a smaller oval for the torso. The head should be larger to illustrate the character’s proportions, giving it a cartoon-like appearance. Position the torso oval so it slightly overlaps the bottom of the head, ensuring they are aligned vertically.
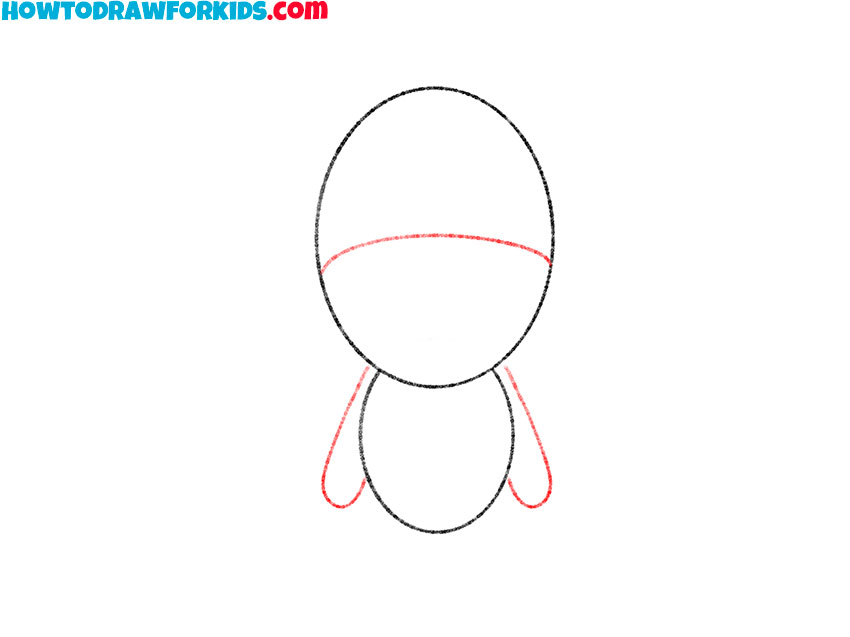
- Add the arms and the outline of the helmet.
For the arms, draw two elongated oval shapes extending from the sides of the torso, tapering slightly towards the ends. These will serve as the basic shapes for the arms. Then, draw a horizontal line across the head, about a third from the top, to serve as a guideline for the helmet’s placement.
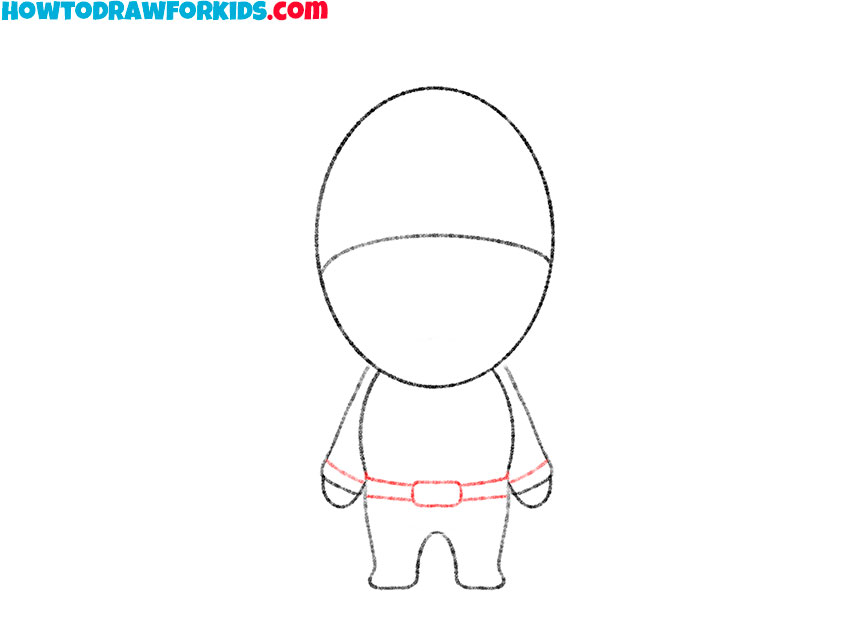
- Draw the military man legs and sleeves.
Draw two short curved shapes extending downward from the bottom of the torso to form the legs. Make sure they are equally spaced and slightly wider at the top, narrowing towards the bottom. Next draw the sleeve cuffs using simple lines. These lines will separate the arms from the hands.

- Sketch out the belt and detail the sleeves.
First, draw a horizontal line across the middle of the torso to indicate where the belt will be. Then, add a slightly wider band below this line to create the belt’s thickness. You can also add a small rectangular buckle in the center of the belt for added detail.
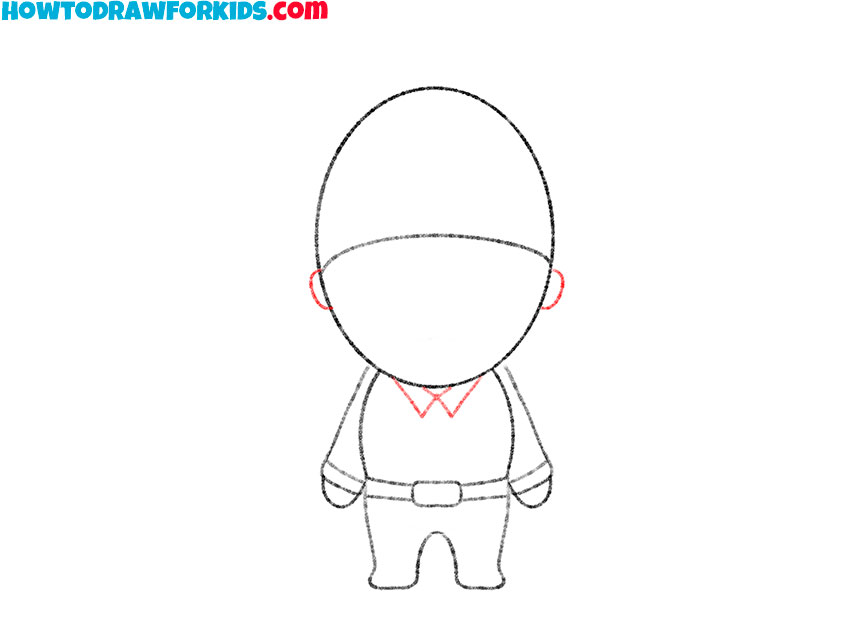
- Draw the military man ears and add the collar.
For the ears, draw small, curved lines on either side of the head, aligning them with the bottom of the helmet guideline. Next, draw a V-shaped line at the neck area to form the collar. Extend small lines from the sides of the V to create the appearance of a neatly folded collar.
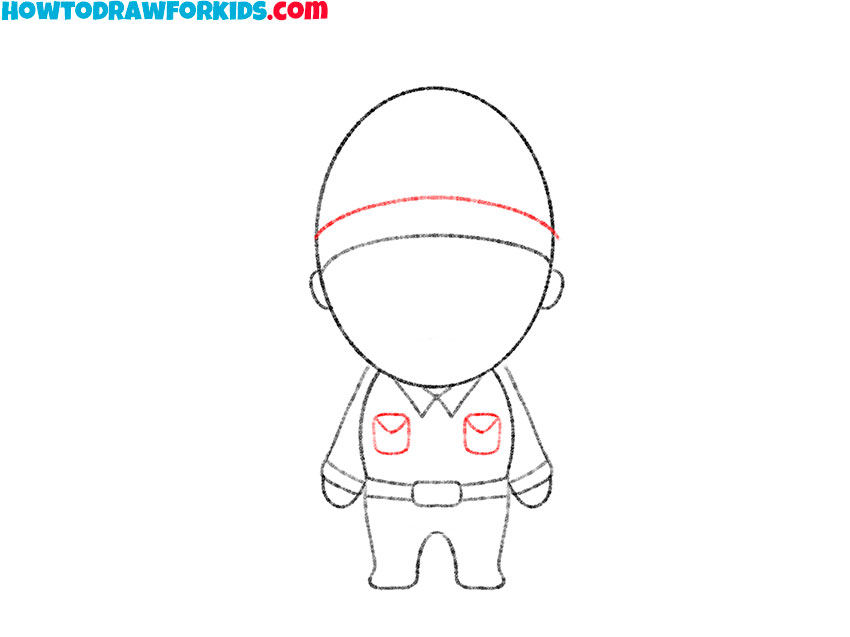
- Detail the clothing of the military man.
On the torso, add two small square shapes on either side to represent the pockets of the military uniform. These should be positioned slightly below the collar. Then, draw the brim of the helmet by extending a curved line from one side of the head to the other, following the initial guideline from step 2.
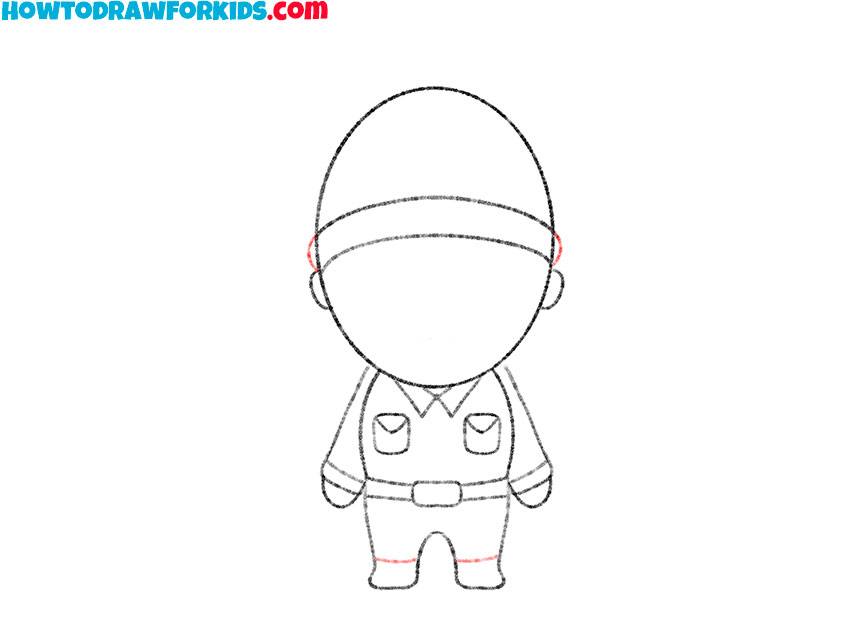
- Add more details.
At the bottom, draw two small, straight lines to separate the feet from the legs. You can add details such as pockets on your pants or laces on your shoes. To give the helmet more volume, draw two curved lines at the sides of the helmet.
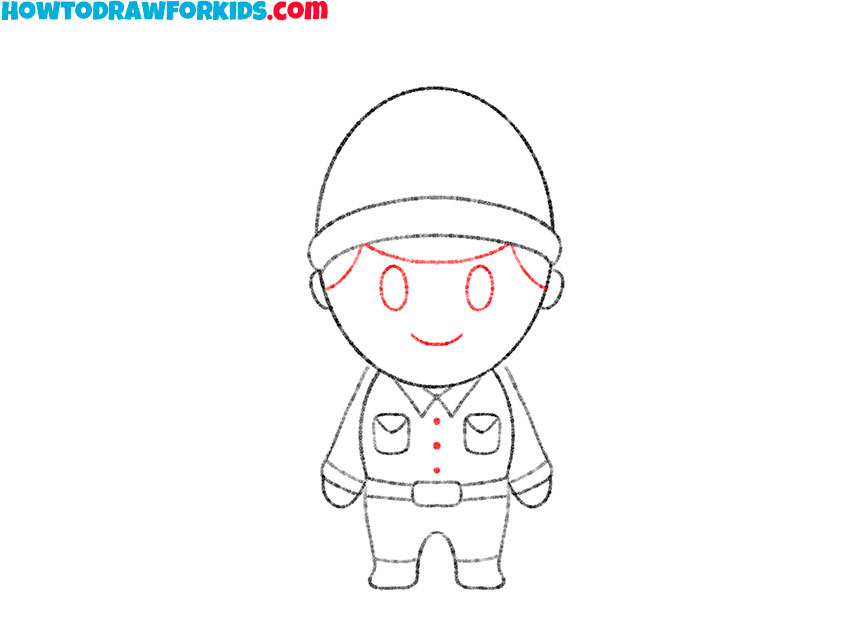
- Draw the hair, facial features and buttons.
Add two small ovals or circles for the eyes, positioned below the helmet brim and equally spaced from the center of the face. Draw a curved line for the smiling mouth, placed below the eyes. For the hair, draw a few short lines under the helmet brim, peeking out slightly from under the helmet.
- Color the military man drawing.
Use shades of green and brown for the uniform, helmet, and shoes to give a camouflaged look. Color the face with a natural skin tone and add black for the eyes. The hair can be colored brown, black or any other color. To give the eyes a more lively look, add white highlights to them.

Additional Content
I’ve prepared a free PDF file containing a condensed version of this drawing lesson for your convenience. This file also includes a coloring page, a tracing worksheet, and a grid drawing worksheet.
By downloading this file, you can continue practicing even when you’re offline, ensuring you have access to this activity anytime, anywhere.
Make Your Military Man Drawing Even Better
Certainly, improving your military man drawing involves attention to detail and practice. Here are some tips to make your military man drawing even cooler:
- Firstly, observe reference images. Look at photos of military uniforms from various sources to understand the intricate details better. Pay attention to the different types of uniforms, equipment, and insignias to capture authenticity in your drawing.
- Secondly, add textures. Use shading techniques to give the uniform fabric a realistic texture. Experiment with different shading methods, such as cross-hatching or stippling, to replicate the feel of materials like cotton, wool, or canvas.
- Next, detail the accessories. Draw pockets, badges, and other military regalia with precision. Focus on the placement and size of these elements, as well as the intricate designs of badges and insignias.
- Also, use dynamic lines. Avoid making all lines uniform; instead, vary the thickness and intensity of your lines to bring dynamism to your drawing. Thicker lines can illustrate strength and structure, while thinner lines can highlight finer details and softer edges.
- Furthermore, color selection. Choose appropriate, muted colors for the uniform, such as various shades of green, brown, and beige. These colors reflect the natural tones often found in military attire and can make your drawing more realistic. Use color strategically to highlight different parts of the uniform.
- Lastly, background context. Add a simple background to give context to your military figure, such as a base camp, field environment, or a scene that reflects the character’s role and setting.
Finally, remember that practice is key. Keep refining each element of your drawing, from proportions and details to shading and coloring. Regular practice will help you improve your technique and make your military man drawings more lifelike and impactful. By paying close attention to these aspects and continually honing your skills, you can create compelling and realistic illustrations of military figures.
Conclusion
This tutorial has guided you through a structured, step-by-step process to help you create a compelling and stylized military figure. From mastering cartoonish proportions and detailing to understanding textures and color application, each stage of this tutorial has provided you with techniques to elevate your drawing abilities.
Throughout this tutorial, you have learned the importance of establishing correct proportions for the head, torso, and limbs to ensure a cartoonish figure. You’ve added specific elements like belts, pockets, and insignias to enhance the authenticity of your drawing.
To learn more, I encourage you to subscribe to my social media channels. By doing so, you’ll stay updated on the latest tutorials, tips, and inspiration. Share this tutorial with your friends and fellow artists to spread the joy of drawing. Visit other tutorials on my site to continue training your skills and knowledge.
Each tutorial is designed to build on the techniques you’ve learned here, offering new challenges and insights. Whether you’re interested in drawing different characters, animals, or landscapes, there’s always something new to learn.