How to Draw a Cup of Coffee
Coffee is my favorite drink, and I hope yours too, because in this lesson we will learn in detail how to draw a cup of coffee in several variations.
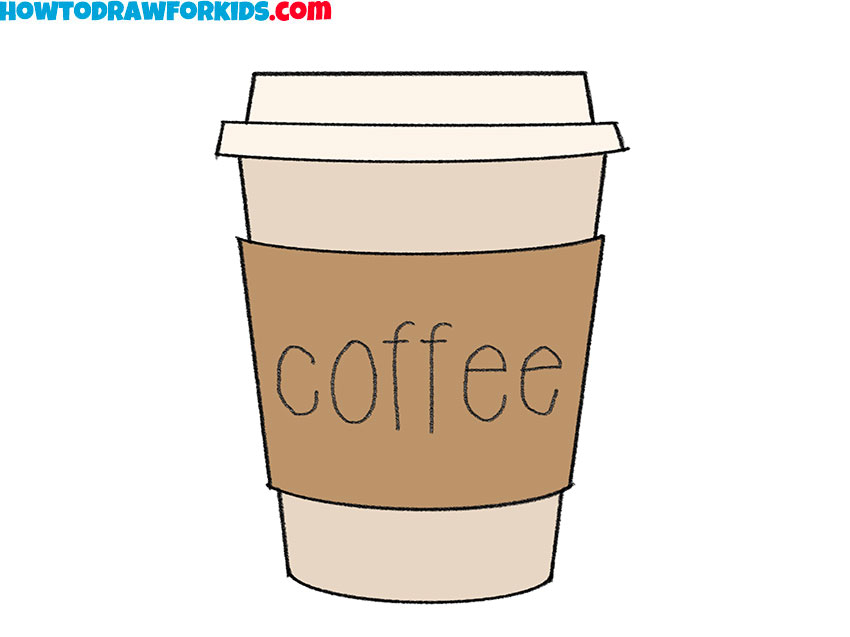

How to Draw a Cup of Coffee: Introduction
When we hear or say the word “coffee,” we immediately imagine the unforgettable aroma of this beloved drink. But the outer form, or more precisely, the cup in which it is served, appears differently in people’s minds.
For some, a cup of coffee means a paper cup from Starbucks or a similar café. For others, it’s a neat little porcelain cup with a small handle placed on a tiny saucer.
That’s why when we talk about how to draw a cup of coffee, we can mean completely different things. To make sure everyone who wants to learn to draw this popular drink can find their own version, I’ve created several variations.
In them, I will show how to draw coffee both in a paper or cardboard cup and in porcelain tableware.
Cup of Coffee Drawing Tutorial
Materials
- Pencil
- Paper
- Eraser
- Coloring supplies
Time needed: 20 minutes
How to Draw a Cup of Coffee
- Mark the side edges of the cup.
Sketch two slightly angled vertical lines, that should widen toward the top to give the cup its familiar tapered look. It is very important to draw objects like a coffee cup symmetrically, so from the very first step to the last, check for symmetry and evenness regularly.

- Draw the curved bottom edge of the cup.
Connect the two vertical lines with a curved line at the bottom. When you sketch a coffee cup, always imagine you’re drawing an ellipse at the base, but since part of it is hidden, you only see the curve. Try to keep the curve subtle but noticeable.

- Add the top rim line.
Now start illustrating the top rim with a long horizontal curve that extends a bit beyond the vertical sides. This curve should echo the bottom but appear wider. Cups always taper, so the top ellipse will be larger than the bottom.

- Add the lower band of the lid.
On top of the rim, draw a thin rectangle-like band. This represents the lower part of the coffee cup lid. This very simple detail starts to give your coffee cup drawing more realistic look. Small touches like this are what turn a basic sketch into something more identifiable.

- Complete the lid form.
Sketch another rectangular shape above the lid’s base, slightly smaller, so it sits neatly on top. This creates the full lid, which should look like it’s locking over the cup. As always, I advise you to ketch lightly first, then refine, since even small shifts in angle can throw off the look.

- Add the heat-protection sleeve.
Now illustrate the coffee sleeve, the band around the cup that protects your hand from heat. Draw two angled lines that follow the sides of the cup, then connect them with a couple of horizontal lines. The sleeve adds realism to the coffee cup drawing.

- Mark the letters across the sleeve.
To give the viewer an idea what is inside the cup, write the word “coffee” across the sleeve. This is optional, but lettering can make your coffee cup drawing look more finished. When adding text, sketch it lightly first so the spacing feels correct.

- Trace the outlines and erase guidelines.
To make your cup of coffee drawing look more finished, erase the guidelines and extra marks that are no longer needed. Additionally, you can draw some logos on your cup of coffee or write your name. And don’t forget to check the proportions before you start painting.

- Paint the cup, sleeve, and lid.
Color the lid a neutral light tone, the cup itself a pale beige, and the sleeve a darker brown. These colors are typical of disposable coffee cups, but you can experiment with custom designs. I’ve seen students decorate theirs with patterns or brand-like logos.
Additional Content
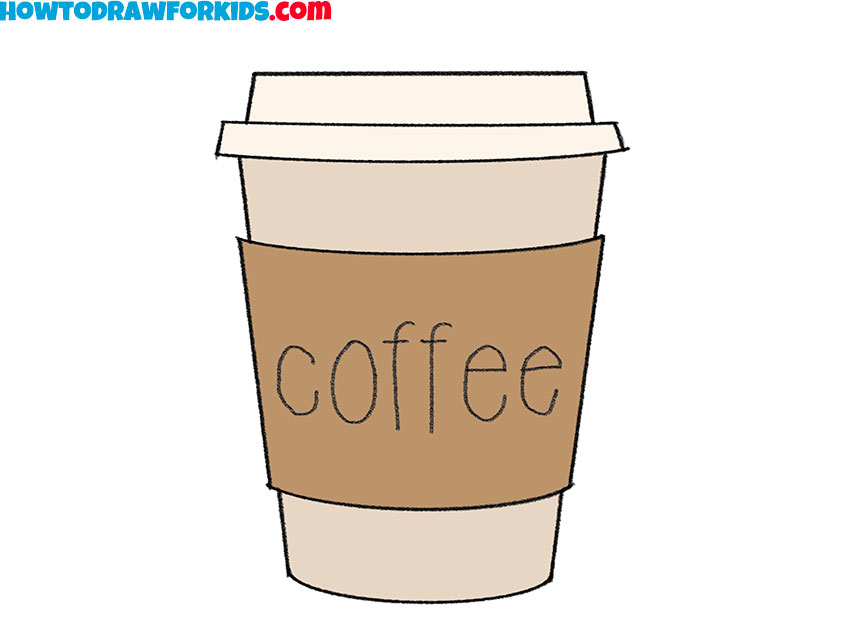
I have prepared a free PDF version of this tutorial that you can download and use offline. The file includes a shortened version of the lesson on how to draw a cup of coffee along with some useful worksheets for practice.
This format is convenient if you prefer having a printable copy or want to study without an internet connection. You can keep the PDF at hand and return to the drawing exercise whenever it is comfortable for you.
How to Draw a Cup of Coffee: Alternative Techniques
Since a cup of coffee can take on different forms, I’ve also included several alternative tutorials. These show how to draw the same subject in slightly different ways. A cup with a saucer, a more detailed porcelain version, and a simple mug of coffee.
How to Draw a Coffee Cup and Saucer
As I’ve said before, we imagine different subjects when we hear a cup of coffee. This drawing lesson shows how to illustrate a cup of coffee on a saucer using very simple shapes.
First, create an elongated oval to represent the rim of the cup, then add a rounded curve beneath to form the body, tapering slightly toward the bottom. Place another smaller oval at the base to illustrate the foot of the cup. Inside the rim, sketch a second oval to indicate the surface of the coffee. Attach a curved handle to the side.
Under the cup, outline a wide oval for the saucer and illustrate the bottom edge. Erase any unnecessary construction lines and make the outer edges clear. Shade or fill the inside of the cup with a darker tone for the coffee, and keep the rest lighter to convey porcelain.

Detailed Cup of Coffee Drawing Tutorial
This tutorial shows a slightly more detailed coffee cup placed on a saucer.
Create a long oval to mark the rim of the cup, then add another oval inside to define the thickness. Indicate the surface of the coffee with a smaller curve inside. Extend smooth curved lines downward to shape the body of the cup, making sure the sides remain symmetrical.
Sketch an oval on the side to outline the handle, then refine it with a smaller inner contour to give it a proper grip. Under the cup, place a large horizontal oval for the saucer and add an inner oval. Erase unnecessary construction lines and trace the main edges. Shade the interior oval to represent the coffee and keep the rest lighter.

How to Draw a Mug of Coffee
Another variation shows how to draw a mug of coffee, with a taller and simpler shape compared to the previous cup versions. Additionally, I will teach you how to convey the effect of a hot drink inside a cup.
To begin, illustrate an oval to represent the top of the mug, then extend two long curved lines downward to shape the sides. Close the form at the bottom with a smooth curve to create a rounded base. Add the handle on the side by sketching a large oval-like shape that attaches to the mug, then detail it with an inner contour for thickness.
Indicate the inner oval of the coffee surface and draw a smaller curve inside. Place curved lines along the mug and handle to show highlights and add a simple wavy line at the top to represent steam. Erase construction lines carefully, trace the main contours, and add flat tones for the mug of coffee and darker shading for the coffee inside.

Conclusion
With these steps, you now know how to draw a cup of coffee of different shapes and types. Practicing this sketch helps you get better at drawing everyday objects. If you’d like to continue working on food and drink themes, you can also look at the cookie drawing tutorial or the cake drawing guide, which go well with this lesson.
Another option is visit my collection of food coloring pages, which is a good complement to this tutorial and will give you more practice with colors and tones.

I like your drawings
Thank you, Inaya. I’m glad you enjoy them. There are many more drawing lessons on the site you might like too.