How to Draw a Nail
I suggest you complete a new lesson on how to draw a nail. The instruction is very simple and contains only six steps.
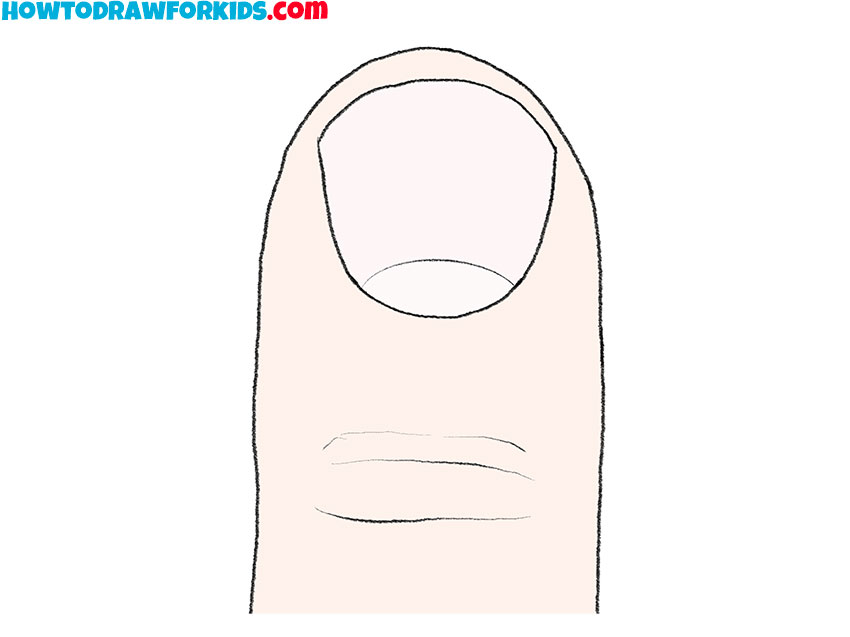
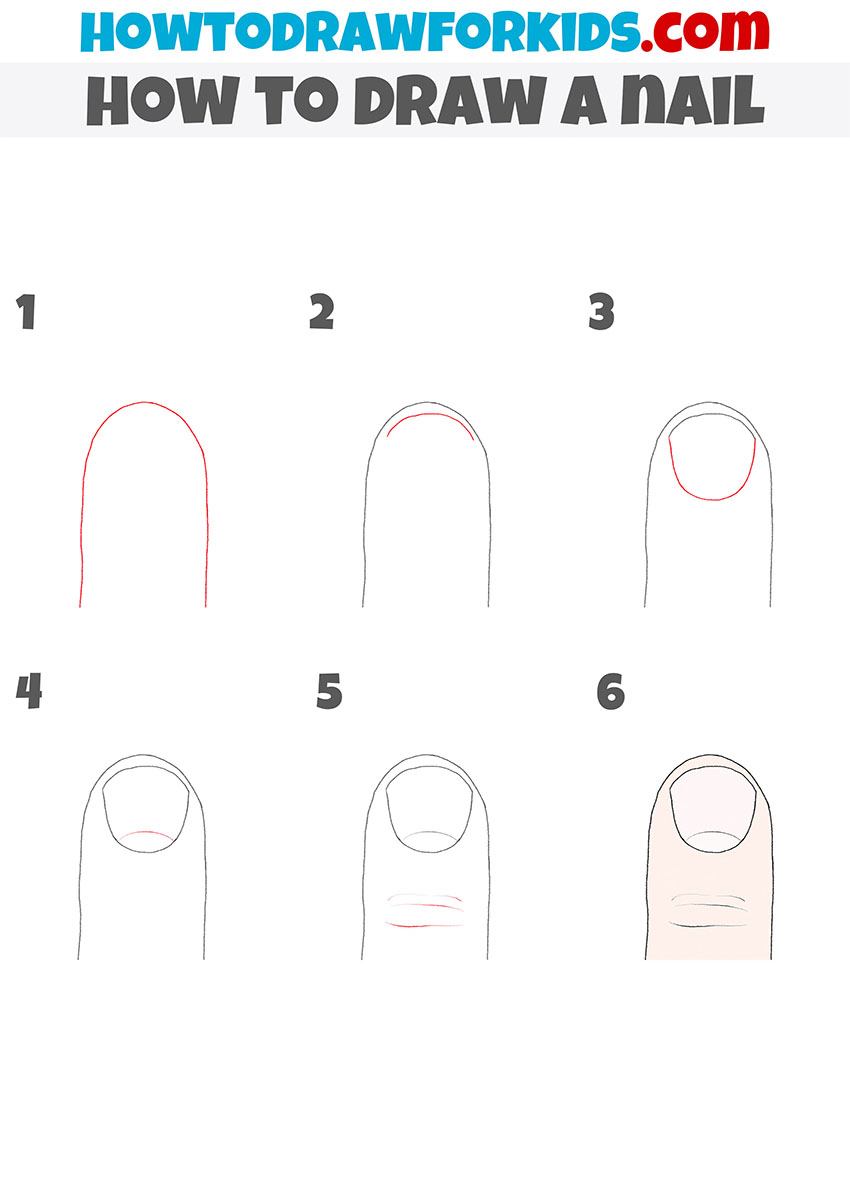
If you want to learn how to draw different parts of the human body, then this lesson will be very useful for you, because now I will show you how to draw a nail step by step. This will be one of the easiest lessons that are presented on this site, and I am sure that you can easily cope with this creative task.
First you have to draw the outline of the finger and then add a nail on it. Keep in mind that each person’s nail plate has its own individual shape.
In this tutorial, it is allowed that the shape of the nail will be slightly different from my example. The main thing is to remember the sequence of steps.
Materials
- Pencil
- Paper
- Eraser
- Coloring supplies
Time needed: 30 minutes
How to Draw a Nail
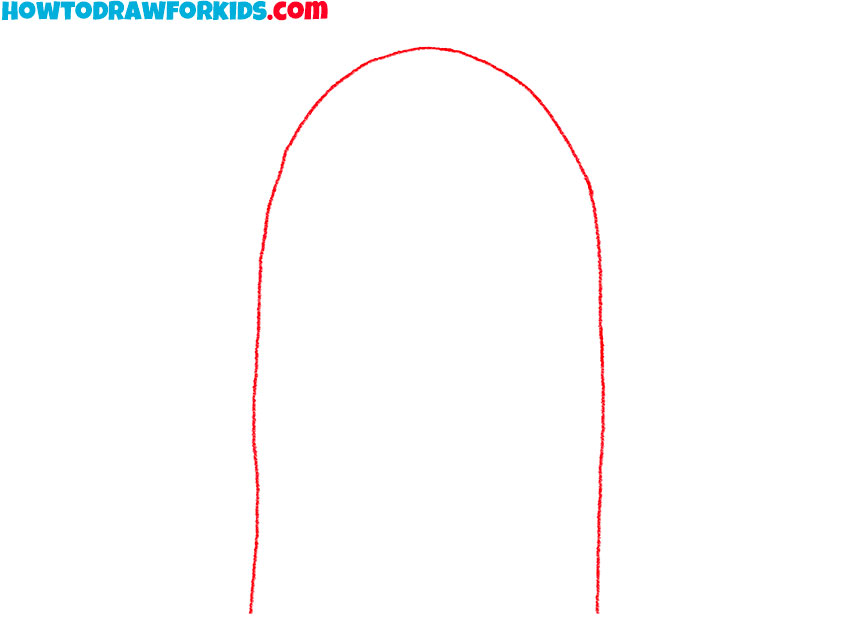
- Draw the outline of the finger.
Determine the size of your drawing using a curved line to draw the outline of the finger.
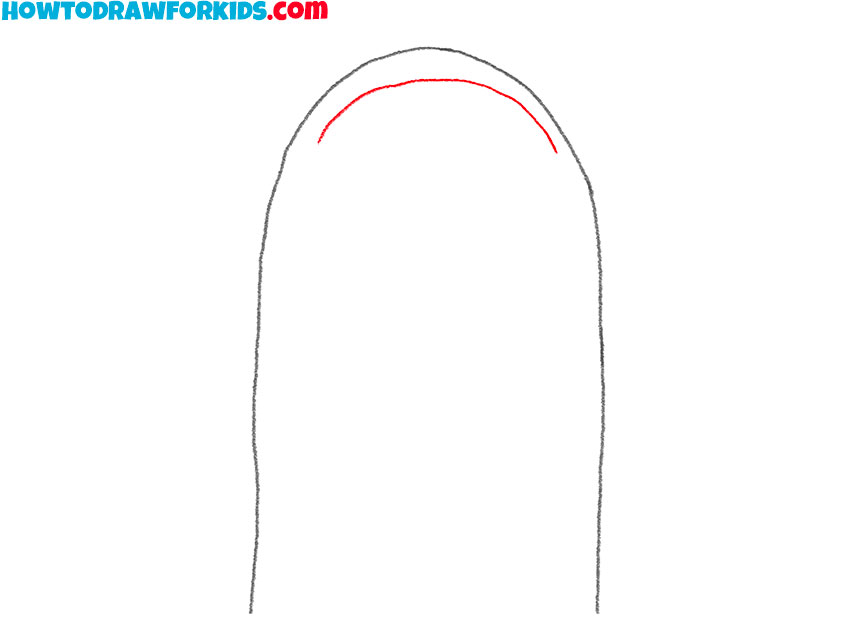
- Sketch out the top outline of the nail.
Depict the small, curved line across the top of the finger.
- Add the rest of the nail.
Draw a curved line to end up with a closed path.
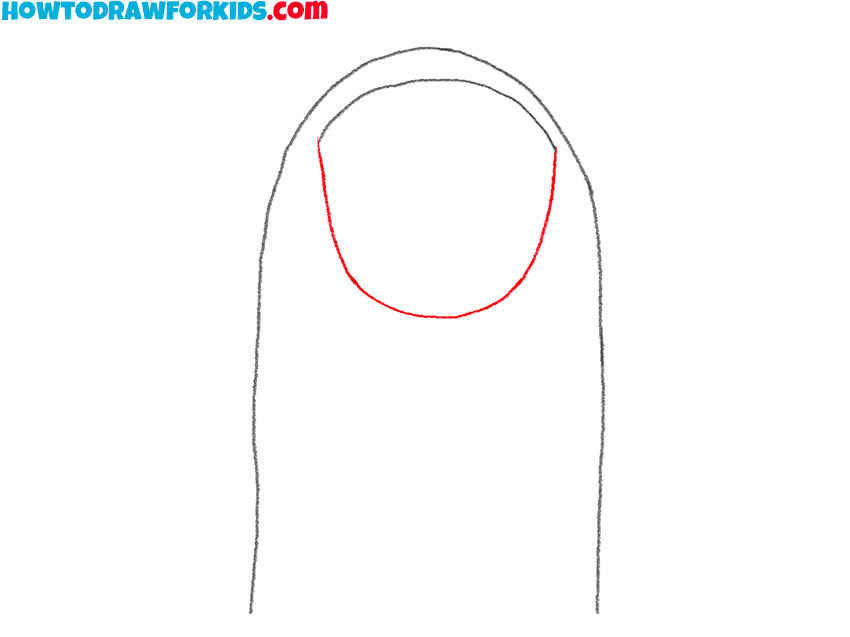
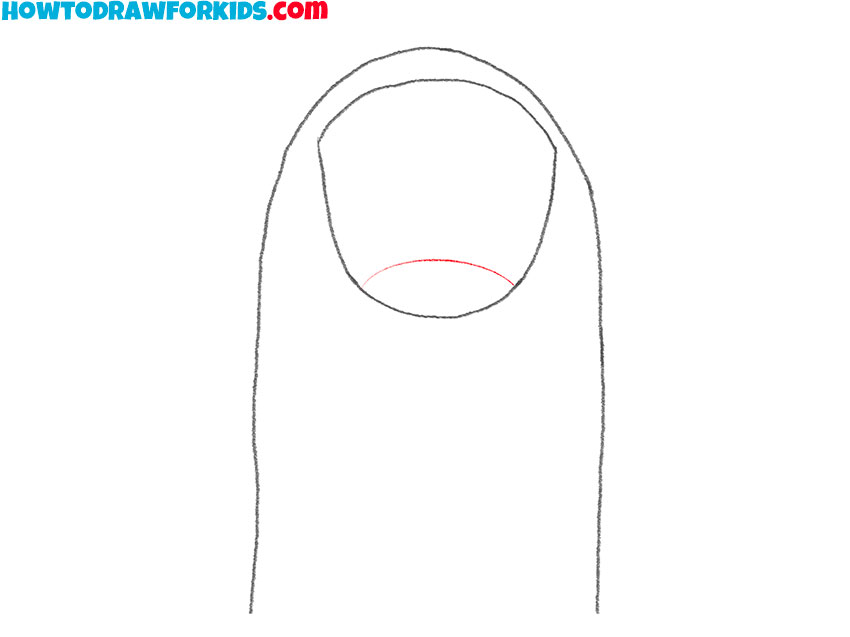
- Detail the nail.
Using a curved line, draw the outline of the light strip at the base of the nail.
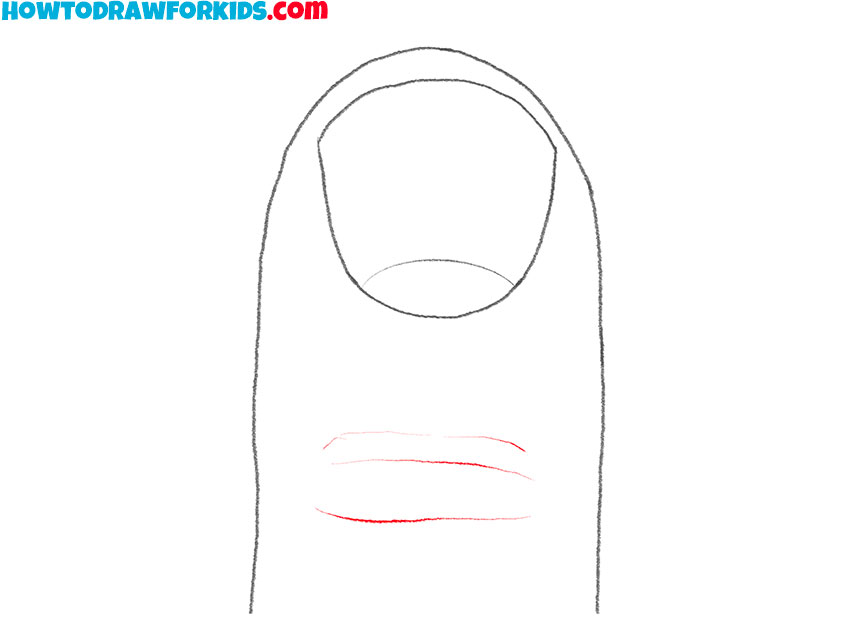
- Depict the folds of the skin
On the crook of the finger, draw a few thin smooth lines, as shown in the example.
- Color the drawing.
For coloring, use any natural shade.

Now you know how to draw a nail step by step. I would be glad if you leave a little feedback about this lesson in the comments. Also, you can offer your ideas for the next drawing lessons, and I will definitely take into account all your wishes. Download a PDF file with a short version of the lesson and draw at any convenient time.


