How to Draw a Pelican
This bird has one of the most unusual and recognizable appearances, and we will convey it in this tutorial on how to draw a pelican.


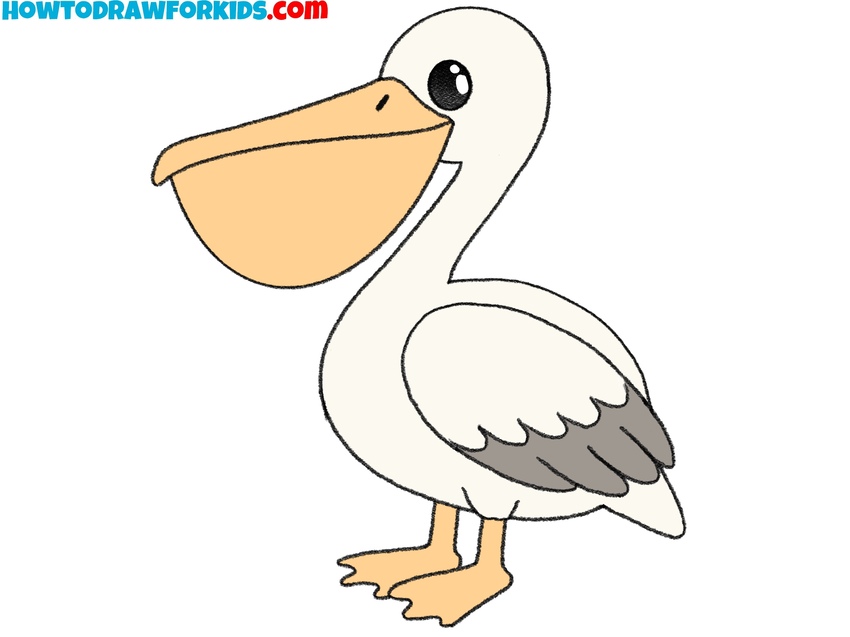
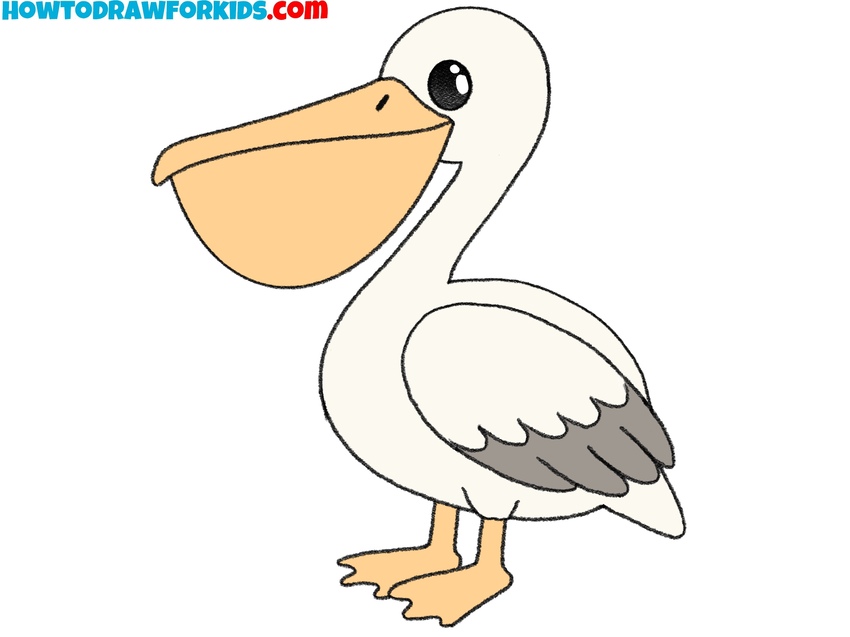
In this tutorial, I want to show you how to draw a pelican. This is a large waterfowl. The pelican has a massive body, short and thick webbed paws, and a short tail. But the main feature of this bird is a long beak, under which there is a large bag, making the beak very roomy.
I think you will have a lot of fun drawing this amazing bird. It will be very easy to do this because the lesson is adapted for beginners.
In this tutorial, you will follow six simple steps. Therefore, feel free to follow this lesson, even if you have little experience in drawing. Be careful and attentive and you will get excellent results.
Materials
- Pencil
- Paper
- Eraser
- Coloring supplies
Time needed: 25 minutes
How to Draw a Pelican
- Sketch bird’s head and body shapes
To build the foundation of the pelican, sketch two simple ovals that will serve as guides. Draw a smaller oval at the top for the head and a larger one below it for the body. Position them apart so that later you can connect them with the neck. Sketch these lines using very smooth and light lines since these shapes are construction guides, not the final outlines.

- Draw the bird’s neck and eye.
Pelicans are recognized for their long, curved necks, so connecting the head and body properly is important. From the sides of the head oval, sketch two gently curved lines that slope downward and attach to the top of the body oval. Keep these curves elegant and natural. Next, draw the pelican’s eye inside the head oval, drawing a small circle near the central area of the upper oval.

- Draw the pelican’s beak.
The pelican’s most distinctive feature is its beak, so now let’s start drawing it. Begin at the front of the head, and draw a couple of long, smoothly curved line projecting forward. After that, draw a small nostril on the base of the beach, close to the head shape.

- Illustrate the bird’s pouch.
Pelicans are also famous for the large throat pouch beneath their beak, so let’s sketch that next. From the lower edge of the beak end, draw a sweeping curved line that arcs downward and connects back to the neck of the pelican.

- Sketch the wing shape.
To give the body som detail, draw the main wing shape along the side of the oval. Start with a large, curved oval-like form overlapping the body, slanting backward. This will represent the folded wing resting against the pelican’s side. Form the feathered edge by sketching short, rounded tips at the bottom of the wing.

- Sketch the curved feather lines.
Wings look more natural when they show texture, so now sketch some feathers. Along the lower edge of the wing, draw rounded, scallop-like shapes to convey overlapping feathers. You might also add a few shorter lines near the top of the wing to illustrate smaller feathers.

- Draw the legs and tail of the pelican.
A pelican needs strong legs and webbed feet to move and swim, so let’s draw them now. Extend two very simple lines for each leg. At the bottom, sketch wide, webbed feet with three visible toes. If you want to draw your pelican in another pose, you can change the stance, making one foot lifted. After that, sketch the tail of the bird using a simile curved shape.

- Erase all remaining unwanted shapes.
At this stage, the drawing is fully built, but extra lines make it look messy and incomplete. Carefully erase the unnecessary parts of the original ovals for the head and body, as well as the inner marks where the wing overlaps the body and the pouch meets the beak. Be precise here so you don’t erase important features like the eye or feathers.

- Fill the pelican with authentic color.
Color makes the pelican look more finished, and you can keep it natural or cartoon depending on your style. Use light beige or white for most of the body, with gray or darker shading on the bottom of the wings. The beak and the legs should be orange or yellow. The eye can remain black with a small white highlight. If you want a cartoon variation, try brighter colors, and for a more realistic version, use more muted tones.

Bonus: How to Draw a Pelican in 6 Steps
To draw this more simplified version of a pelican, outline the head and neck as a curved line that leads into the round shape of the body.
Then, sketch the large beak by attaching an elongated oval to the head. Add another line inside the beak to illustrate its pouch. Draw the wing as an oval shape within the body, and place a small circle on the head for the eye. After that, sketch two simple straight legs with short feet.
Finish drawing a pelican and color the body in light gray, the beak in orange, the legs in brown, and paint the eye black with a small highlight.

Conclusion
Fine! The lesson of the step-by-step drawing of a pelican is completed and now you can evaluate the result. I hope you did a good job and are now proud of your creative abilities. You can show the result of your work to your friends and offer to do drawing lessons together. You will definitely enjoy this activity. I will also be glad to see you among the subscribers on social networks.


love the drawings
Thank you so much!