How to Draw a Pizza Pie
This tutorial will show you how to draw a pizza pie, one of the most popular and beloved foods enjoyed all around the world.

How to Draw a Pizza Pie: Introduction
To show you how to draw a pizza pie, I’ll be using a fairly classic example with mushrooms and pepperoni. However, just like in most of my other drawing tutorials, you’re completely free to change the toppings and customize your pizza to give it a more personal look.
Pizzas come in a wide range of shapes and types. Some have thick, fluffy crusts, while others are thin and crisp. The edges can be bold and raised or barely visible. And as for the variety of toppings – there’s really no limit.
Using this tutorial, your can draw any pizza, from simple options like Margherita or pepperoni to fully loaded pies topped with anything imaginable, including pineapple and anchovies. By the war, let me know in the comments if you enjoy these more unusual pizza combinations.
To learn how to draw a pizza pie, all you really need is the ability to draw rounded lines and place objects in a loose, random arrangement. If you’re ready, let’s get started.
Pizza Pie Drawing Tutorial
Materials
- Pencil
- Paper
- Eraser
- Coloring supplies
Time needed: 30 minutes
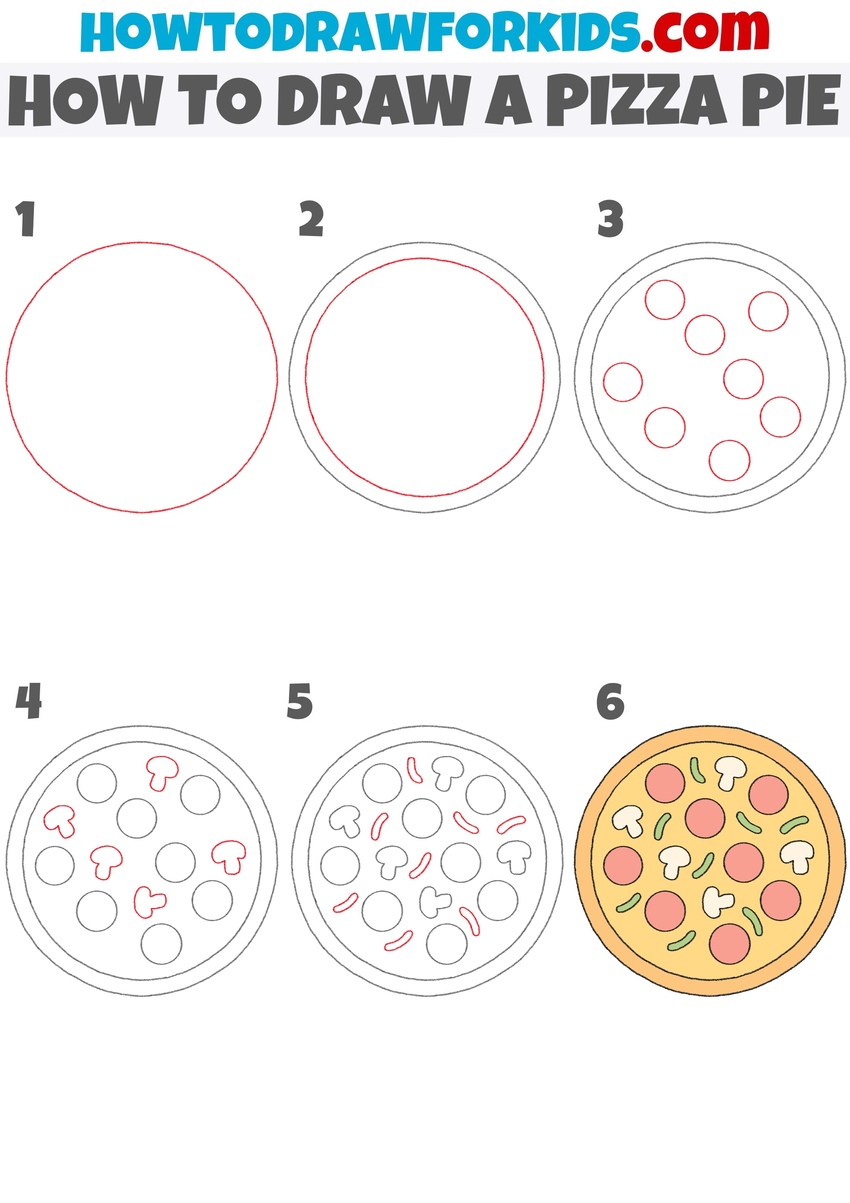
How to Draw a Pizza Pie
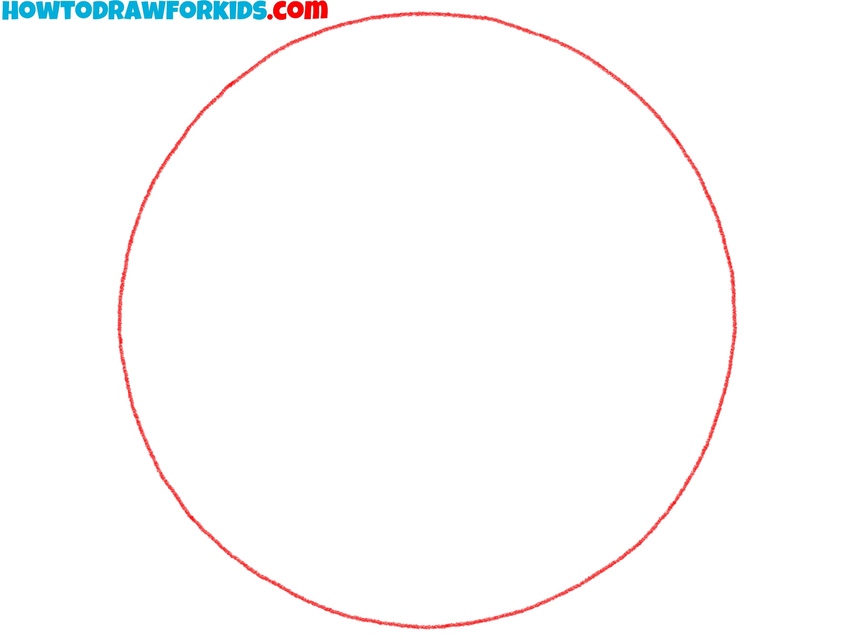
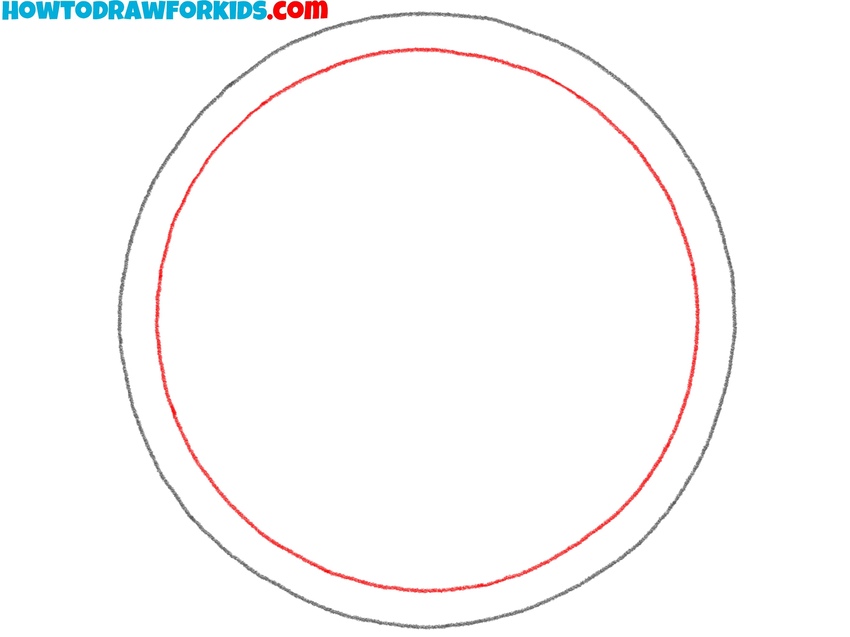
- Draw the pizza pie outer shape.
First, sketch a large circle to illustrate the basic shale of the pizza pie. This will serve as the outline of the entire pie. The circle doesn’t have to be perfectly symmetrical – a slightly uneven shape can make the pizza look more natural and handmade. Use a pencil and light pressure at this stage so you can adjust the shape.
- Mark the topping zone.
Inside the first circle, draw a second, slightly smaller circle to mark the inner edge of the crust. Try to keep the distance between the two circles uniform to create a consistent crust width all the way around. Like before, don’t worry if the line isn’t perfect – imperfections add realism to your pizza pie drawing.
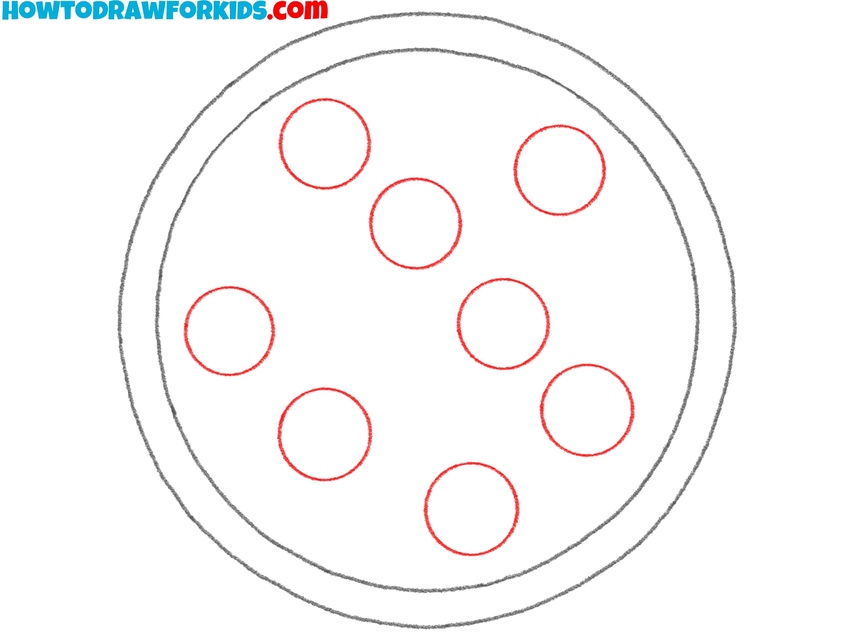
- Draw the pepperoni slices.
Start placing circular shapes randomly inside the inner circle to represent slices of pepperoni. Make each circle about the same size, but vary their positions so they don’t look too uniform. The goal here is to create a natural, scattered look.
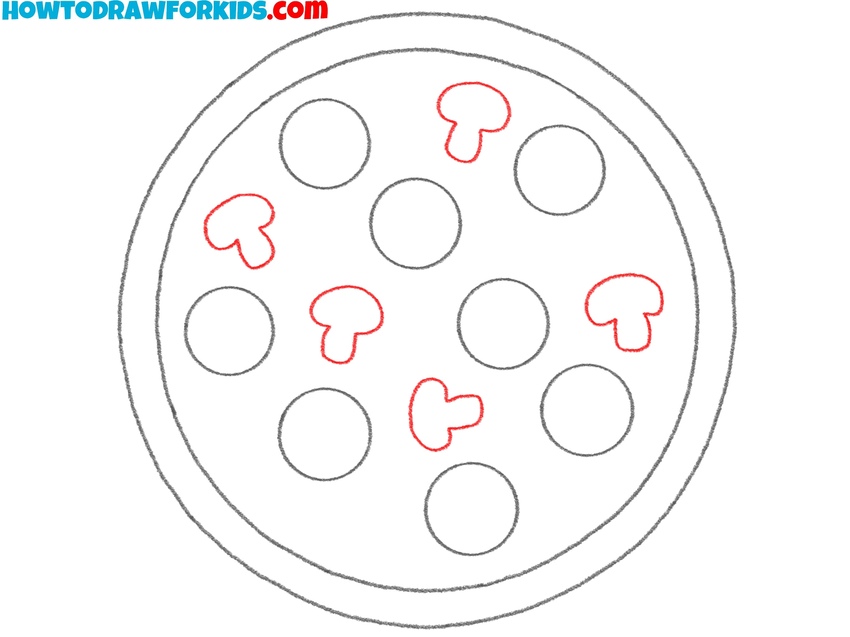
- Sketch the mushroom slices.
Now draw mushroom slices between the pepperoni pieces. Each mushroom should have a rounded cap and a short stem, forming a classic mushroom silhouette. Vary the angle and direction of the mushrooms to make them look more realistic. Don’t overcrowd the pizza. Keep the mushrooms similar in scale to the pepperoni.
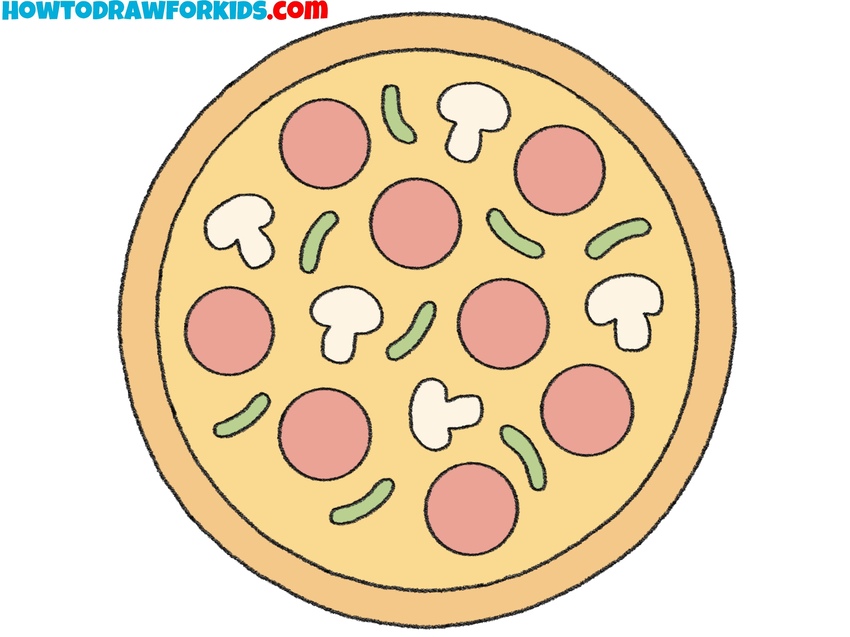
- Draw extra toppings on your pizza.
To make the pizza look more complete, add small curved strips to represent sliced peppers or onions. These thin shapes fill in the empty gaps and add color contrast later during the coloring stage. Draw each strip in a curved shape, varying the orientation and size. Make sure you don’t clutter your pizza pie drawing.

- Complete the pizza pie drawing.
Use colored pencils or markers to color the crust a warm golden brown. The inside base of the pizza can be colored light yellow or tan to represent cheese. For the toppings, use red or dark pink for the pepperoni, light beige or gray for the mushrooms, and green for the pepper or onion strips.
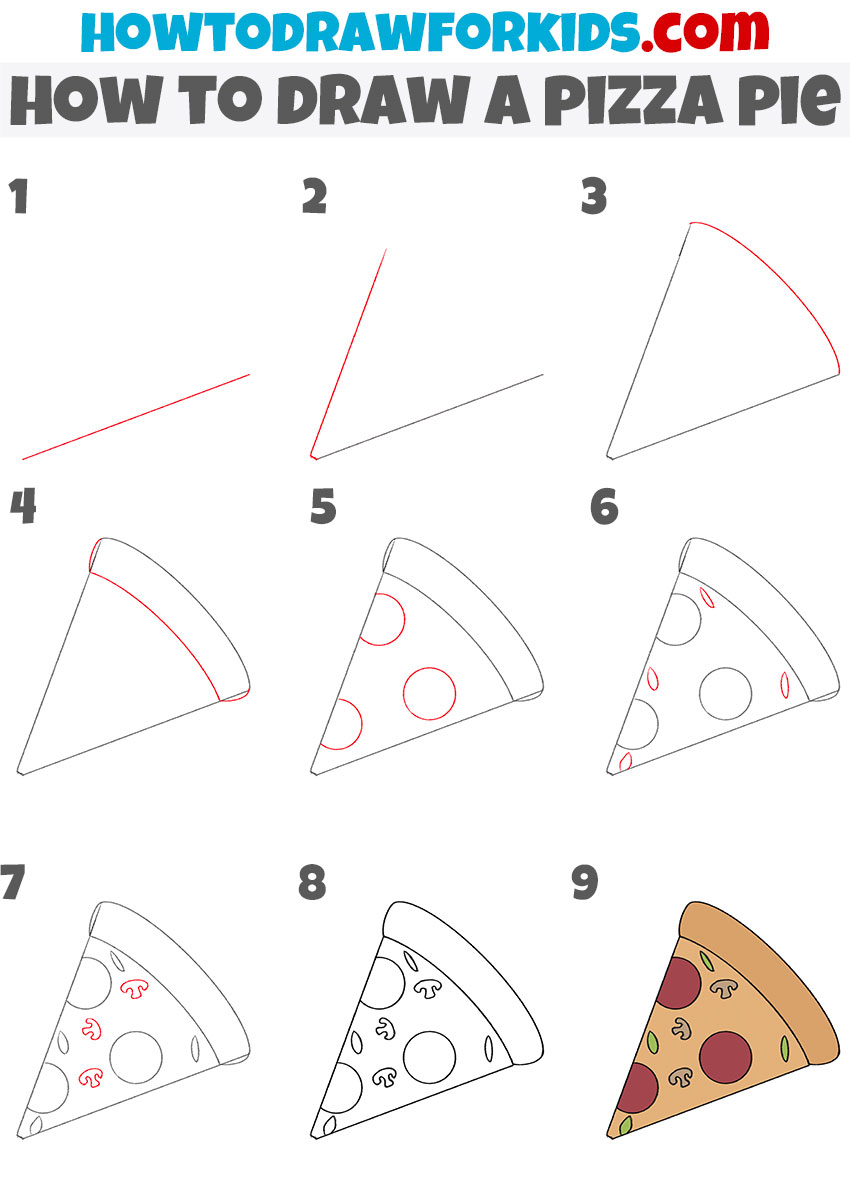
How to Draw a Piece of Pizza Pie
This method shows how to draw a single piece rather than a full pizza. Unlike the first tutorial, which used a circular base and even topping layout, this one uses angled lines. This additional method will help you to learn how to draw a pizza pie in more detail.
To draw a piece of pizza pie, begin with two angled lines that meet at a point, forming the triangle base of the slice. Connect the open end with a smooth curved line to close the shape. Add the crust by drawing a thick curved edge at the top. Inside the slice, draw large circles for the pepperoni. Add small ovals for additional toppings like green peppers. Place mushroom shapes in the remaining empty spaces.
Make sure the toppings appear randomly spread across the surface for a more realistic look. Keep proportions simple and use light pencil strokes at first. After completing the outline, trace everything with a black pen or marker. Color the slice with tan for the cheese, brown for the crust, red for the pepperoni, and green for the vegetable toppings.
Conclusion
This pizza pie drawing tutorial was truly simple, as we didn’t include any complex shapes or details. At the same time, it was meant to help you practice drawing circles – especially symmetrical ones placed evenly in relation to each other.
It also aimed to teach you how to arrange patterns in a random layout that still looks natural and realistic. Try drawing another pizza using your favorite toppings, and take a look on my Pinterest account to see what kinds of pizza other young artists enjoy drawing and eating.