How to Draw a Runner
I have prepared a very useful drawing lesson for you in which I will show you in detail how to draw a runner step by step.
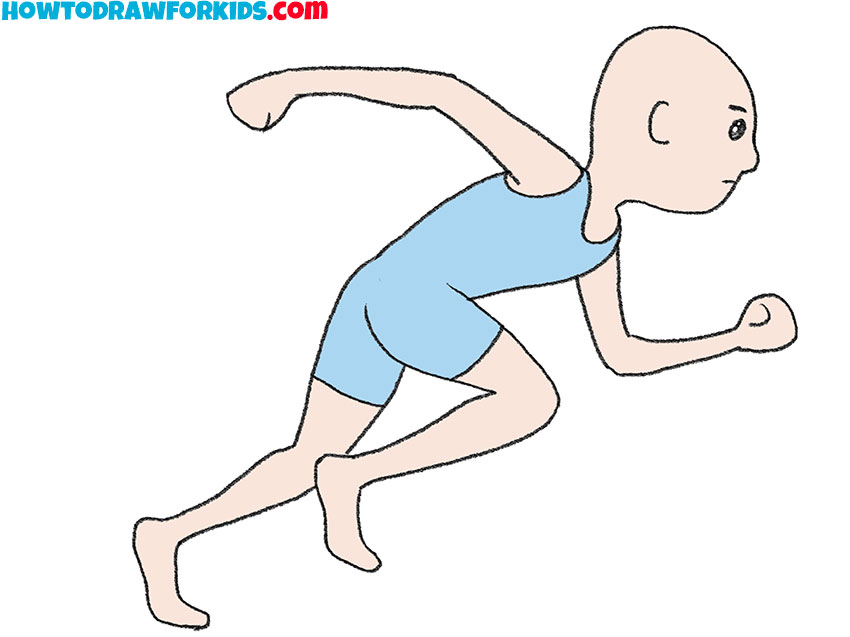
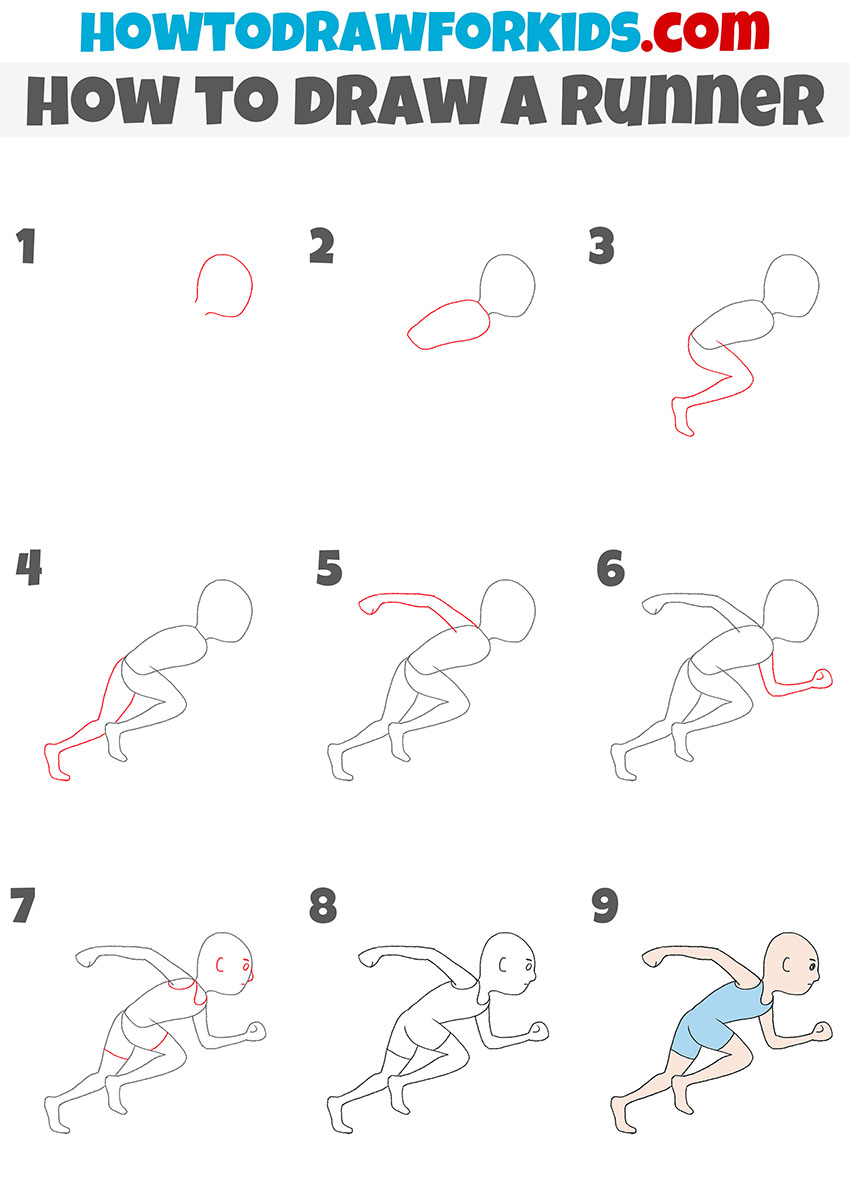
So, I am glad to bring to your attention a fascinating drawing lesson in which you will learn how to draw a runner step by step. The ability to draw people is very important for artists.
The runner is an athlete who engages in some form of running. Surely you have seen runners at various sports competitions more than once on TV, on the Internet or live.
If you already want to start this lesson as soon as possible, then you can prepare the necessary art supplies right now, and then follow this instruction and enjoy the creative process.
Materials
- Pencil
- Paper
- Eraser
- Coloring supplies
Time needed: 30 minutes
How to Draw a Runner
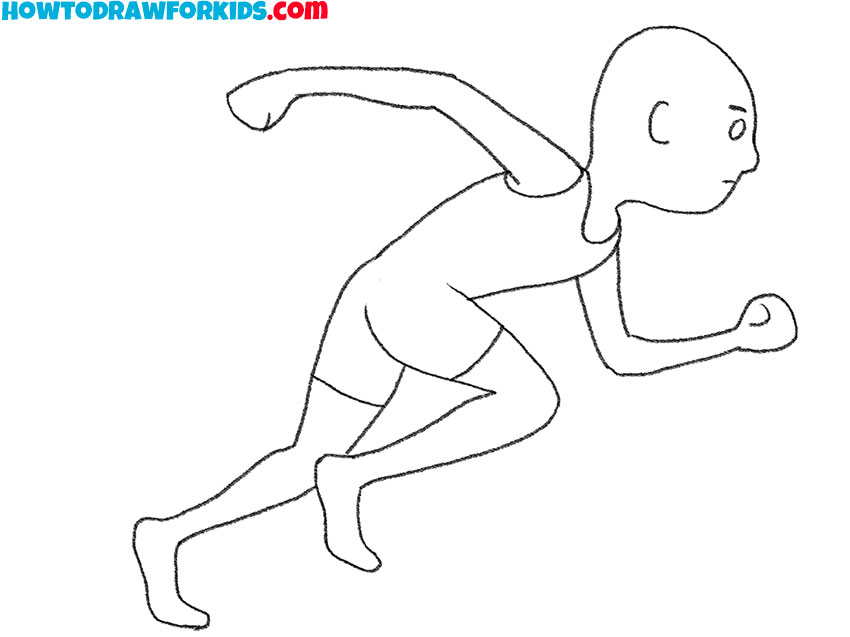
- Draw the outline of the head and neck.
To complete this simple step, you need to draw one curved line, as shown in the picture.

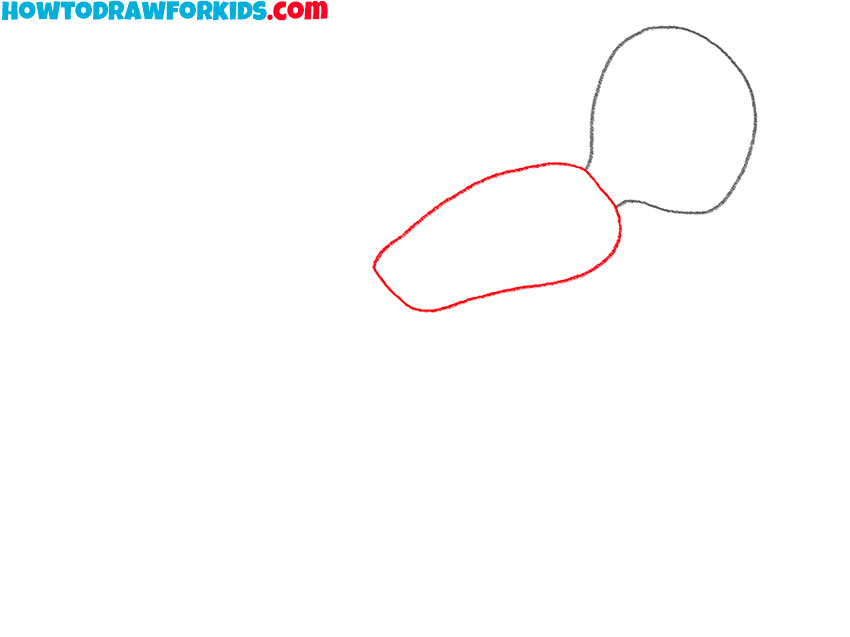
- Add the upper body.
On the left side of the drawn runner’s neck, draw the deformed oval shape using a curved line.
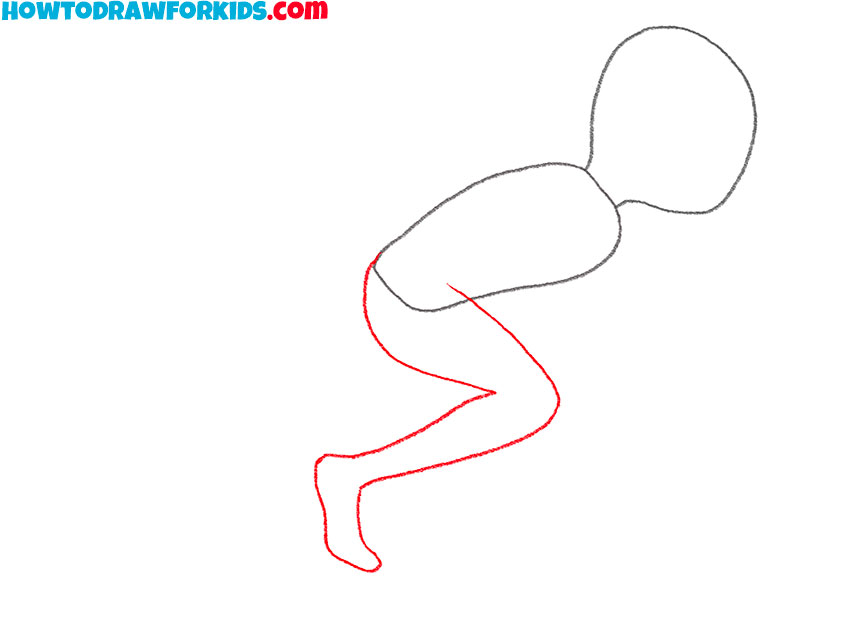
- Depict one leg.
Below the drawn outline of the torso, depict one leg bent at the knee, using curved lines.
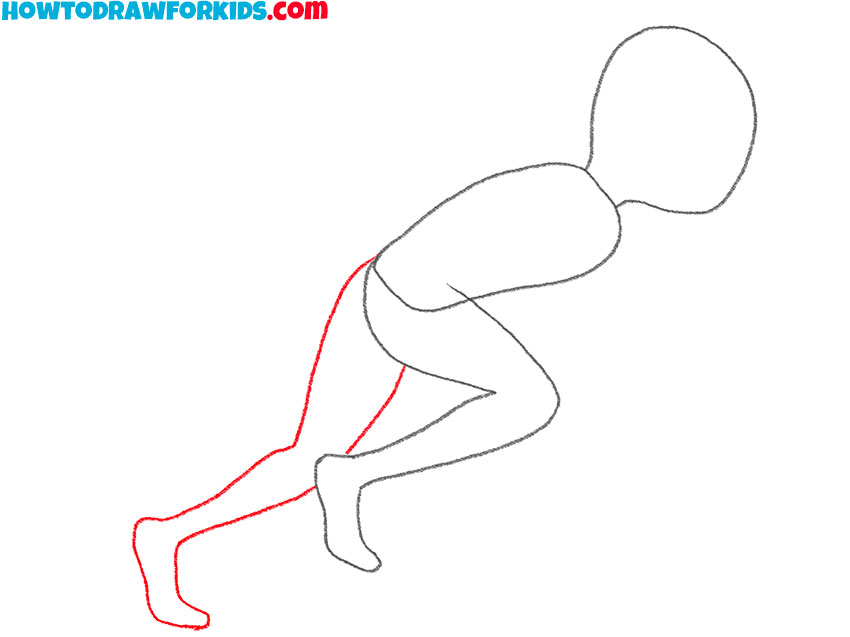
- Add the outlines of the second leg.
This leg is located in the background of the previously drawn one.
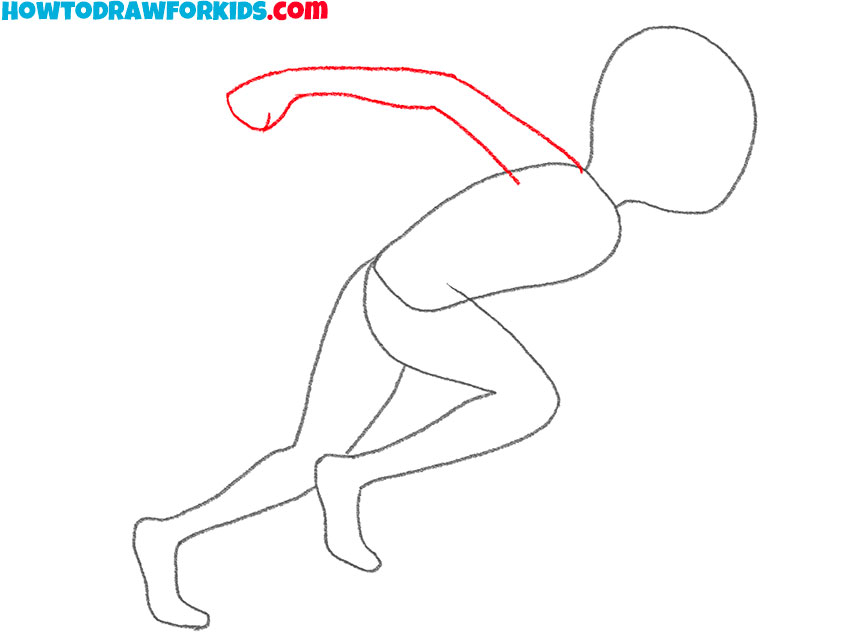
- Sketch out one hand.
From the outline of the torso, draw curved lines to depict the arm pulled back and raised up.
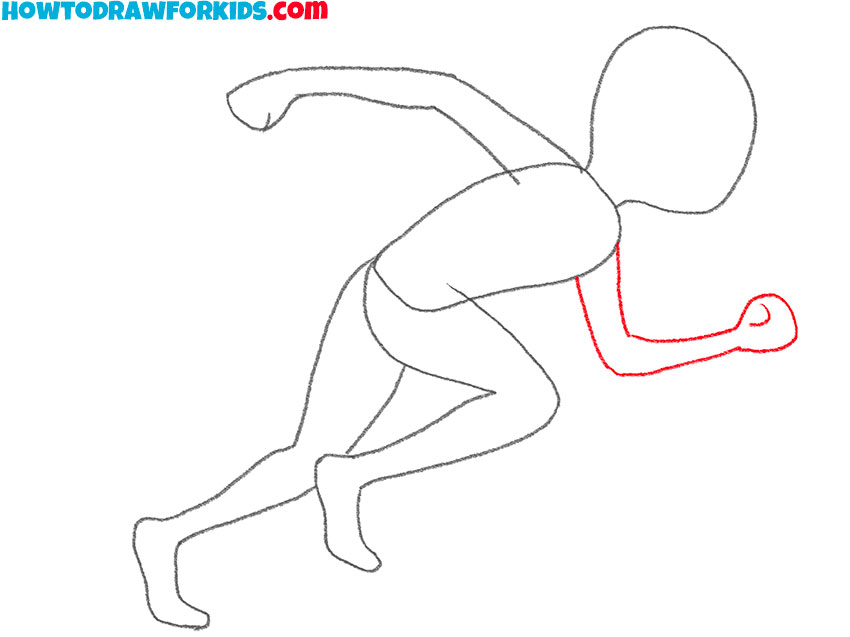
- Draw the second hand.
This arm is bent at the elbow and slightly laid forward.
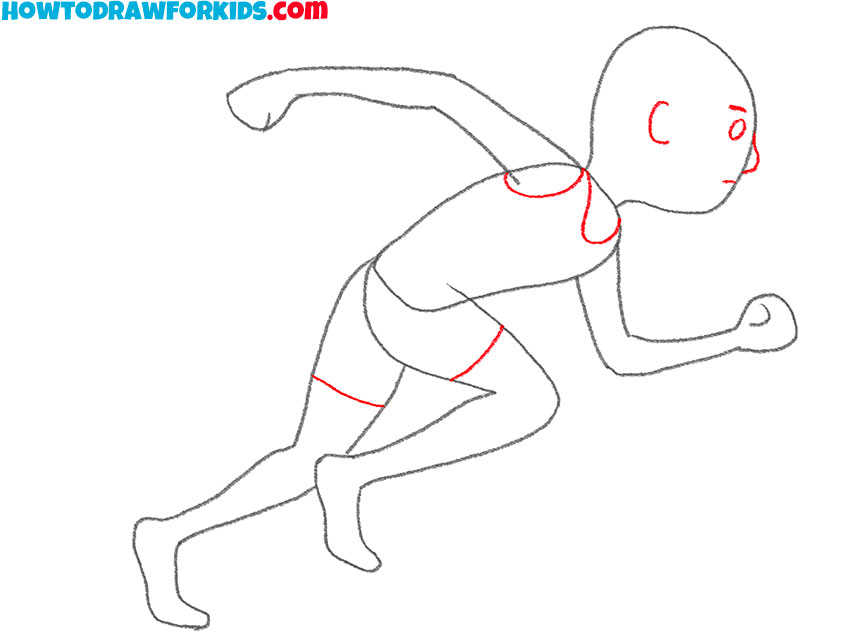
- Add facial features and clothing elements.
Draw the ear, eyebrow, eye, mouth, and nose. On the chest and legs, add arcs and curved lines.
- Correct inaccuracies.
You need to erase unnecessary auxiliary lines from it using the eraser.
- Color the drawing.
Use any colors for the runner. Don’t forget to add the highlights to the runner’s eye.

That’s the end of this simple and fun drawing lesson with which you learned how to draw a runner step by step. Save a PDF file which contains a brief instruction and additional useful materials.




it was easy