How to Draw a Door
This lesson will show you how to draw a door, help you practice straight and symmetrical lines, and teach you the basics of architectural drawing.

How to Draw a Door: Introduction
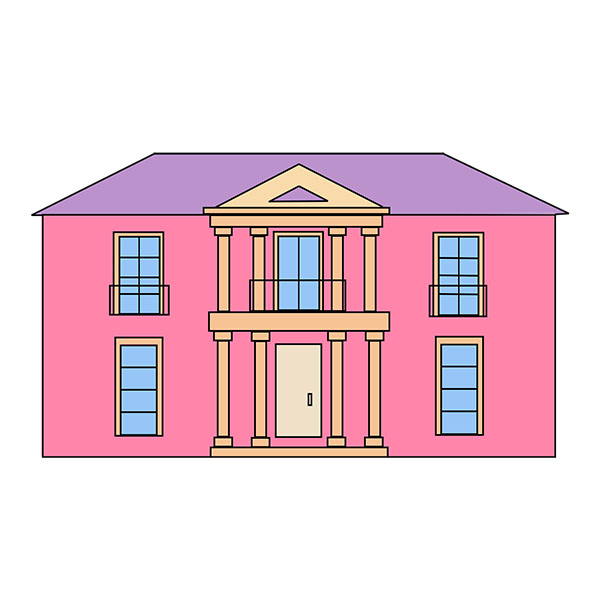
In the art world, there are many different genres, and one of the most important and oldest is architecture. To draw houses and other buildings, an artist must know how to draw doors, windows, and other structural elements found in residential and non-residential buildings.
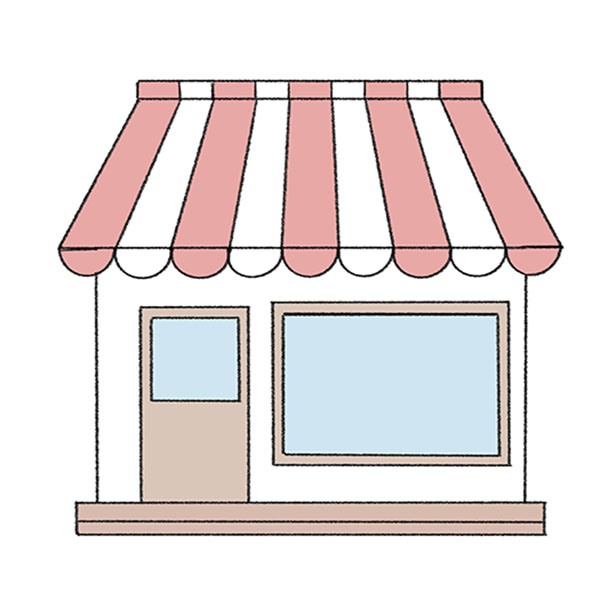
This door drawing lesson is designed to help you develop those skills. Using only straight and clear lines, you will learn how to draw a door and understand how to apply simple techniques to create architectural details. This knowledge can later be used in more complex compositions, such as when drawing an entire house.
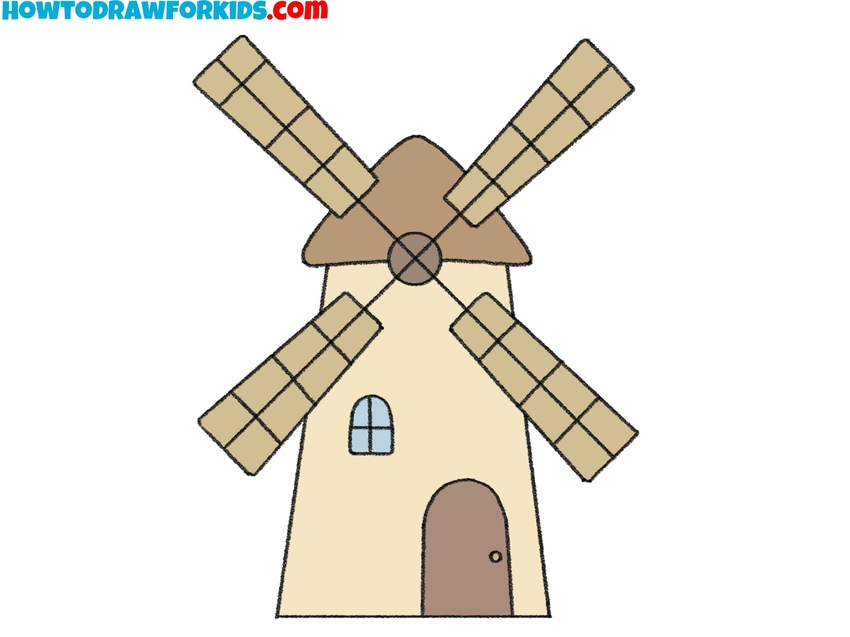
The skills you develop in this lesson will be useful when drawing interiors of various spaces. Pay close attention to each step and remember the drawing process so you can confidently apply these techniques in your future work. The door shown in this tutorial consists of a few symmetrical rectangular elements – one of the most basic and common shapes in architecture. While this is a simplified example, it provides a good foundation for learning structural drawing.
You can use tools like a ruler to draw clean, straight lines. However, if you want to challenge yourself and strengthen your ability to draw parallel and perpendicular lines, it is recommended to try to learn how to draw a door by hand without using any tools. This approach helps develop precision and control. Practicing freehand drawing will also make it easier to build more complex architectural sketches in the future.
Door Drawing Tutorial
Materials
- Pencil
- Paper
- Eraser
- Coloring supplies
Time needed: 30 minutes
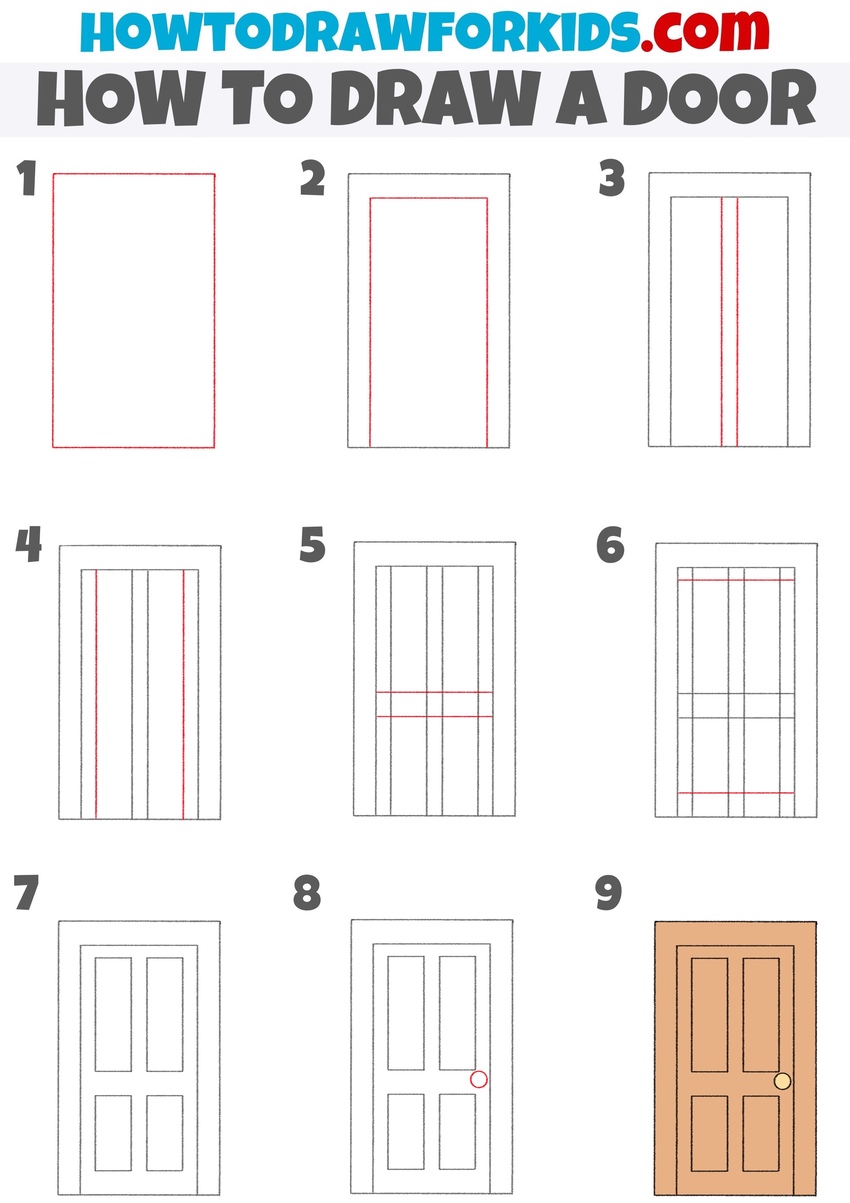
How to Draw a Door
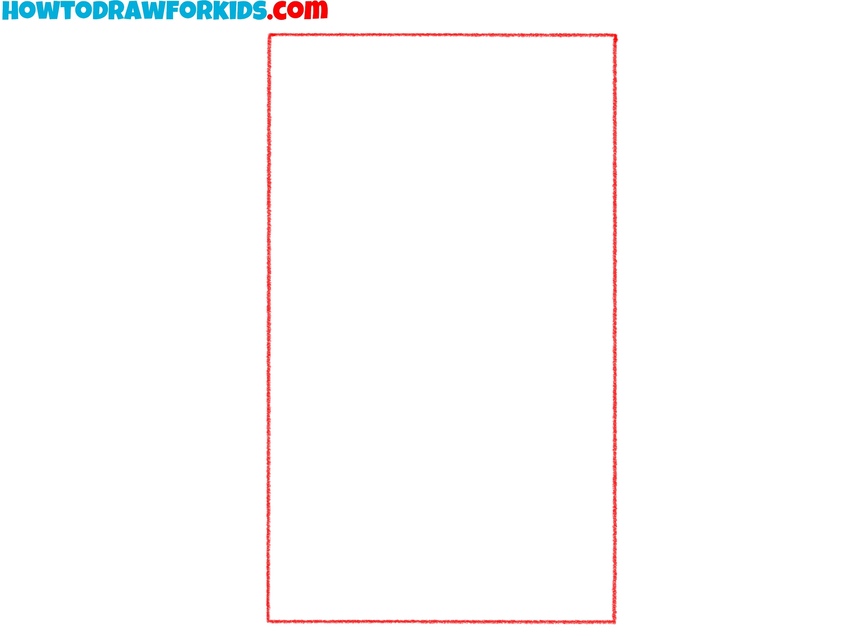
- Draw the frame of the door.
Start by drawing a tall vertical rectangle. This will form the frame of the door and should be proportioned like a standard door – taller than it is wide. Use a ruler if you want precise lines, or draw freehand if you’re practicing line control. Make sure the corners are sharp and the lines are straight.
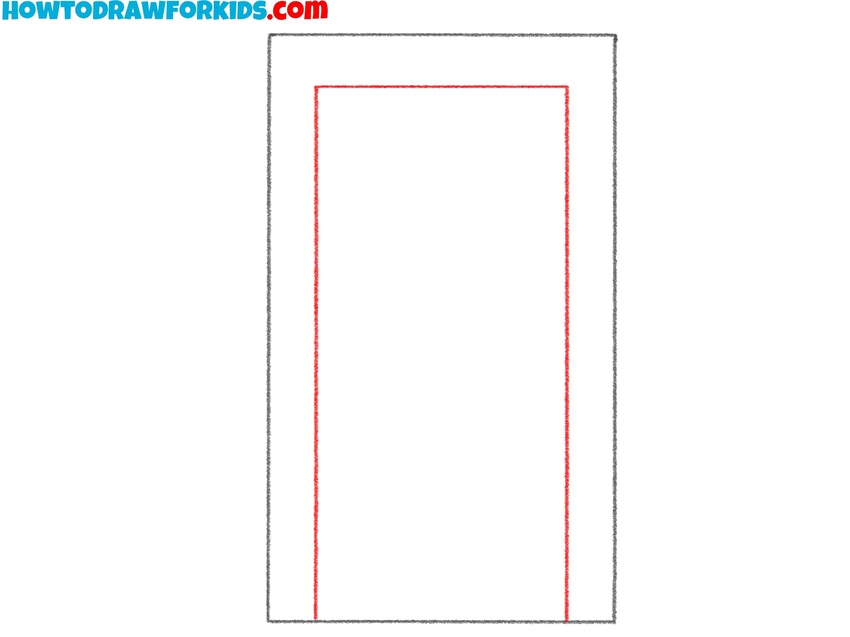
- Draw the door leaf.
Inside the large outer rectangle, draw a slightly smaller rectangle. This inner shape represents the door leaf, which is the actual part of the door that opens and closes. Leave a narrow, even space between the inner and outer rectangles on the top and sides to represent the frame or casing that surrounds the door.
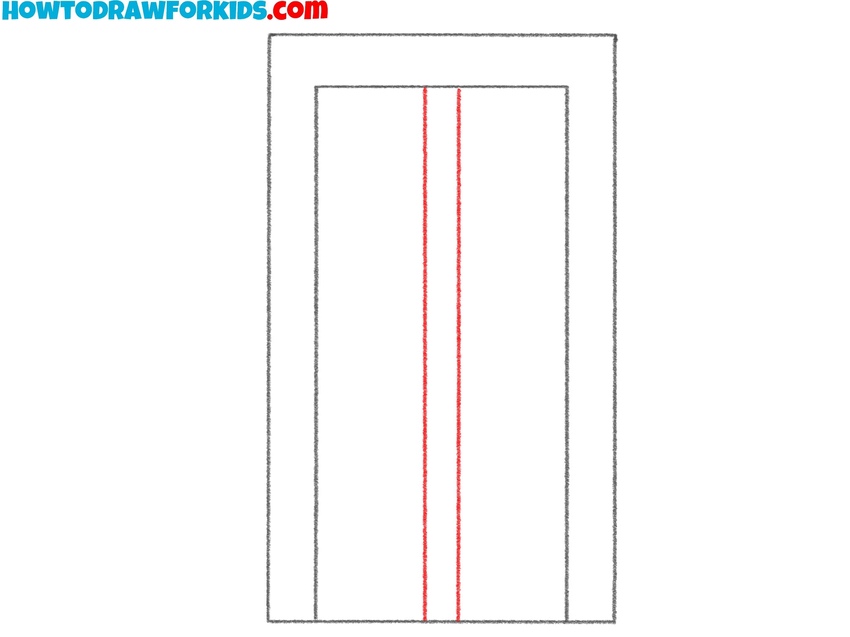
- Add the central vertical guidelines.
Next, divide the inner rectangle vertically by drawing two straight lines down the center. These lines run from the top edge of the inner rectangle to the bottom and should be placed precisely in the middle. These vertical guidelines will help you place the door panels symmetrically in the next steps.
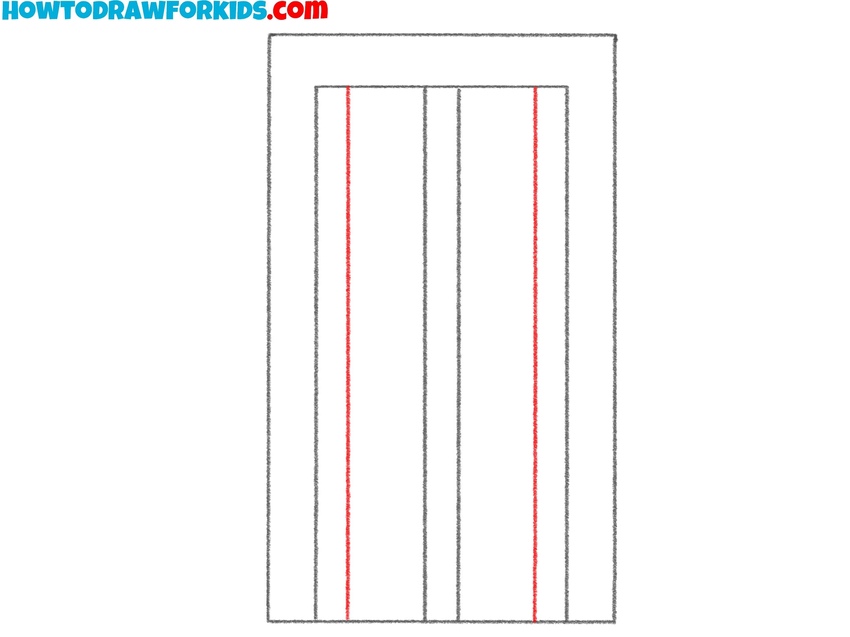
- Add the side vertical guidelines.
Now add two more vertical lines inside the inner rectangle, placing them between the center lines and each side edge. These lines create three narrow sections within the door. These divisions are used to lay out the rectangular panels that appear on many traditional wooden doors.
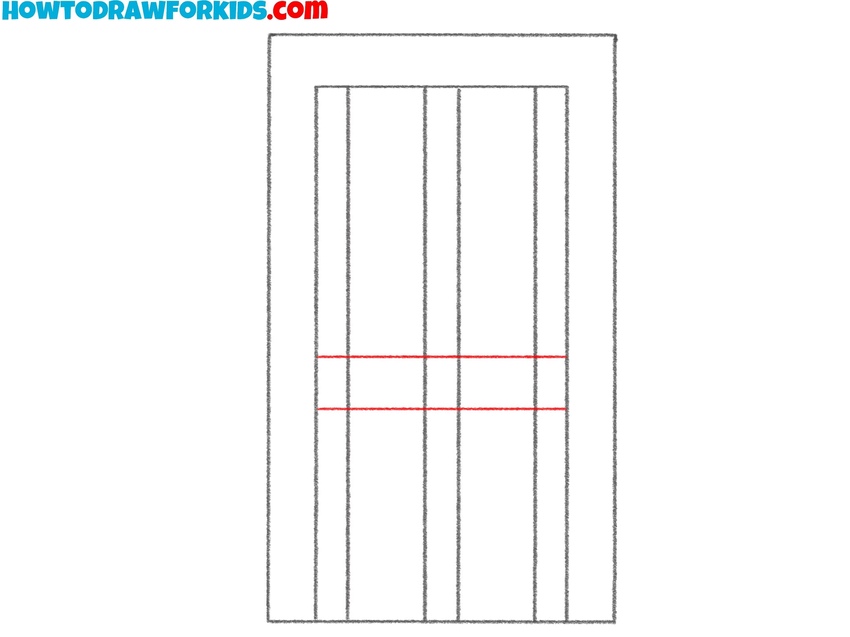
- Sketch the horizontal panel guidelines.
Place the lines in the center portion of the door, just below the middle. The spacing between the two lines should match the overall style and proportions of the door. Make sure these lines are parallel to both the top and bottom edges of the rectangle.
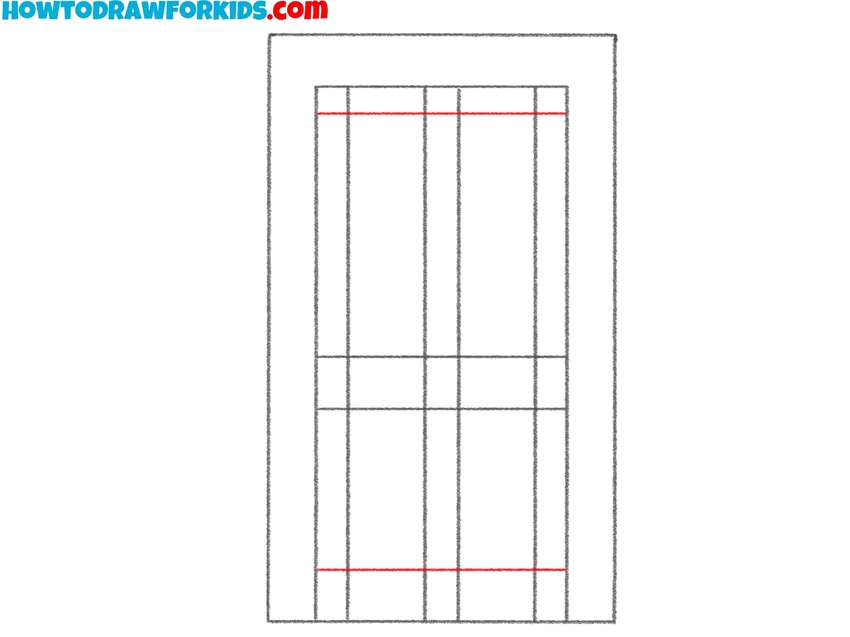
- Complete the panel structure.
Add the last few horizontal lines near the top and bottom of the door to complete the full panel grid. These lines should match the ones from the previous step in thickness and alignment, but be placed within the side sections of the door. You’ll now have finished rectangular panel sections.
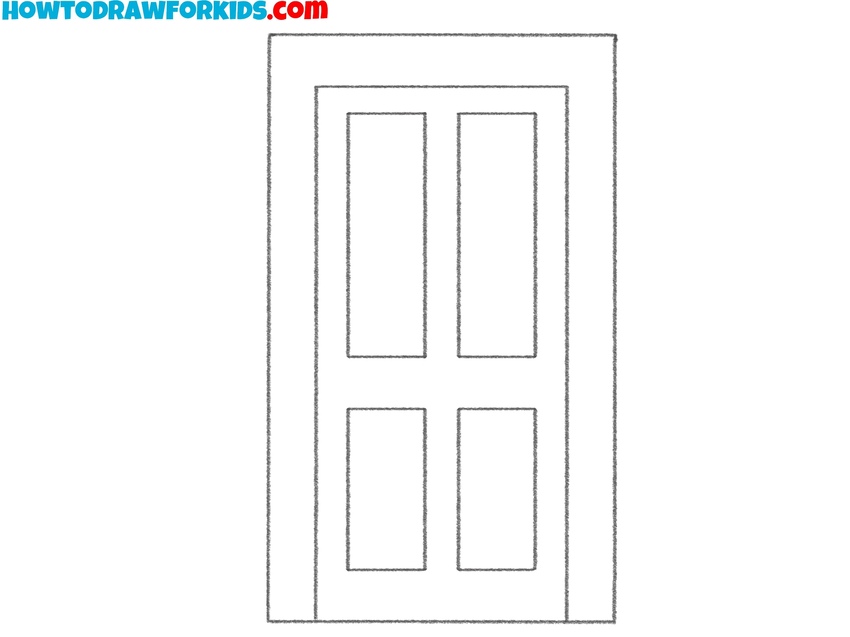
- Finalize the door outline.
This is the step where you check the spacing between panels, ensure everything looks symmetrical, and correct any uneven sections. Erase any extra construction lines or overlapping strokes that are no longer needed. All six door panels should now be clearly visible, with equal borders and clean intersections.
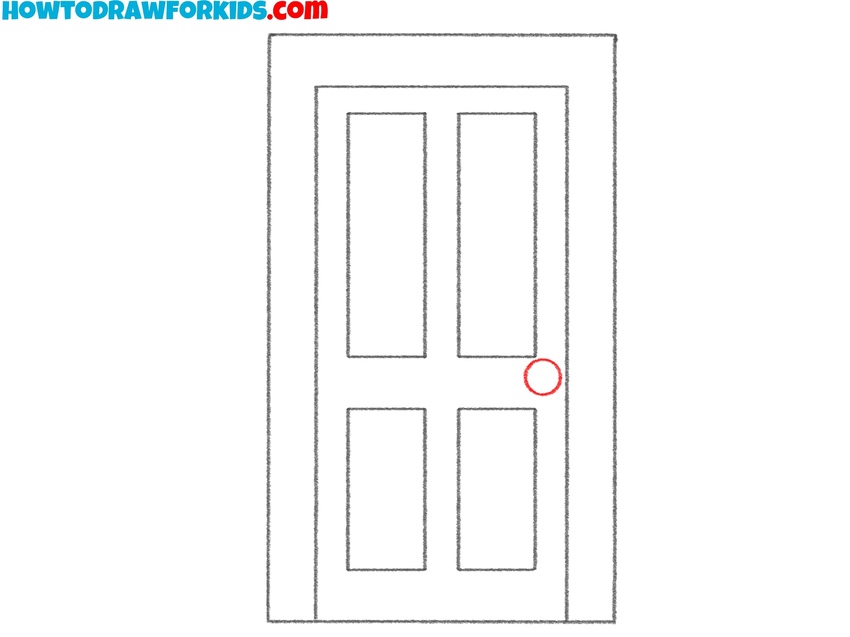
- Draw the doorknob.
Draw a small circle on the right side of the door, slightly below the center. Place it within the middle section of the door, in a spot where a handle would naturally be located. You can use a circular object or compass to make the shape precise or draw it freehand to keep practicing control.
- Color the door drawing.
To finish your drawing, color the door using shades of brown to represent wood. Use a medium brown for the door panels and frame. For the doorknob, use a light yellow, beige, or muted gold. If you want to add some dimension, consider using a slightly darker shade of brown for shadows along the panel edges.
How to Draw a Door: Additional Tutorials
It should be noted that despite the fact that there are different versions of the doors, in general they are drawn approximately the same. I offer you two more ways to draw a door, which are slightly different from the first. I have also prepared PDF files for other methods of drawing a door.
Simple Door Drawing Tutorial
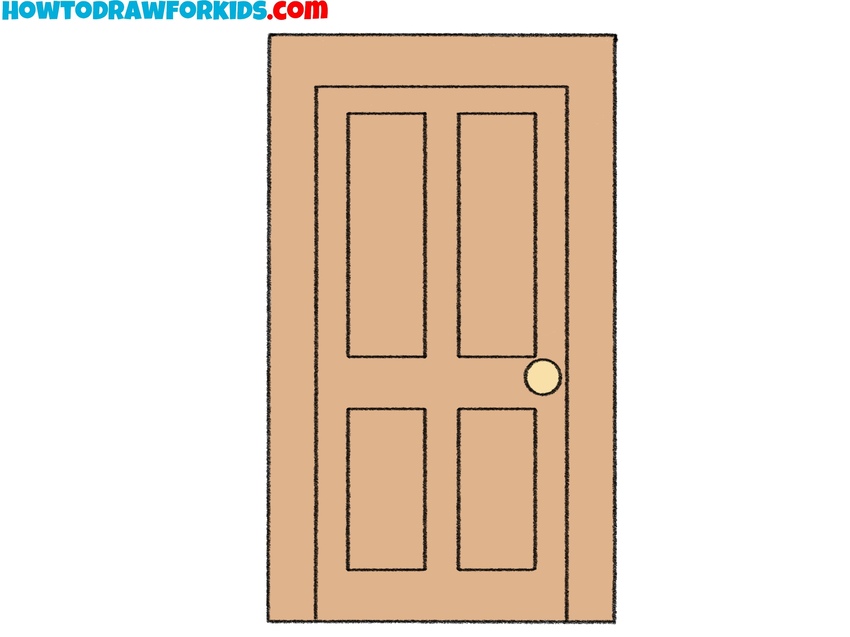
This tutorial on how to draw a door offers an easier and faster method compared to the first, more detailed door lesson. It uses fewer lines, omits decorative panels. In this drawing, the top of the door leaf features an insert made up of four rectangular windows. This insert is typically made of frosted glass and serves as a decorative element.
To follow this very simple lesson and learn how to draw a door, begin by sketching two vertical parallel lines. Connect the top and bottom edges to form a tall rectangle. This will be the outline of the door. Inside the upper portion of the door, draw another smaller rectangle to create the window section. Divide the window with two vertical lines placed close together, then add one horizontal line across the middle.
Next, draw a small circle on the lower right part of the door to represent the doorknob. Make sure all lines are straight and corners are clean. Once the drawing is complete, color the door a light gray and the window sections a soft blue. Use a darker gray or black for the knob.

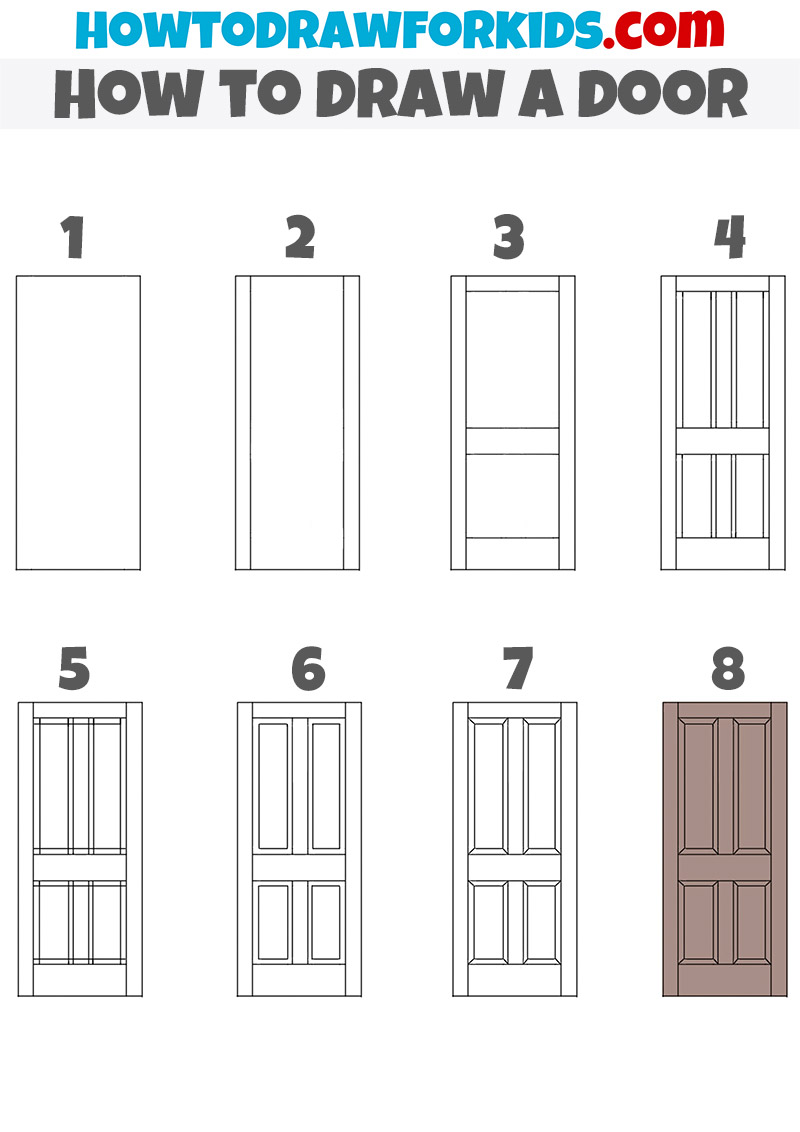
Detailed Door Drawing Tutorial
Here the interior space of the door leaf is divided into sections and your main task is to correctly depict these sections. This lesson will require your ability to maintain symmetry, because the sections of the door leaf on each side must be exactly the same.
To begin this detailed tutorial on how to draw a door, sketch a tall vertical rectangle to define the shape of the door. Inside the rectangle, add narrow vertical side rails. Then divide the interior space by adding horizontal lines to form three main sections: top, middle, and bottom. Inside each section, draw vertical dividers to create space for rectangular panels.
Add inner edges to each panel to give them a detailed appearance. Carefully check that all lines are straight and the spacing is even. Erase unnecessary guidelines and finalize the outlines. Once the drawing is complete, color the door using a medium brown shade to represent wood.
Alternative Door Drawing Technique
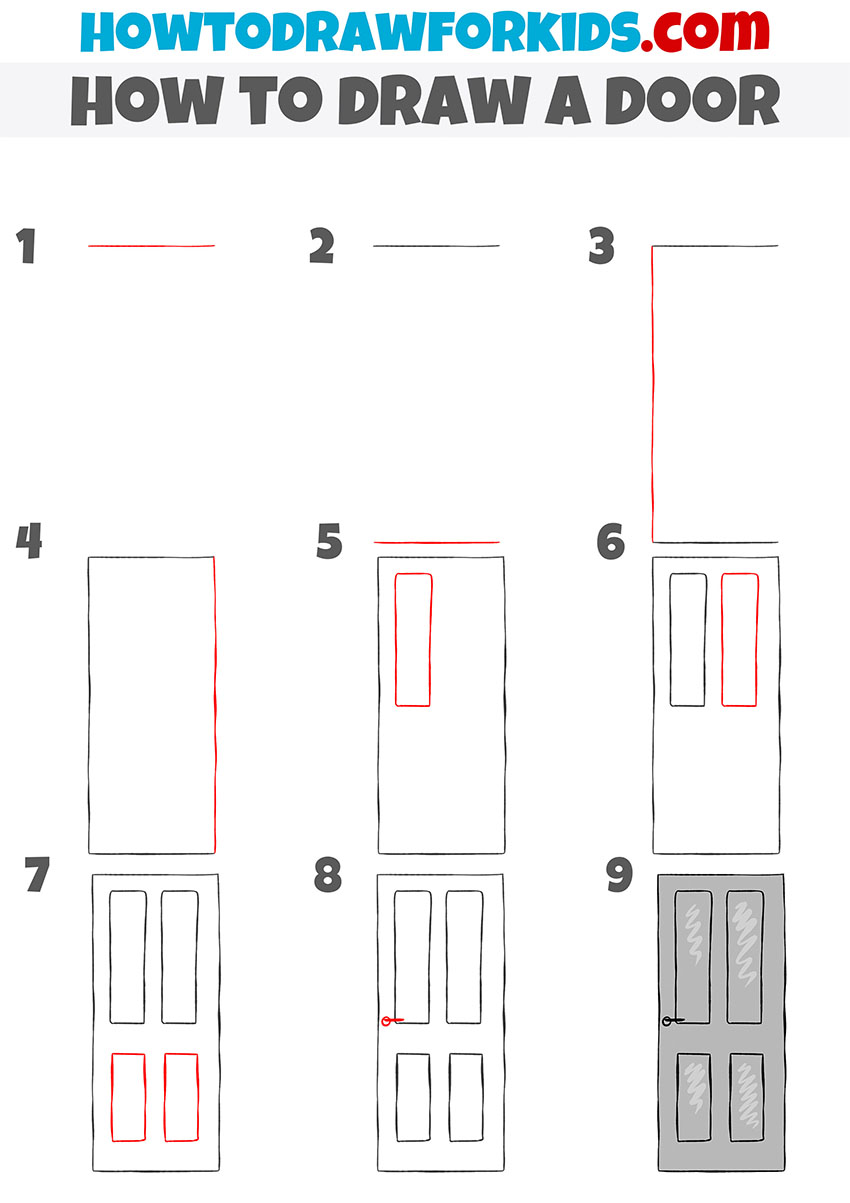
This door drawing tutorial offers an alternate method with a different step sequence and a more hand-drawn, stylized final result. Unlike the first symmetrical version, this approach builds the door gradually by sketching each line in separate steps. The result is less technical but easier for beginners to follow, especially those practicing freehand drawing.
To begin this tutorial on how to draw a door, sketch a horizontal line for the top edge. Add a second horizontal line slightly lower to help establish spacing. Then draw the left vertical edge, followed by the right vertical edge, forming a tall rectangle that represents the outline of the door. Inside this shape, begin adding rectangular panels, starting with the upper ones and moving to the lower section.
Each panel is drawn as a long vertical rectangle with rounded corners, creating a softer appearance. After completing all four panels, add a small horizontal line and circle on the left side to represent the doorknob. To complete this tutorial on how to draw a door, shade the outer surface of the door with gray or any other color.
Conclusion
This lesson on how to draw a door helped you learn how to create one of the most important and basic parts of a house on paper. It gave you practice drawing straight, clean lines and showed once again how to build symmetrical objects with simple techniques. Above, we explored four different ways to draw a door – let me know which method worked best for you and whether these tutorials helped you achieve your goal.
Keep in mind, this isn’t the only architectural drawing lesson available on my website. Visit the other sections to continue learning how to draw a window and take your architectural drawing skills to the next level.
If you’d also like to improve your general drawing abilities, check out other categories on the site where you can learn how to draw people, animals, characters, and more.
To stay up to date with the latest lessons and receive updates as soon as they’re released, make sure to follow me on social media.