How to Draw a Sitting Cat
So, dear artists and animal lovers, let’s gather our art supplies once again and begin this tutorial on how to draw a sitting cat.
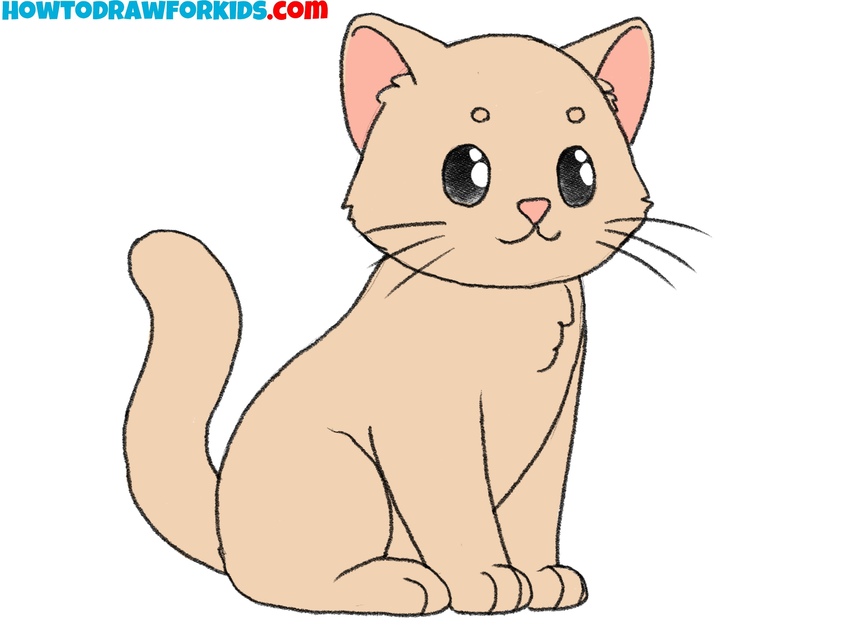
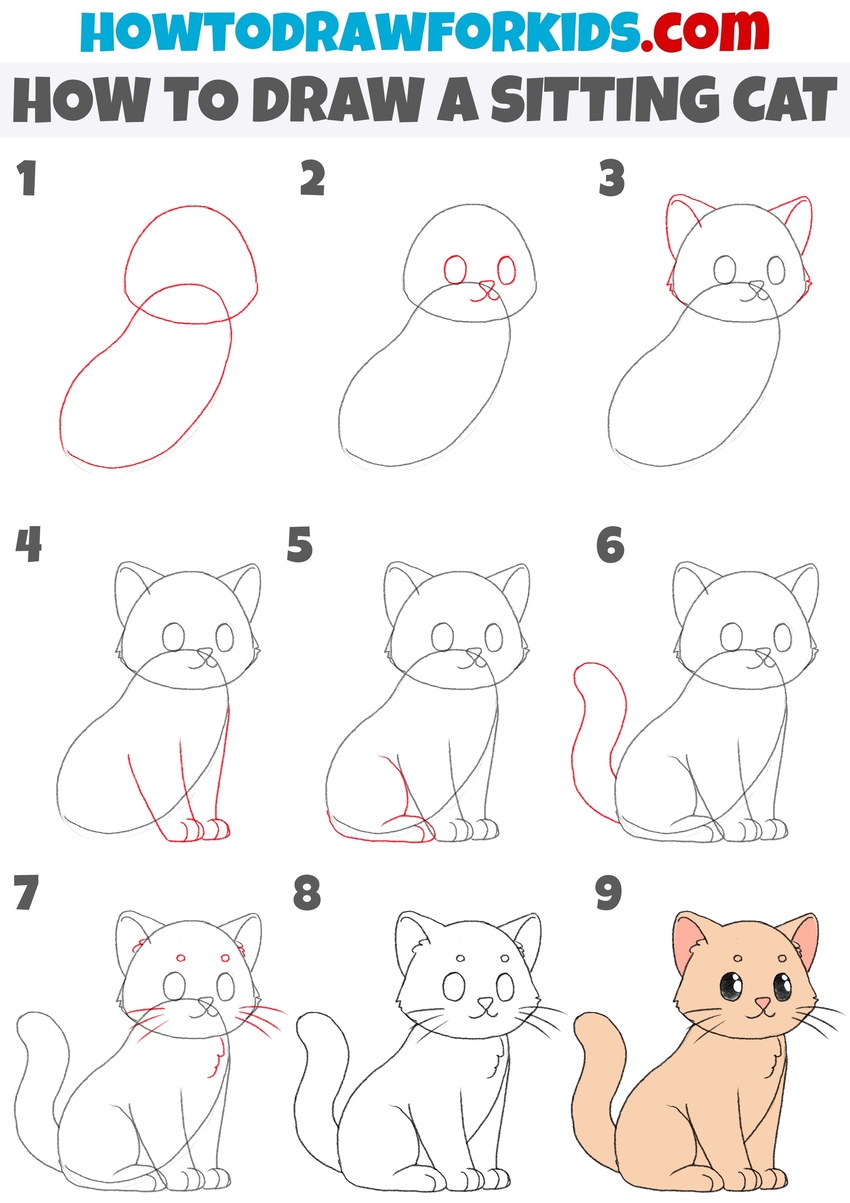
How to Draw a Sitting Cat: Introduction
As I often say, it is very important for an artist to possess a wide range of abilities and skills. It is essential to be able to draw different objects and creatures in different variations and circumstances, which is why I am presenting this lesson on how to draw a sitting cat.
In a previous lesson, I demonstrated how to draw a cat, and this instruction serves as a supplement to that lesson, as we will mainly follow the principles of drawing a cat outlined there.
However, there are several specific features in drawing a cat in a sitting position, which we will examine in this lesson. I will explain them as we go through the steps.
And in order to deepen and consolidate the acquired skills as much as possible, at the very end I have prepared for you an additional lesson on drawing a sitting cat, which uses a completely different style and sequence of steps.
Sitting Cat Drawing Tutorial
Materials
- Pencil
- Paper
- Eraser
- Coloring supplies
Time needed: 30 minutes
How to Draw a Sitting Cat
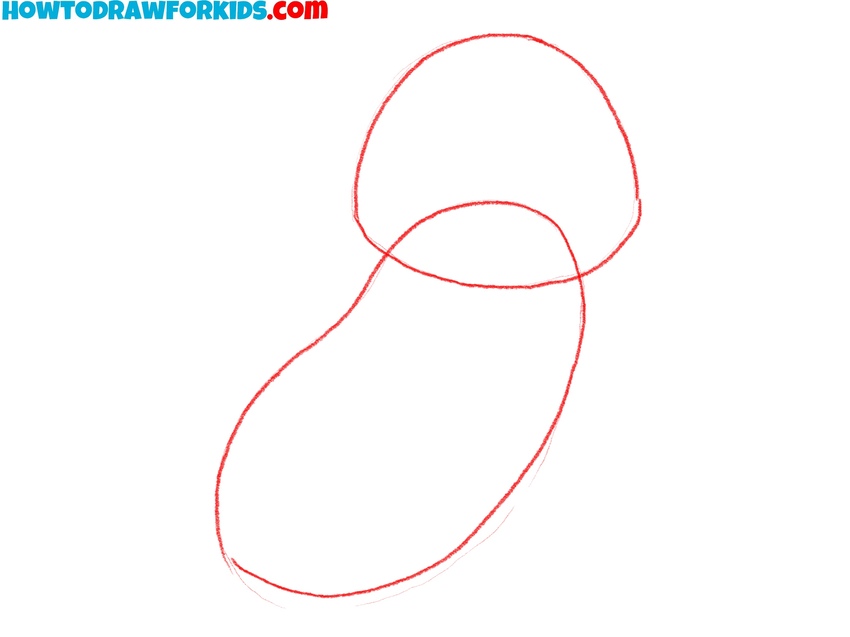
- Draw the body outline.
Sketch a large oval shape for the body and place a smaller, rounded shape above it for the head, overlapping slightly. This outline will serve as the basic shape for your your sitting cat drawing. Use light, soft strokes to sketch these shapes, as you may need to adjust them in later steps.
- Add the facial features of the cat.
Now, draw two small circles for the eyes, along with a small nose and a curved line for the mouth. Center the eyes on the head. Since we are drawing the sitting cat in a cartoon simplified form, try not to add too many complex details.

- Draw the ears of the cat.
Next, sketch two triangular shapes on the top of the head to form the cat’s ears. Angle them slightly outward, giving the cat more natural look. To add more natural look, keep the edges of the ears slightly curved instead of sharp. Draw cheeks on the sides of the face.

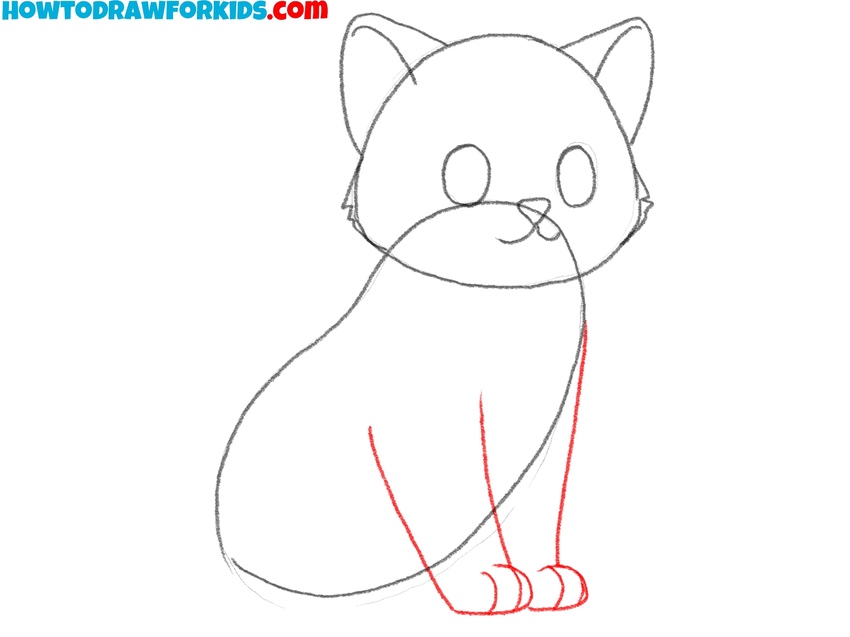
- Draw the front legs and paws.
Now, draw two small, slightly curved lines extending downward from the body, forming the front legs. Position the legs close together to show the cat’s seated position. Keep the lines soft and slightly curved. At the bottom of the legs draw the paws and toes of the cat.
- Add the hind leg and paw.
Next, add the cat’s visible hind leg by drawing a simple curved line along the lower back part of the body. Use gentle, rounded lines for a softer look. The leg itself should be depicted as a simple curved line, and the back paw should be noticeably longer than the front one.

- Add the tail.
Now, add the cat’s tail by sketching a long, curved line extending from the back side of the body. Since the cat in our drawing is sitting, the tail should be in a raised position, as in my example, or wrapped around the cat’s body at the bottom.

- Add some finishing touches.
Draw a few long whiskers on each side of the face, small ovals for the eyebrows above the eyes, and some fur details in the ears and on the chest. Also, here you can add some additional details, such as a cat fur pattern or fur texture for greater realism.

- Erase the guidelines and finish the sketch.
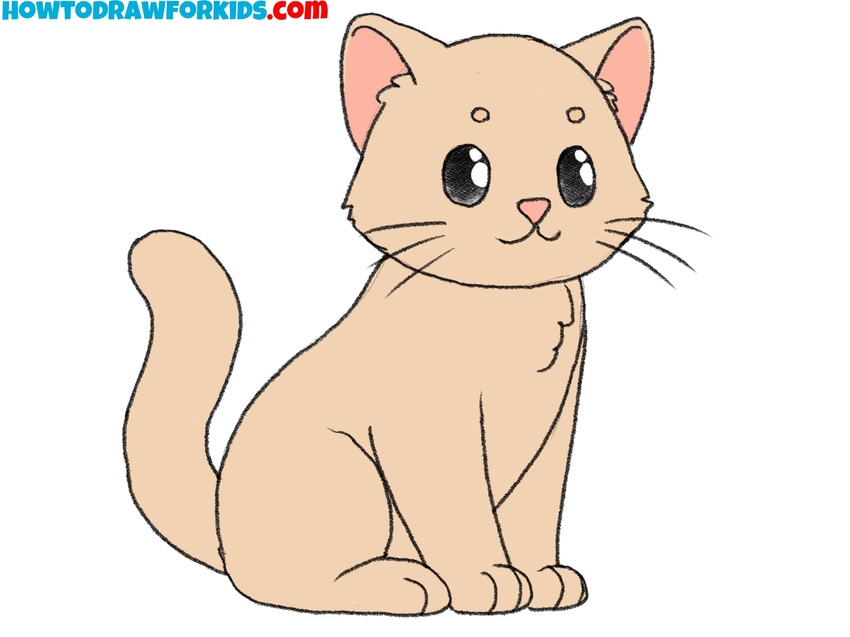
Now, erase any unnecessary guidelines or extra sketch marks. Refine the lines for the head, body, legs, and tail to create a clean, polished sketch of a sitting cat. Take time to check the symmetry of your sitting cat, making any final adjustments to the outline.

- Color the sitting cat.
Use soft shades of brown, gray, or any color you like to fill in the fur. Color the nose and inner parts of the ears ping. Then color the eyes black, adding highlights to the eyes to make the cat look more cute. You can apply subtle shading around the body to give the sitting cat drawing a more realistic appearance.
Additional Sitting Cat Drawing Tutorial
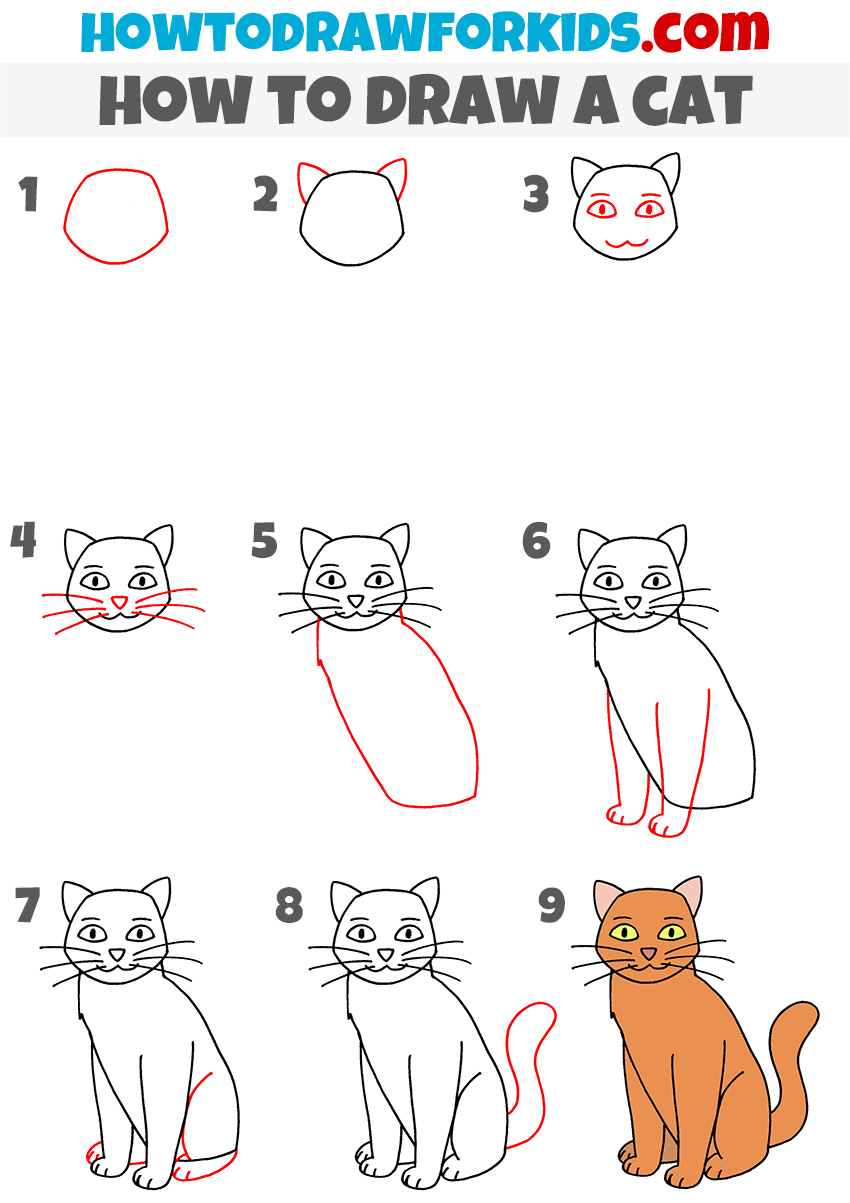
So, this is an additional lesson on drawing a sitting cat, and here I will show you a completely different method and a noticeably different style of execution. Instead of drawing the animal from basic shapes, we will depict it detail by detail, body part by body part. In addition, the style presented here, although simple, has slightly more realistic shapes.
To draw a sitting cat in this style, begin by sketching the head as a rounded shape. Next, add two pointed ears on top of the head, making sure they are symmetrical. Draw the cat’s face by adding two almond-shaped eyes, a small triangular nose, and a curved line for the mouth. Add whiskers on each side of the face to give it a realistic look. Move down to draw the body, starting with an elongated oval that connects to the head.
Then, sketch the front legs, extending downward from the body with small, rounded paws at the ends. Draw the hind legs by adding curved lines at the back, showing the cat in a sitting position. Add a long, curved tail to complete the body. Finally, erase any extra lines and color the cat as you like.
Conclusion
This lesson demonstrated the process of drawing a cat in a sitting position using two distinct methods. We learned how to position this cute animal in a seated posture, ensuring the final drawing appears natural, though stylized.
Did you find this lesson useful and interesting? If so, feel free to share it with your friends and classmates. Also, consider following me on social media for updates on new lessons and additional materials.


Hi from:jayla
thank you