How to Draw a Chamomile
Would you like to learn how to draw a daisy? If so, the two methods on this page will show you how to do it like a true professional.
How to Draw a Chamomile: Introduction
In this step-by-step tutorial on drawing a chamomile, you’ll gain detailed guidance on conveying the delicate beauty of this flower.
Drawing chamomile is often included in foundational art courses in schools for both children and beginners, making it an easy subject to start with. This tutorial will guide you through each part of the flower, ensuring you understand how to sketch a chamomile as accurately as possible.
Chamomile is a cute flower with distinct features. This lesson aims to help you to illustrate this flower, focusing on the elements that make chamomile instantly recognizable. You won’t need to dedicate excessive time or effort to each step, as the process is simple and created for easy learning.
To help you further develop your skills and understanding of drawing chamomile, I have included an additional section at the end of this tutorial. Here, you’ll find an alternative method that uses a different drawing style, which can provide a new perspective on capturing chamomile’s form and texture. Practicing both methods will allow you to compare techniques and refine your approach to drawing this delightful flower.
Chamomile Drawing Tutorial
Materials
- Pencil
- Paper
- Eraser
- Coloring supplies
Time needed: 25 minutes
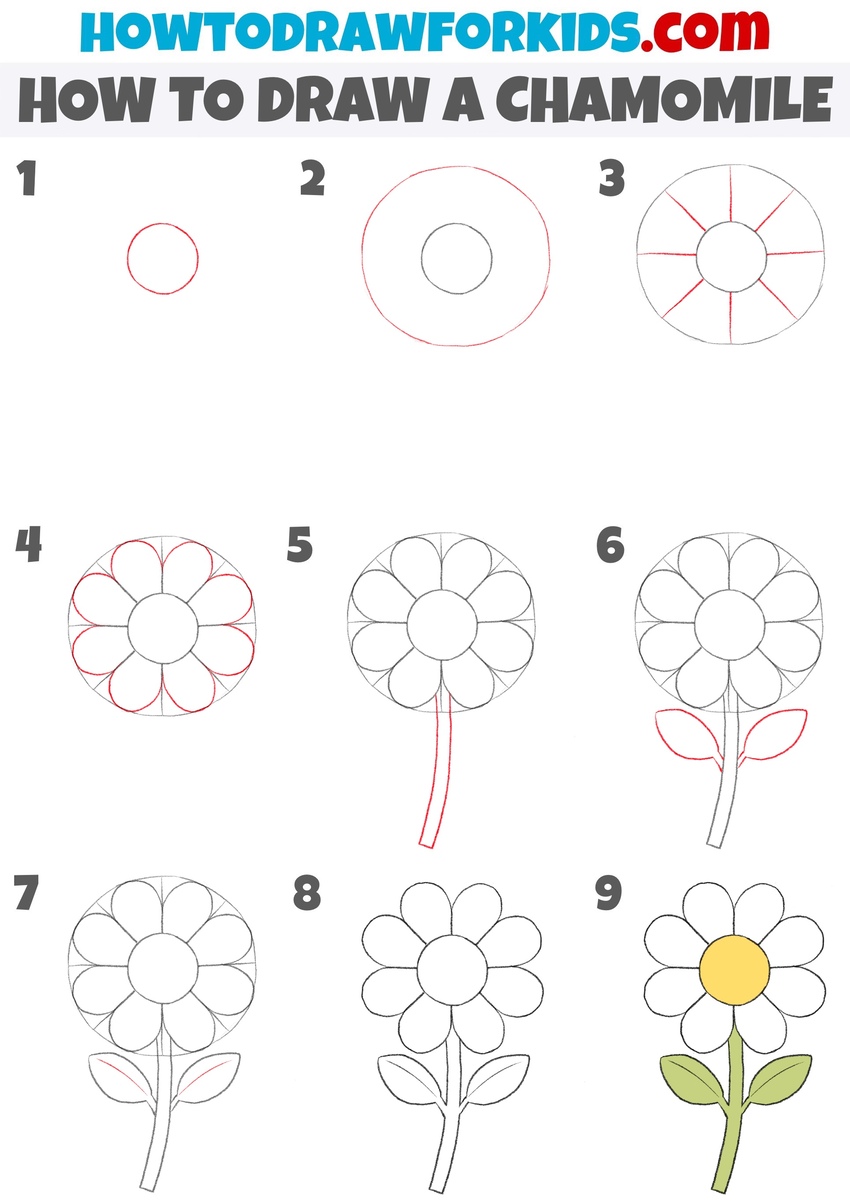
How to Draw a Chamomile
- Draw the center circle.
In this first step of this chamomile drawing tutorial, start by sketching a small circle in the middle of your page. This circle will form the center of the chamomile flower, where the petals radiate outward. Keep the circle light and even, as this will help you maintain symmetry in the next steps.

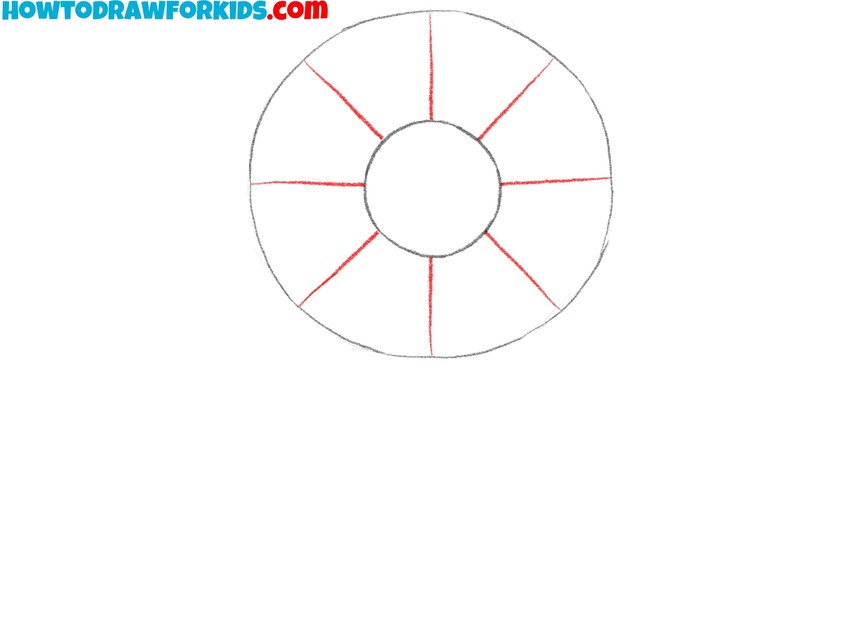
- Draw the guideline for the petals.
To continue with drawing a chamomile, add a larger circle around the first one. This second circle should encompass the center and provide the boundary for where the petals will reach. Try to keep the distance between the two circles consistent, as this will help your petals appear more uniform when added.

- Sketch the petals.
Draw a series of lines radiating outward from the center circle to the outer circle, dividing the area into equal sections. These lines should look like the spokes of a wheel and will serve as guides for placing each petal symmetrically around the center.
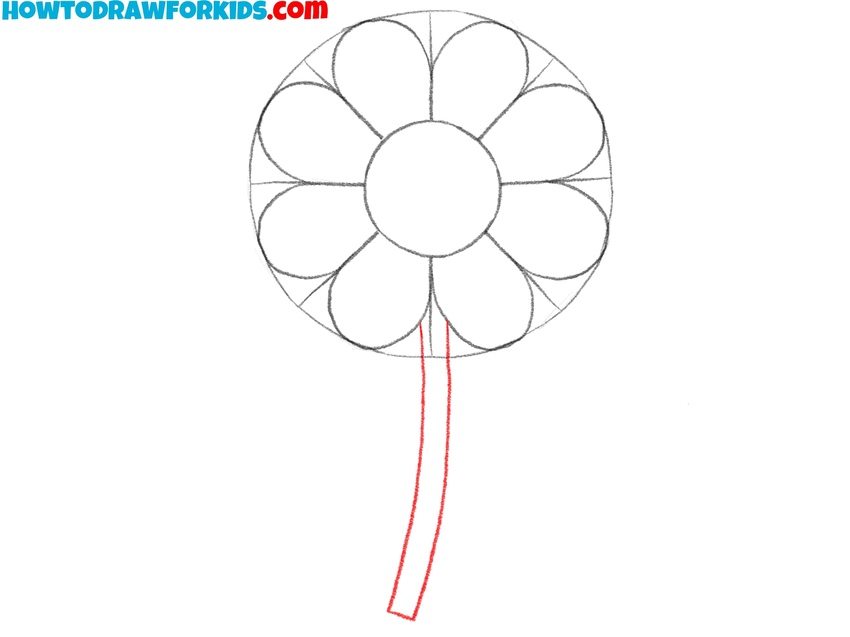
- Detail the petals.
Use smooth, curved lines to draw the edges of each petal, following the guidelines from the previous step. Ensure the petals are equal in size and shape to give the chamomile more natural look. To make it easier for you to draw the petals of the chamomile, you can rotate the paper as you add the petals.

- Add the stem.
With the petals in place, it’s time to add the chamomile’s stem. Draw a thin, slightly curved line extending downward from the center of the flower. Chamomile stems are delicate, so aim to keep the line light and slender.
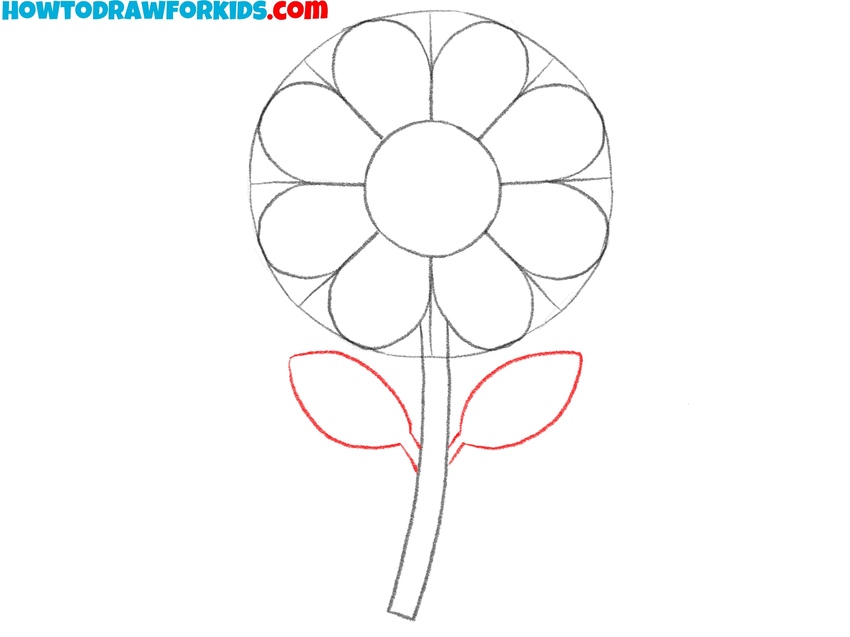
- Draw the leaves.
To further detail your chamomile drawing, add two leaves to the stem. Draw them slightly below the flower, positioned on either side of the stem. Chamomile leaves are typically small, narrow, and pointed, so aim for this shape. Place the leaves at a slight angle for a natural appearance.
- Add some finishing touches.
To add more detail to your chamomile drawing, start by adding a central line to each leaf as the main vein. This gives realism to the leaves. You can also add smaller veins branching from this line for texture. To detail the flower’s look, consider adding more leaves on the stem.

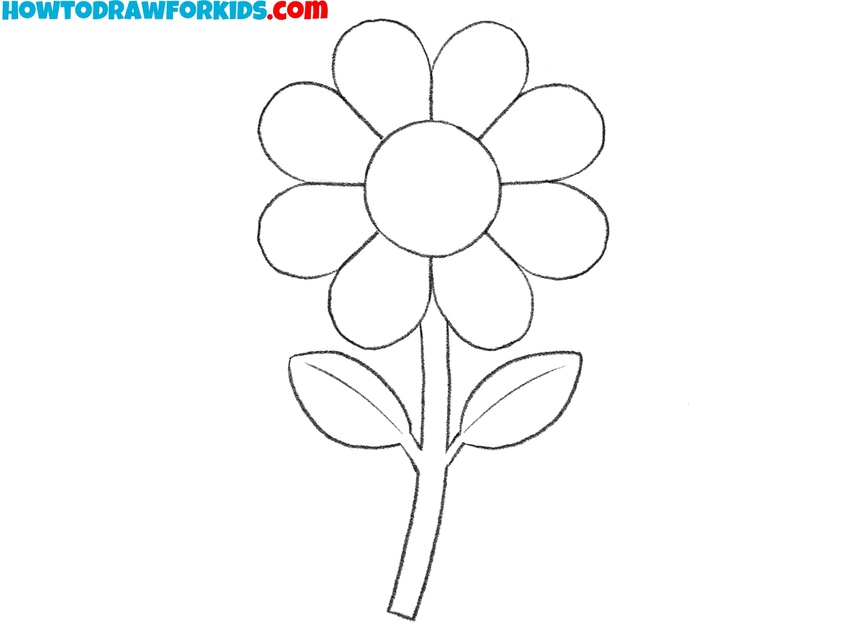
- Erase the guidelines and finish the sketch.
In this step, refine the overall chamomile drawing by going over your lines, erasing unnecessary guidelines, and making any adjustments needed to perfect the shapes. This step helps give the chamomile a clean, polished look, preparing it for coloring.
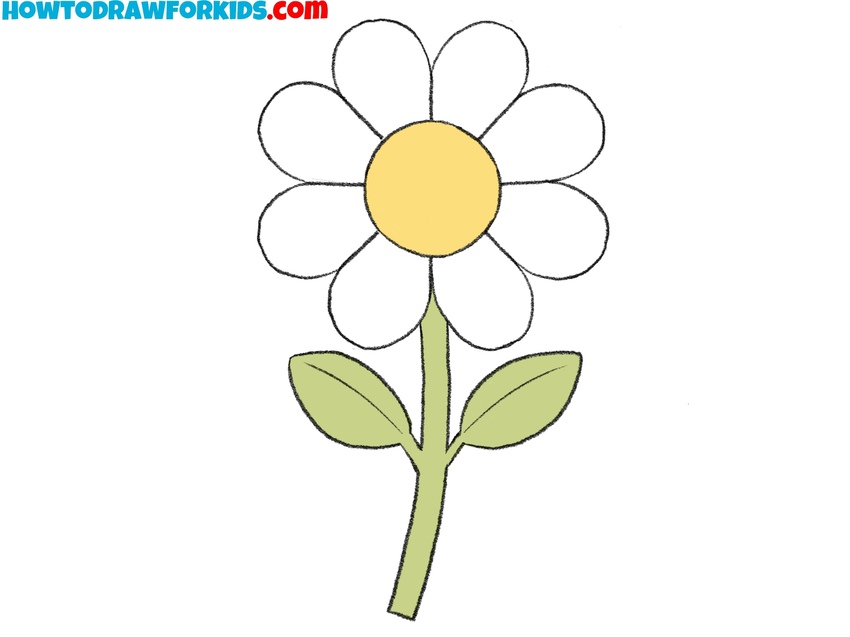
- Color the chamomile.
Chamomile flowers typically have a yellow center and white petals, with green for the stem and leaves. For the petals, you can use not only white but also the lightest shades of beige or gray. You can give your chamomile drawing a more dimensional look by adding shadows and highlights.

How to Draw a Chamomile: Alternative Method
The main differences between this tutorial and the first are in structure and detailing. The first tutorial starts with a center and outer circle for symmetry, using radiating lines as petal guides. In contrast, this tutorial begins with the outer circle and adds petals directly.
To draw a chamomile, begin by sketching a large circle to form the flower’s outer boundary. Inside this, draw a smaller circle in the center, which will serve as the base of the flower’s core. Draw the petal shapes that radiate from the core to the edge of the outer circle. Next, add a thin, straight stem extending downward from the flower’s base.
Attach a single leaf to one side of the stem and then another leaf on the opposite side, slightly lower. Refine the leaf shapes to add more detail and complete the flower structure. Add the central lines in each leaf to represent veins. Finish your chamomile drawing by coloring the center yellow, keeping the petals white, and adding green to the stem and leaves.

Conclusion
This tutorial on how to draw a chamomile offers clear, simple steps to create a recognizable chamomile flower. The methods from this tutorial are a solid starting point for drawing chamomile and creating drawings of flowers with similar look.
To learn how to draw other types of flowers, be sure to check out my rose drawing tutorial. Also, be sure to follow me on Pinterest for new tutorial announcements and on YouTube for video versions of my tutorials.