How to Draw a Sponge
In this drawing lesson, you will be able to learn how to draw a sponge step by step. This lesson will be very simple.
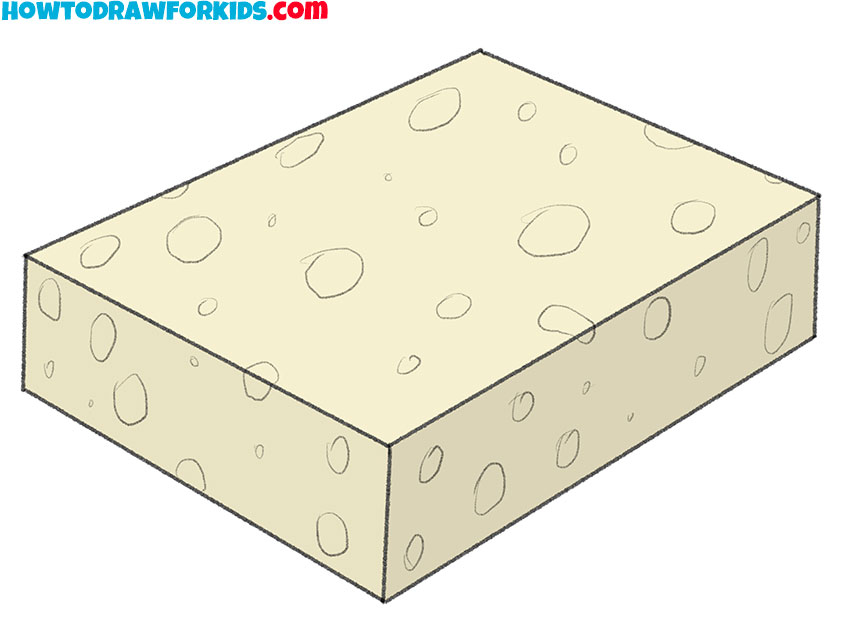
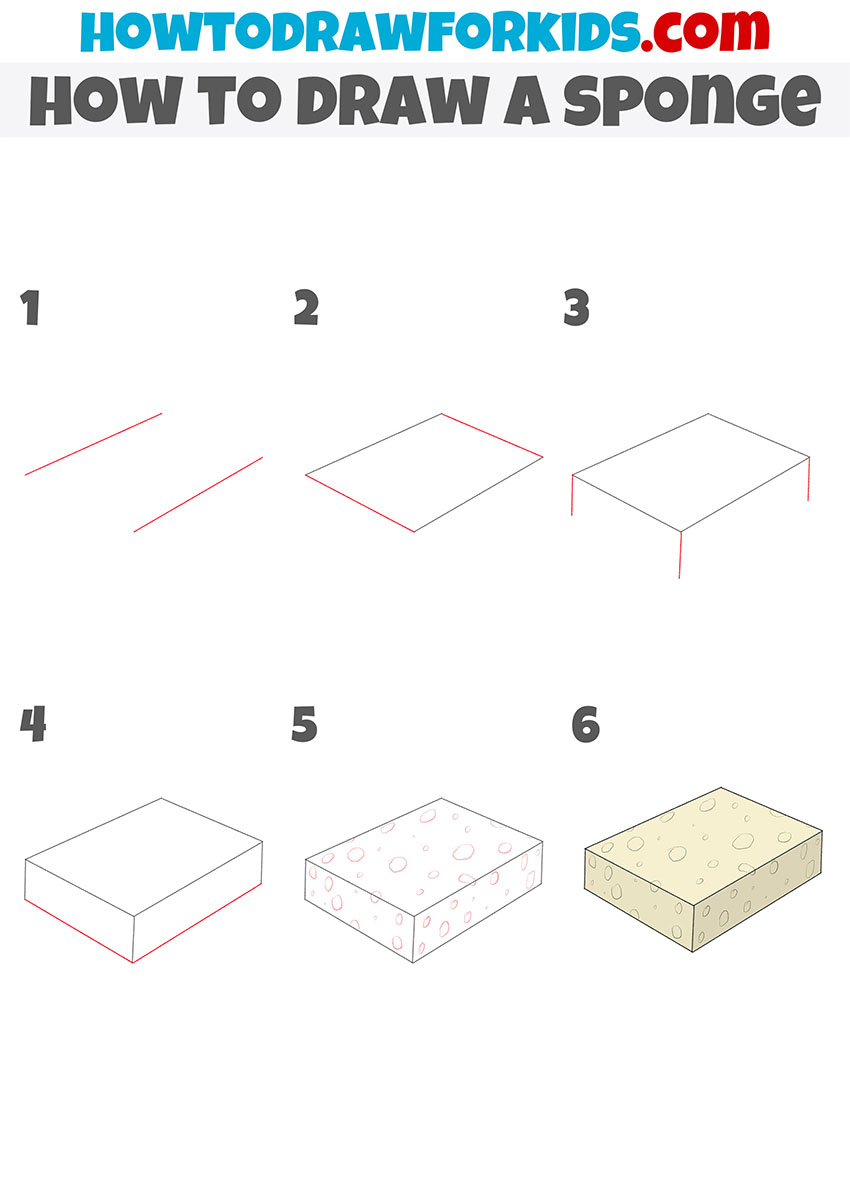
I am glad to offer you another useful lesson in which you will learn how to draw a sponge step by step. This lesson is about drawing household items and sea creatures. I am sure that all of you often see a sponge in your home life.
You may know that a sponge is a type of marine multicellular animal that leads an attached lifestyle. Sponges are distributed throughout the globe, from coastal zones to the maximum depths of the ocean.
Sponges have a high ability to regenerate. Many sponges and the microorganisms that inhabit them produce biological substances that are used in medicine.
Materials
- Pencil
- Paper
- Eraser
- Coloring supplies
Time needed: 20 minutes
How to Draw a Sponge
- Start drawing the top face of the sponge.
To begin with, you should draw two straight lines, as shown in the figure.

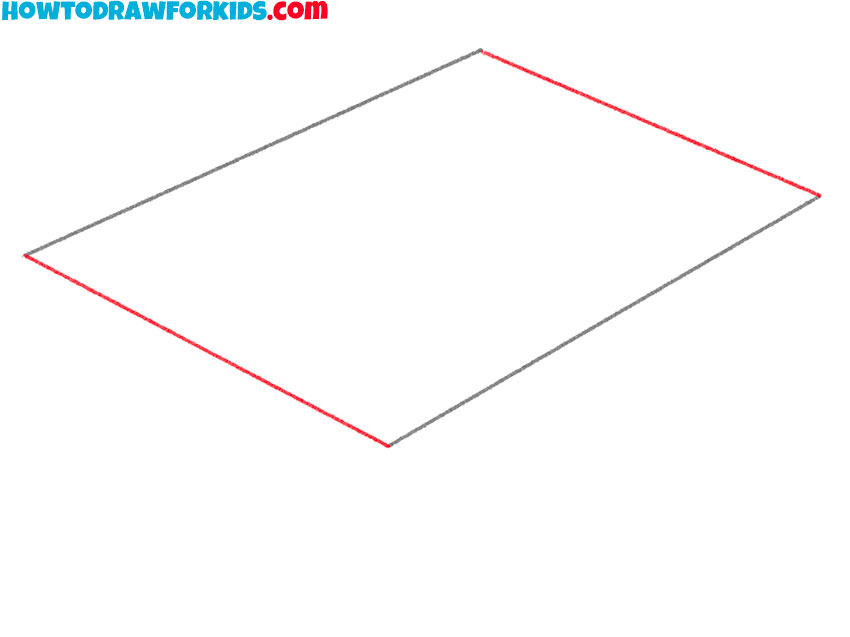
- Finish drawing the top edge of the sponge.
Connect the two previously drawn lines with two more straight lines.
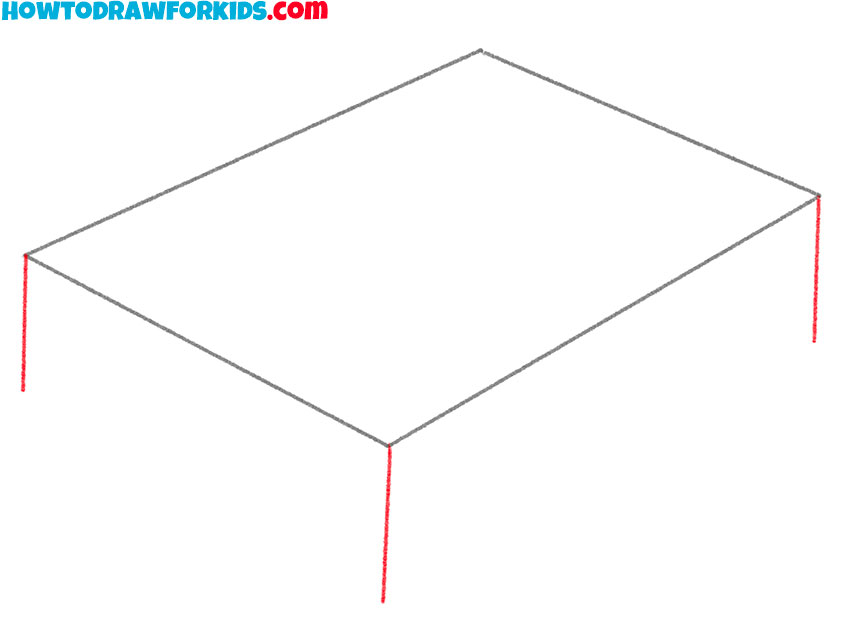
- Add the side edges of the sponge.
From the three corners of the previously drawn figure, draw three straight vertical lines.
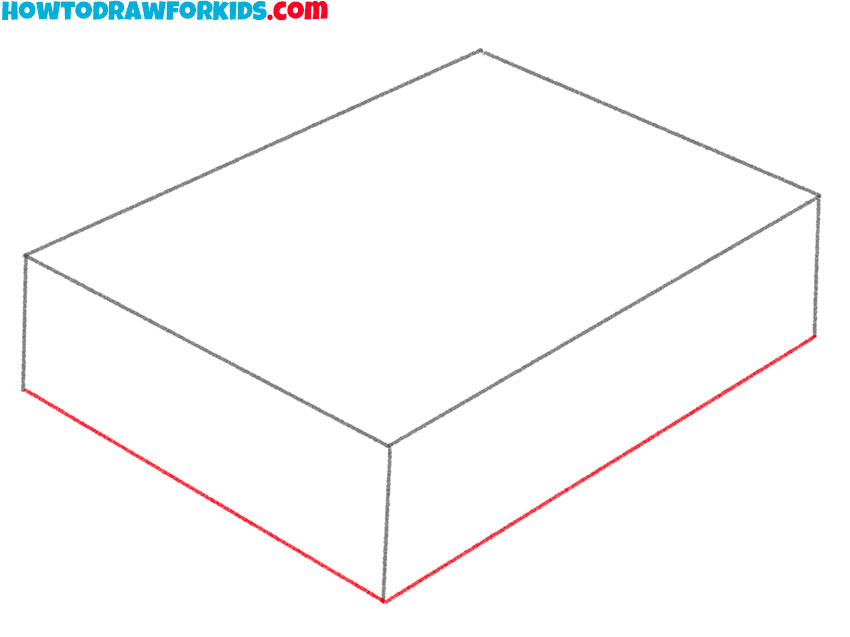
- Depict the bottom edges of the sponge.
Connect the ends of the previously drawn lines with two straight lines.
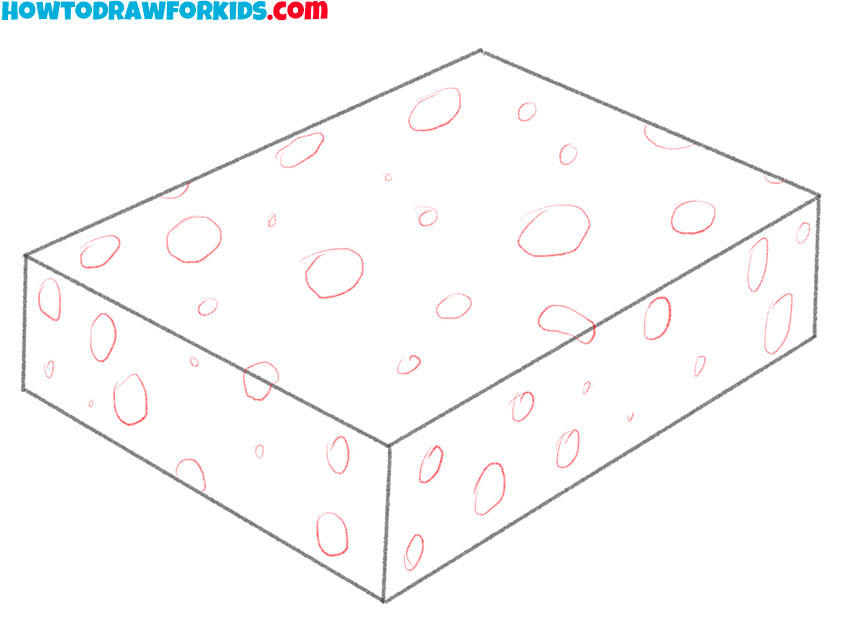
- Add the porous sponge.
Depict many curved lines and incomplete ovals to the surface of the sponge.
- Color the drawing.
To color the sponge, use different shades of yellow or brown.

I remind you that you can download the PDF file that I have prepared especially for your convenience. This file contains a short version of this lesson and has additional useful training materials. Download this file so as not to lose it and return to this lesson at any time convenient for you.





i’s ok
It is not that good