How to Draw a Toy
In this drawing lesson, you will learn how to draw a toy step by step. This simple lesson consists of nine steps with a detailed description.
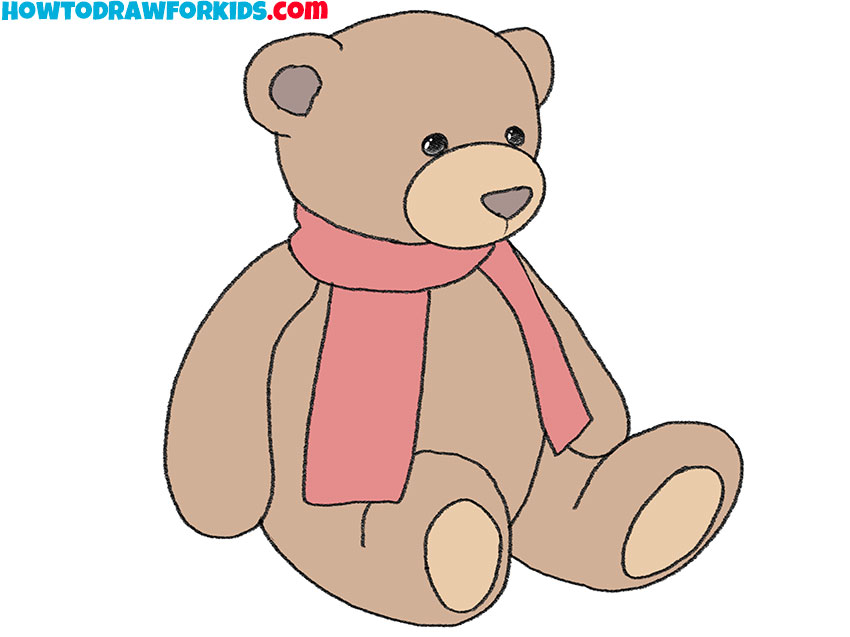
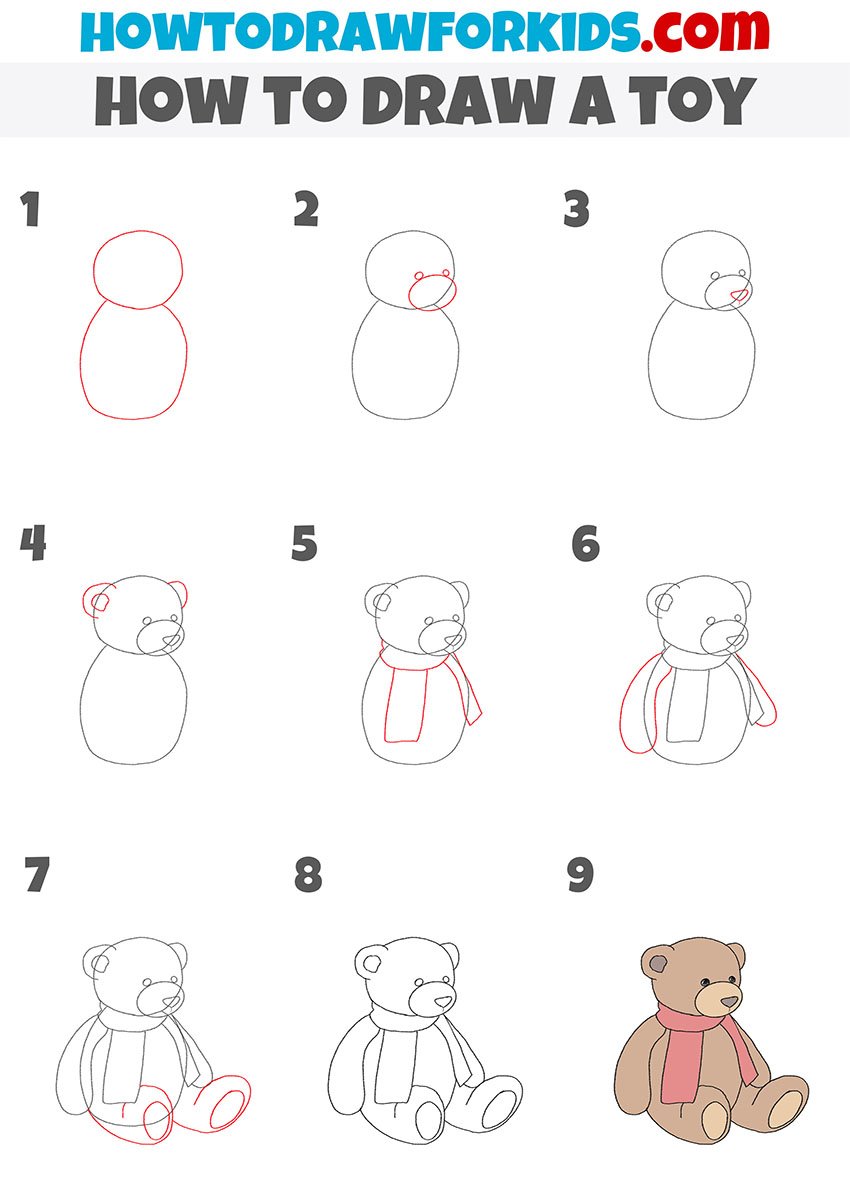
So, I am glad to offer you this simple drawing lesson in which I will tell and show you how to draw a toy step by step. Any novice artist or a child who does not have much experience in drawing can easily cope with the implementation of this lesson. The toy in this tutorial looks like a teddy bear wearing a red scarf.
I am sure that you have seen various toys many times, and also for sure you have any of them. Often toys are found in various cartoons, films, and games. Soft toys usually consist of faux fur, fabric and stuffed material. Toys are typically made that look like various animals in a cartoon style, and a toy can also look like a character from a famous cartoon.
In this tutorial, you will draw a toy in a cartoon style, so it will look cute enough. If you are ready to start this drawing lesson, you can prepare art supplies right now, and then follow these instructions carefully. I am sure that you will easily cope with this work and get an excellent result!
Materials
- Pencil
- Paper
- Eraser
- Coloring supplies
Time needed: 30 minutes
How to Draw a Toy
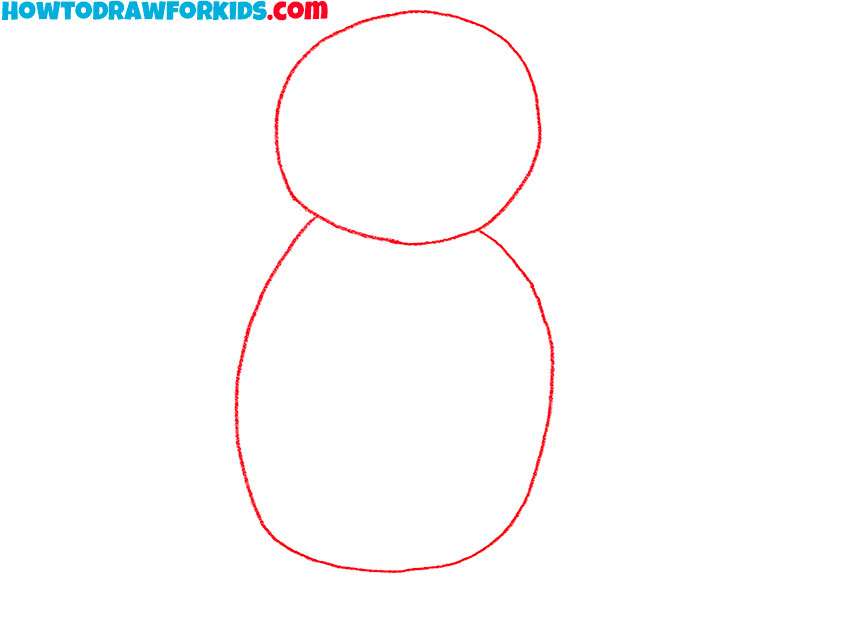
- Draw the outline of the head and torso of the toy.
Depict the teddy bear’s head as an oval shape and add a curved line.
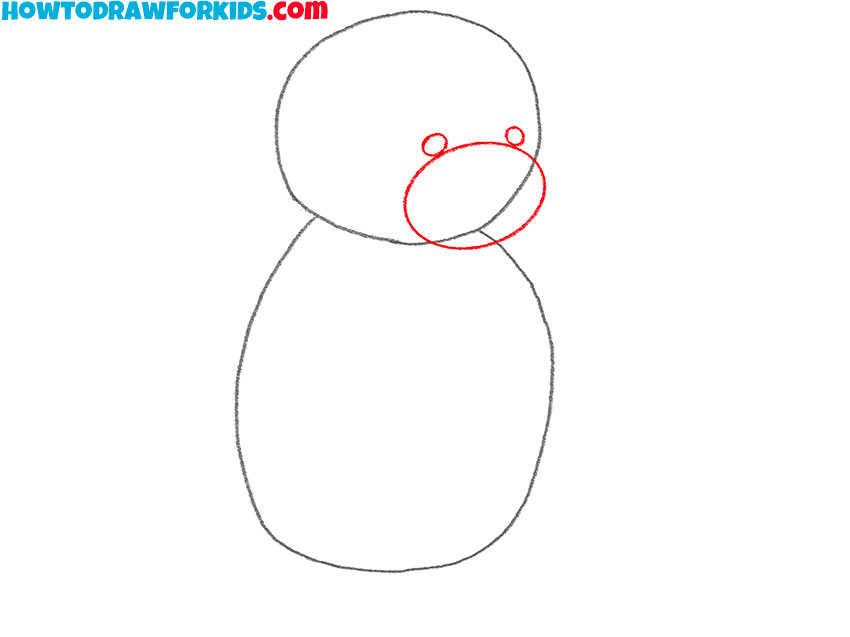
- Start drawing the toy’s face.
Add three different sized ovals inside and outside the toy’s previously drawn head.
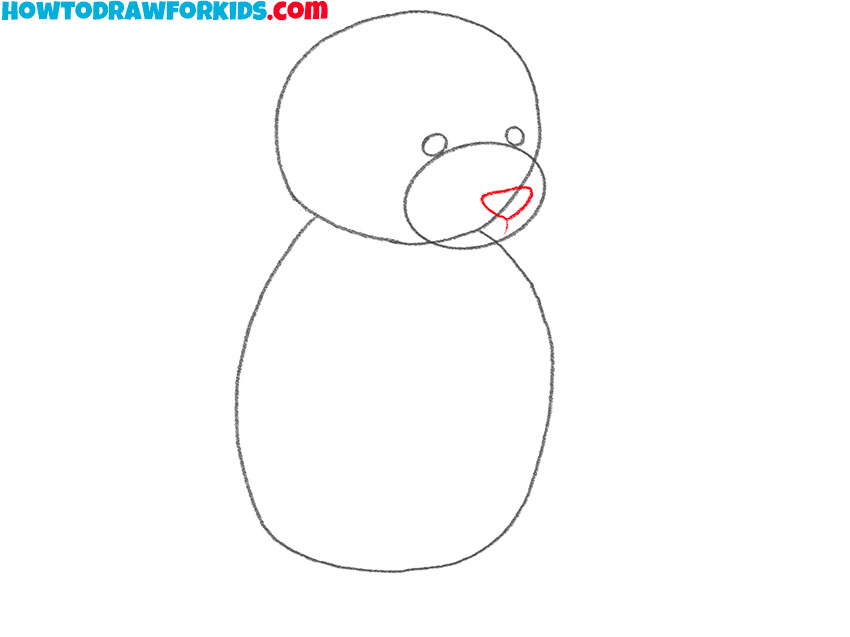
- Depict the toy’s nose.
Draw curved lines inside the previously drawn large oval, as shown in the figure.
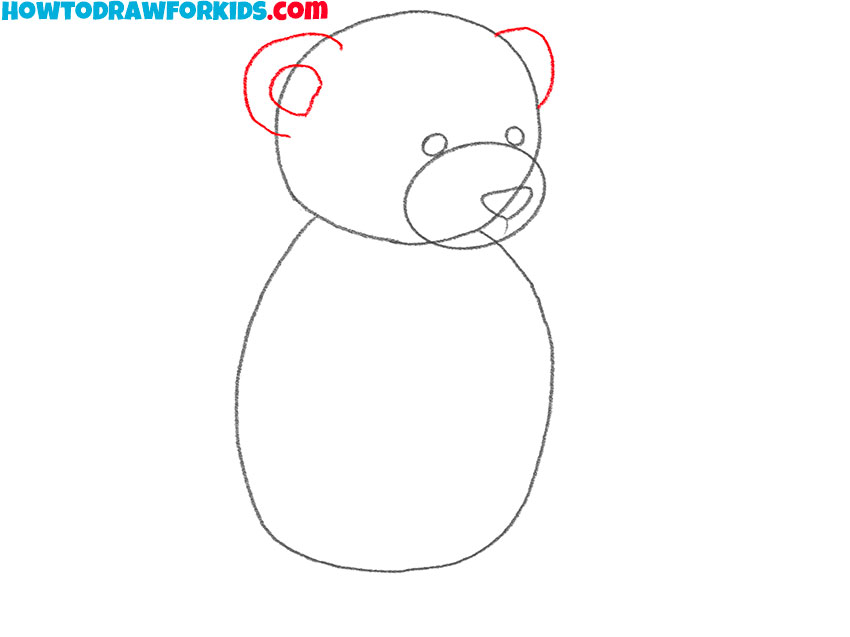
- Add the ears of the toy.
At the top of the teddy bear’s head, draw arcs and curved lines of varying lengths.
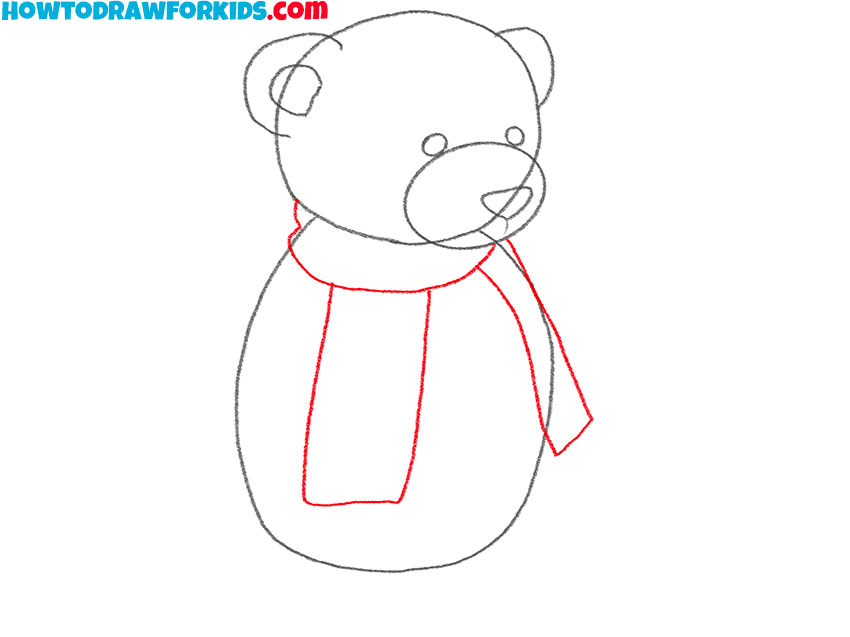
- Sketch out the outline of the toy’s scarf.
Below the toy’s head, draw the knotted scarf using curved lines as shown.
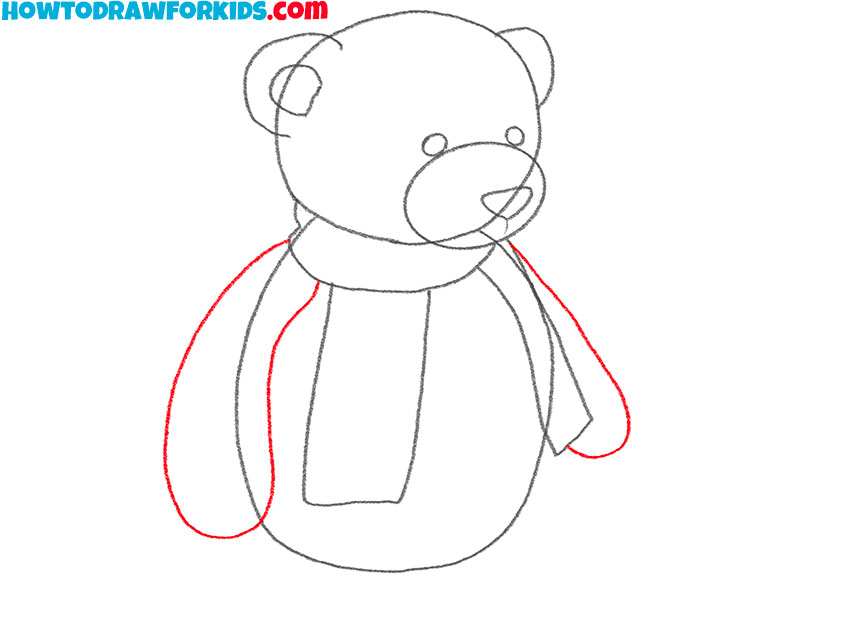
- Depict the paws of the teddy bear.
On the sides of the torso of the toy, draw two paws using curved lines of different lengths.
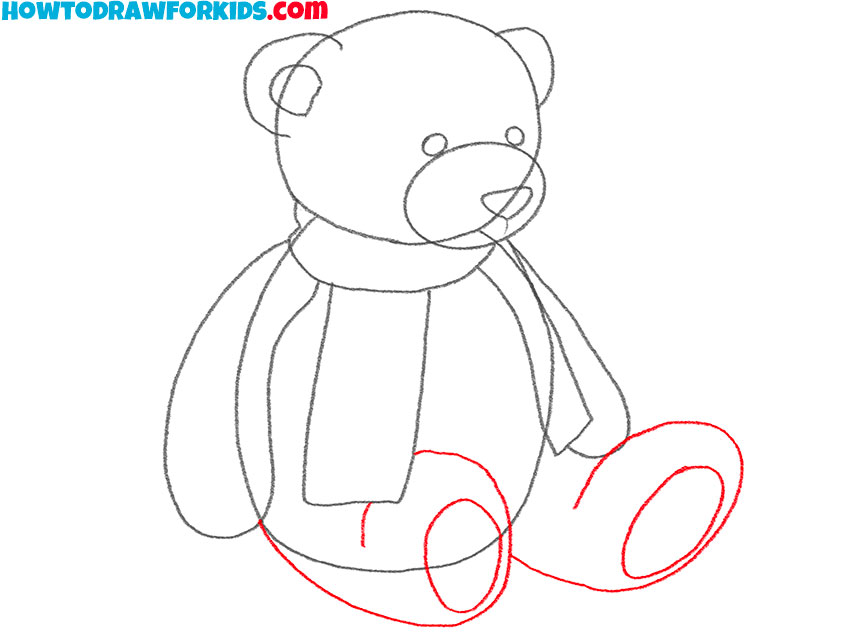
- Draw the hind legs of the toy.
Use ovals and curved lines of varying lengths to draw the toy’s bent legs.
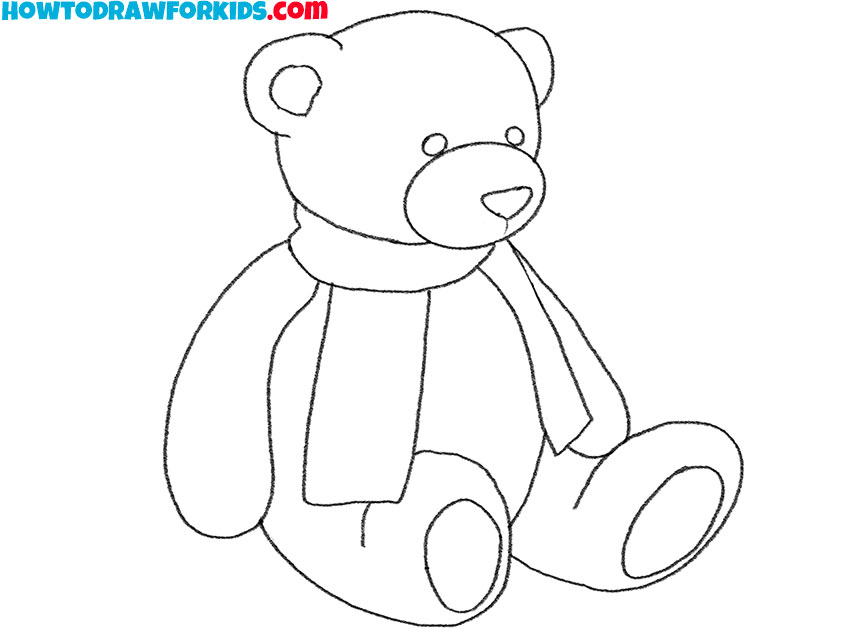
- Correct inaccuracies.
Now you should use the eraser to remove all unnecessary lines.
- Color the drawing.
To color the toy, use black, red and various shades of brown.

I remind you that you can download the PDF file that I have prepared especially for your convenience. This file contains a short version of this lesson and has additional useful training materials. Download this file so as not to lose it and return to this lesson at any time convenient for you.

