How to Draw a Trampoline
In this drawing lesson, I would like to tell and show you how to draw a trampoline step by step. This lesson is sure to please each of you.
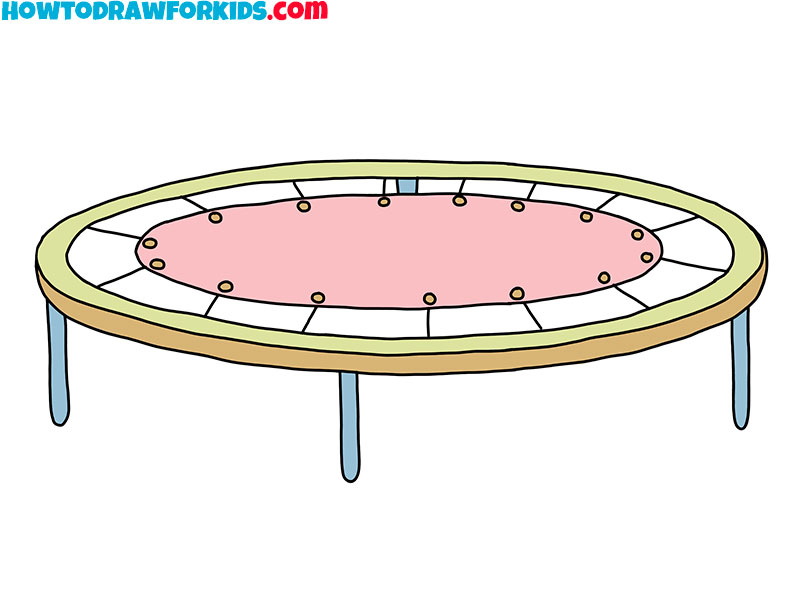
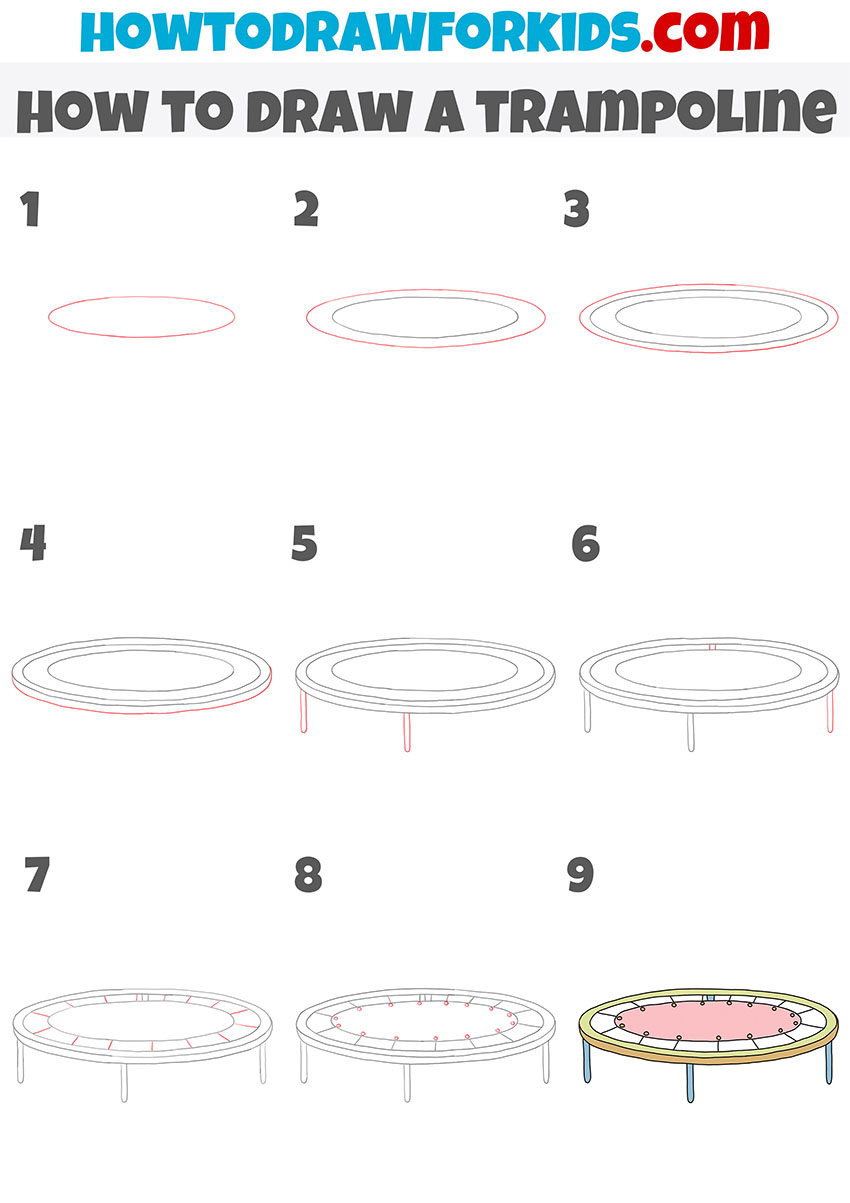
So, I am glad to bring to your attention an excellent drawing lesson with which you will learn how to draw a trampoline step by step. This lesson is sure to help you develop your artistic skills, as it will help you practice drawing various geometric shapes. In doing this drawing lesson you will draw ovals, straight lines, circles, and arcs.
The trampoline is a jumping device, which is a strong woven mesh stretched over a metal frame with rubber or metal springs. The material that is used to make the surface of the trampoline is not elastic by itself. Elasticity is achieved due to springs located along the perimeter or around the circumference of the mesh. The trampoline can be used for recreation, entertainment and leisure activities, practicing acrobatic elements by snowboarders, skiers, wakeboarders, tracers, and gymnasts. The trampoline is also used in circus acrobatic numbers and as a sports equipment in competitions. In addition, the trampoline is used to train astronauts before space flights.
If you already want to start drawing such a common subject as a trampoline, then you can start doing this work right now. To do this, you need to prepare the necessary art supplies, and then carefully follow my instructions. Follow the steps carefully, carefully and slowly, and then you will definitely get an excellent result of your work. I wish you inspiration, and I am sure that you will easily cope with this work.
Materials
- Pencil
- Paper
- Eraser
- Coloring supplies
Time needed: 30 minutes
How to Draw a Trampoline
- Draw the inner outline of the trampoline.
To start drawing the trampoline, you need to draw one oval, as shown in the picture.

- Start drawing the outer edge of the trampoline.
Draw another slightly larger oval around the previously drawn oval.
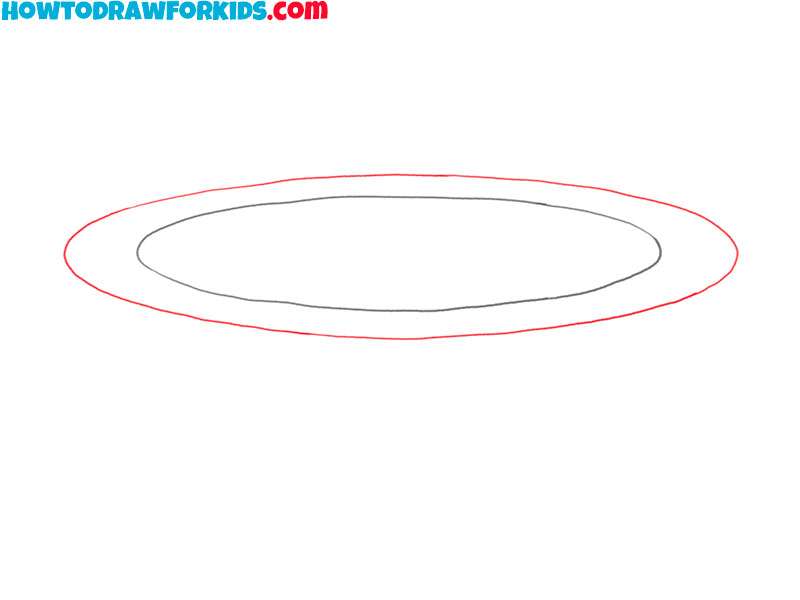
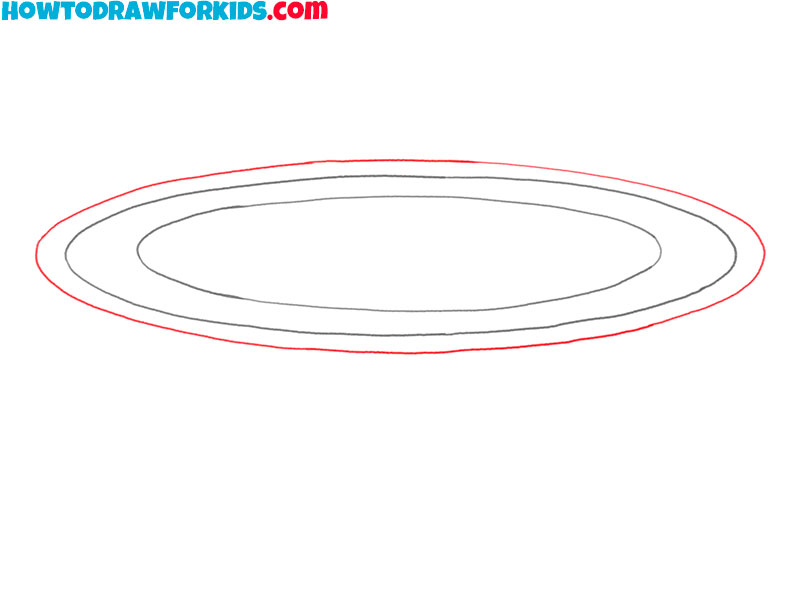
- Add another outline to the outer part of the trampoline.
Around the previously drawn oval, you should draw another larger oval.
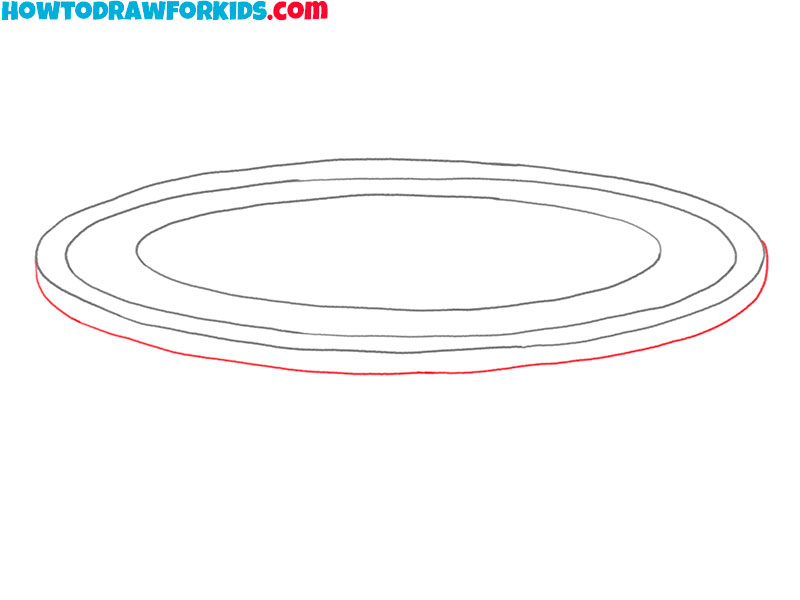
- Depict the side face of the trampoline.
Below the oval you drew in the last step, you need to draw one arc.
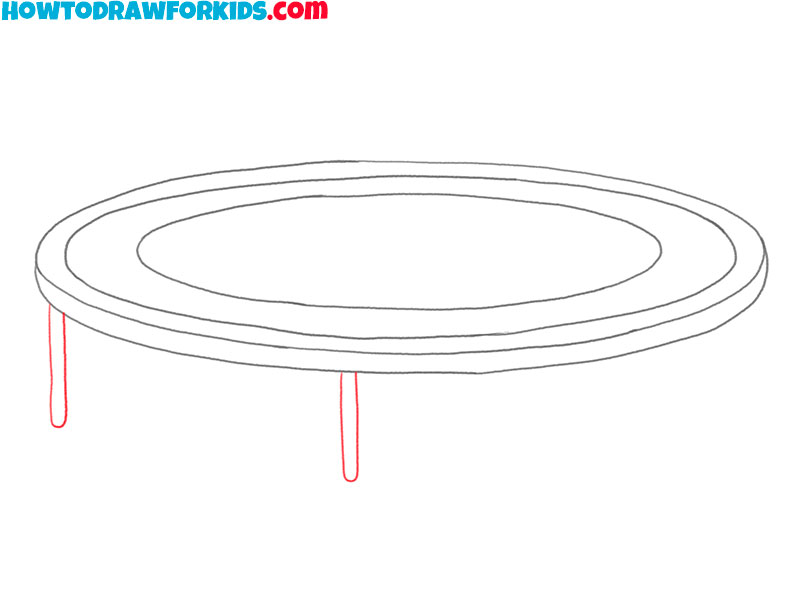
- Sketch out two trampoline legs.
Below the drawn arc, depict the two legs of the trampoline using curved lines as shown.
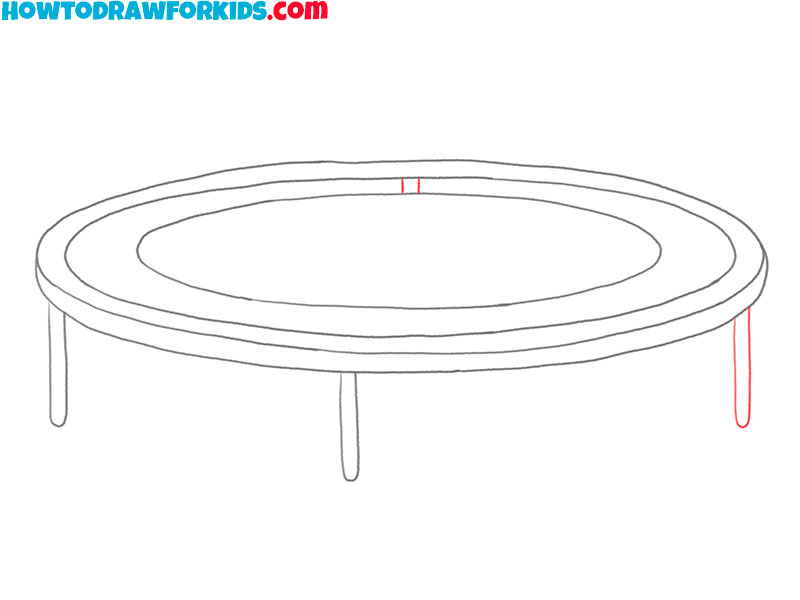
- Add outlines for two more trampoline legs.
The trampoline partially covers one leg. Add another leg to the right.
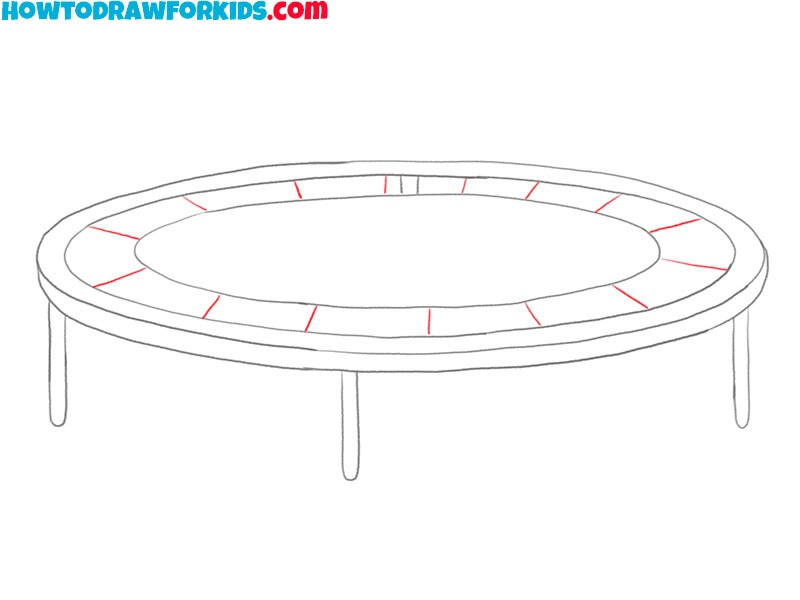
- Draw the inside of the trampoline.
Between two of the previously drawn ovals, draw many straight lines of different lengths.
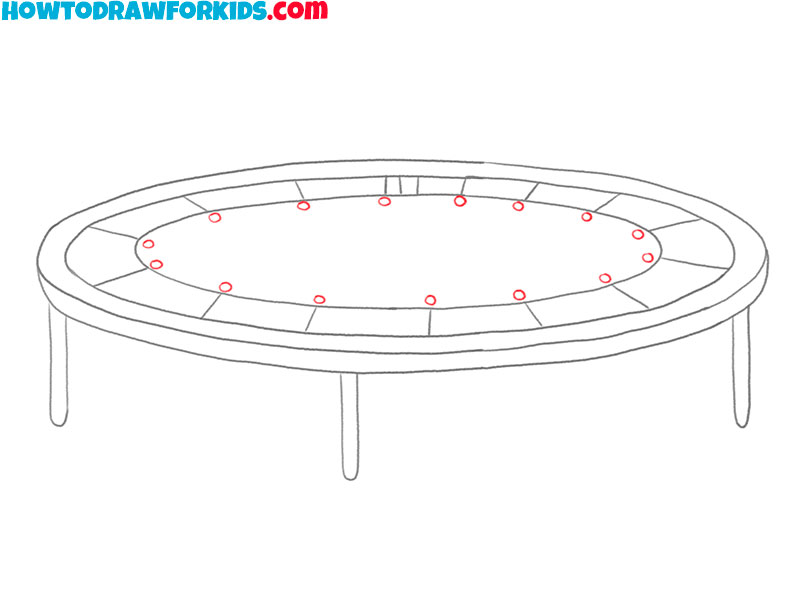
- Depict the holes for attaching the trampoline.
Near each of the previously drawn straight lines, draw the same circles.
- Color the drawing.
To color this trampoline, you should use red, green, brown, and blue.

I remind you that you can download the PDF file that I have prepared especially for your convenience. This file contains a short version of this lesson and has additional useful training materials. Download this file so as not to lose it and return to this lesson at any time convenient for you.

